This homemade lip liner recipe is everything you’ve been looking for. It’s clean and nontoxic while also being highly pigmented and natural-looking. Made with plant-based oils and skin-friendly iron oxide for color, it gives lips a pretty pop of color. It’s also easy to make in a variety of shades, so you can match your favorite lipstick or complement your coloring for a more natural look.
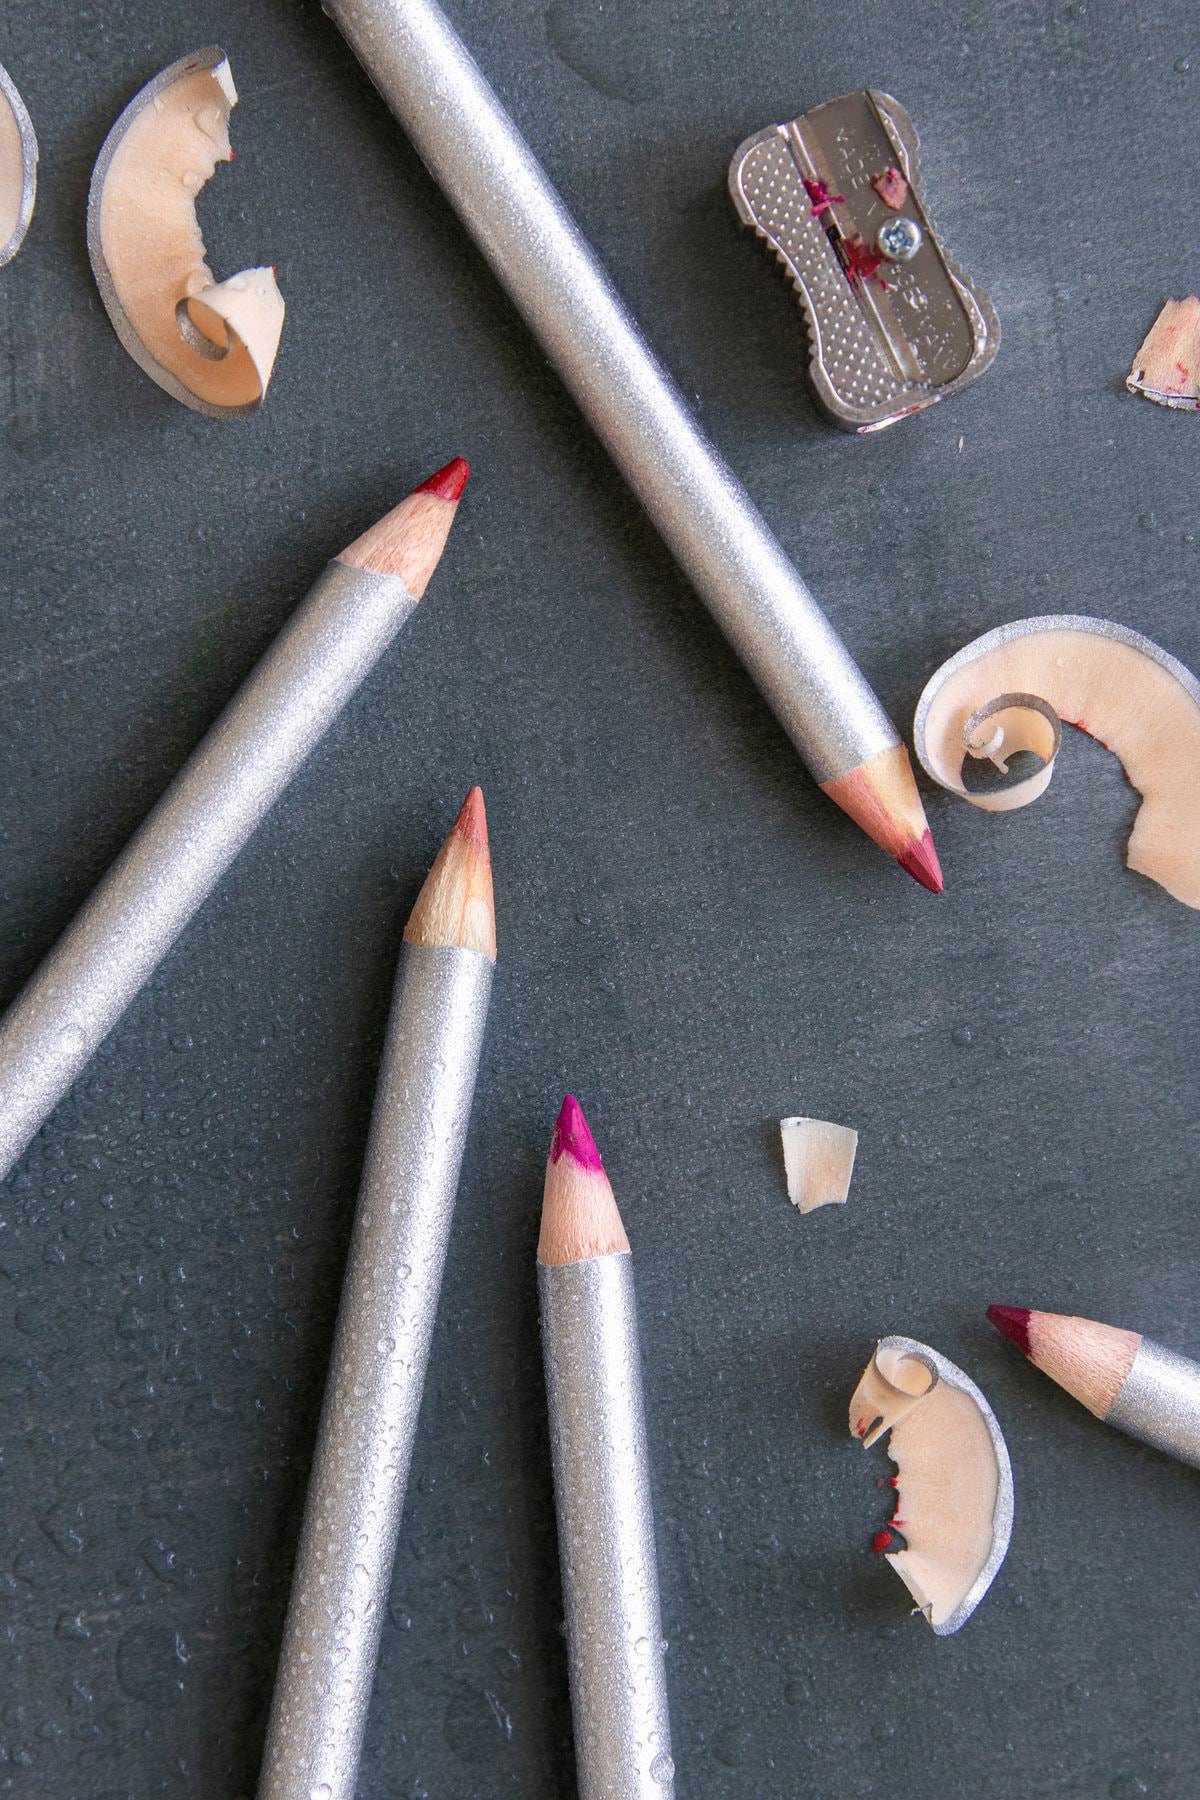
While I’m all about making my own cosmetics at home, there are a few products I never thought I’d actually be able to make—lip liner being one of them.
Unlike lip oil or cheek stain, which are impossible to mess up, lip liner always seemed like a finicky beast. Too little color or too much oil and you won’t be able to see it. Too thick and dry and it won’t stick to lips.
But I recently learned how to make lip liner at home, and it turns out that it's actually pretty easy, even if you’re new to the gig and have no clue what you’re doing (e.g., my kind of homemade makeup).
Jump to:
Ingredients
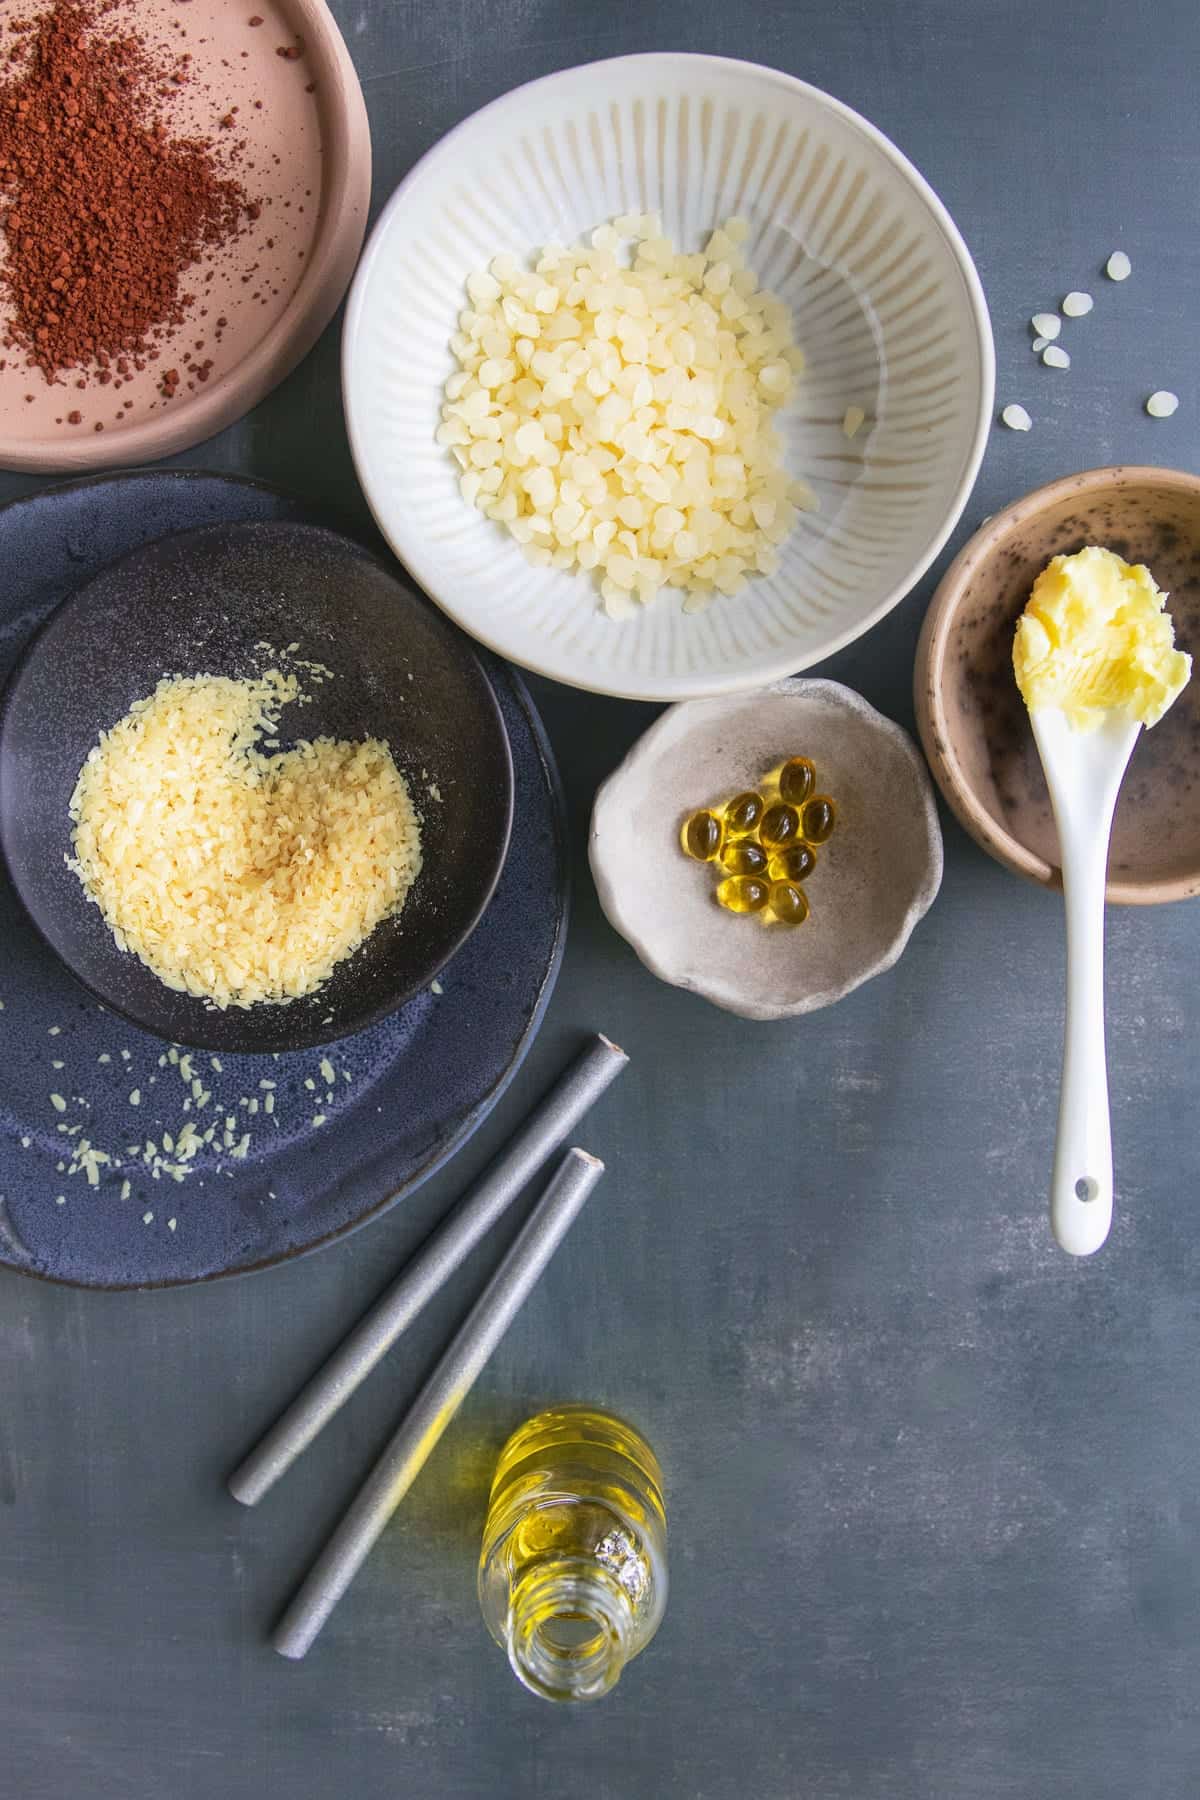
This recipe uses the same ingredients as our homemade eyeliner—the only difference being that we swapped out some of the oils and chose iron oxides in skin tone hues as opposed to black.
Beeswax — Beeswax is a natural wax that adds structure and firmness to the lip liner, helping it maintain its shape and preventing it from melting on your lips. Beeswax also contributes to the lip liner's longevity, so it stays in place and doesn't seep into those pesky lines around the lips.
Candelilla wax — Candelilla wax is another plant-based wax that serves a similar purpose as beeswax. It adds stability and texture to the lip liner, so it glides on smoothly and sticks to lips.
Shea butter — Shea butter is a semi-solid fat that enhances the texture of the lip liner, making it smoother and easier to apply.
Jojoba oil — A lightweight and deeply moisturizing oil, jojoba oil helps keep lips hydrated and prevents them from becoming dry and chapped.
Castor oil — Castor oil is known for its emollient properties, making it an excellent choice for homemade lip liner. It provides a glossy texture and moisturizes lips at the same time.
Vitamin E — Vitamin E oil acts as a natural preservative in this lip liner recipe, extending its shelf life by slowing down oxidation and rancidity.
Iron Oxide — Iron oxide is a mineral pigment that gives your lip liner color. It's safe for cosmetic use and comes in various shades, so you can easily customize your lip liner's color to complement your skin tone.
See recipe card for quantities.
Instructions
This recipe comes together really fast, so make sure to work quickly when transferring the melted oils into the empty pencil casings. And have plenty of paper towels at the ready to clean up spills!
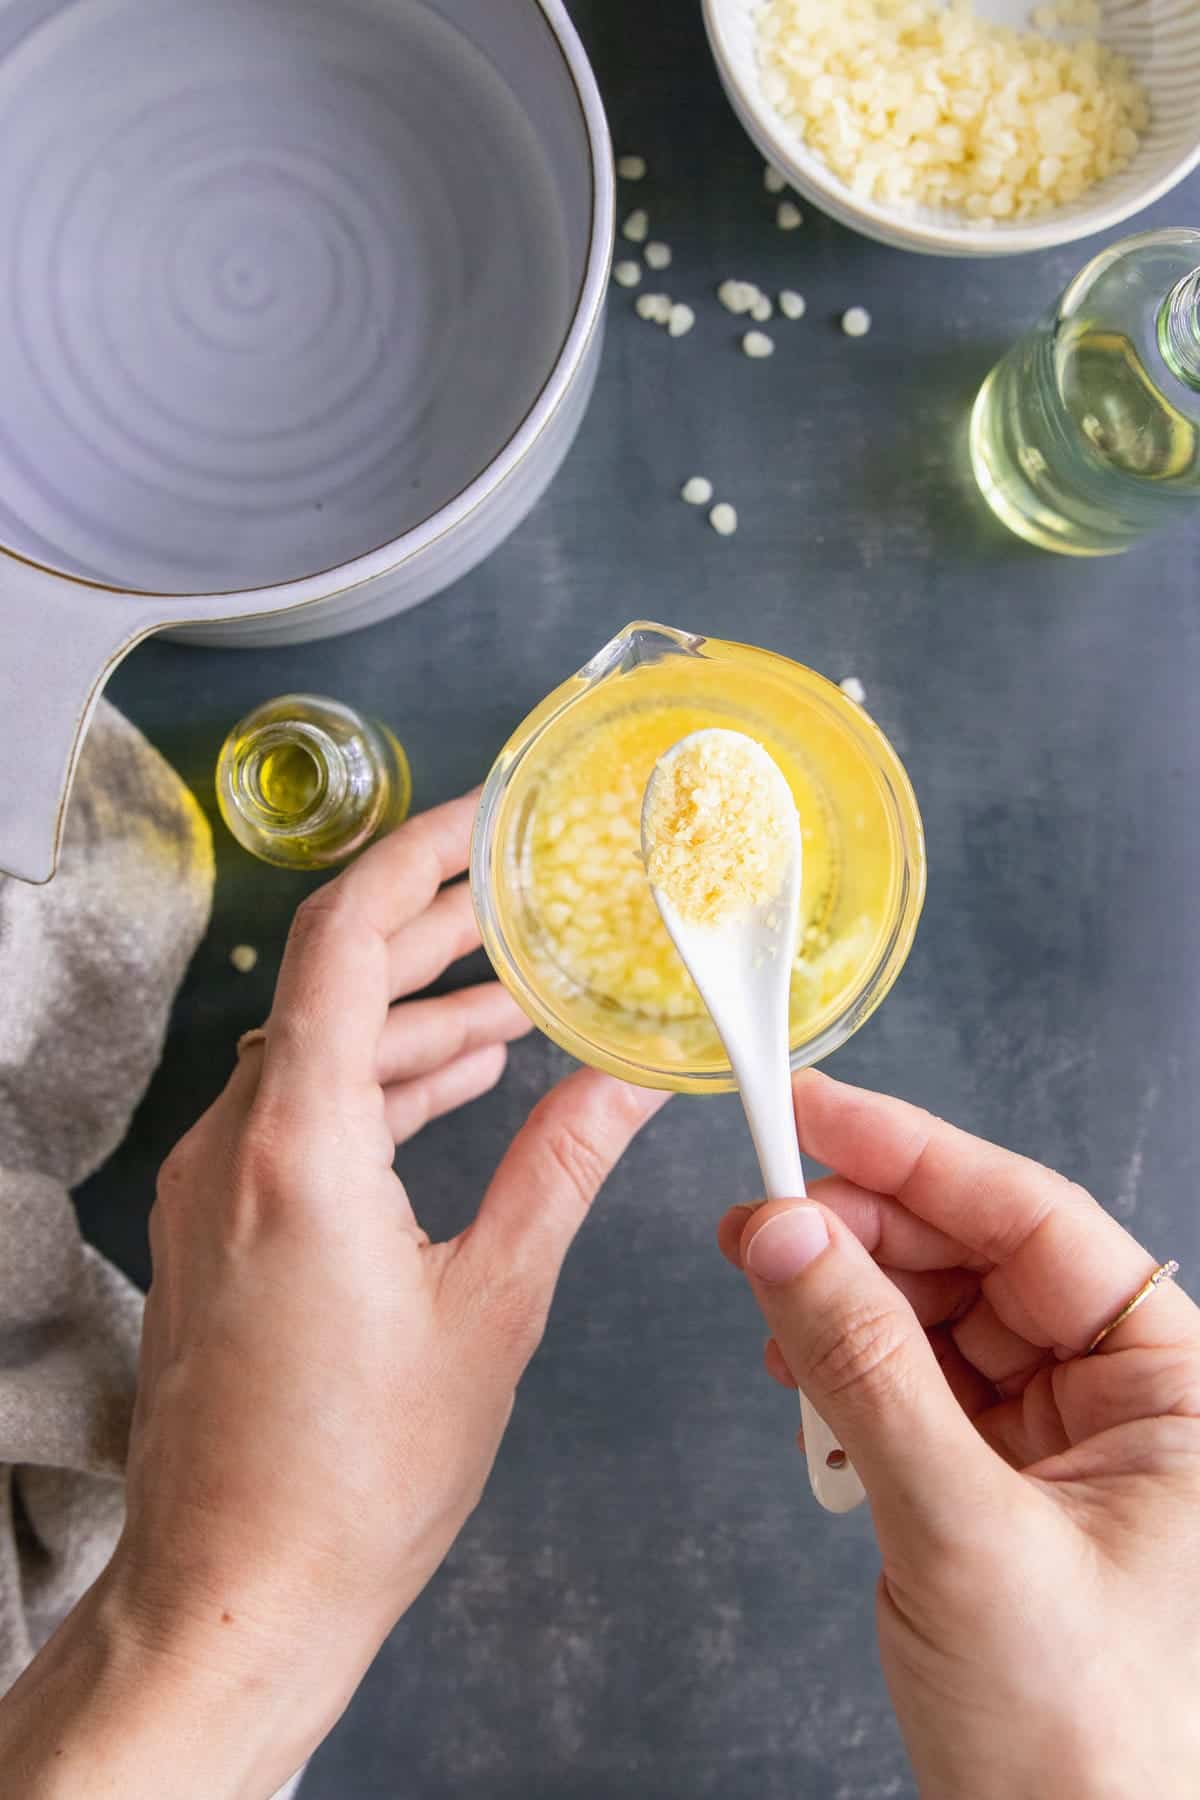
Combine butter + oils: In a heat-resistant bowl, combine the beeswax, candelilla wax, shea butter, jojoba oil, and castor oil.
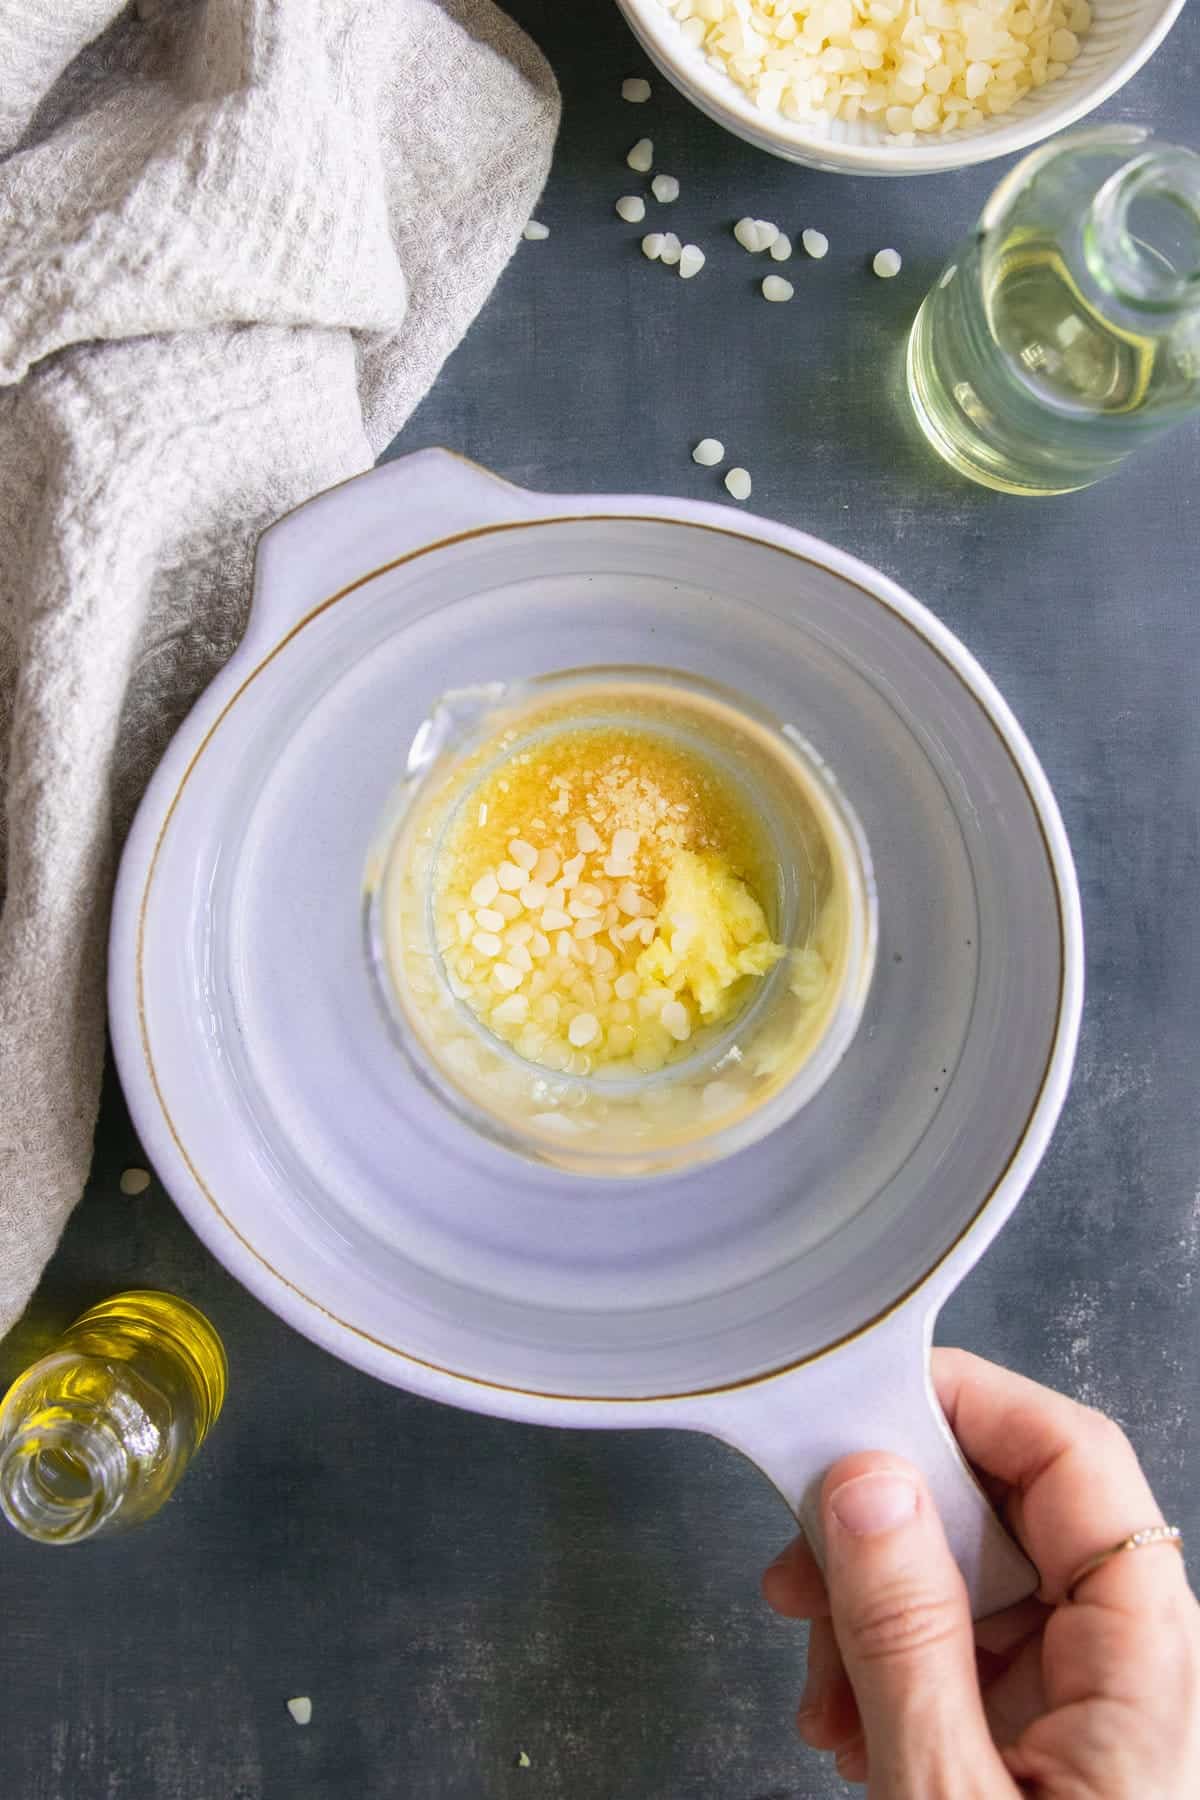
Melt on low heat: Place the bowl in a small saucepan that’s been filled with 1-2 inches of water. Heat the oils on low heat until everything melts completely.
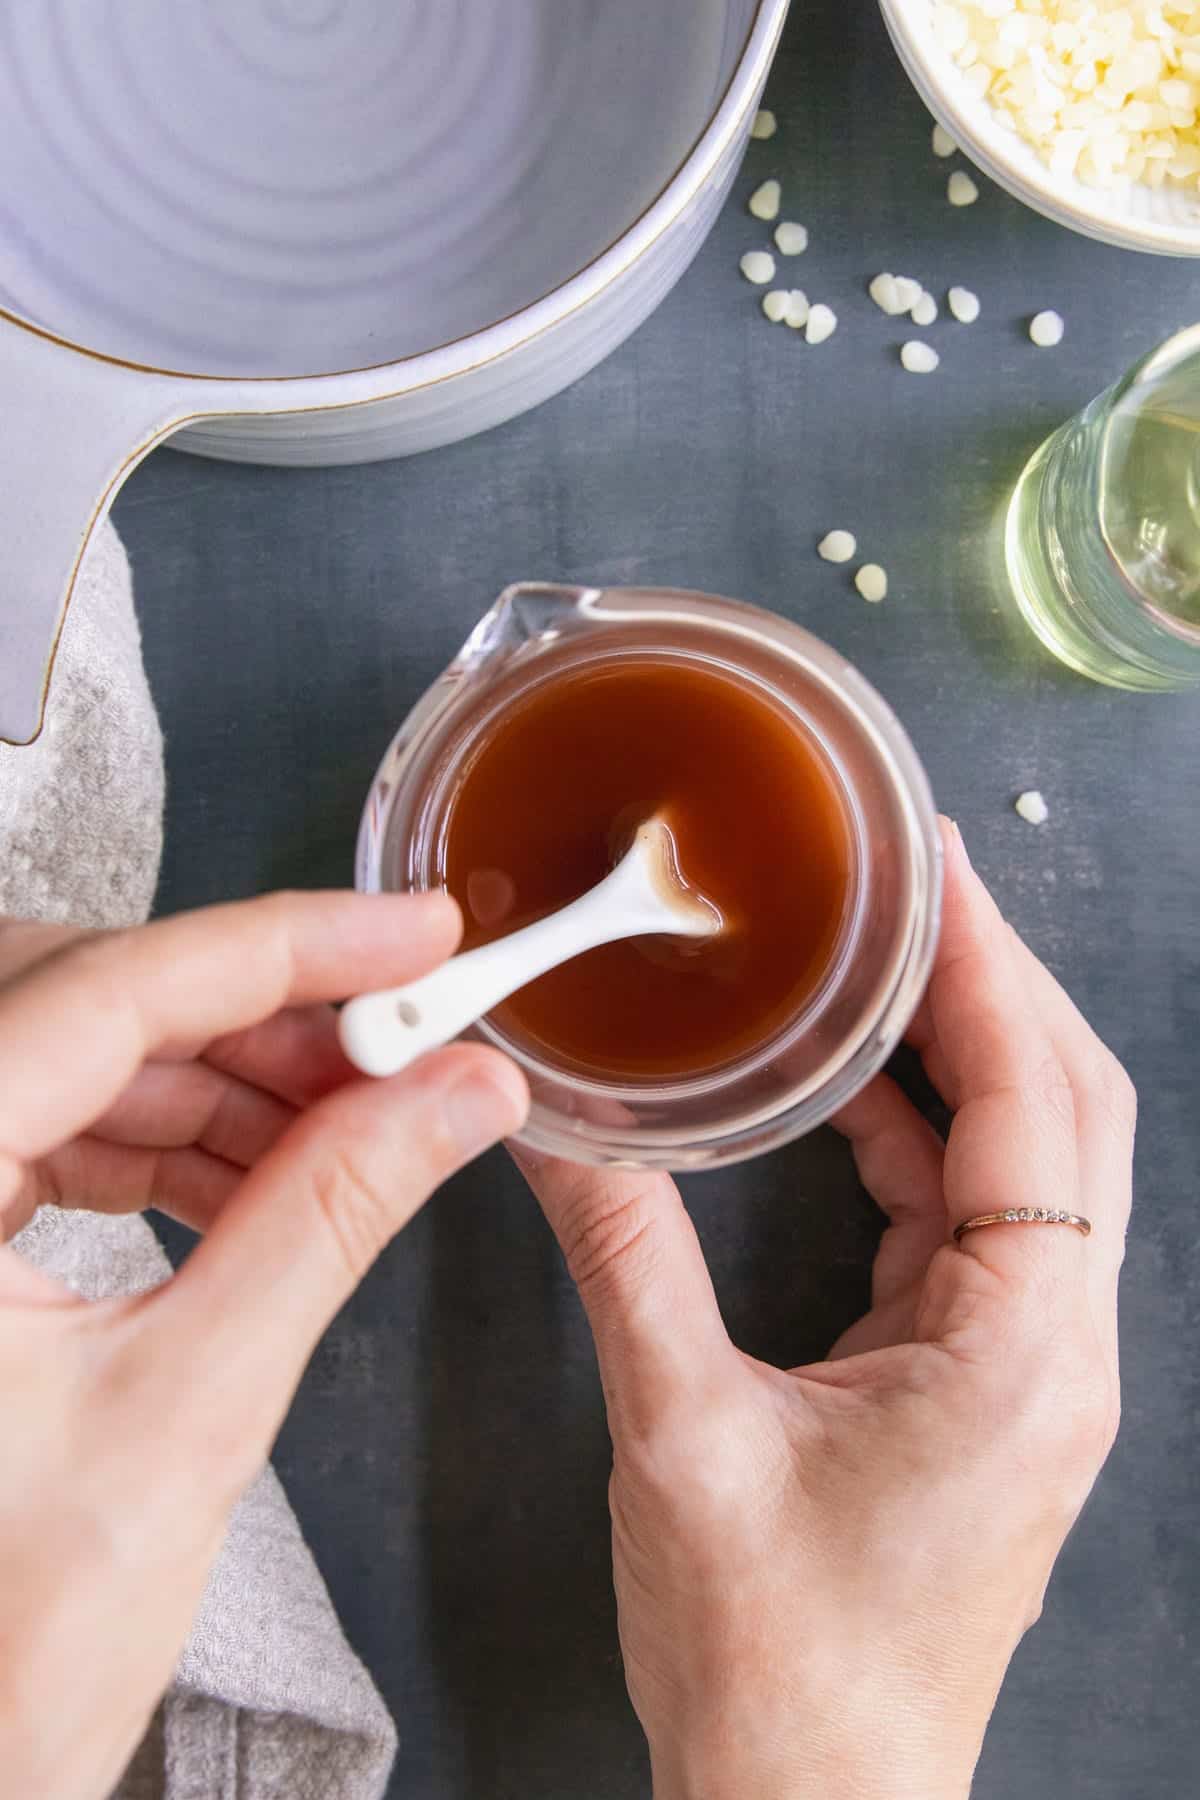
Add colors: Remove from heat and add the vitamin E oil and iron oxide. Stir well.
Then lay several paper towels over your work space to make clean-up easier. And don't forget to put the end cap on the pencils before you start filling!
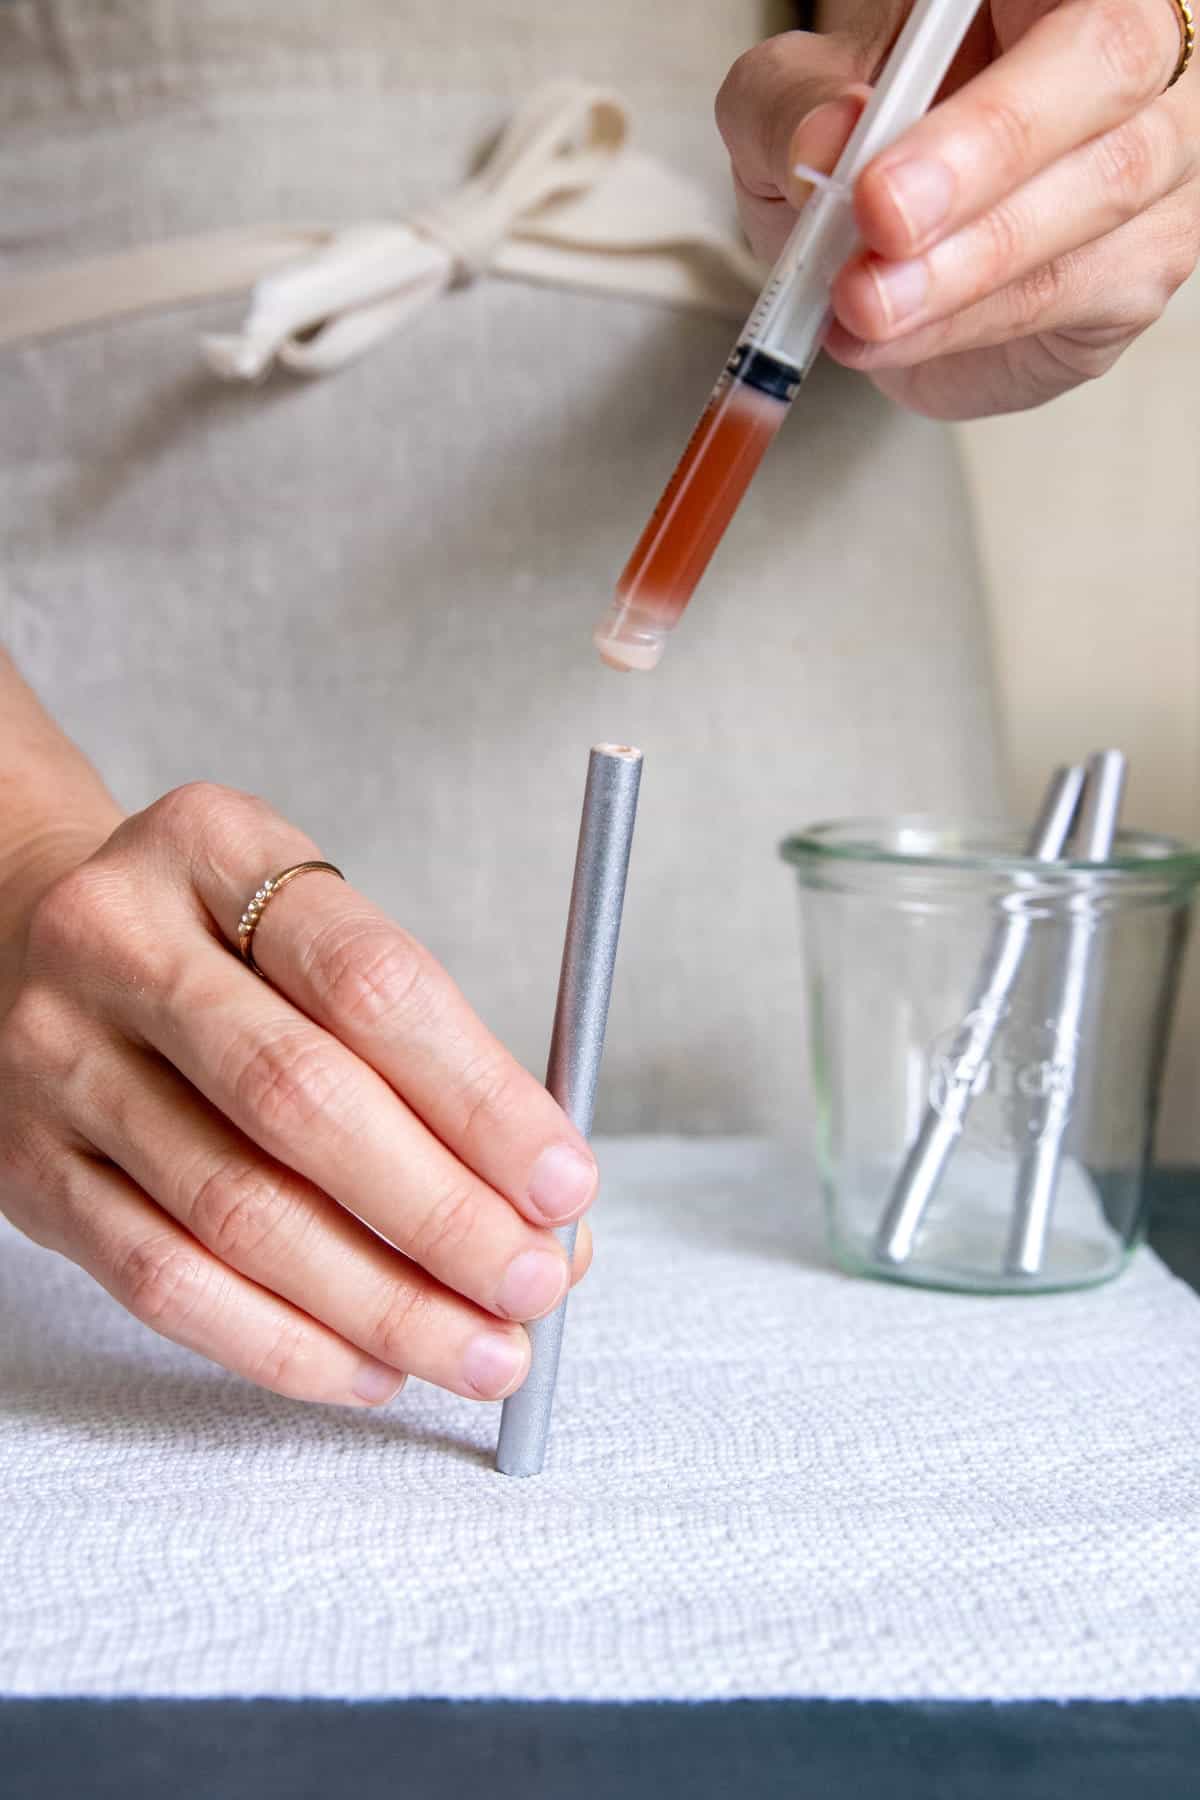
Fill pencils: Working quickly, use a needle-less syringe to carefully transfer the mixture into the empty pencil casings.
Stand the filled pencils in a glass and allow them to cool overnight before sharpening.
Hint: To create a smoother texture, add more jojoba or castor oil. To make your lip liner firmer, try adding more beeswax or candelilla wax. And if you want a bolder color, add more iron oxide powder.
Substitutions
This recipe is really just a mixture of oil, wax, and colorant. Feel free to customize the ingredients using things you can easily find or already have on hand. Here are some different options to get you started:
- Oils — Any lip-safe oil will work in this recipe. In place of jojoba or castor oil, you can use sweet almond, apricot kernel, grapeseed or olive oil.
- Waxes — If you’re vegan and would prefer not to use beeswax, simply replace it with an extra .2 ounces of candelilla wax. Same goes if you would prefer to skip the candelilla wax and just use beeswax instead.
- Iron Oxide — Iron oxide is a highly pigmented colorant that comes in a variety of beautiful shades, which is why we love it for this recipe. But there are many non-toxic colorants to choose from, such as beetroot powder, cinnamon, cocoa, mica, or hibiscus powder.
Equipment
Most of the equipment is pretty standard but you will need empty lip liner pencils and syringes without needles.
To make custom lip liner colors, I combined several different iron oxide pigments to make my own shades. A starter pack like this one with 8 colors makes experimenting easy.
How to Apply Lip Liner and Make It Last
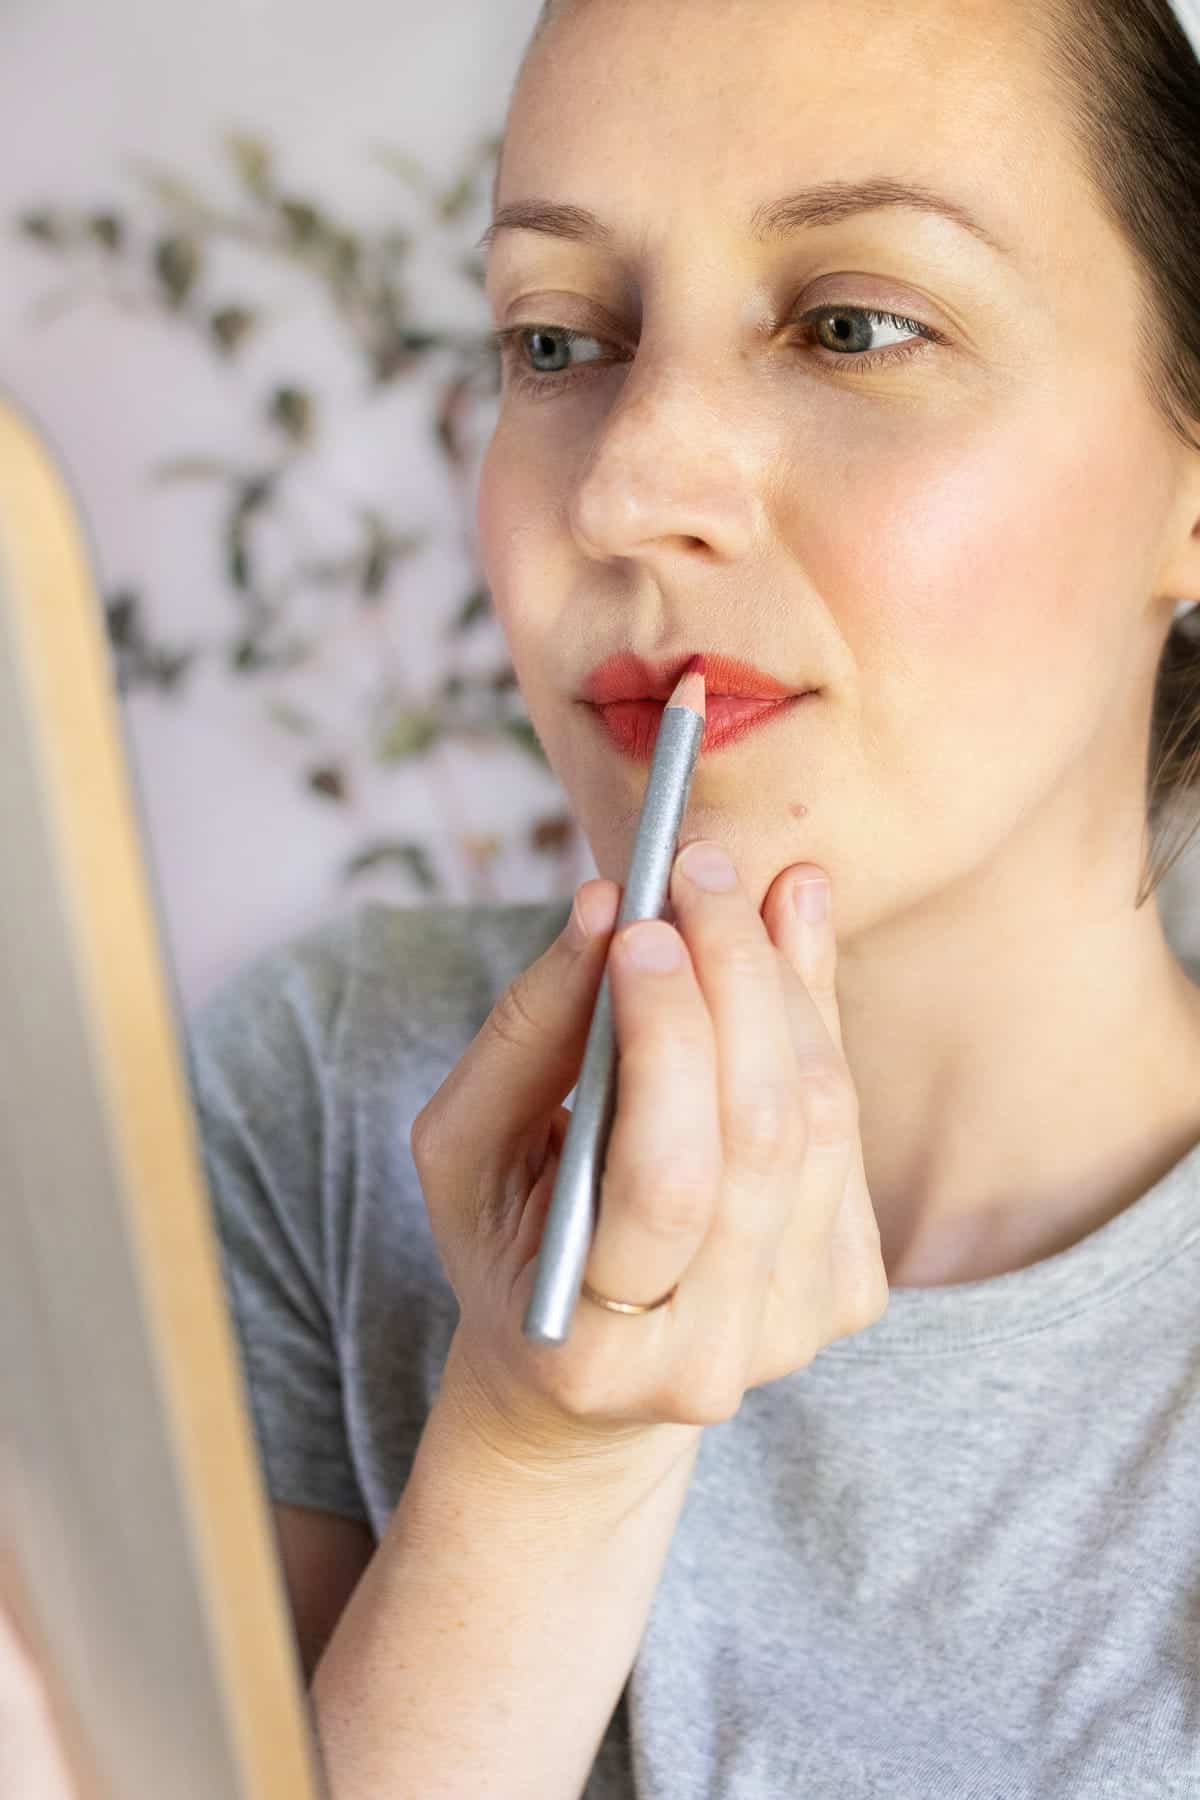
Remember that the key to long-lasting lip color comes down to prepping your lips and layering your lip color properly. Experiment with these steps to find the routine that works best for your lips and desired look.
Prep Your Lips: Start with a smooth canvas. Exfoliate your lips gently to remove any dry, flaky skin. Follow up with a hydrating lip balm or oil to ensure your lips are moisturized.
Outline Your Lips: Start by outlining your lips along your natural lip line. Use light, short strokes to create an even and precise outline. Focus on defining the cupid's bow and the corners of your mouth.
Fill In: After outlining, gently fill in your lips with the lip liner. This acts as a base to hold your lipstick in place and prolong its wear.
Apply Lipstick: Apply your chosen natural lipstick shade over the lip liner. The lip liner will act as a barrier, preventing your lipstick from feathering or fading.
Press and Blot: After applying lipstick, press your lips together and blot them with a tissue to remove excess product. This helps set the color and removes any excess oil.
Set with Powder: To further extend the wear of your lip products, you can lightly dust a translucent setting powder over your lips. This helps absorb excess moisture and sets the color in place.
Top tip
Try to avoid rubbing or touching your lips excessively. Even commercial lip liners can rub off easily if you keep touching 'em, and homemade lip liner is no different.
FAQ
No, it’s better to use cosmetic-grade pigments or natural colorants specifically formulated for lip products when making your own lip liner. Crayons are designed for art projects and may contain chemicals that aren't safe for lips (or ingestion, for that matter).
Try applying a lip primer before your lip liner to create a base that helps the product adhere better and last longer.
While essential oils can add fragrance, it's important to use them cautiously around the lip area. Some essential oils can be irritating and ingesting them accidentally is a concern. If you want to add fragrance, consider using food-grade flavor oils that are safe for lip products.
Because we’re using natural waxes and oils to make lip liner at home, it may not have the same texture as the commercial lip liners you’re used to — and that’s to be expected.
If your lip liner has too high of a wax content, it might be too hard to sharpen properly. Conversely, if the wax content is too low, the lip liner might be too soft and crumble during sharpening.
Homemade Lip Liner Recipe
Equipment
- Microwave safe bowl
- Spoons
- Kitchen scale
- Paper towels
Materials
- .2 ounce beeswax
- .2 ounce candelilla wax
- .2 ounce shea butter
- .2 ounce jojoba oil
- .1 ounce castor oil
- .1 ounce iron oxide pigments any color
- .01 ounce vitamin E oil
Instructions
- In a heat-resistant bowl, combine the beeswax, candelilla wax, shea butter, jojoba oil and castor oil.
- Place the bowl in a small saucepan that's been filled with 1-2 inches of water (essentially creating a double boiler). Heat on the stove over low heat until the oils have melted. Stir to combine.
- Once the oils have melted, add the vitamin E oil and iron oxide. Continue adding iron oxide in a variety of different hues until you reach the ideal shade.
- This next step can get pretty messy to make sure to lay several paper towels over your work area and keep a roll of clean paper towels nearby. Using a needleless syringe, carefully transfer the mixture into the pencil molds or casings (make sure to put the end cap on the pencil before filling!) Then stand the pencils in a cup or jar and let them dry overnight.


Leave a Comment