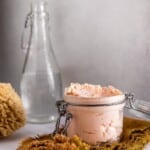
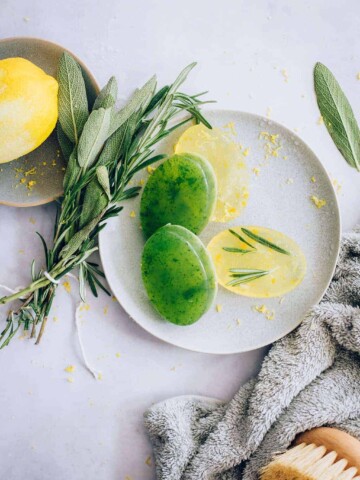
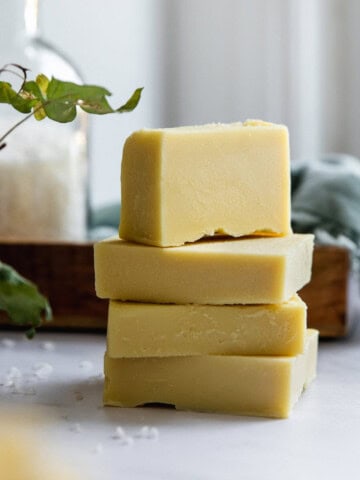
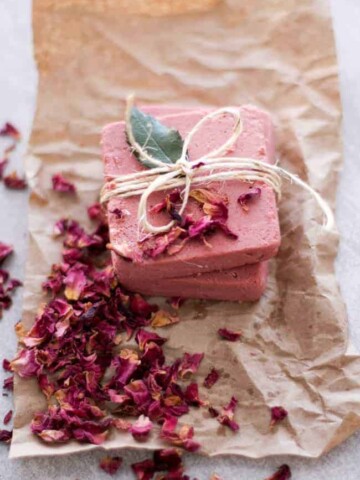
Unlike the soap you’re probably used to, this homemade whipped soap lies somewhere on the spectrum between a foaming body butter and a sudsy whipped cream. And because it’s loaded with good-for-you oils and skin softening humectants, it creates nourishing lather that can be used as a shaving cream, face wash, or even a deep conditioner for your hair.
I’m just going to say it: this soap is magic.
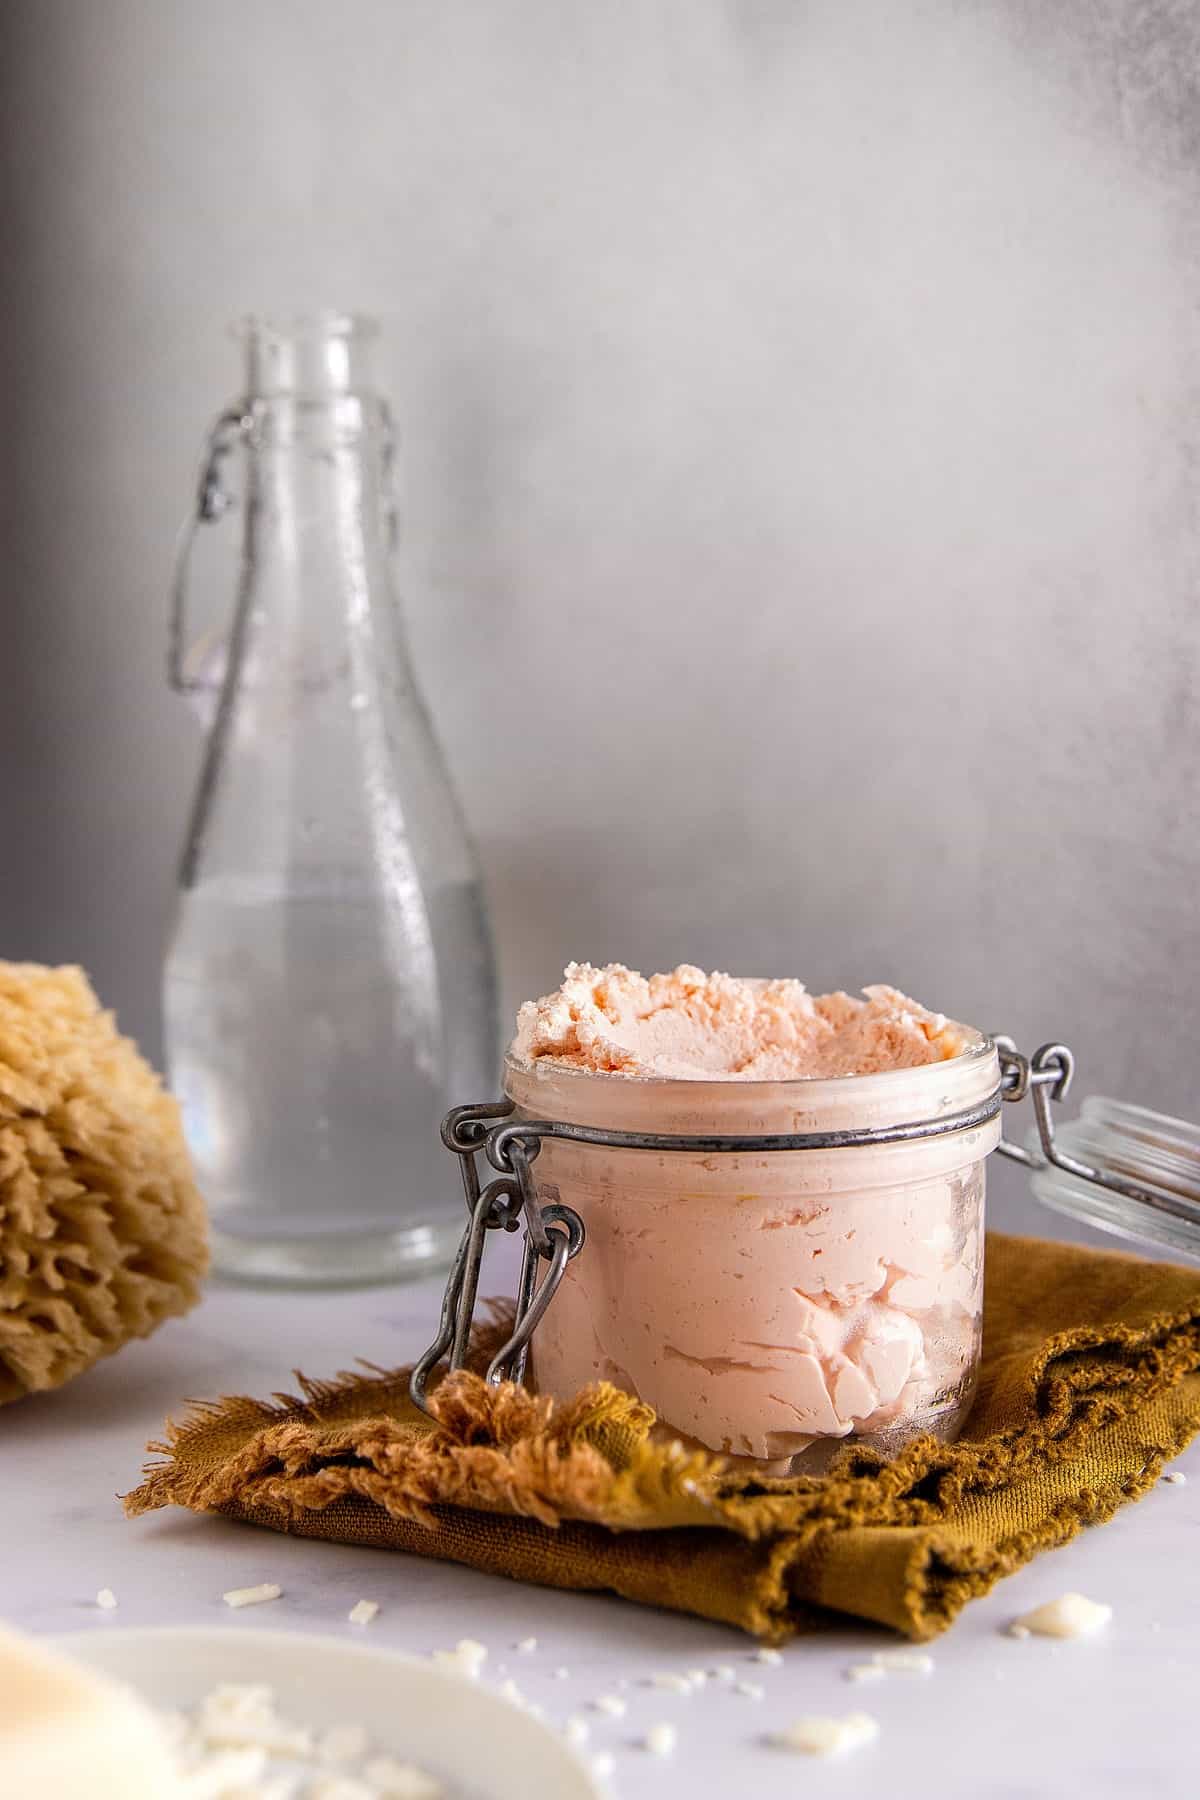
But if you find the idea of making soap from scratch intimidating, there's good news: we're not actually making soap (no lye here!) We're just combining ingredients that are so easy to find that even soap-making newbies probably have them on hand.
Jump to:
What Is Whipped Soap?
Whipped soap is a fluffy, creamy soap that feels similar to whipped cream but still lathers like the soap you're used to. Much like bar soap, whipped soap is typically made by combining oils, butters, and a lye-water solution. Once the soap mixture begins to thicken, it's then whipped to incorporate air, which gives the soap a fluffy consistency.
While the texture is similar, our DIY whipped soap comes together more quickly (and easily!)
How to Make Whipped Soap
DIY whipped soap can be a tricky business. Many of the tutorials I’ve seen contain a laundry list of hard-to-find ingredients like lard, tallow, and lye, or skin-irritating chemicals like SLS. Needless to say, that really wasn't going to cut it for me.
Instead, I opted for premade bar soap (Castile, to be exact) and nourishing butters that hold their shape at room temperature. Not only does it cut down on prep time and measuring, but you can also avoid some of the more questionable ingredients often found in other whipped soap recipes.
The trick to making whipped soap without the lye is choosing the right ingredients. For your soap to hold its shape, you need a mixture of hard oils, like shea butter, and non-greasy humectants, like glycerin.
Once you have your moisturizing base, you can add your soap and whichever essential oils and colors you choose.
Whipped Soap Ingredients
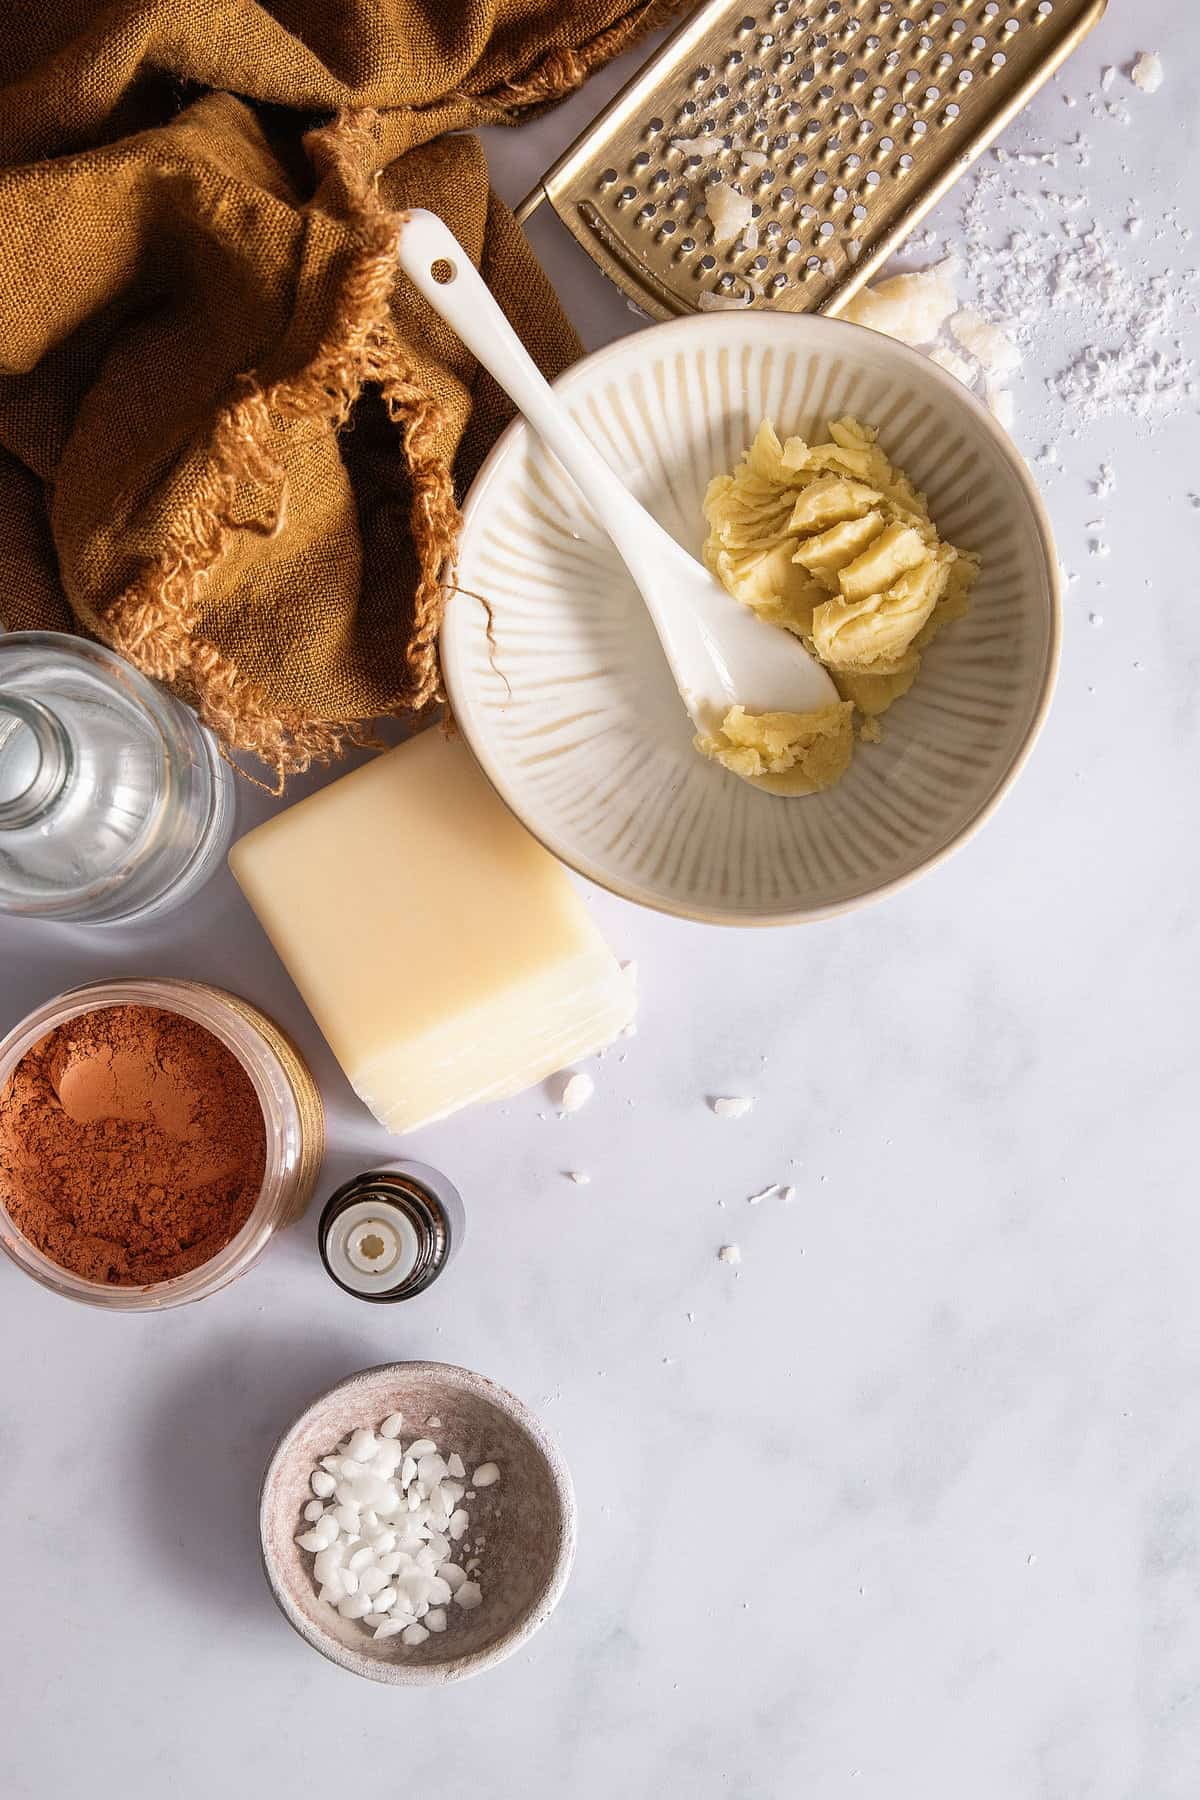
Bar soap — I chose a bar of Dr. Bronner’s Lavender Castile soap for this recipe because I love the scent, and I had some on hand. Plus, Castile soap is already chock full of natural oils, which will boost your soap’s moisturizing powers.
That being said, traditional bar soap should also work if you'd prefer not to go the Castile route (I haven't tested it myself, so let us know in the comments if you hit any snags!)
Shea Butter — Shea butter is what gives this soap its rich, moisturizing properties. It also hardens as it cools without solidifying completely, ensuring the soap stays soft and pliable.
Emulsifying Wax — Helps the water and oils blend properly while also providing a bit of structure to the soap.
Glycerin — Glycerin enhances the soap's moisturizing properties without making it feel greasy.
Clay — A little bit of clay helps keep the soap from feeling too greasy. I used French pink clay in mine to give it a hit of color. But you're free to use Bentonite, green, rassoul or any other clay you have on hand.
Preservative — Because this recipe requires water, you'll also need a good preservative to keep it from growing mold.
See recipe card for quantities.
Instructions
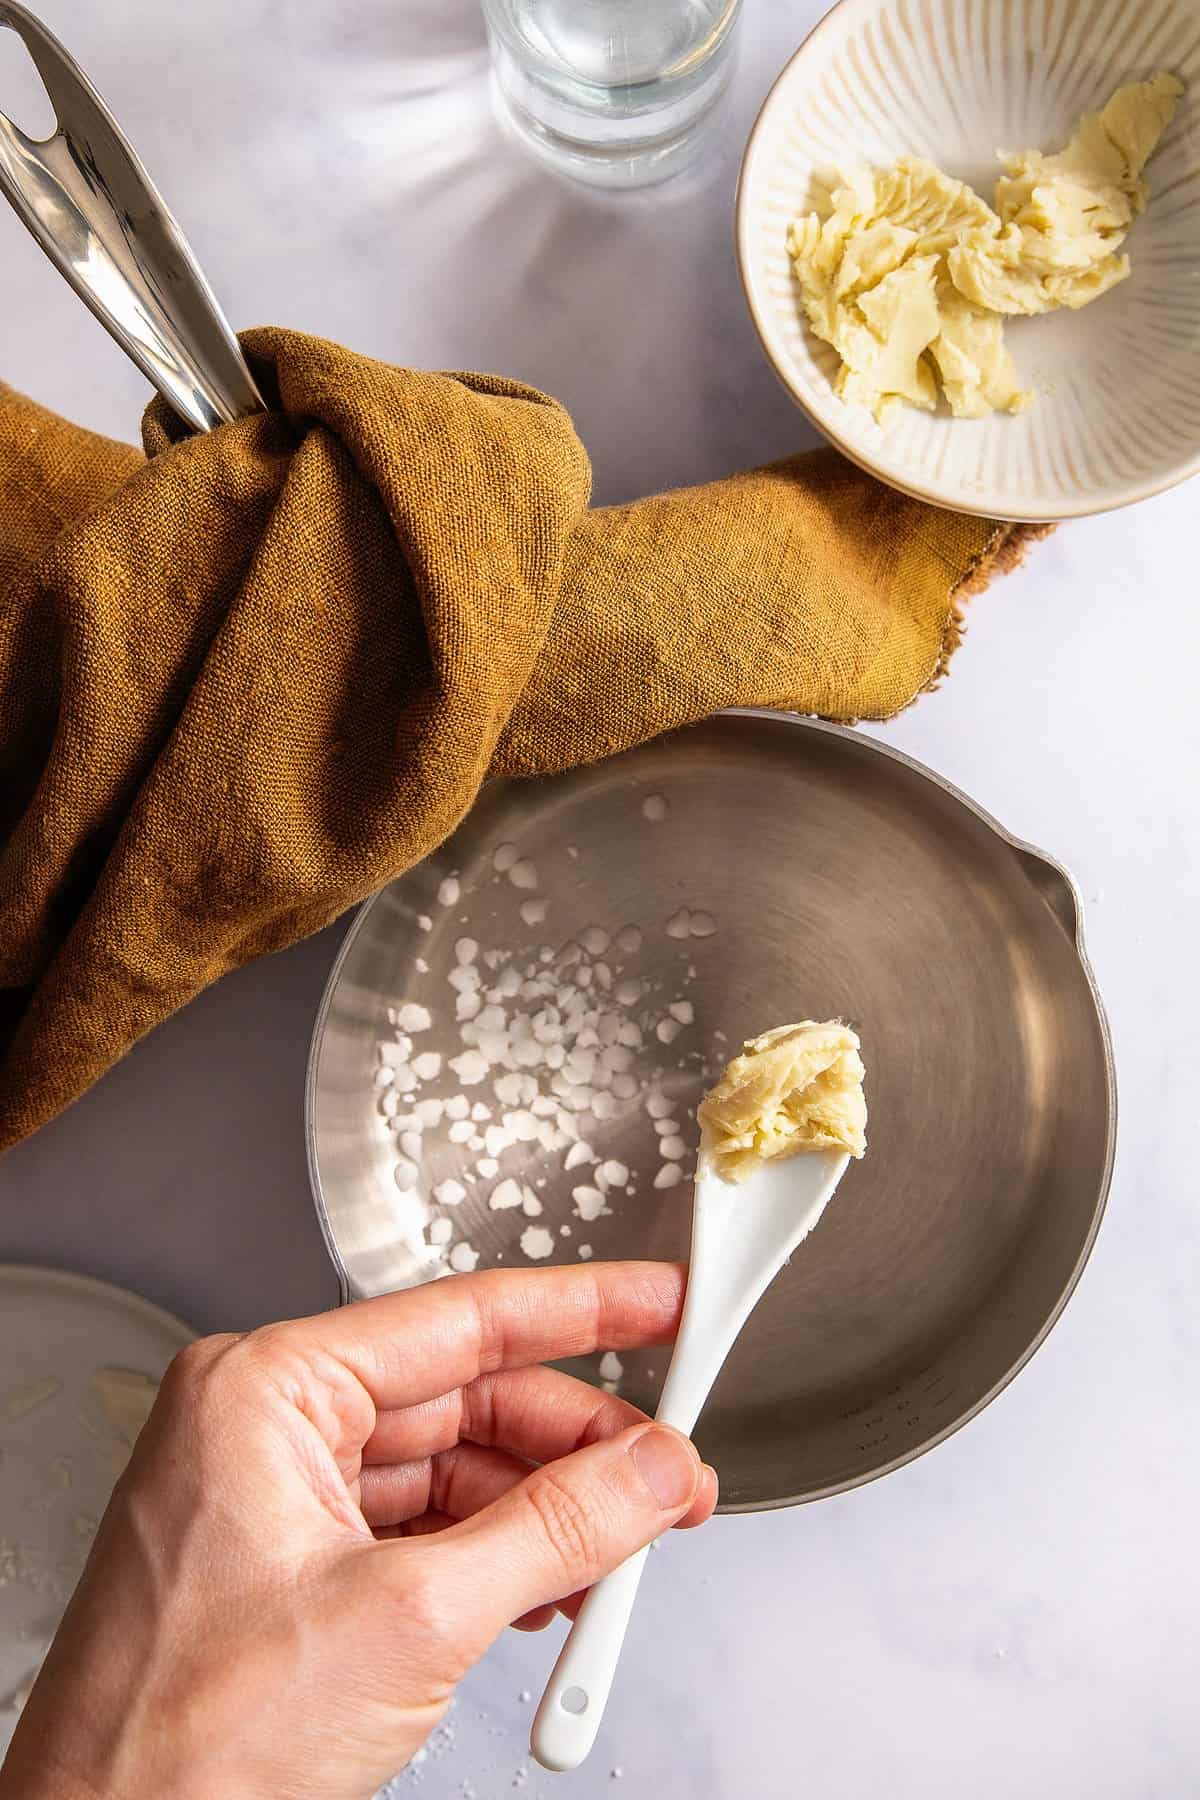
In a small saucepan, combine the emulsifying wax and shea butter. Heat on low, whisking constantly until just melted.
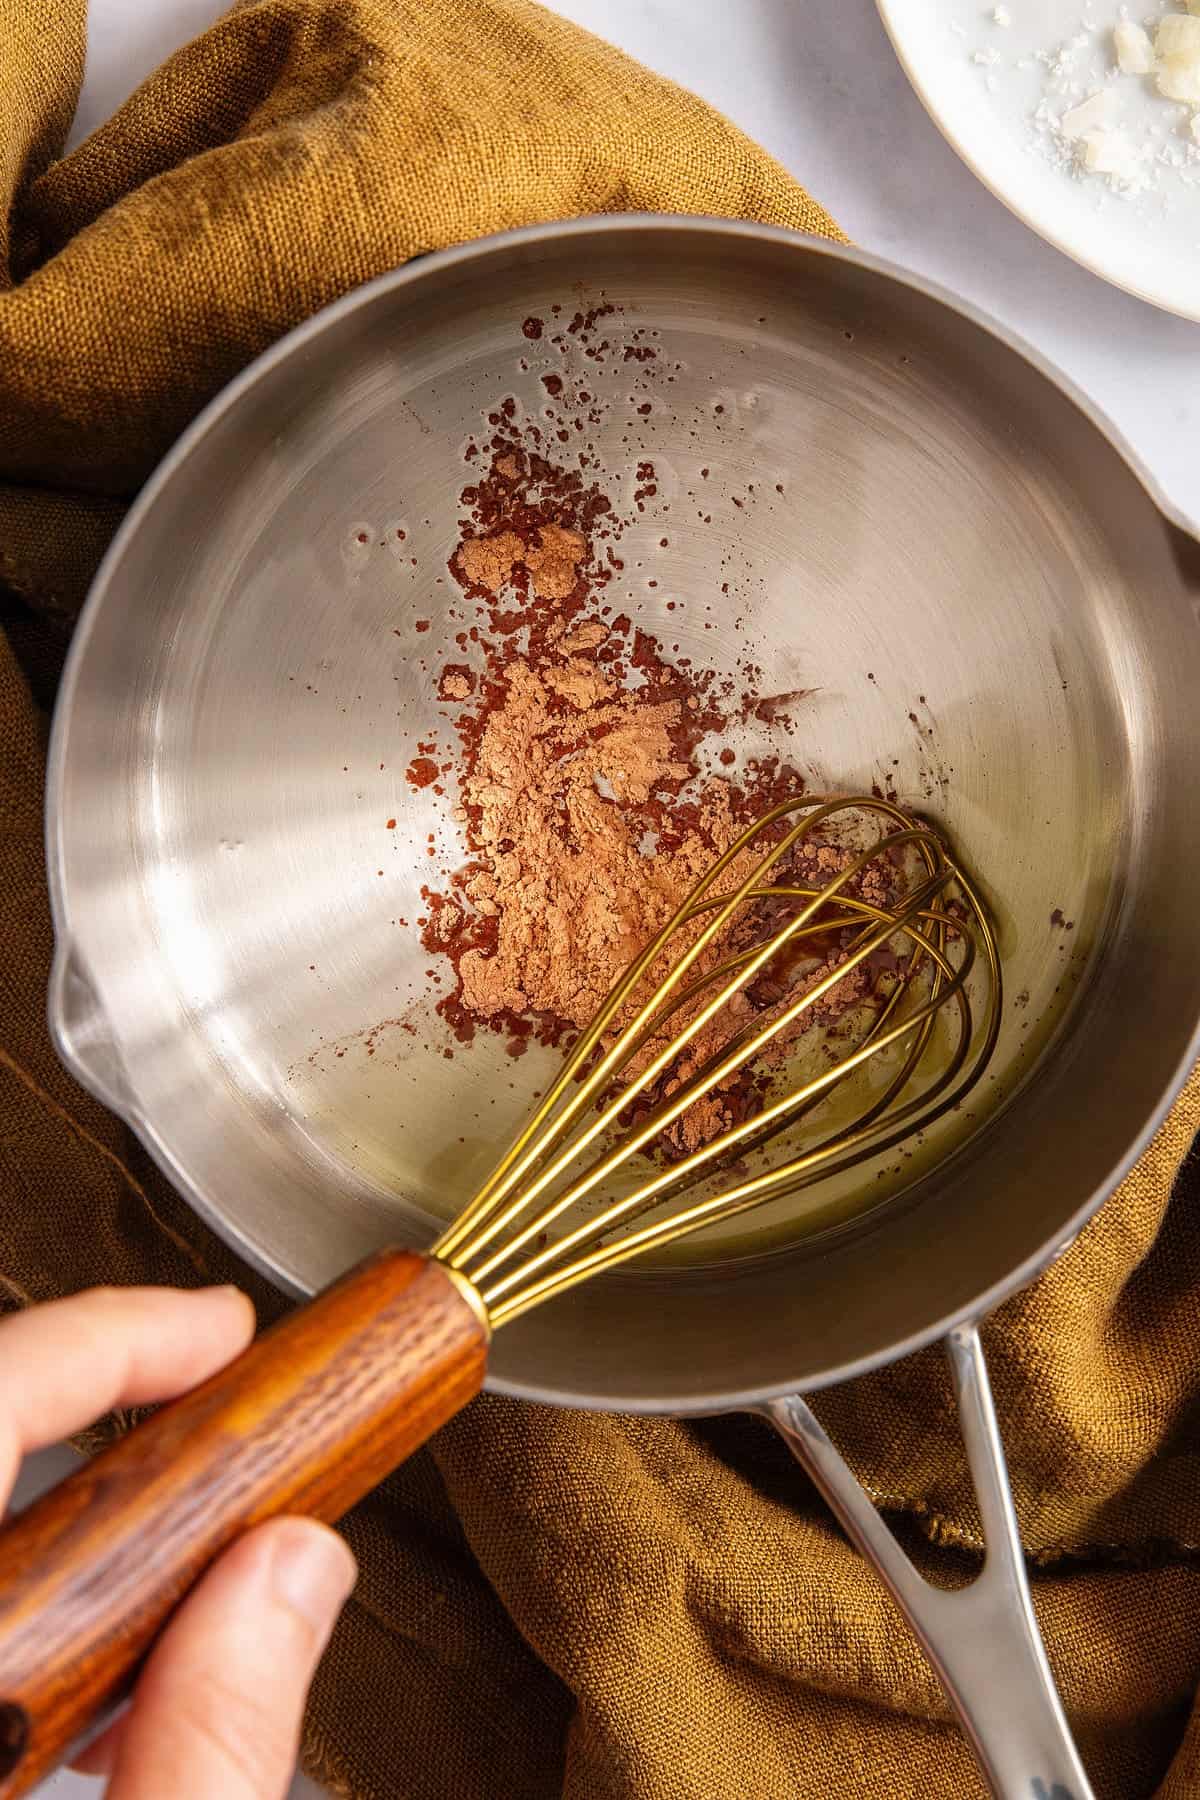
Add the clay and whisk until smooth.
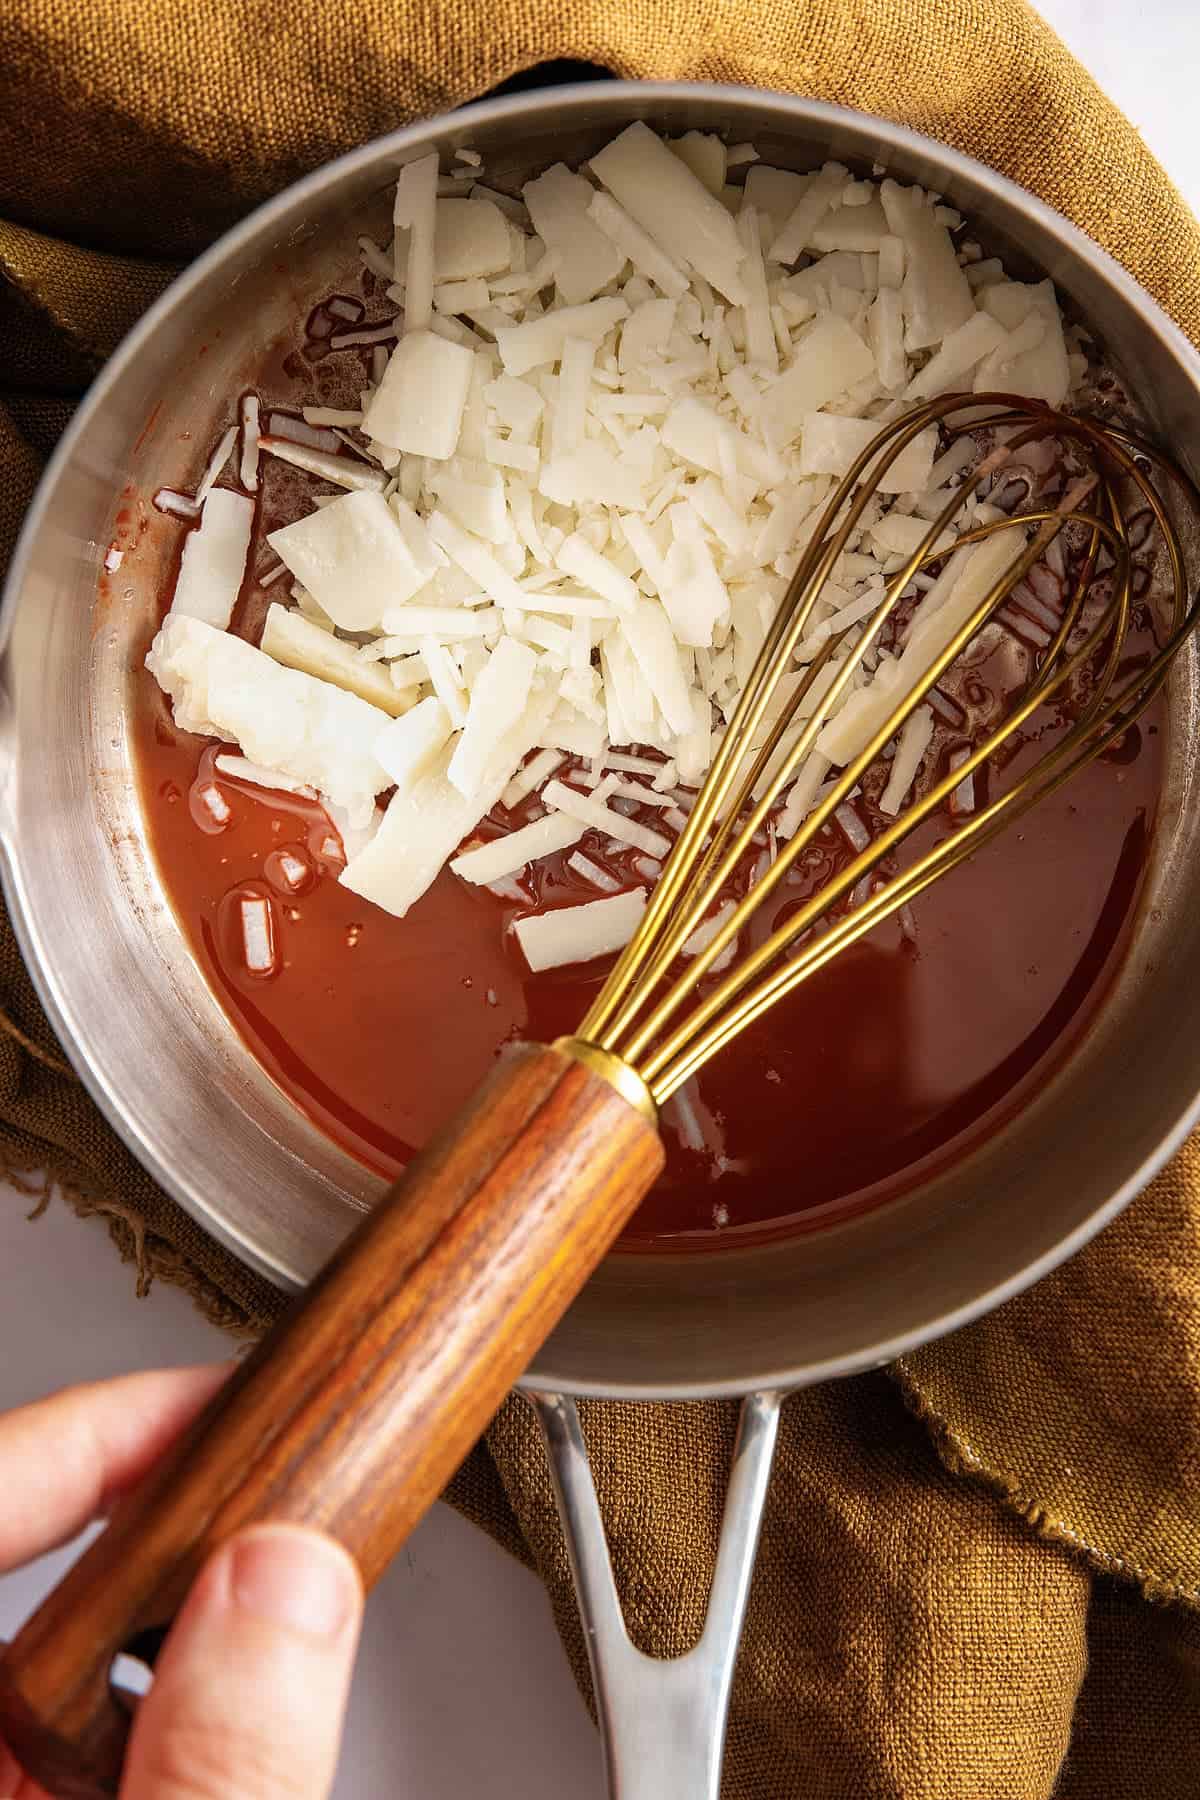
Add the grated soap and water. Whisk constantly until the soap is melted and everything is combined.
Remove from heat and add the glycerin and preservative.
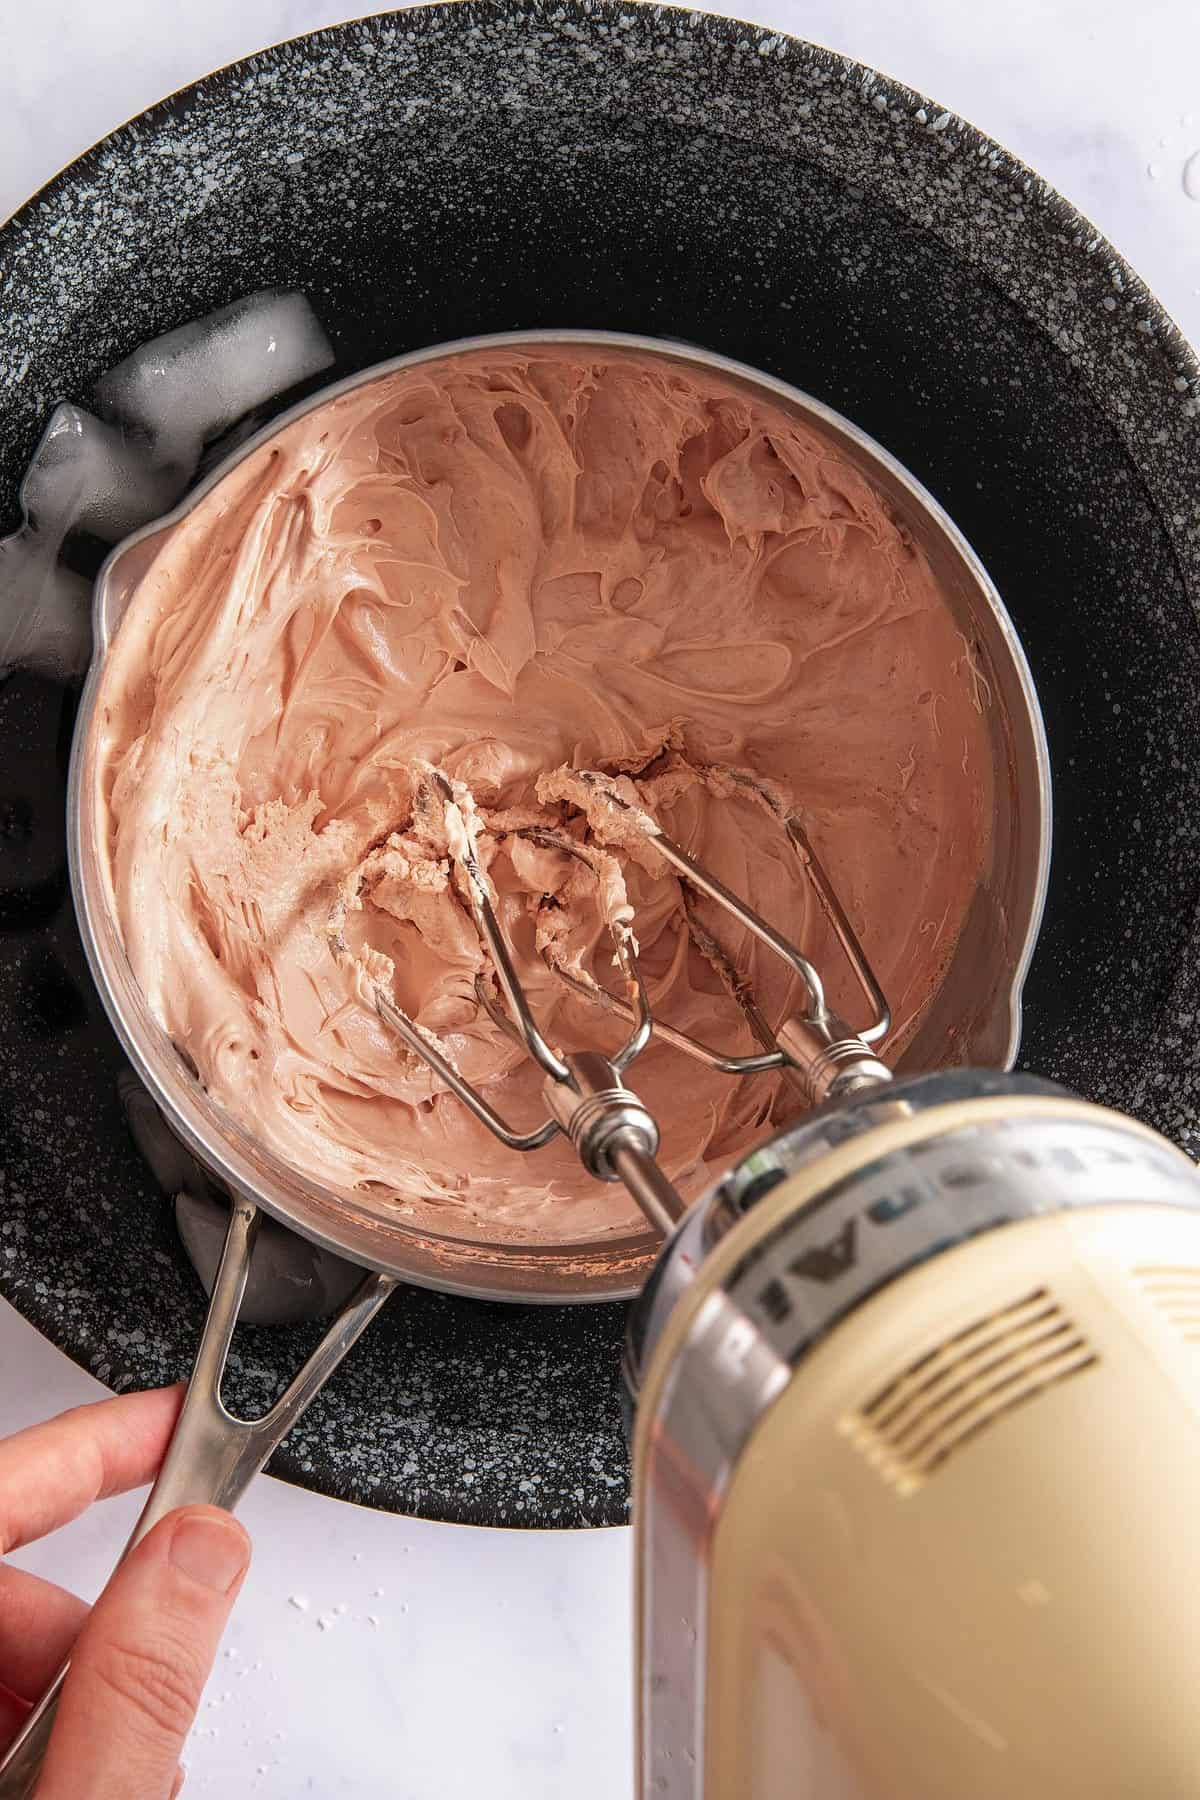
Place the saucepan in an ice bath. Using an electric hand mixer, whip until the soap resembles a stiff whipped cream.
Quickly transfer to a lidded glass jar.
Hint: To cut down on clumps, make sure to grate the bar soap as finely as possible. That way, any clumps left over after melting can be taken care of with the hand mixer.
Substitutions
- Clay: Corn starch or arrowroot can be used in place of the clay.
- Shea butter: Cocoa butter is a great alternative if you can't get your hands on shea butter.
- Castile soap: Any bar soap should feasibly work in this recipe, although I haven't tried anything other than Castile soap myself. Since you'll be melting it down and inhaling whatever chemicals are used in the soap, I would recommend sticking with natural, non-toxic brands that you trust.
Variation: Whipped Soap Sugar Scrub
This whipped soap scrub recipe is a little softer and oilier than the plain whipped soap, making it perfect for a body scrub. It packs a one-two punch whereby you slough away dead skin cells and replenish moisture in one fell swoop.
- 0.1 ounce (1 tsp) emulsifying wax
- 0.6 ounce (2 Tbsp) cocoa butter
- 0.1 ounce (1 tsp) arrowroot starch
- 2.5 ounces (½ bar) Castile soap, grated
- 4 ounces (½ cup) water
- 0.4 ounce (4 tsp) Leucidal Complete preservative
- 4 ounces (½ cup) granulated sugar (or a sugar of your choice)
Melt the cocoa butter and emulsifying wax in a small saucepan over low heat. Add the arrowroot starch and whisk until smooth. Then add the water and grated soap, and whisk until melted.
Remove from heat and add the Leucidal Complete.
Using an electric hand mixer, whip the soap mixture until it starts to thicken. Add the sugar and continue whipping until light and fluffy.
If you don't want the soap, a simple whipped sugar scrub is great for exfoliation and adding moisture.
Storage
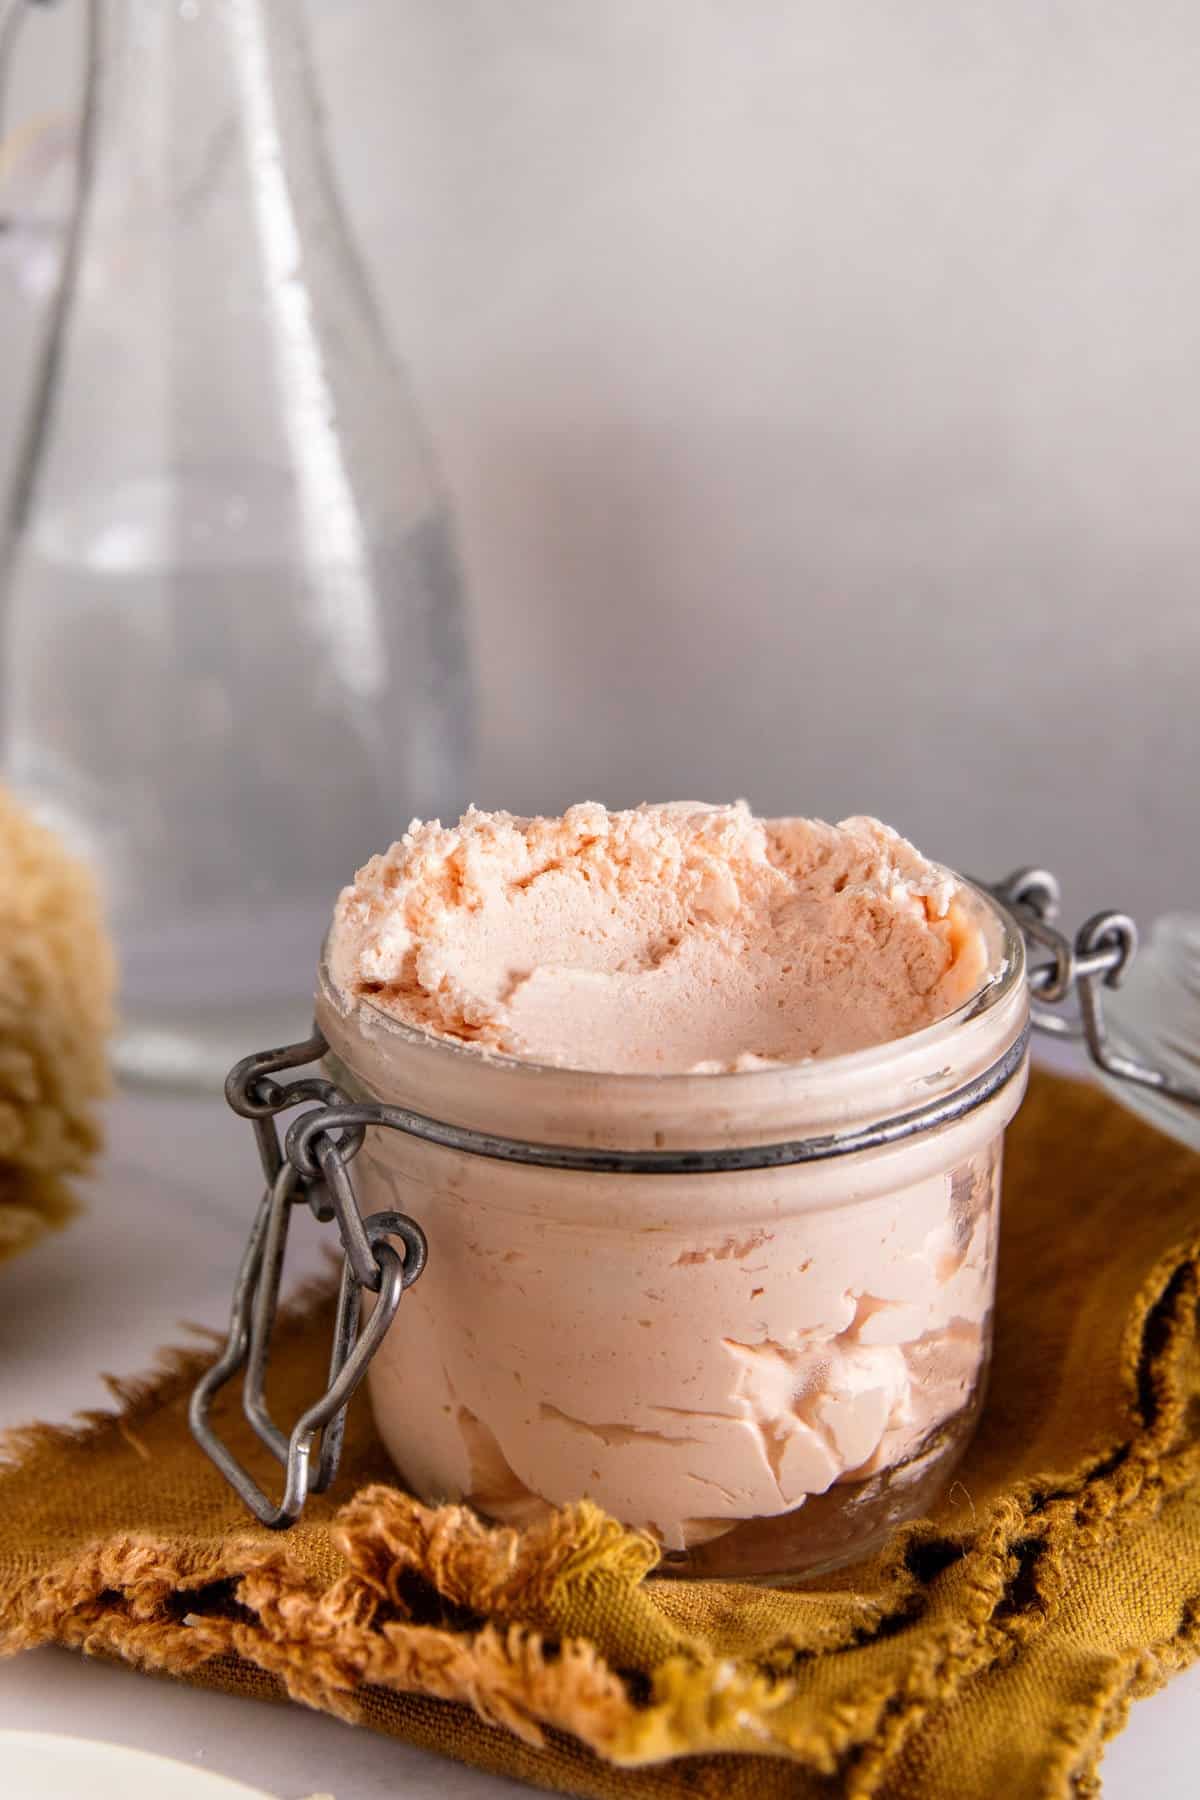
Transfer the whipped soap to a clean, airtight container. Store in a cool, dry place away from direct sunlight (the refrigerator can help make your soap last longer but it's pretty inconvenient, I know).
Additionally, always use clean, dry hands or a clean spoon when scooping out your soap so you don't introduce water or bacteria.
Keep an eye out for any changes in color, scent, or texture, and use your soap within one month.
Usage
Wet your skin: Whipped soap works best on damp skin as it helps the soap lather and spread more easily.
Start with a small amount: Using clean, dry hands or a clean spoon, scoop some soap from the container. A little goes a long way, so you don't need much.
Apply and lather: Gently apply the whipped soap to your skin in circular motions. As the soap dissolves in the water, you should start to see suds. Remember that Castile soap doesn't create as much foam as traditional soap, but it should still feel clean and sudsy on your skin.
Rinse thoroughly: After you've lathered and cleansed, rinse thoroughly with warm water to ensure that no soapy residue is left behind.
Top tip
Depending on your preferences, you can adjust the water content of this natural whipped soap recipe to achieve your desired consistency. If you find the soap too thick, add a small amount of water and whip it again. If it's too runny, you can adjust by adding more solid ingredients. Remember that whipped soap will firm up as it cools, so don't judge the consistency prematurely.
FAQ
Most commercial whipped soap recipes either require you to use harsh foaming agents (like SLS) or to make hot process soap from scratch. Since I wanted ours to be all-natural and easy, the oils give it more lift.
Understandably, that can make it feel somewhat like a foaming body butter. I know this isn't everyone's cup of tea, though, so feel free to experiment with the recipe or try one of the many different versions found on the internet.
Since whipped soap has become so popular, I've recently started seeing premade whipped soap base pop up online. I haven't tried it personally, but you can experiment with making your own whipped soap concoctions using premade soap base, like this Foaming Bath Butter Soap Base.
Since this recipe contains water, a preservative is highly recommended. If you don't use a preservative, make sure to store your soap in the refrigerator and use it up within 7-10 days.
Yes, you can definitely add essential oils to homemade whipped soap. Not only will they give it a pleasing scent but they can also add therapeutic and skin-boosting benefits.
Magical Moisturizing Whipped Soap
Equipment
- Cheese grater
- Small saucepan
- Large bowl for the ice bath
- Electric mixer
- Jar with lid
Materials
- 2.5 ounces (½ bar) Castile soap grated
- 2 ounces (¼ cup) water
- 0.1 ounce (1 tsp) emulsifying wax
- 0.3 ounce (1 Tbsp) shea butter
- .05 ounce (½ tsp) arrowroot starch
- .2 ounce (2 tsp) glycerin
- .2 ounce (2 tsp) Leucidal Complete for a 4% concentration
Instructions
- In a small saucepan, combine the shea butter and emulsifying wax. Heat on low until melted.
- Once the oils have melted, add the clay and whisk well to remove any clumps.
- Add the grated soap and water. Continue whisking over low heat until the soap is melted. You may notice some small soap clumps, that's okay! Keep stirring until the soap won't melt any further.
- Remove the soap mixture from heat and add the glycerin and Leucidal Complete. Place the saucepan in an ice bath, and using an electric hand mixer, whip until the soap is light and fluffy. I prefer my soap to be like a firm whipped cream. If you prefer a softer soap, whip less. For a firmer soap, whip more.
- While it's still somewhat soft, transfer the soap to a clean, dry lidded container.
Notes
This post was medically reviewed by Dr. Rina Mary Allawh, M.D., a dermatologist who practices adult and pediatric medical dermatology, skin cancer treatment, and cosmetic dermatology. Learn more about Hello Glow's medical reviewers here. As always, this is not personal medical advice, and we recommend that you talk with your doctor.
34
