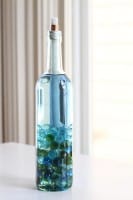
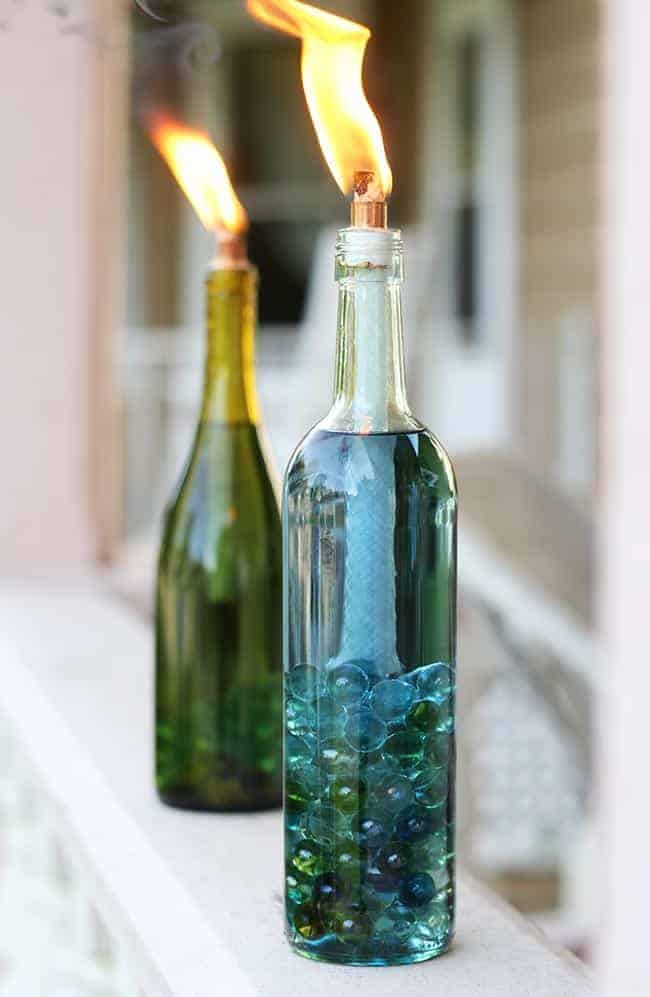
Summer nights should be magical and free of pesky, buzzing mosquitoes, but if you're anywhere east of the Rockies, this probably isn't your fate. Along with a few bug-repelling plants and essential oils, you can reduce the annoyance factor by enjoying a bottle of wine and recycling it into a beautiful and useful citronella candle.
Plus, you can make your outdoor entertaining area look just a bit more classy by replacing your old, weathered tiki torches with your beautiful, colorful wine bottles. Here's how to make your own wine bottle citronella candles in a matter of minutes.
Wine Bottle Citronella Candles
A note on safety: these should only be used outside in a well-ventilated space. And since they're not held in place by anything, make sure to keep them away from children and pets!
How to make wine bottle citronella candles
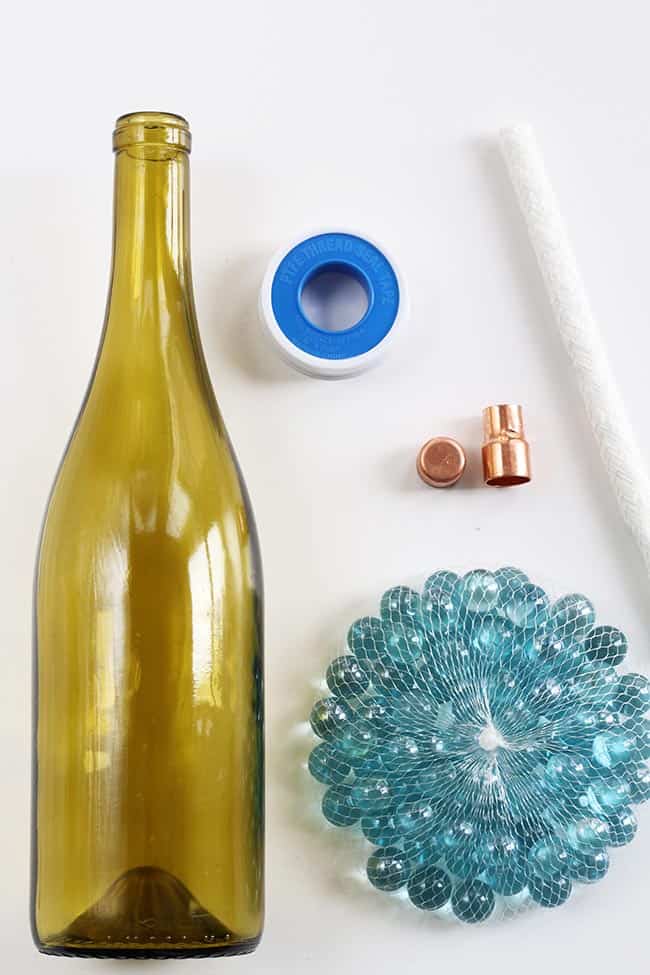
Supplies
- Glass bottles (almost any glass bottle will work, just ensure it's not too thin)
- ½-inch replacement torch wicks
- ½-inch x ⅜-inch copper coupling with stop (I found mine at Home Depot but couldn't find it on the website.)
- ½-inch copper tube cap
- ½-inch teflon tape
- 1–2 bags of marbles (I found mine at the dollar store.)
- Citronella torch fuel
- ½-inch funnel (optional, but it sure helps)
Instructions
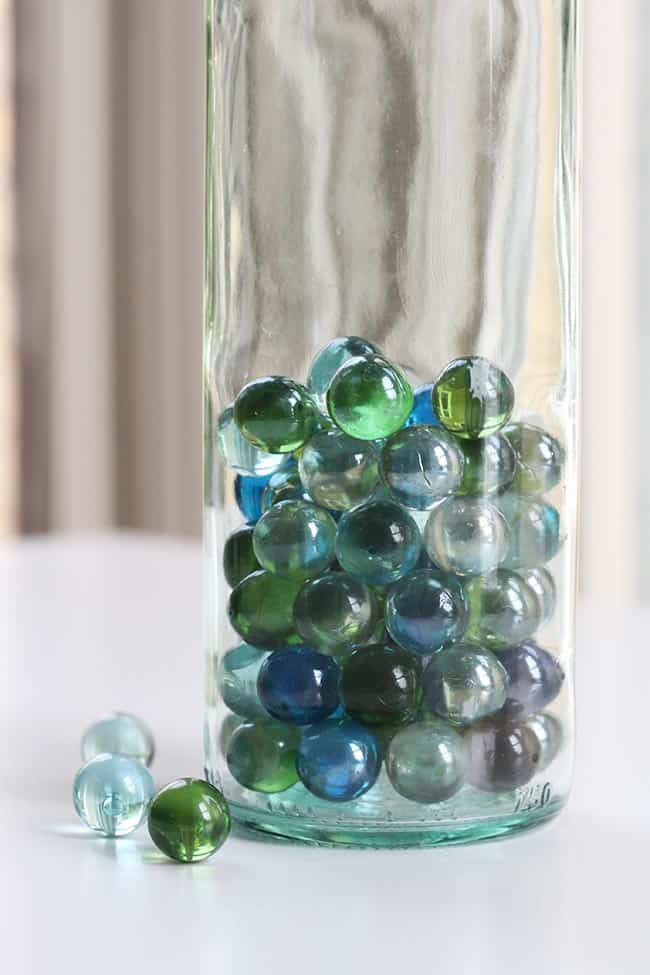
Place 1–2 bags of marbles into the bottom of your wine bottle. Small rocks work well too, just be sure you put something in the bottom of your bottle to stabilize the bottle and the wick.
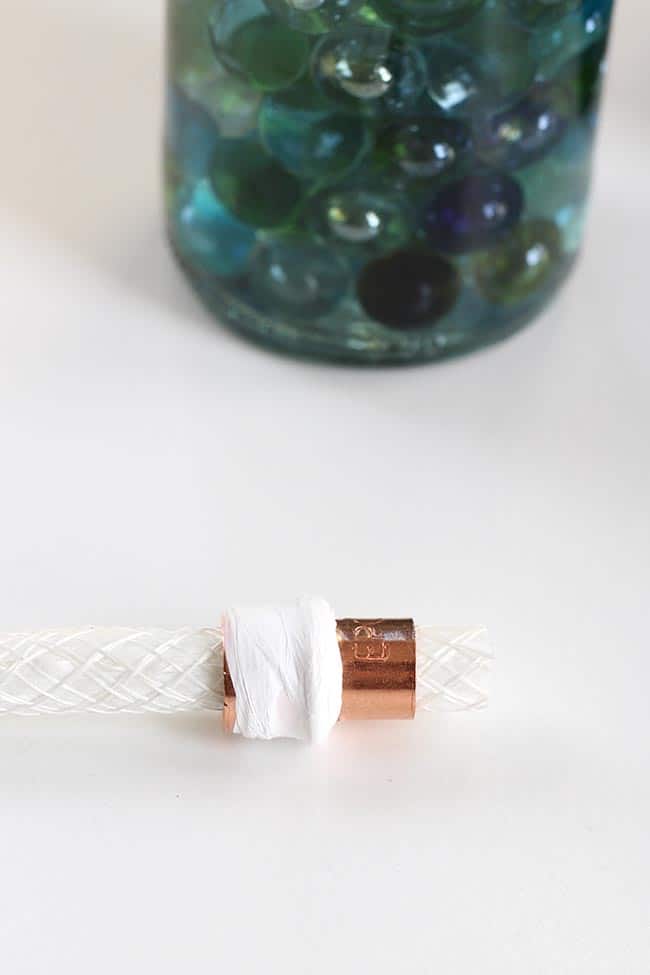
Wrap the ½-inch (wider) end of your copper coupling with teflon tape so that it will fit snugly into the mouth of the bottle.
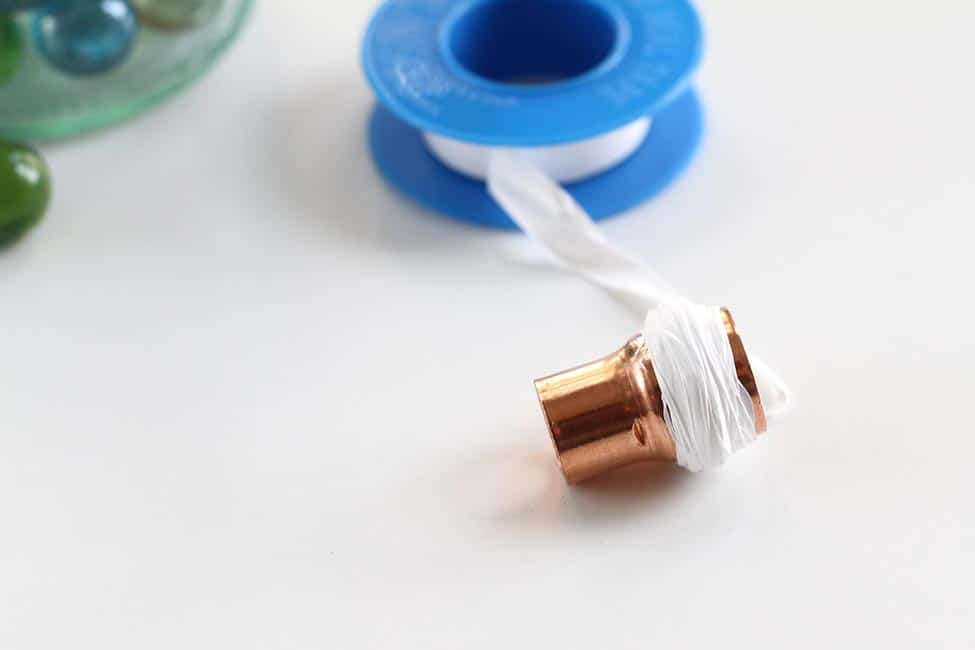
The idea is to wrap just a bit more than you'll need, so you can press it down into place after you fill the bottle with torch fluid. Set the wrapped coupling in place, but don't press down firmly just yet.
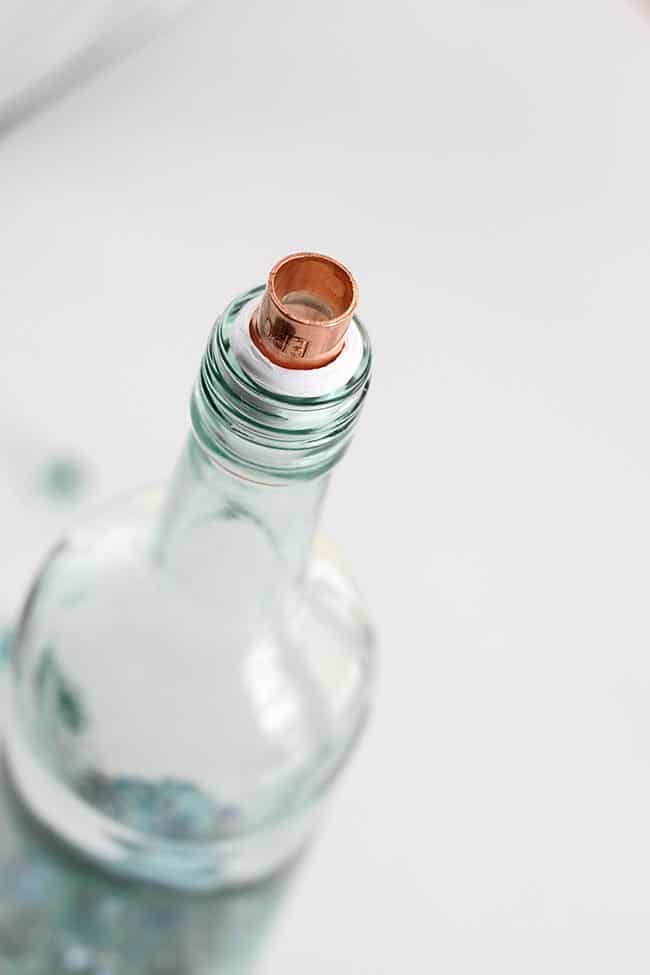
Remove the wrapped coupling and slide the replacement wick through, leaving about ½" of the wick sticking out of the top to light.
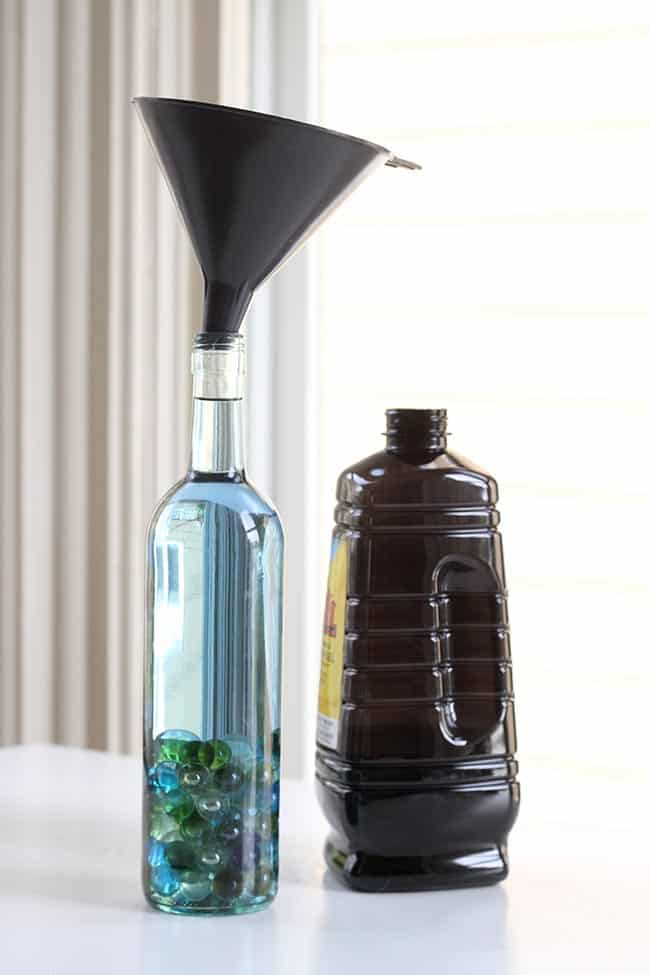
Place your funnel in the mouth of the bottle and carefully add your torch fluid. You don't need a funnel for this step, but it drastically reduces the amount of torch fluid that spills on the outside of your bottle—and that is a major plus in my book! Be sure not to fill the bottle all the way so that when you place the wick in, it won't overflow.
I was able to find a homemade recipe for tiki torch fuel that uses distilled water, isopropyl alcohol, and fragrance, but I didn't test it out. If you try it, let us know how you like it!
Add your wick and press in on the teflon tape so the coupling makes a tight fit.
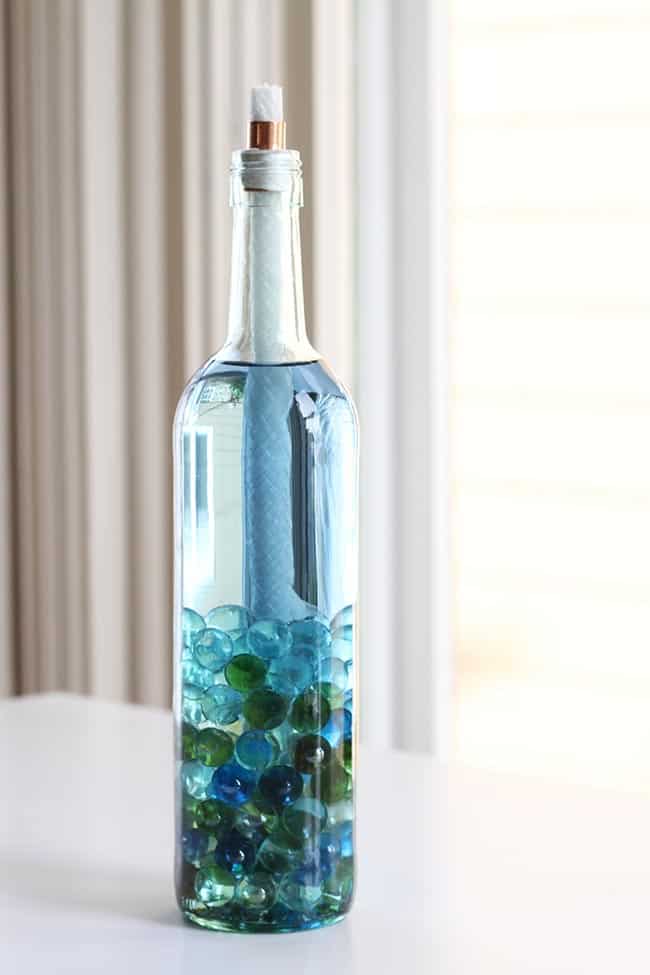
Keep the copper cap on when the torch is not in use to keep the wick dry. Enjoy a mosquito-free evening! Just be sure to keep your glass of wine a safe distance away from your new candle.
It's a good idea to never leave your torch unattended, and be especially careful if you've got little ones running around who could tip the torch over!
Citronella Candle FAQs
Do I have to use teflon tape for these? Is there an alternative?
Teflon tape is incredibly stretchy and heat resistant, making it perfect for these torches. The tape allows the copper coupling to fit securely inside the mouth of the wine bottle. And as the wick burns, the tape won't melt from the heat.
You can try using electrical tape instead of teflon tape if you prefer, but I haven't tested it myself and can't guarantee that it works well.
What makes these candles citronella?
The tiki torch fuel we used was citronella-scented.
Why won't my candles stay lit for more than a few minutes?
Try pulling the wick out a bit more, so there's about 1–1.5 inches of cotton wick sticking out of the top of the candle, and allow it to soak up the fuel for a few hours before lighting.
How many candles can you make from a gallon of fuel?
Approximately 6–8 candles.
What is the purpose of the marbles in the bottom of the wine bottle?
The marbles give the candle some weight, so it won't tip over while you're using it. It also helps to take up room in the bottle, so you don't need to use quite as much tiki torch fluid.
Can I use any kind of coupling, or does it have to be copper?
Copper coupling is heat safe, which is why we use it. I haven't tried this with any other kind of coupling, so I'm not sure how it behaves under high heat.
Are these refillable?
Yes! Go ahead and refill the fuel as many times as you like. If the wick starts to break down, then pull it out and insert a new wick.
Do I need to remove the label from the wine bottle?
Nope, no need to.
How do you put out the flame when you're done using them?
I prefer to snuff them out with something like an empty aluminum can.
How do you move the wick up as the candle burns?
You shouldn't really need to move the wick while the candle is burning. As the candle burns, it pulls the fuel into the wick—and that's what burns, not the cotton fibers of the wick itself.
That being said, the wick might weaken over time, so you may want to gently pull it up in between uses. Or replace the wick entirely after a while.
Want more ways to get rid of bugs?
- Feeling crafty? Make a bug-repelling bracelet.
- Mix up a DIY All-Natural Bug Spray.
- Try DIY Insect-Repellent Citronella Diffusers for a softer scent.
- Apply a lemongrass lotion that actually smells good but that ticks and mosquitoes hate.
Wine Bottle Citronella Candles
Equipment
- ½-inch funnel (optional, but it sure helps!)
Materials
- Glass bottles (Almost any glass bottle will work, just be sure it’s not too thin.)
- ½- inch replacement torch wicks
- ½-inch x ⅜-inch copper coupling with stop (I found mine in the plumbing section at Home Depot.)
- ½- inch copper tube cap
- ½- inch teflon tape
- 1–2 bags of marbles (I found mine at the dollar store!)
- Citronella torch fuel
Instructions
- Place 1–2 bags of marbles in the bottom of your wine bottle. Small rocks work well too, just be sure you put something in the bottom of your bottle to keep it steady.

- Wrap the ½-inch (wider) end of your coupling with teflon tape, so that it will fit snuggly into the mouth of the bottle. The idea is to wrap just a bit more than you’ll need, and you can press it down into place after you fill the bottle with torch fluid. Set the wrapped coupling in place but don’t press down firmly just yet.
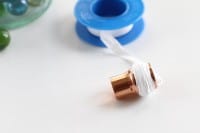
- Remove the wrapped coupling and slide the replacement wick through, leaving about ½″ of the wick sticking out of the top to light.
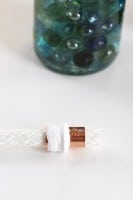
- Place your funnel in the mouth of the bottle and carefully add your torch fluid. You don’t need a funnel for this step, but it drastically reduces the amount of torch fluid that spills on the outside of your bottle—and that is a major plus in my book! Be sure not to fill the bottle all the way so that when you place the wick inside, it won’t overflow.
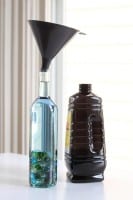
- Add your wick and press in on the teflon tape so the coupling makes a tight fit.
