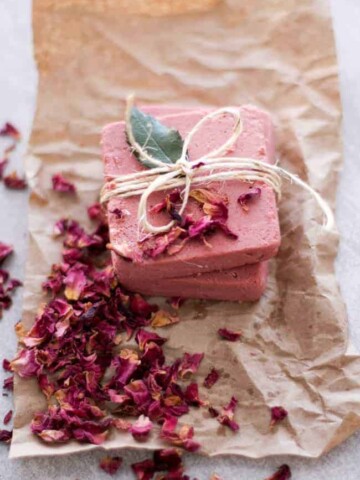
While we’ve tried a few different soap-making methods here on Hello Glow, there’s still one that we haven’t yet tackled: soap with lye.
I consider myself a pretty fearless DIYer (I mean, what could possibly go wrong with a half-pound of charcoal and some citric acid?), but I've always been a little nervous when it comes to making soap the old-fashioned way—especially when I can just purchase melt-and-pour soap and be done with it. But after getting into a bad batch of the melt-and-pour stuff recently, I decided it was time to overcome my fears and learn how to make my own soap from scratch.
With a little research, I found out there’s a reason people still make soap the old-fashioned way. Back in the day, lye soap was used to clean everything from clothes and stains to dishes and floors. It was even kept in the medicine cabinet to treat poison ivy, soothe rashes, and take the itch out of bug bites.
The secret? A high lye content combined with pure animal fat (i.e., no fancy oils) gives traditional soap extra cleaning power while still retaining a good amount of moisture and healthy fats.
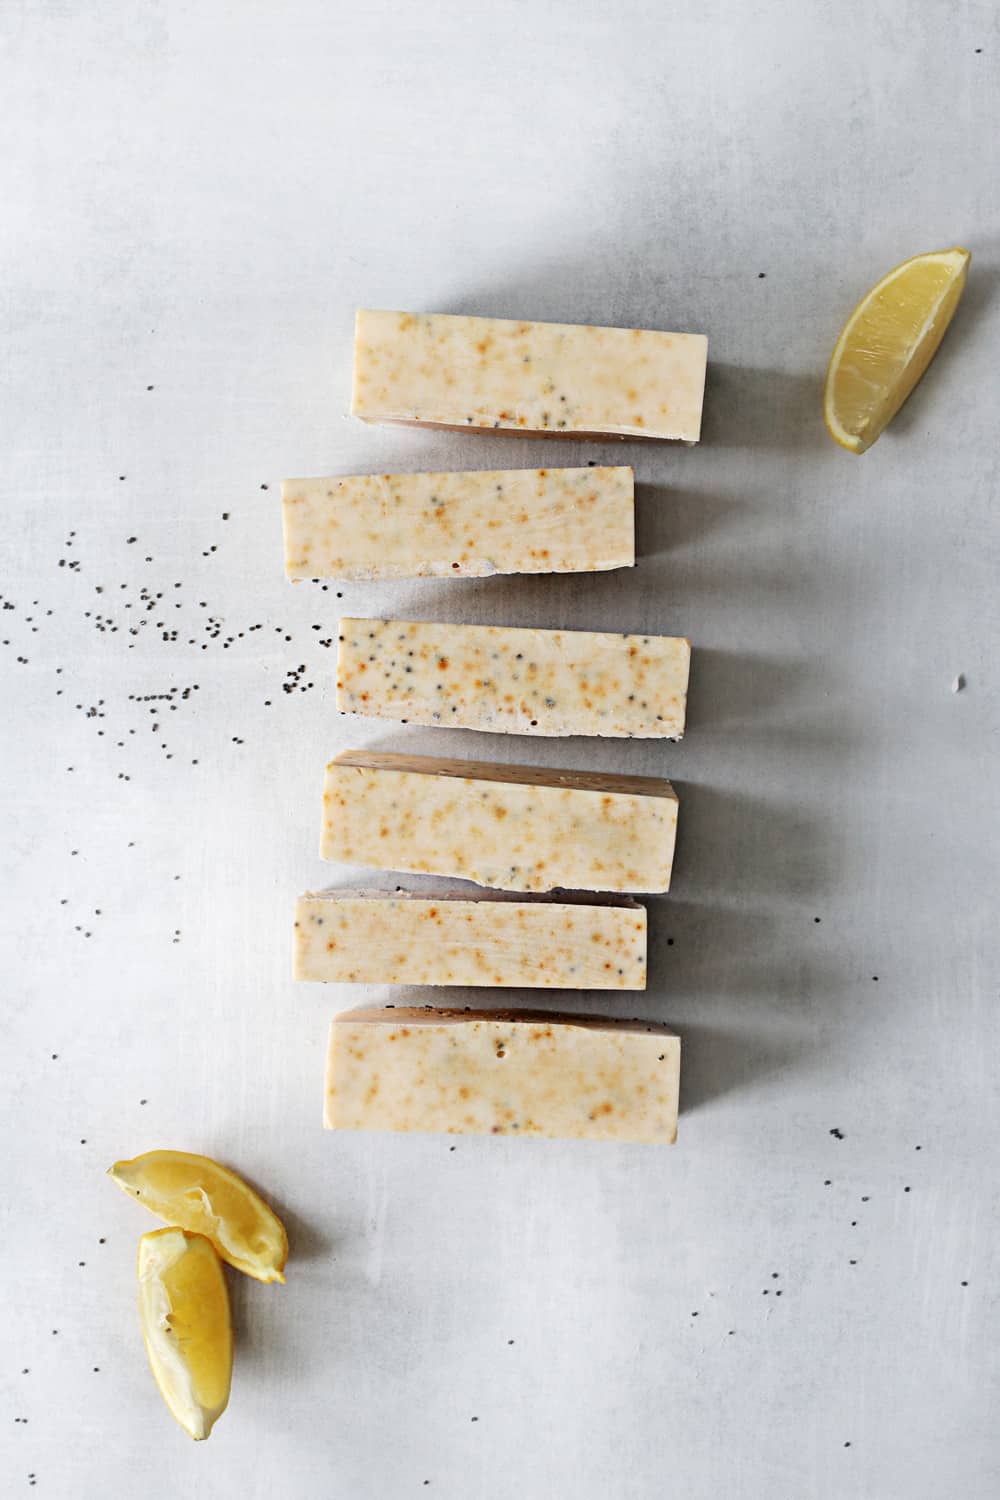 Since I like soap to be a tad on the softer side, I made mine with less lye and a higher fat content. Then I scented it with lemon essential oil and a touch of bergamot for aromatherapy purposes.
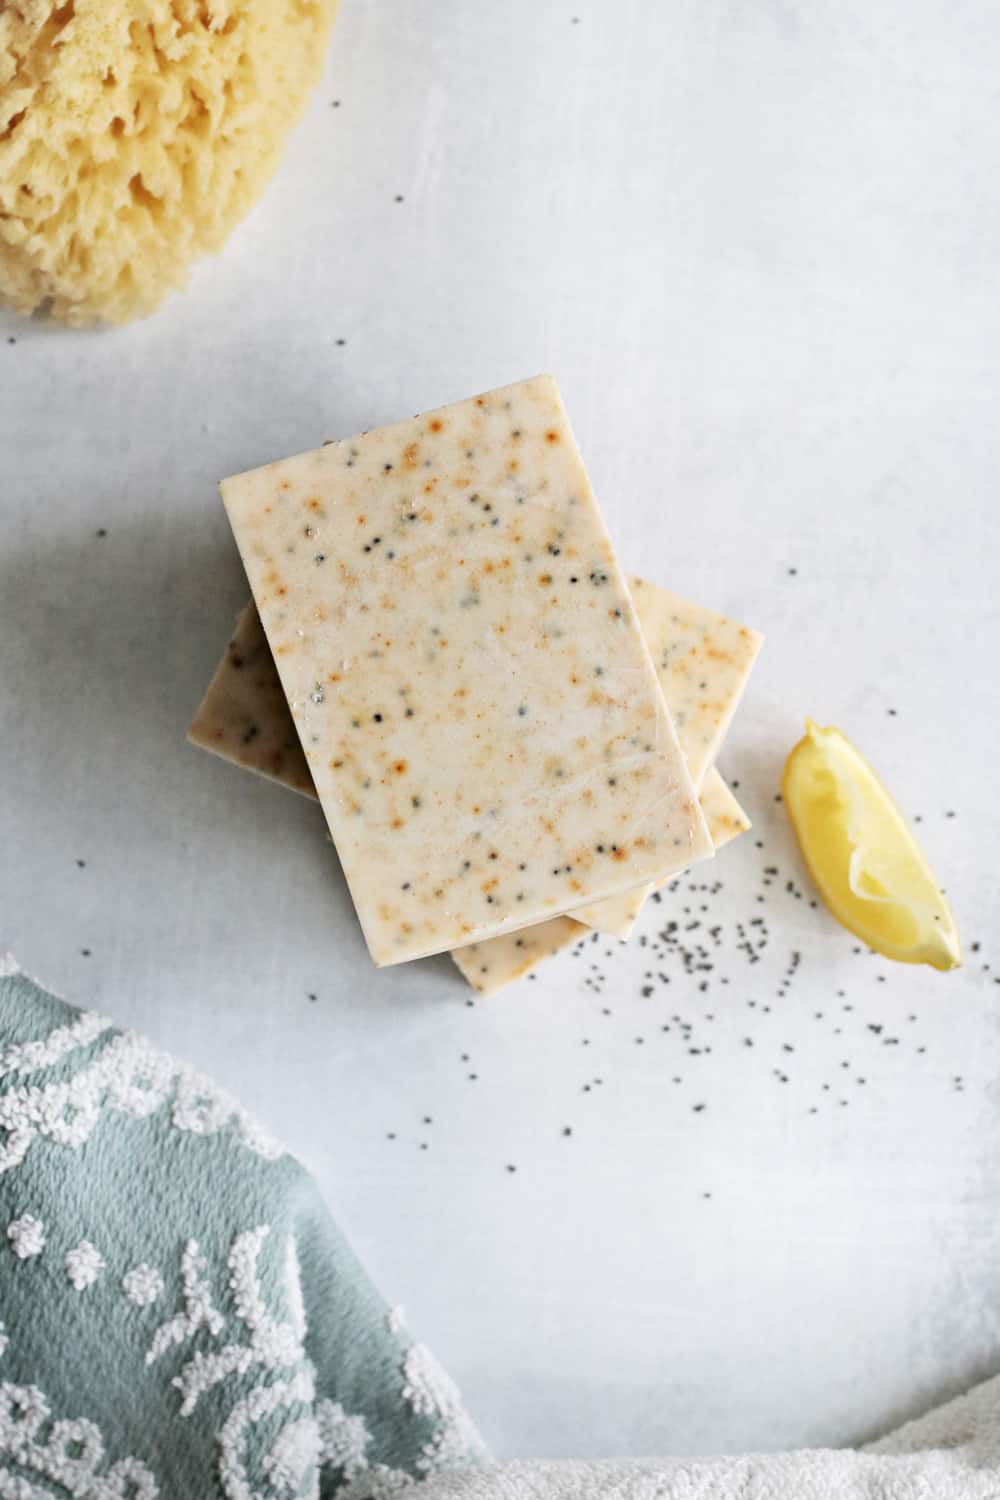
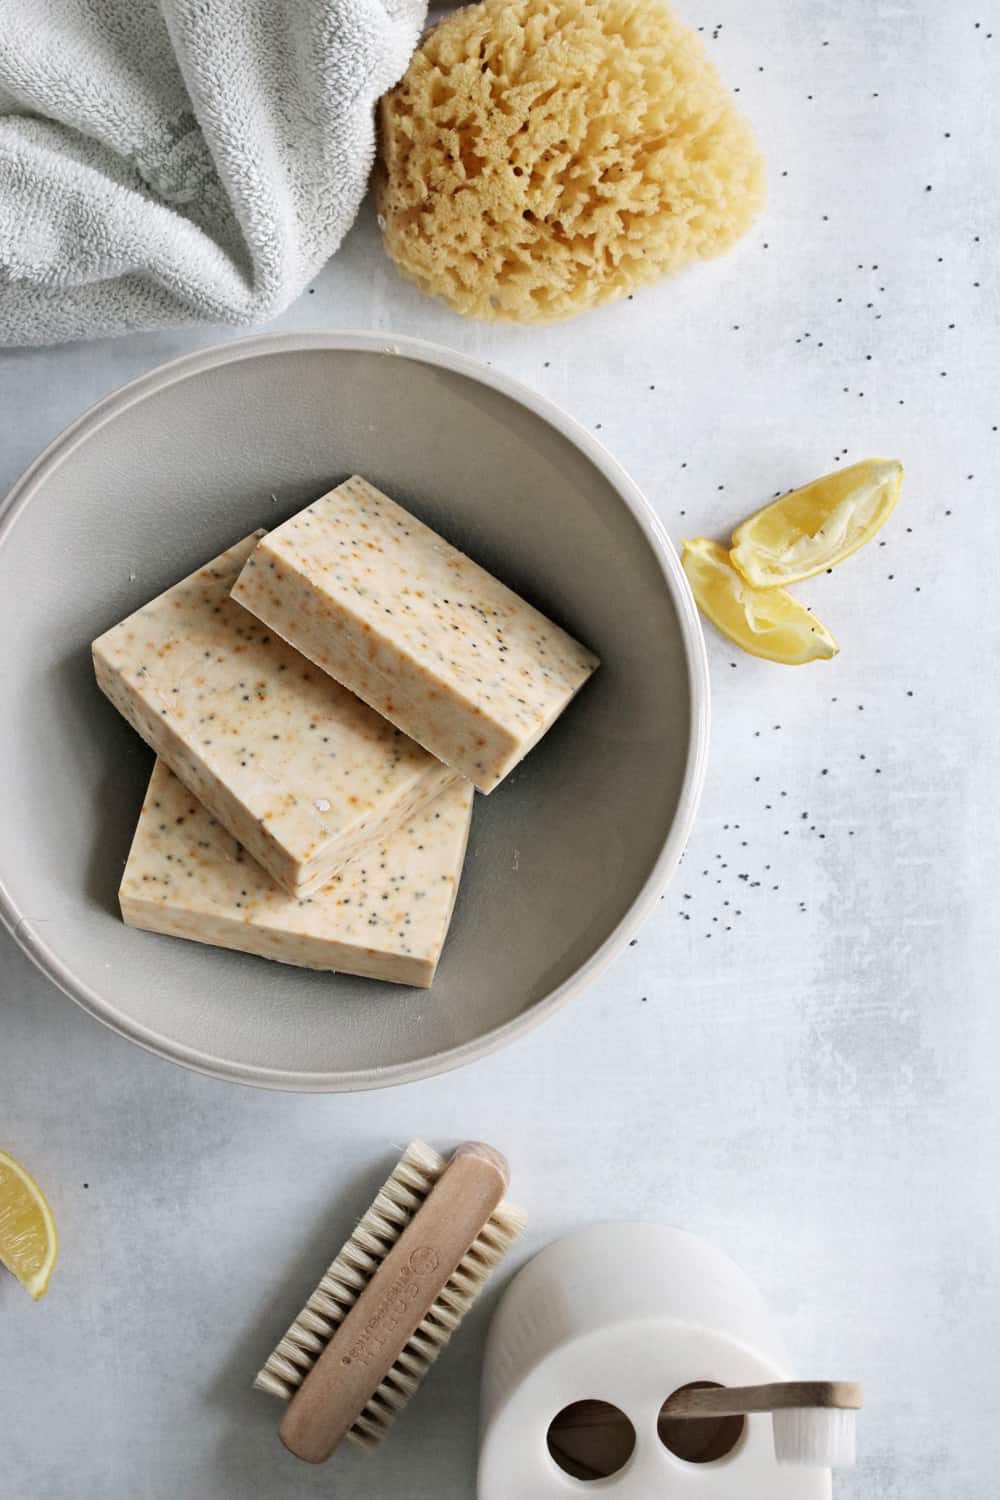
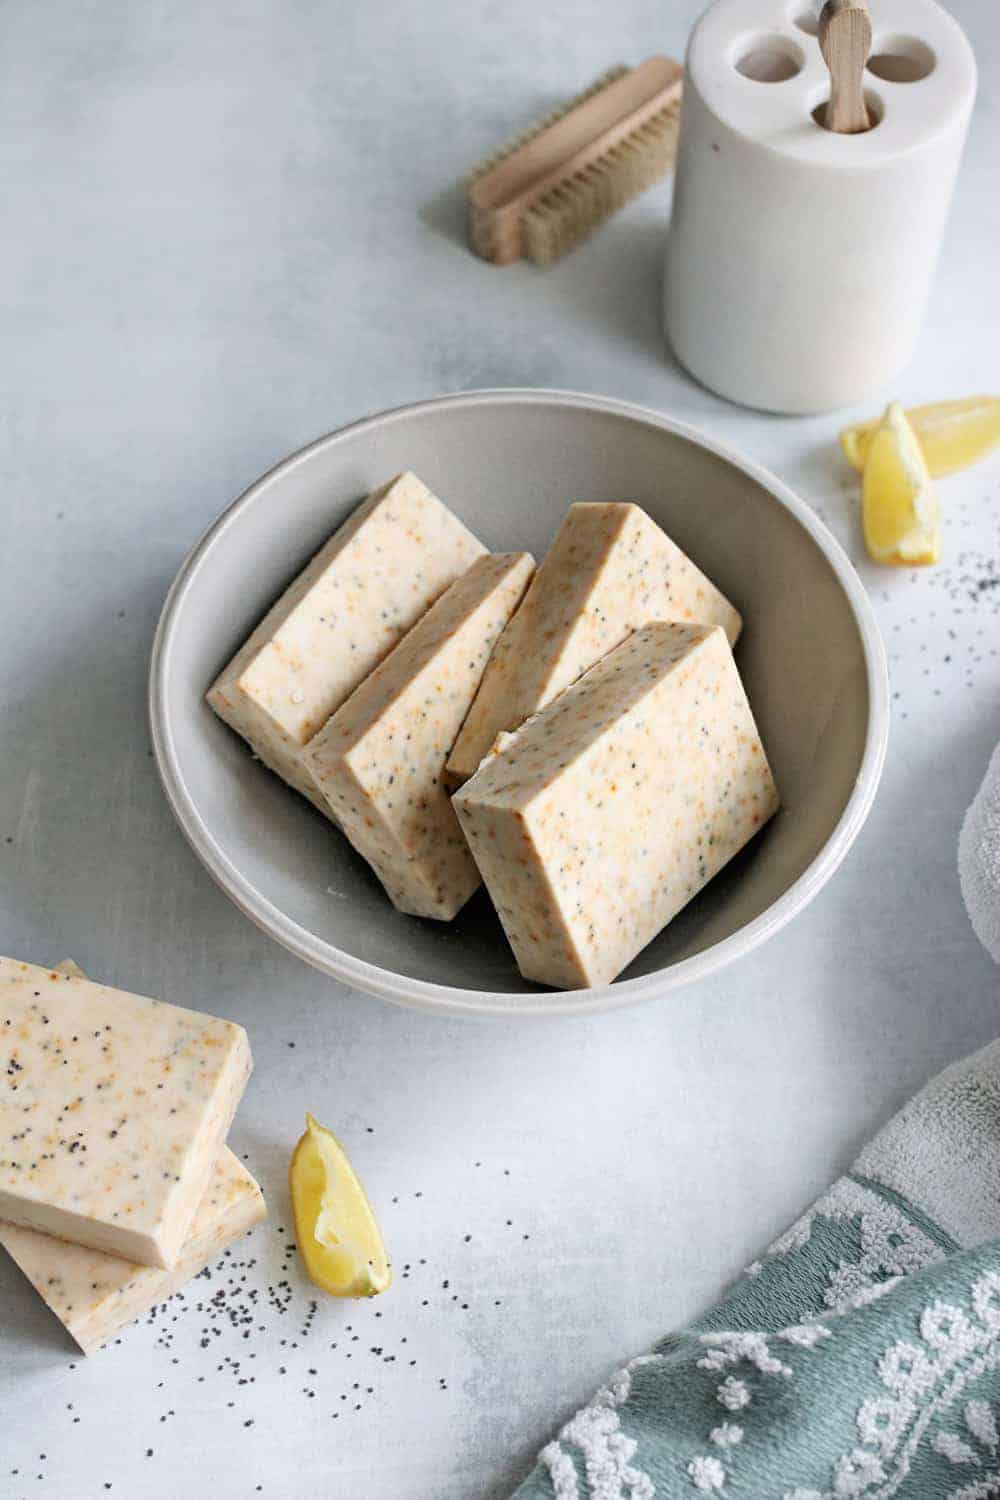
I also added some poppy seeds for contrast and light exfoliation. Not only will this lemon poppy seed soap leave your skin feeling fresh and clean, but it can also be used as a household cleaner in a pinch.
How to Make Cold Process Soap with Lye
A lot of different lye soap recipes seem to be floating around the internet, and sometimes it can seem a little overwhelming. While you don’t need a lot of ingredients to make your own soap, you do need to take extra precautions when working with lye. Here are a few things to keep in mind before you get started:
1. When mixed with water, lye creates toxic fumes and can burn your skin. Always wear gloves, long sleeves, and goggles to prevent burns should you accidentally spill or splash yourself. Mix lye with water in a well-vented area (outside is best), and keep some white vinegar nearby in case of splashes.
2. Always add lye to water, never water to lye. Adding water to lye can cause an eruption that can burn you!
3. Use old supplies for making your soap and keep these separate from your everyday cooking supplies. Once something has touched lye, you really don’t want it to come in contact with food.
4. When it comes to molds, you can use an old loaf pan lined with wax paper or purchase silicone soap molds. I used a preformed bar soap mold because it came free with the lye I purchased from Amazon (huzzah!), but you don’t need a fancy soap mold. An old loaf pan will do fine (just don't keep it with the ones you use for food), and you can slice the soap once it’s hardened.
5. Use a lye calculator to figure out exactly how much lye and water you need for your particular type of fat. Then pre-measure your ingredients and have them at arm’s length so you can work quickly once you start mixing things together.
Equipment
- 16-ounce glass jar
- Small glass or plastic dish (for holding dry lye flakes)
- Stainless steel pot (lye reacts with aluminum to create toxic fumes)
- Immersion blender
- Kitchen scale
- Soap mold
- Candy thermometer
- Gloves, goggles, and a face mask
Soap Ingredients
- 2 pounds lard (you can also use tallow or organic palm oil)
- 10.5 ounces filtered water
- 4.25 ounces lye (use a lye calculator to determine the amount of lye and water needed for your type of fat)
- 50 drops lemon essential oil
- 40 drops bergamot essential oil
- 1 tablespoon poppy seeds
- 1 teaspoon turmeric powder, for color
Once you've got all your supplies together, watch this quick video showing you how to make cold process soap and read the detailed instructions below!
Cold Process Soap Instructions
1. If you’re using a glass or wooden mold, line it with wax paper.
2. Put on your protective gear. Place your glass jar on the kitchen scale and tare your scale. Pour filtered water into the jar until it reads 10.5 ounces. Then set aside.
3. Put the small glass or plastic dish on the scale and tare the scale again. Carefully pour lye into the dish until it reads 4.25 ounces. Note: static electricity can cause the lye to cling to your gloves or clothing. If this happens, carefully brush it off outside and use white vinegar to neutralize it if you get any on your skin.
4. Go outside and slowly pour the lye into the water. Stir the mixture until the lye is completely dissolved. As you stir, the mixture will become quite hot, so be careful if you need to move it. Let it cool to between 100 and 120 degrees F.
5. Meanwhile, place the lard in a stainless steel pot and put it on the burner. Heat over medium heat until completely melted. Remove the oils from the heat and let cool to between 100 and 120 degrees F. Use a candy thermometer to test the temperature every 5-10 minutes until it reaches the desired temperature. If one is cooling faster than the other, put your oils back on the burner or place the lye/water mixture in a warm water bath to slow the cooling. Ideally, you want the lye/water and the oils to both be between 100 and 120 degrees F and within 10 degrees of each other.
6. Slowly pour the lye/water into the oils. Place your immersion blender into the pot, making sure the blade is completely submerged in the mixture, and blend until the soap mixture resembles cake batter (about 3–5 minutes).
7. Add the turmeric, poppy seeds, and essential oils.
8. Pulse the immersion blender a few more times to incorporate the add-ins. Lift the blender up and see if the drips leave a trail or “trace” on the surface of the soap mixture (this is called “medium trace”). If so, pour the soap into your mold. Remember that the soap is not fully “cooked” yet at this point and could still irritate your skin, so you should still be wearing your protective gear.
9. Put the mold somewhere warm (like in an oven with the light on), and let it sit for 24 hours.
10. After 24 hours, pop your soap out of the mold and cut if needed. Stand the bars up in a dry area with space in between each one to allow for air circulation. Let them sit for 4–6 weeks to let the soap finish hardening. The soap will lose some of its water during this time, making the bar harder and longer lasting.
11. When you’re done and with your gloves still on, rinse any supplies that had lye or soap mixture in them with running water. Pour some vinegar into a sink filled with hot soapy water and wash everything in there, then set aside away from your food prep area to dry. Store all soap making tools in a closet or cabinet away from food.
More Cold Process Soap Recipes
If you feel like you're getting the hang of it, here are more cold process soap recipes you could try:
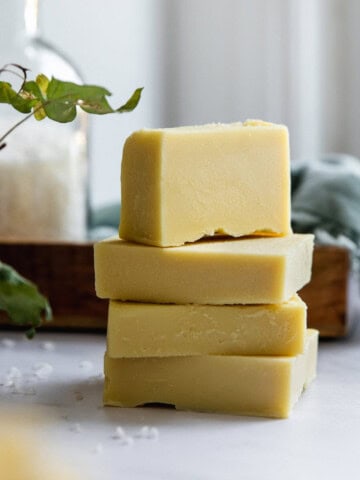
DIY Olive Oil Soap
Even if you’re not usually a fan of bar soap, this DIY olive oil soap will have you singing a different tune. It's gentle and creamy and can be used on anything from moisturizing your skin to treating laundry stains.
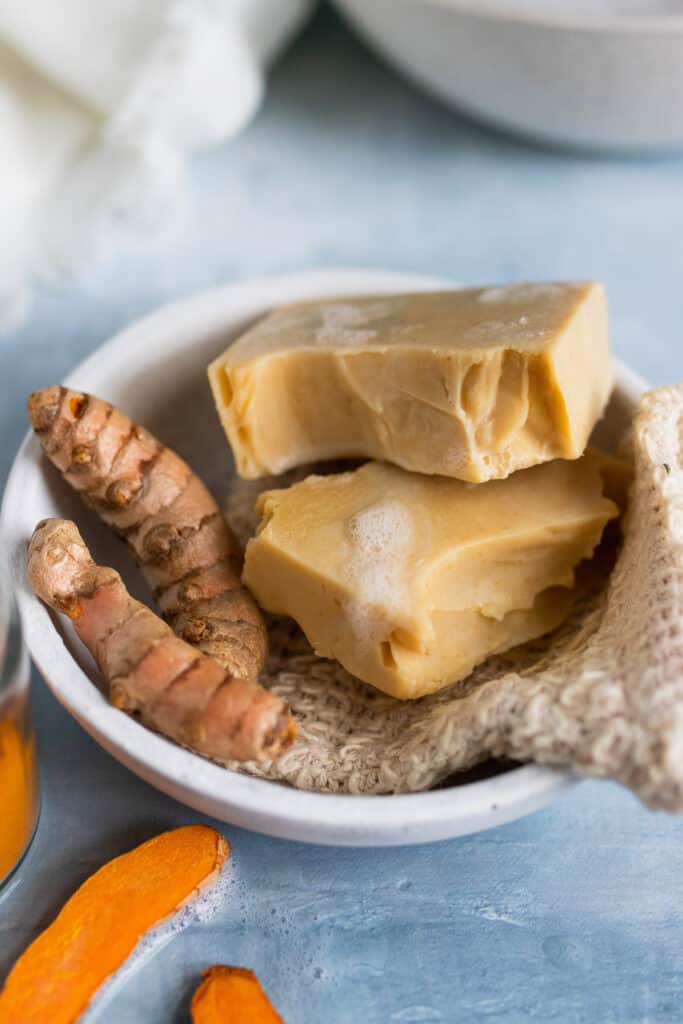
Honey + Turmeric Soap
This all-natural, head-to-toe beauty bar is infused with turmeric, raw honey, and witch hazel. And it can even dry up acne, leaving your skin bright and clear. It contains additional plant butters and oils to help hydrate as it cleanses, which works wonders on the skin.
Cold Process Shampoo Bar
Shampoo bars are all the rage right now (thanks to the recent waste awareness!), and there's no reason you shouldn't make your own. This cold process recipe is made for fine and oily hair, hydrating it without weighing it down.
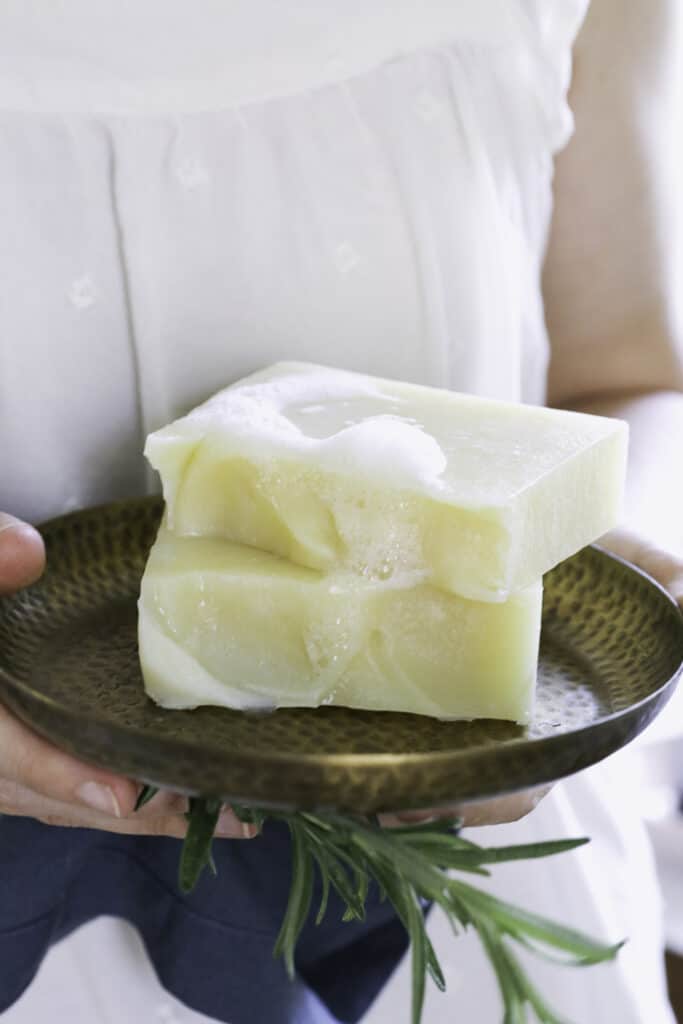
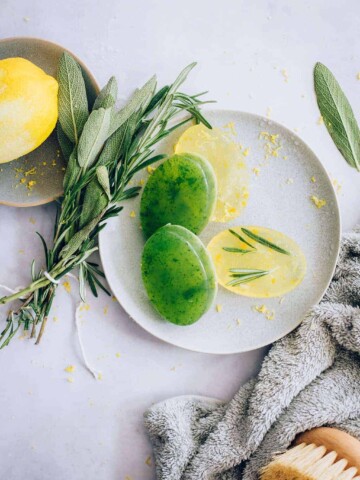
Lavender and Lemon Herbal Laundry Bar Soap
Green up your laundry routine with a cold process lavender and lemon herbal soap bar. The experience of taking your fresh clothes out of the wash with the lovely scent from your handmade laundry bar is not only valuable and satisfying, but your skin will also surely thank you for choosing all-natural ingredients that boost skin health.
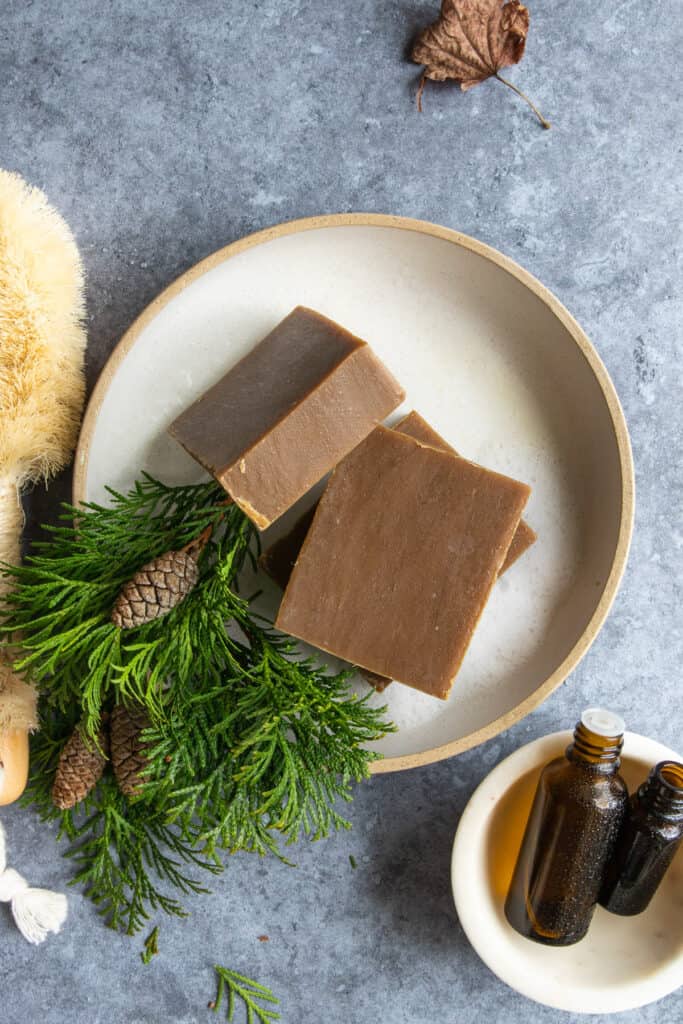
Pine Tar Soap
Pine tar has been used to nourish skin, soothe irritation and treat various skin conditions for over 2000 years. And just a little bar of pine tar soap can lock in moisture and relieve itchiness. If that doesn't scream winter skin care, we don't know what does!
You can use this soap on your face, body, and even hair, and you'll be happy to hear it works wonders for BO and acne.
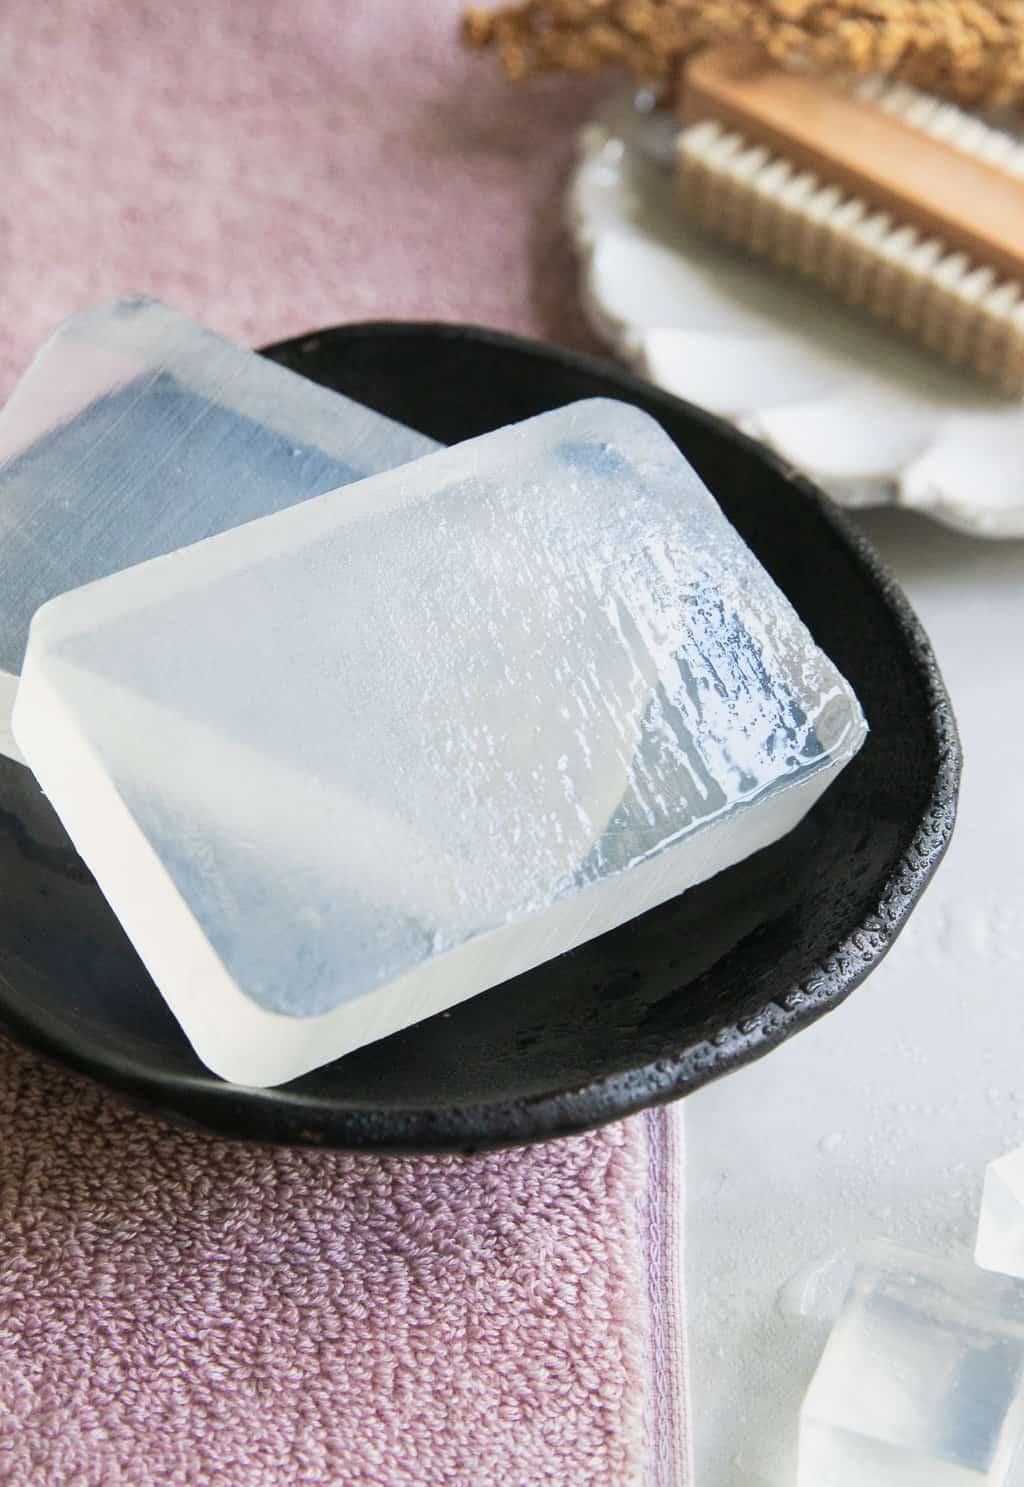
Homemade Glycerin Soap
Unlike some soaps that dry skin out and make it feel tight and itchy, glycerin soap is a humectant, which means it helps keeps skin hydrated [source]. When making soap at home, the glycerin is left in since it provides an extra boost of moisture. This recipe processes the soap a bit further to remove the oils and fats in the soap and end up with a clear glycerin soap base.
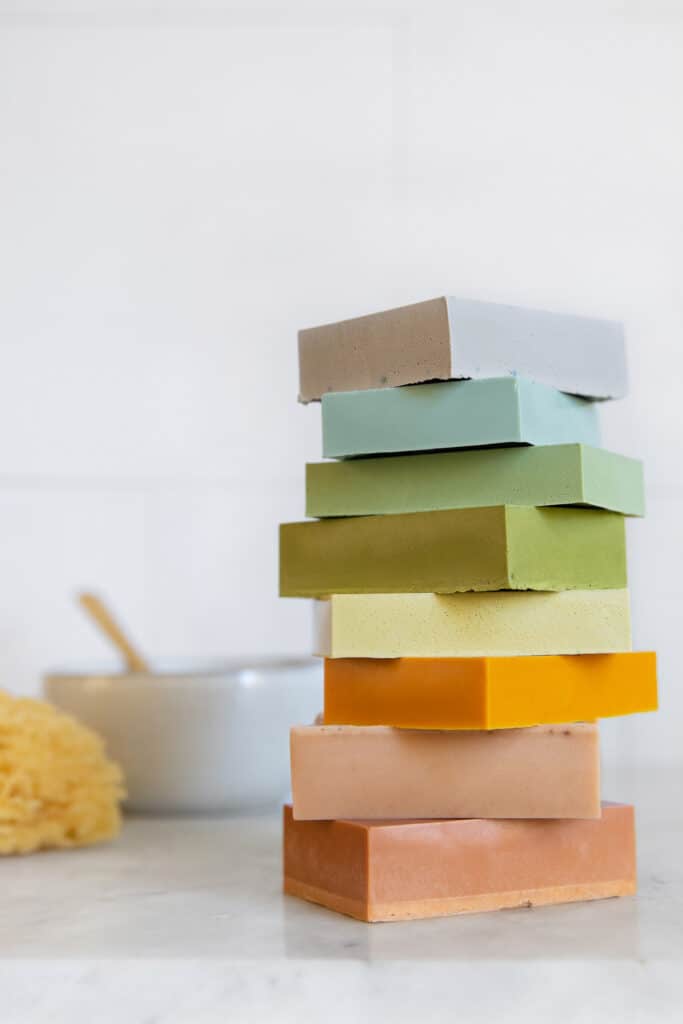
Bonus: How to color cold-process soap
When you feel you've mastered cold-process soap-making and are ready to develop your own recipes, use this guide for the best way to naturally color your soaps. Not sure what else you'll need? Here is the complete guide to must-have soap-making tools.
129
