Facial highlighters provide that coveted luminous glow and draw attention to your important features (cheekbones, Cupid's bow, the arch of the brow). Whether you have oily, dry, or combination skin, making a DIY cream highlighter that's ideal for your skin type can make all the difference in getting that natural glow.
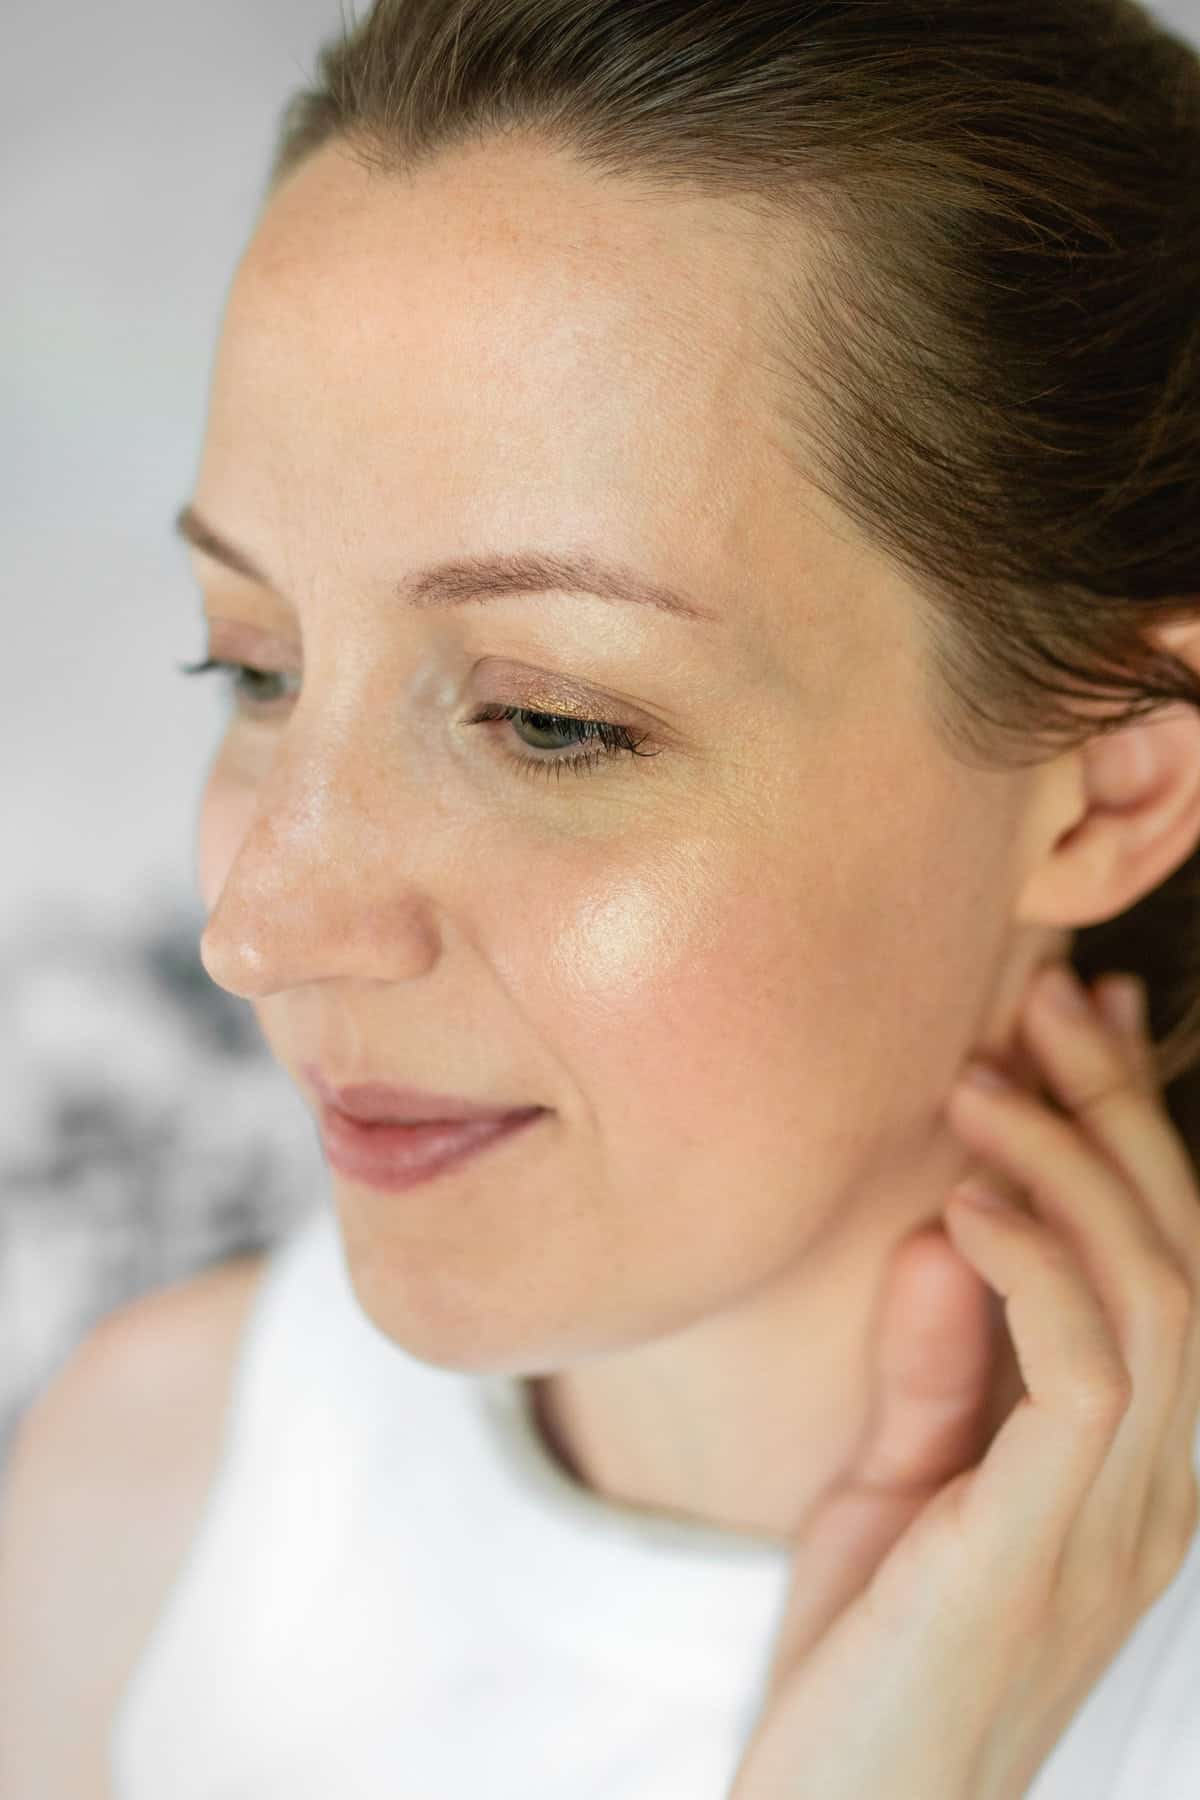
Thanks to the Kardashians, it looks like highlighting and contouring are here to stay. But with so many different highlighting products to choose from, it can be overwhelming to find the perfect one for your complexion and skin type.
You know what we do when we can't find the perfect product at the store? Make our own. Whether it's liquid foundation, eye shadow or lip oil, there's a whole host of colors to experiment with to create your perfect shade.
Ingredients
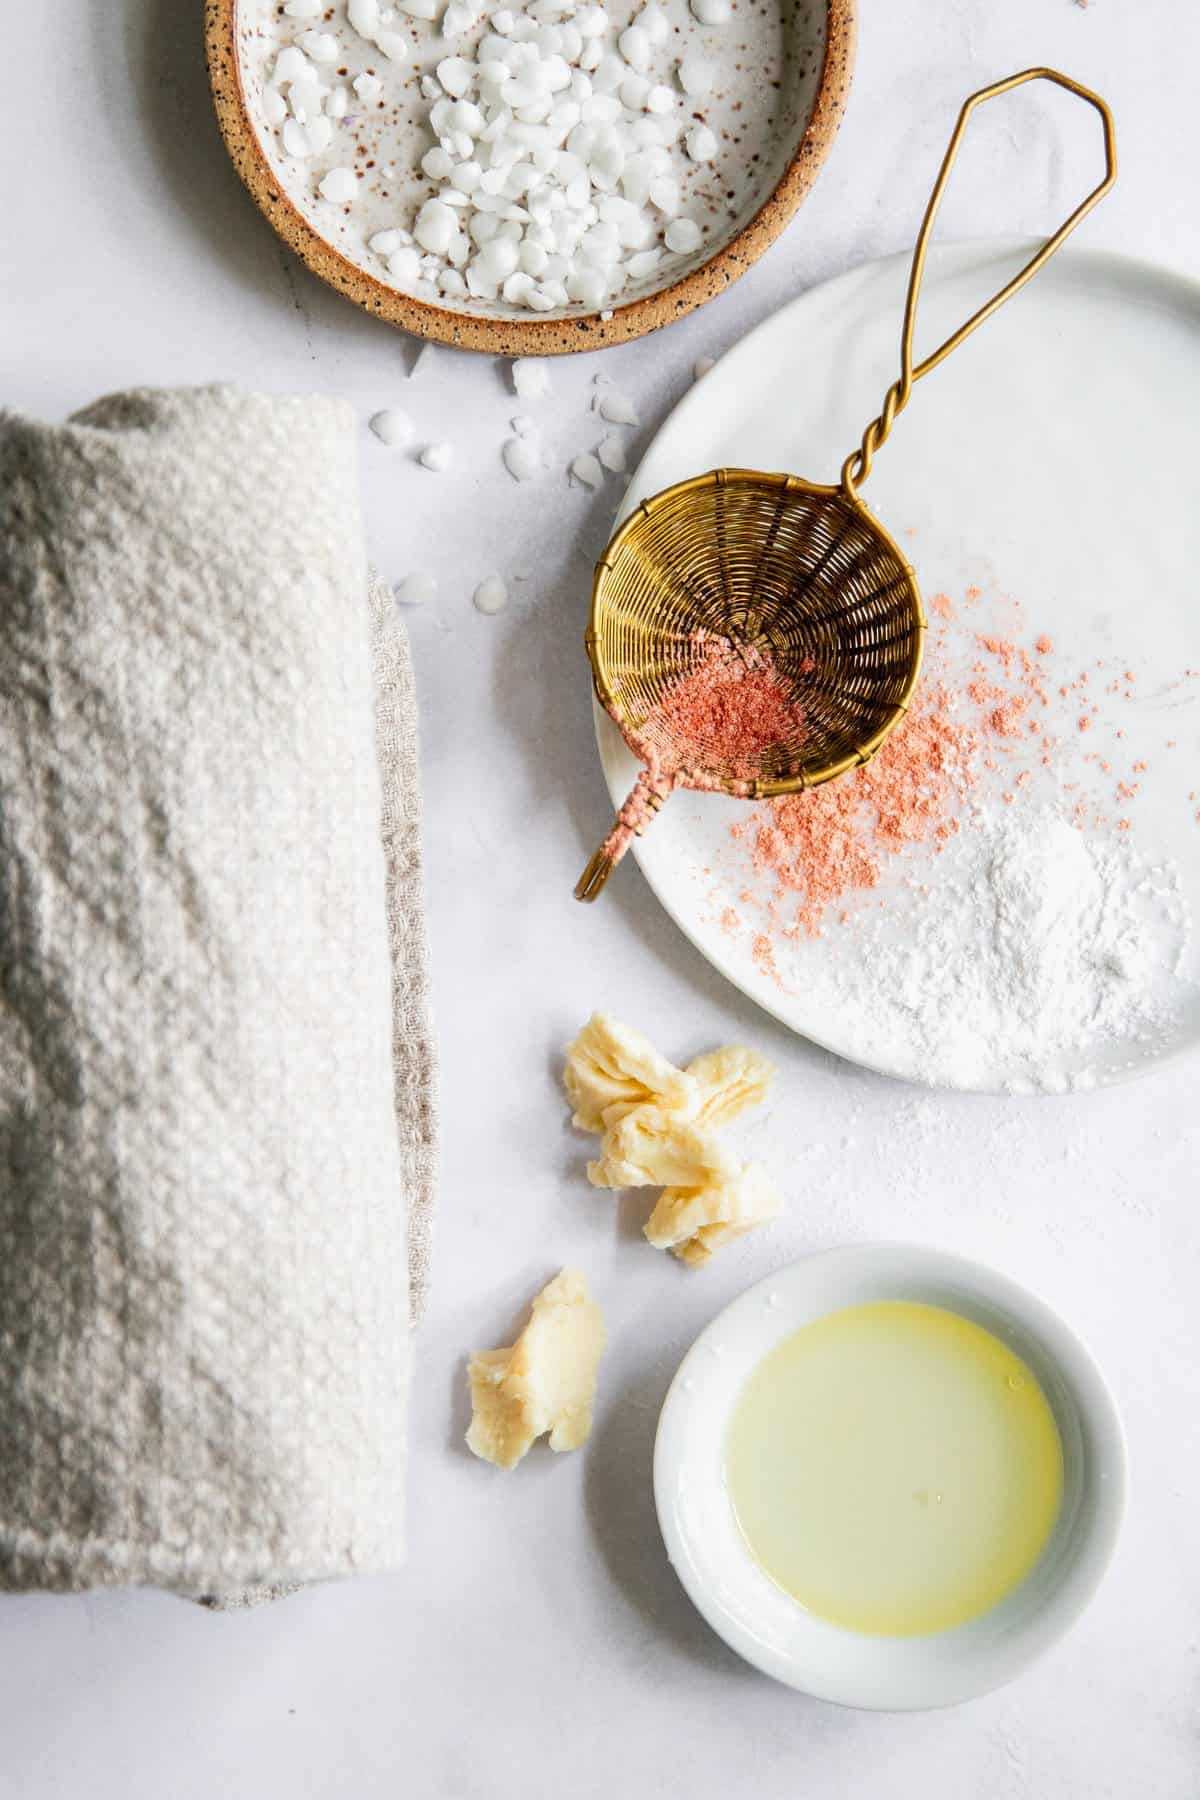
When making cream highlighter, the ingredients you put on your skin matter (but you didn't need us to tell you that, right?). This recipe calls for just a handful of all-natural ingredients:
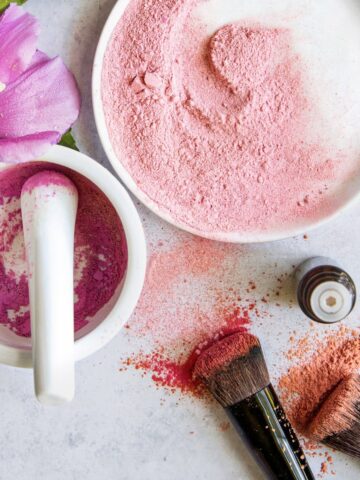
Mica powder - Mica is what gives your highlighter a shimmery, light-reflecting effect. One of the benefits of using mica powder is that it provides a natural-looking glow without clogging pores, making it suitable for all skin types. I used a mixture of coral, pearl white, and gold powders.
Jojoba oil - Unlike other oils, jojoba closely resembles the natural oils produced by our skin [source]. It helps balance the skin's oil production, making it ideal for both dry and oily skin types. And it possesses emollient and anti-inflammatory properties, which help moisturize and soothe sensitive or irritated skin.
Shea butter - This rich and emollient ingredient offers a multitude of skincare benefits. Shea butter contains triglycerides that give it exceptional moisturizing properties to deeply hydrate the skin and improve its elasticity. It's also packed with vitamins and antioxidants, which help nourish and protect the skin from environmental stressors [source].
Beeswax - Beeswax gives this cream highlighter a more solid consistency.
Cornstarch - Cornstarch helps control excess oil, reduces shine, and provides a smooth and velvety finish to the skin. It's often preferred over talc, which poses potential health concerns.
See the recipe card below for quantities.
Instructions
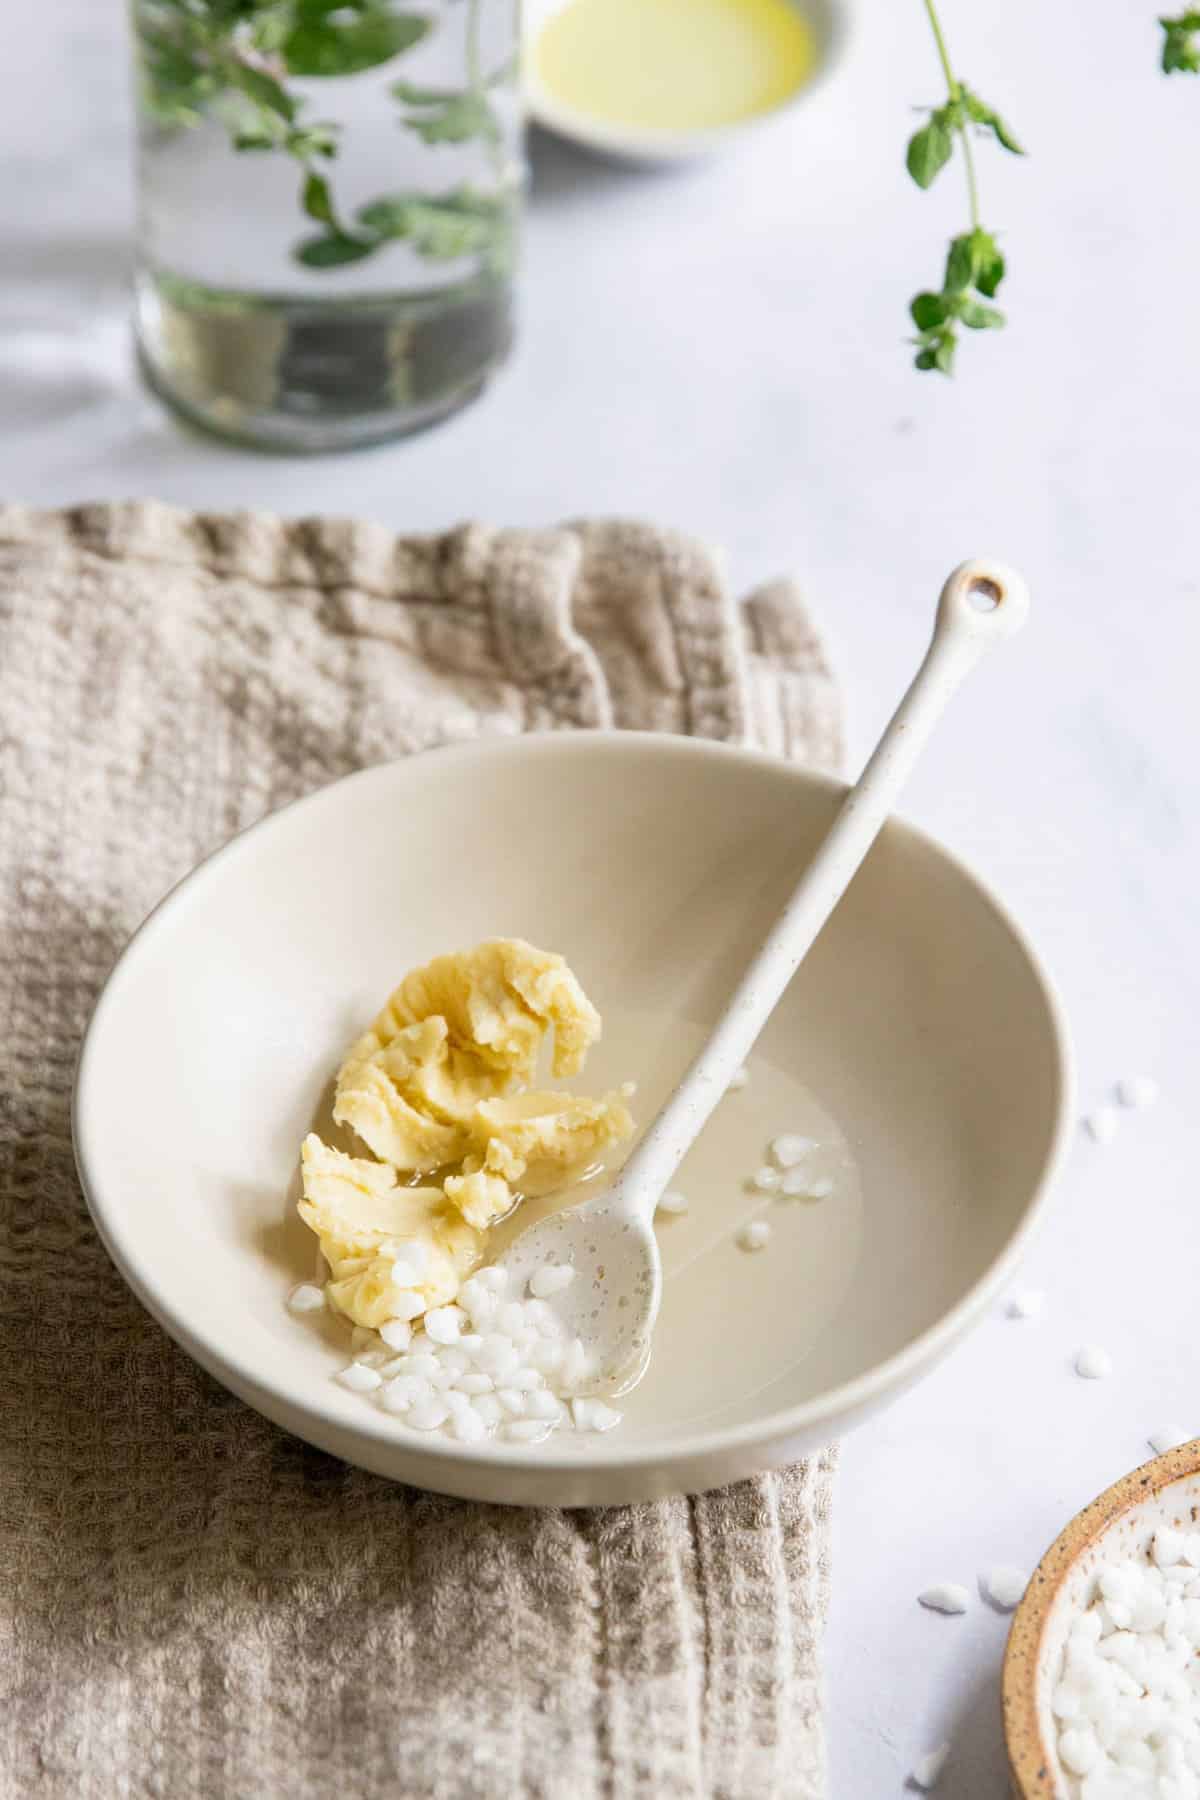
Combine the shea butter, jojoba oil, and beeswax in a small bowl and microwave in 30-second intervals until melted.
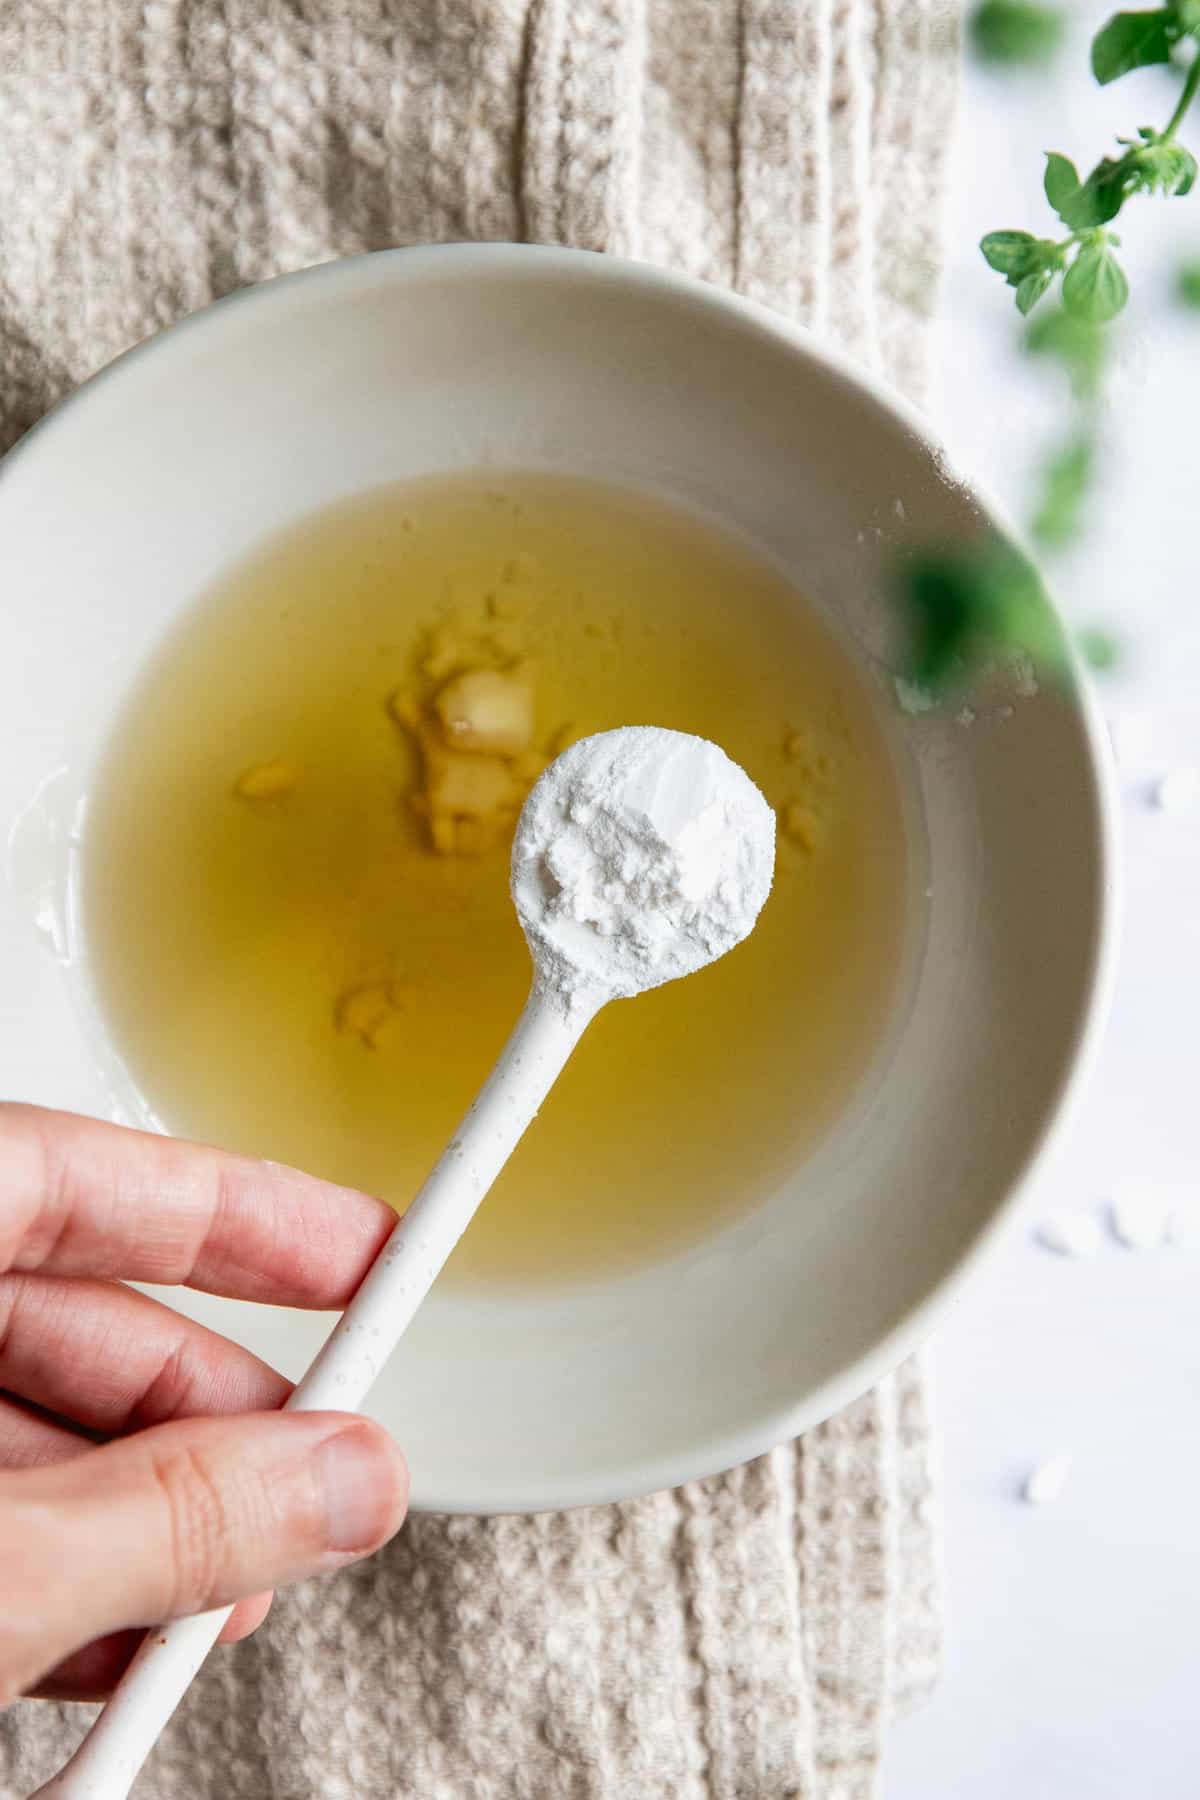
Add the cornstarch and stir again.
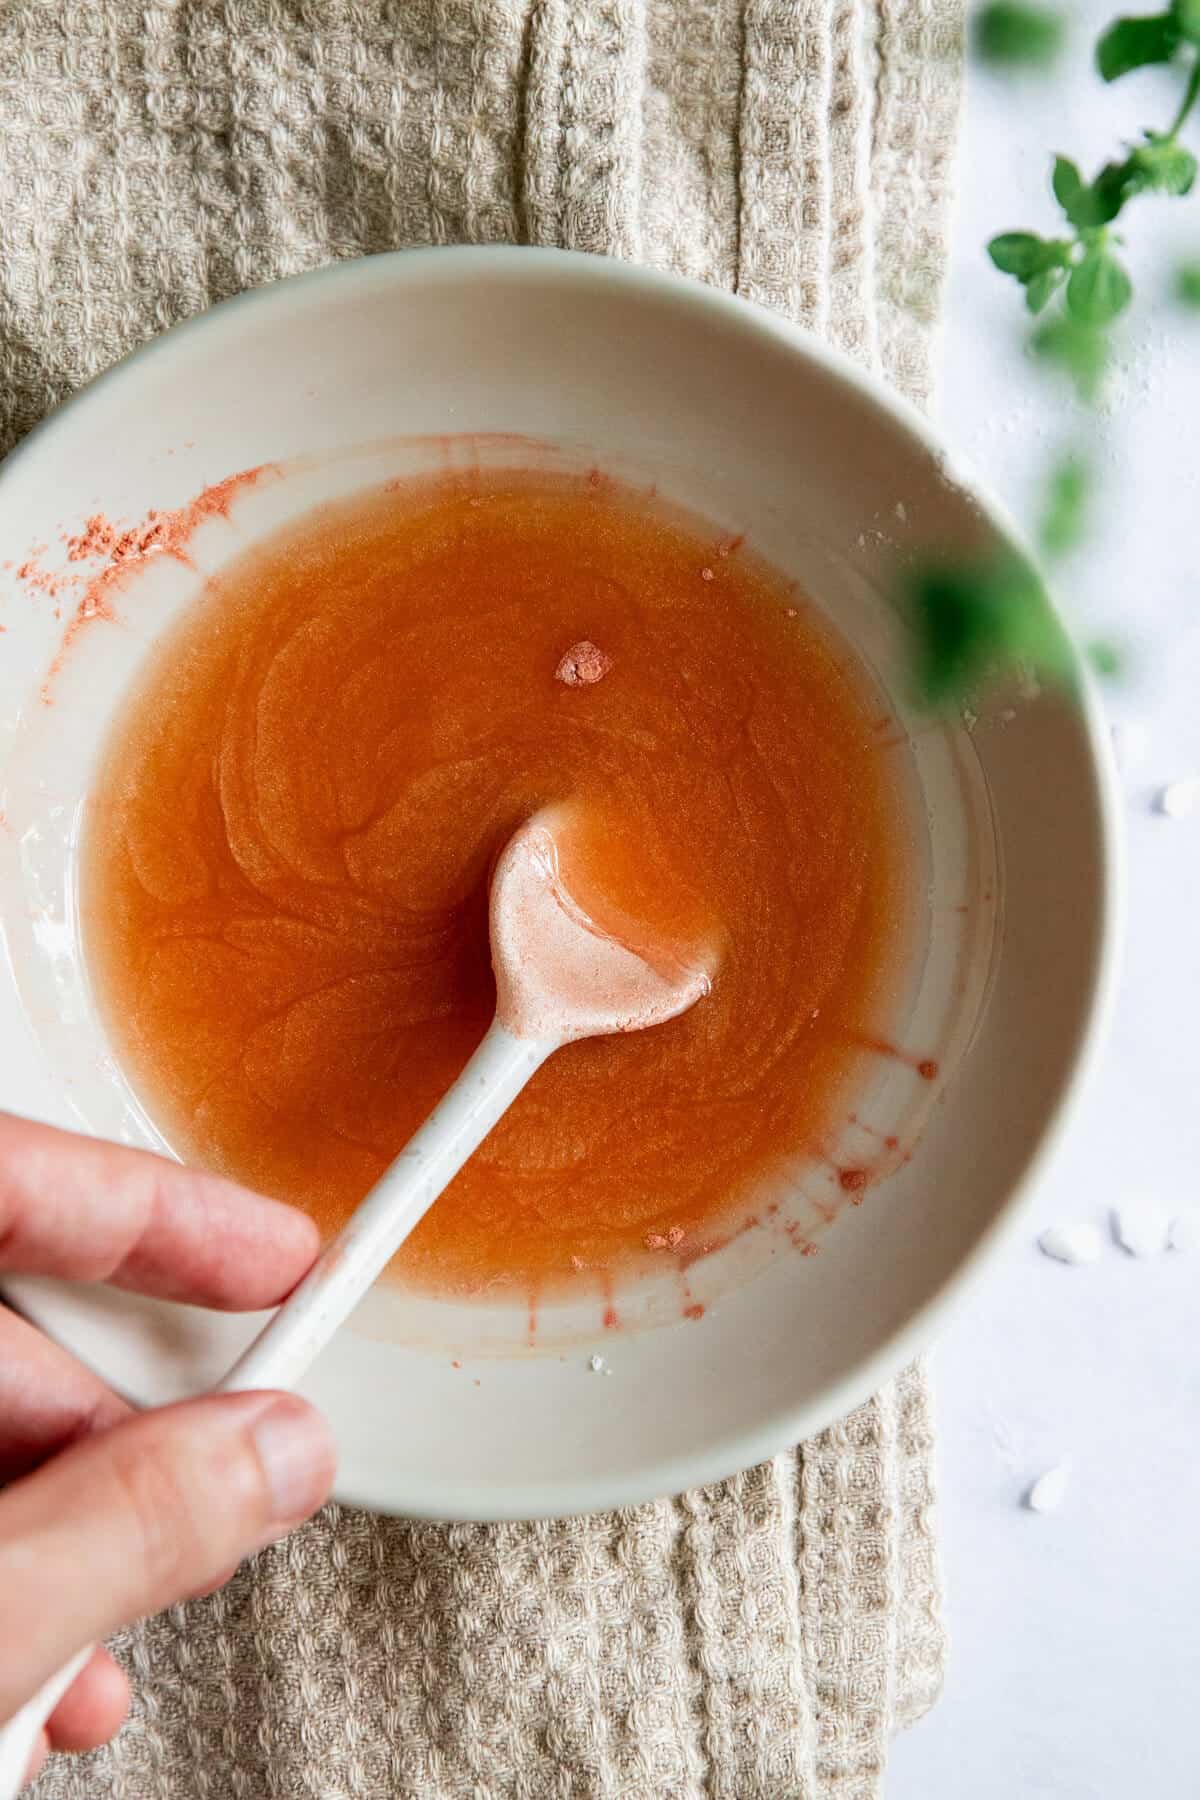
Stir in the mica powder. Feel free to add more, ¼ teaspoon at a time, until reaching your desired shade.
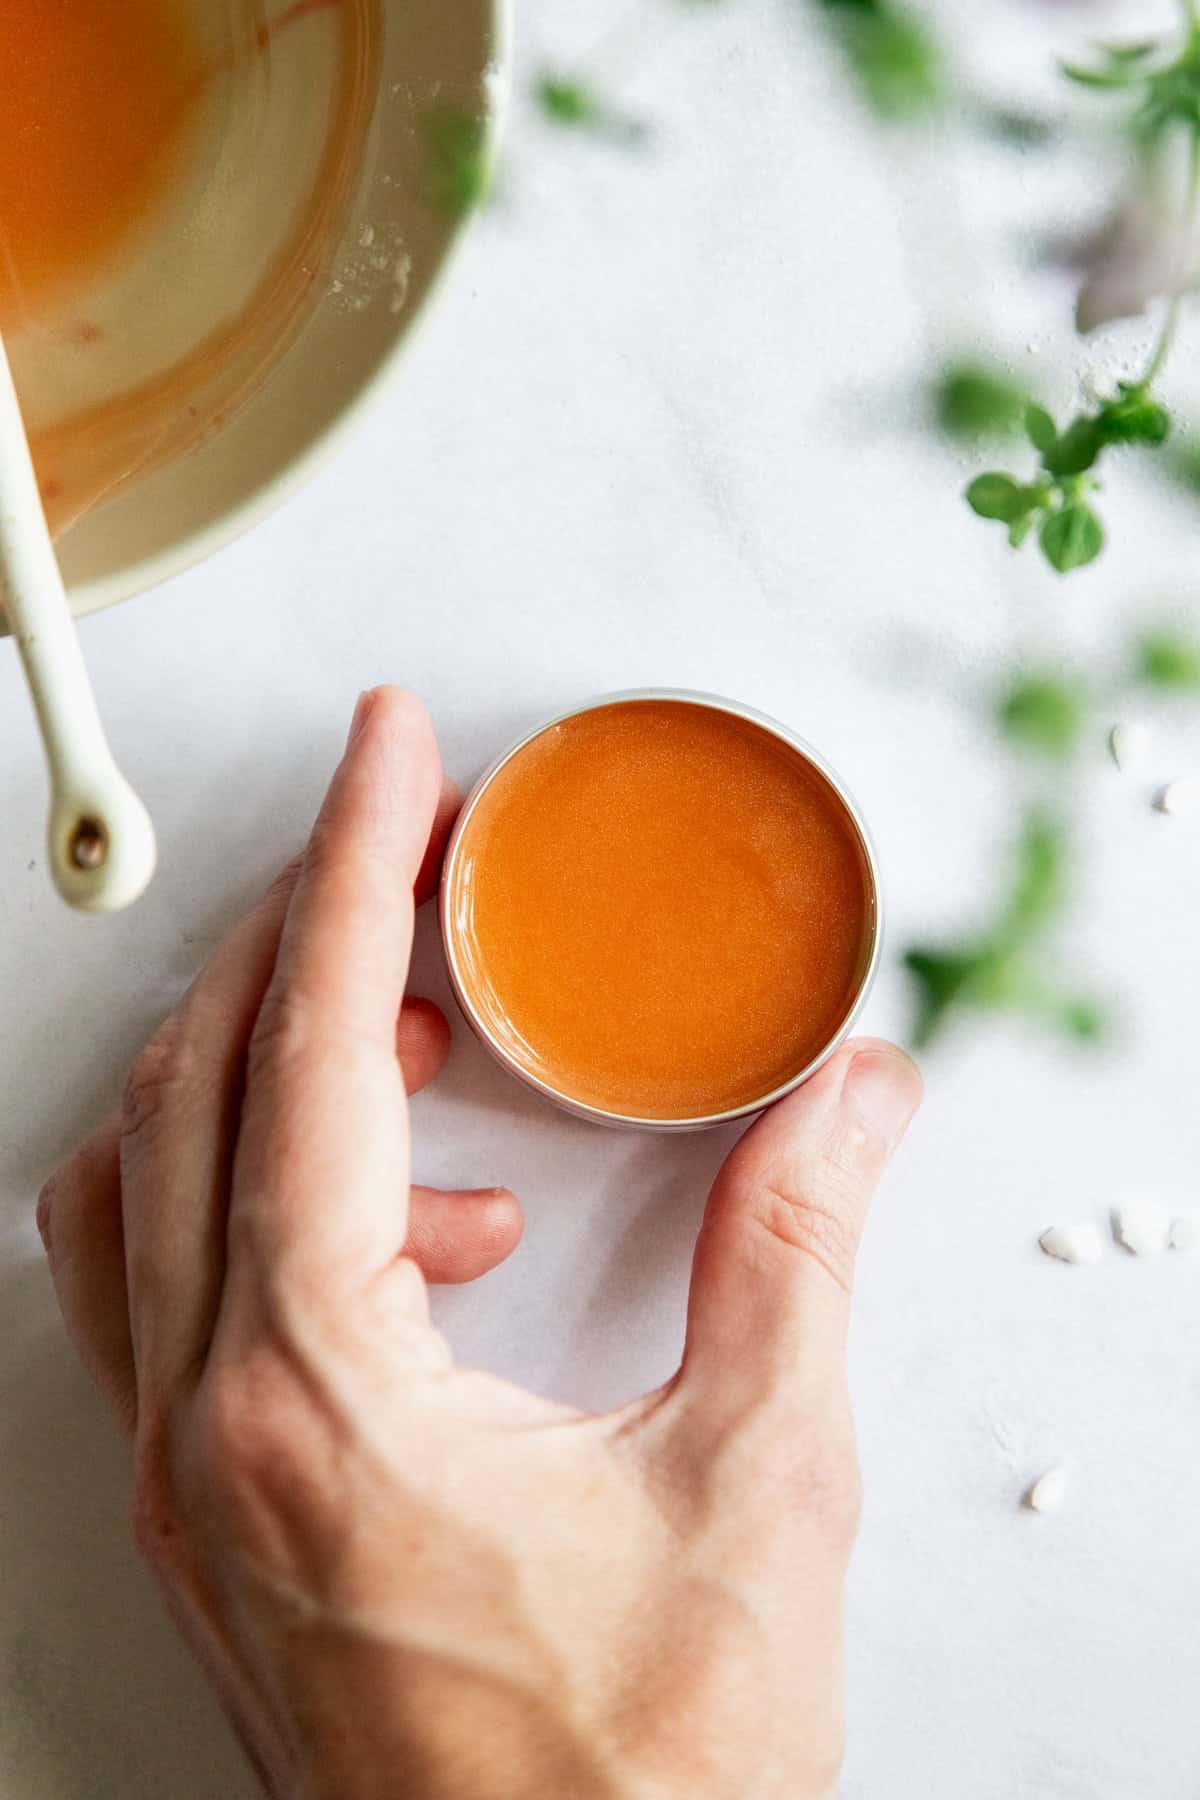
Once the oils have thickened slightly, pour the highlighter into a small tin and let cool for 2–3 hours.
Hint: The mica has a tendency to sink to the bottom as the highlighter cools, especially if the oils were still hot when you poured it into the tin. Stir the highlighter with a popsicle stick as it cools to keep the mica evenly dispersed.
The mica is what gives your cream highlighter the shimmering color. Feel free to use as much or as little mica powder as you like. If you're not pleased with the color of your highlighter once it cools, feel free to melt it down in the oven, then add more mica powder.
Substitutions
When substituting ingredients, you may need to adjust the ratio of other ingredients in the recipe to ensure the consistency stays the same.
Oil - Instead of jojoba oil, you can try using argan oil, which is also known for its moisturizing and nourishing properties. Other alternatives include almond oil, avocado oil, or rosehip seed oil, all of which offer similar benefits for the skin.
Vegetable butter - Cocoa butter can be a great alternative to shea butter, as it also has emollient and antioxidant properties. Mango butter or kokum butter can also be used as substitutes, depending on the desired texture.
Wax - If you're looking for a vegan alternative to beeswax, candelilla wax or carnauba wax can be used as substitutes. These plant-based waxes provide similar binding and protective properties in skincare and cosmetic formulations. You can also use emulsifying wax.
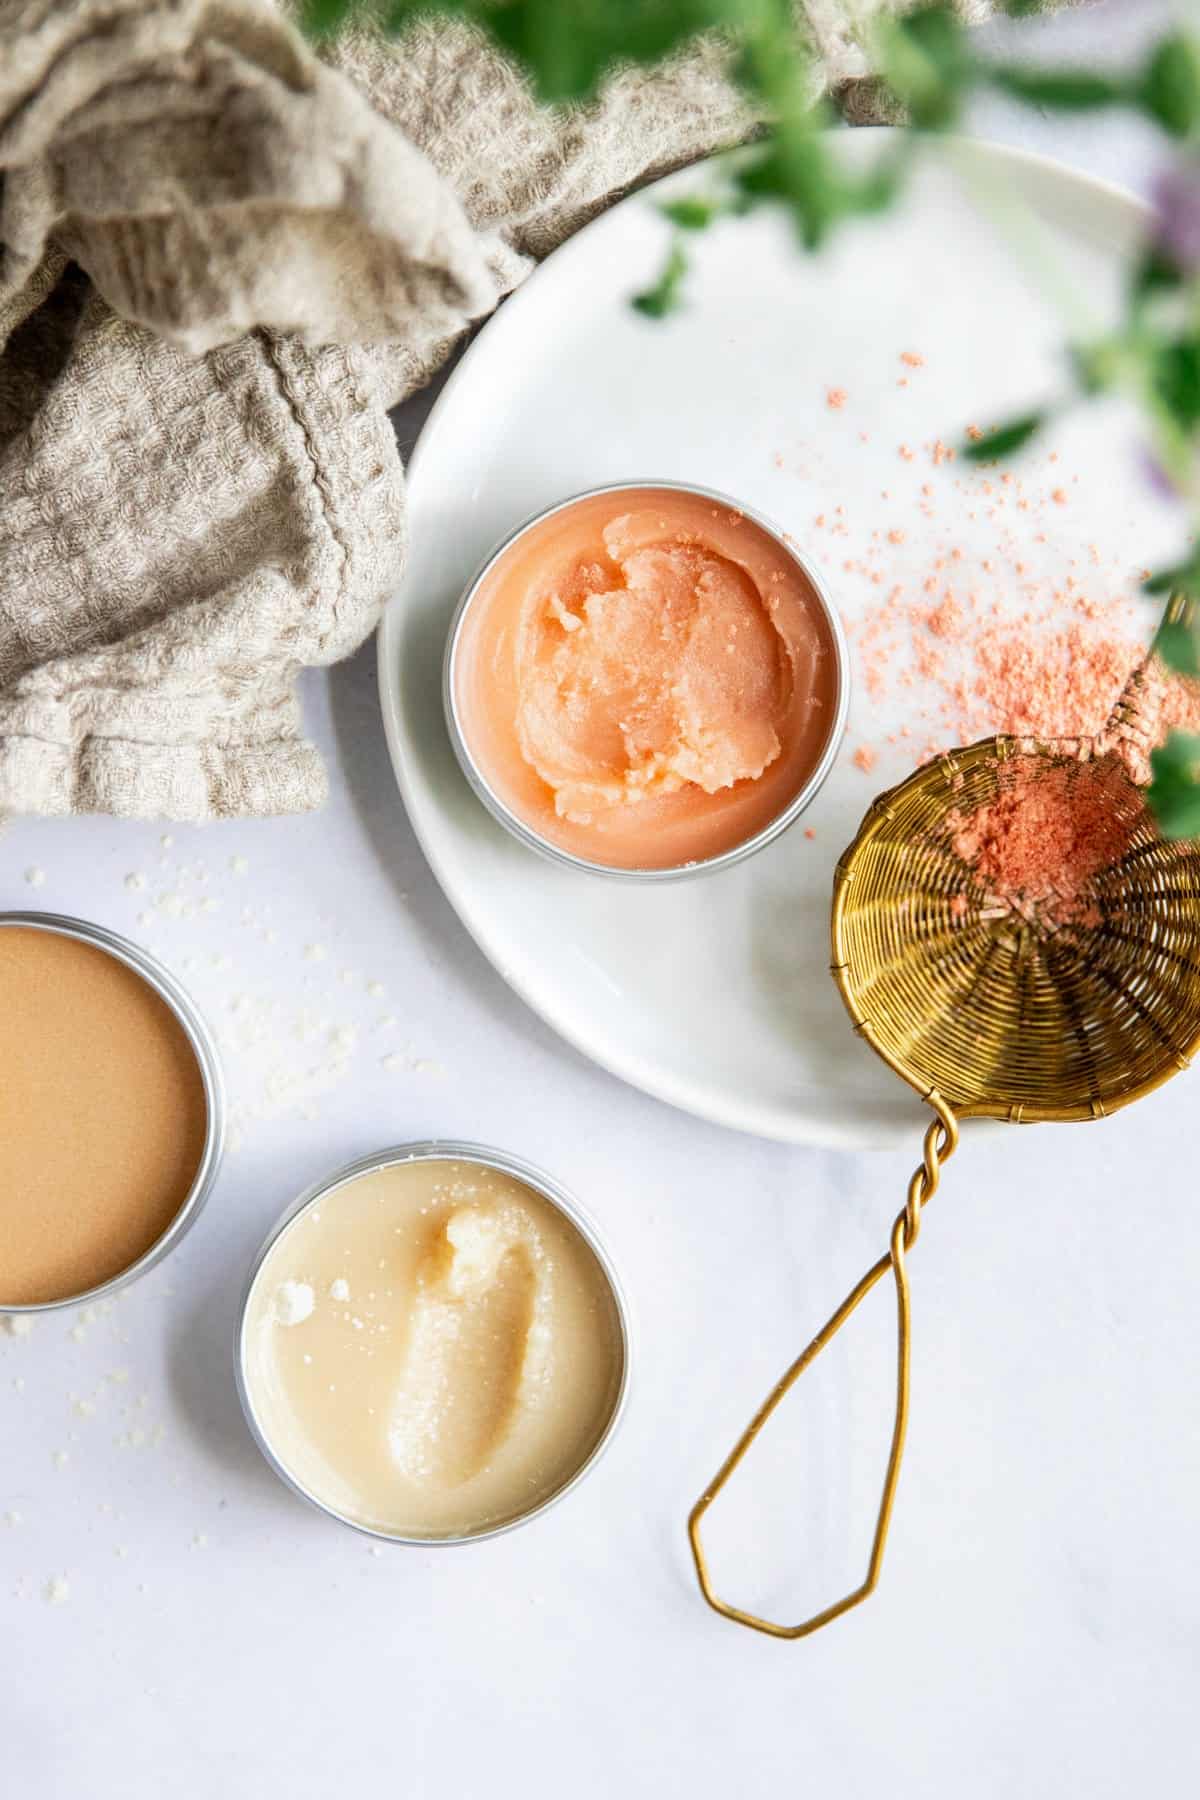
Customizing Your Highlighter Color
Understanding your undertone is crucial when making any kind of makeup, including highlighters. Undertones can be classified as warm, cool, or neutral.
Matching your highlighter to your undertone will ensure it blends seamlessly with the tone of your natural complexion.
- Warm Undertones - If you have warm undertones (yellow, peachy, or golden), opt for highlighters with a golden or champagne hue. These shades will enhance your natural warmth and create a flattering, sun-kissed glow.
- Cool Undertones - For those with cool undertones (pink, red, or blue), choose highlighters with a silvery or icy undertone. These shades will complement your natural coolness and provide a fresh, luminous effect.
- Neutral Undertones - If your undertones are neutral (a mix of warm and cool), you're in luck! You can experiment with a wide range of highlighter shades, including both warm and cool tones, to find the ones that suit you best.
Storage
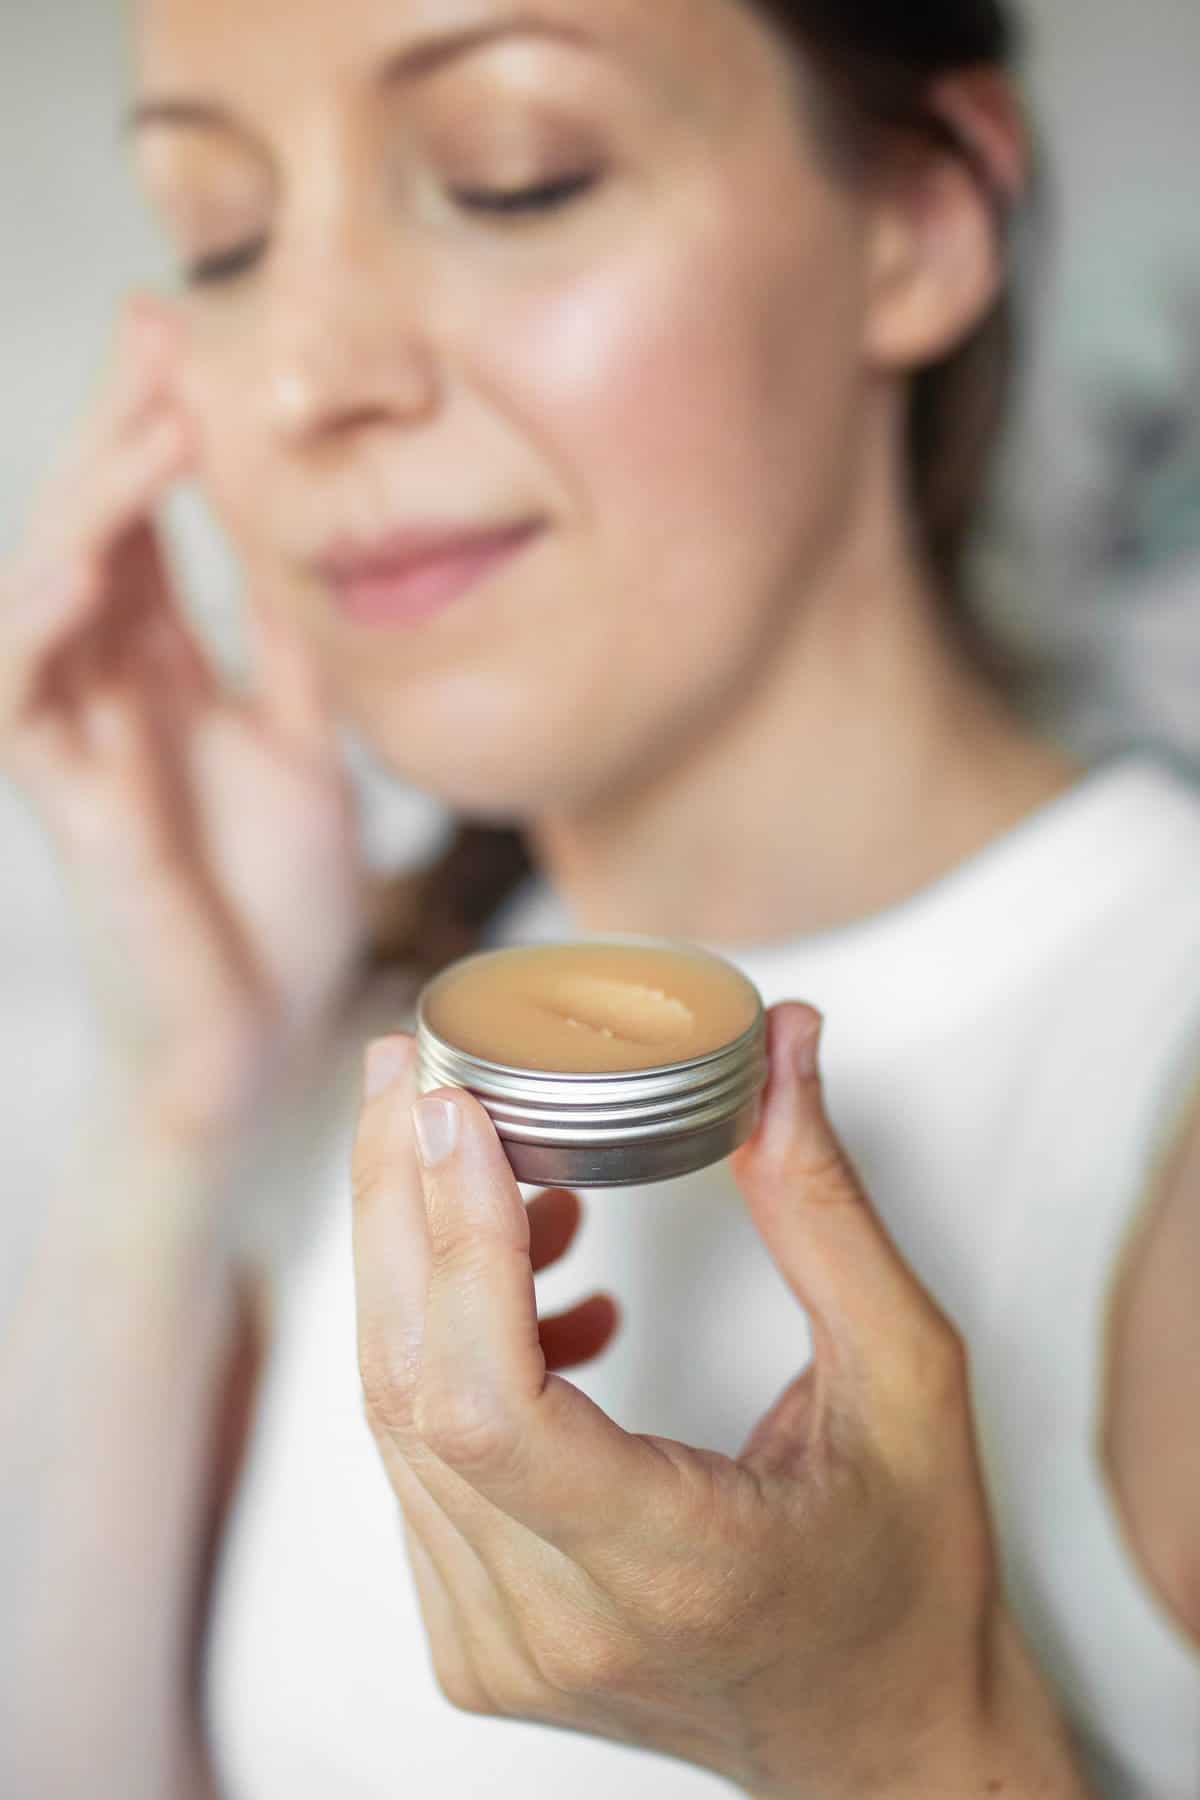
Choose an airtight and light-blocking container for storing your homemade highlighter. A small glass or plastic jar with a tight-fitting lid works well. Ensure that the container is clean and dry before transferring the highlighter.
Store your homemade highlighter in a cool, dry place away from direct sunlight and heat sources. Exposure to heat, humidity, and sunlight can alter the texture, color, and consistency of the product.
As a general guideline, homemade highlighters typically have a shelf life of around 6 to 12 months.
Top tip
Don't be afraid to experiment with your highlighter's texture! For a creamier highlighter, use more shea butter or beeswax. If you'd like a stronger highlighting effect, add more mica. Keep tweaking the ingredients until you get it just right, and take notes as you go so you can recreate it in the future.
FAQ
Yes, one of the advantages of learning to make cream highlighter is the ability to customize the shade. You can achieve different shades by adjusting the ratio and combination of mica powders or other colorants. Experimenting with different pigments and ratios will allow you to create a highlighter that suits your preferences and skin tone.
Yes! Just look for vegan alternatives to beeswax or animal-derived ingredients, such as plant-based waxes or butters. Ensure that the ingredients you choose are sourced from cruelty-free suppliers and have not been tested on animals.
Homemade highlighters typically have a shelf life of around 6 to 12 months, depending on the specific formulation, ingredients used, and storage conditions. Without synthetic preservatives, they will typically have a shorter shelf life compared to commercially manufactured products.
Yes, you can adjust its intensity by varying the concentration of mica powder or other pigments. Adding more pigment will result in a more intense and noticeable highlight while reducing the amount will create a softer and more subtle effect. Experiment with different ratios to find the intensity that suits your preference.
DIY Cream Highlighter Recipe
Equipment
- Heat-safe bowl
- Makeup tin and lid
- Whisk or spoon
Materials
- 1 teaspoon mica powder I used a mixture of coral, pearl white, and gold powders
- 1 tablespoon jojoba oil
- 1 tablespoon shea butter
- 1–2 teaspoons beeswax (depending on the desired consistency)
- ½ teaspoon cornstarch
Instructions
- In a microwave-safe bowl, combine the jojoba oil, shea butter, and beeswax. Heat the mixture in 30-second intervals until everything is melted and well combined.
- Gradually sprinkle in the cornstarch while stirring the mixture. This helps to absorb excess oil and gives the highlighter a soft, matte finish.
- Add the mica powder. Use a whisk or spoon to thoroughly incorporate the mica powder, ensuring there are no clumps and the color is evenly distributed.
- Once the mixture is well blended, carefully pour it into your prepared container. Allow the highlighter to cool and solidify completely at room temperature. This may take a couple of hours or more, depending on the consistency of the mixture.


Leave a Comment