What’s the one place essential oils have been missing (up until now, that is)? The car!
Most of us spend hours in the car every day, feeling tired and stressed. So why not incorporate some of the soothing benefits of botanicals into your commute with the help of an essential oil car diffuser?
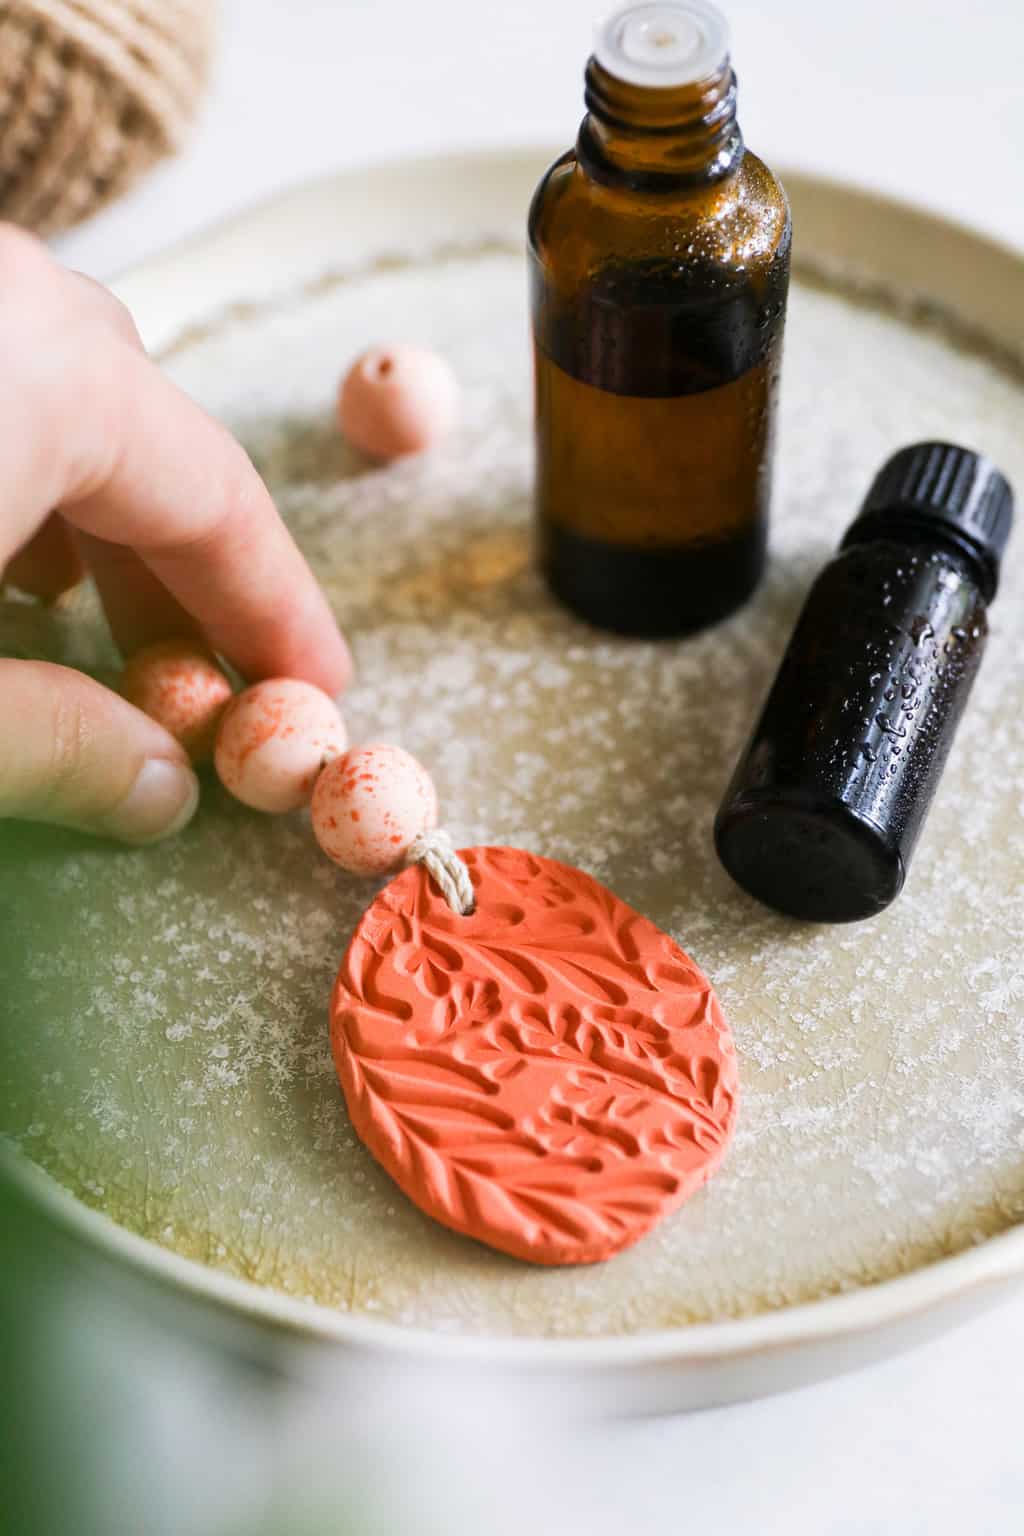
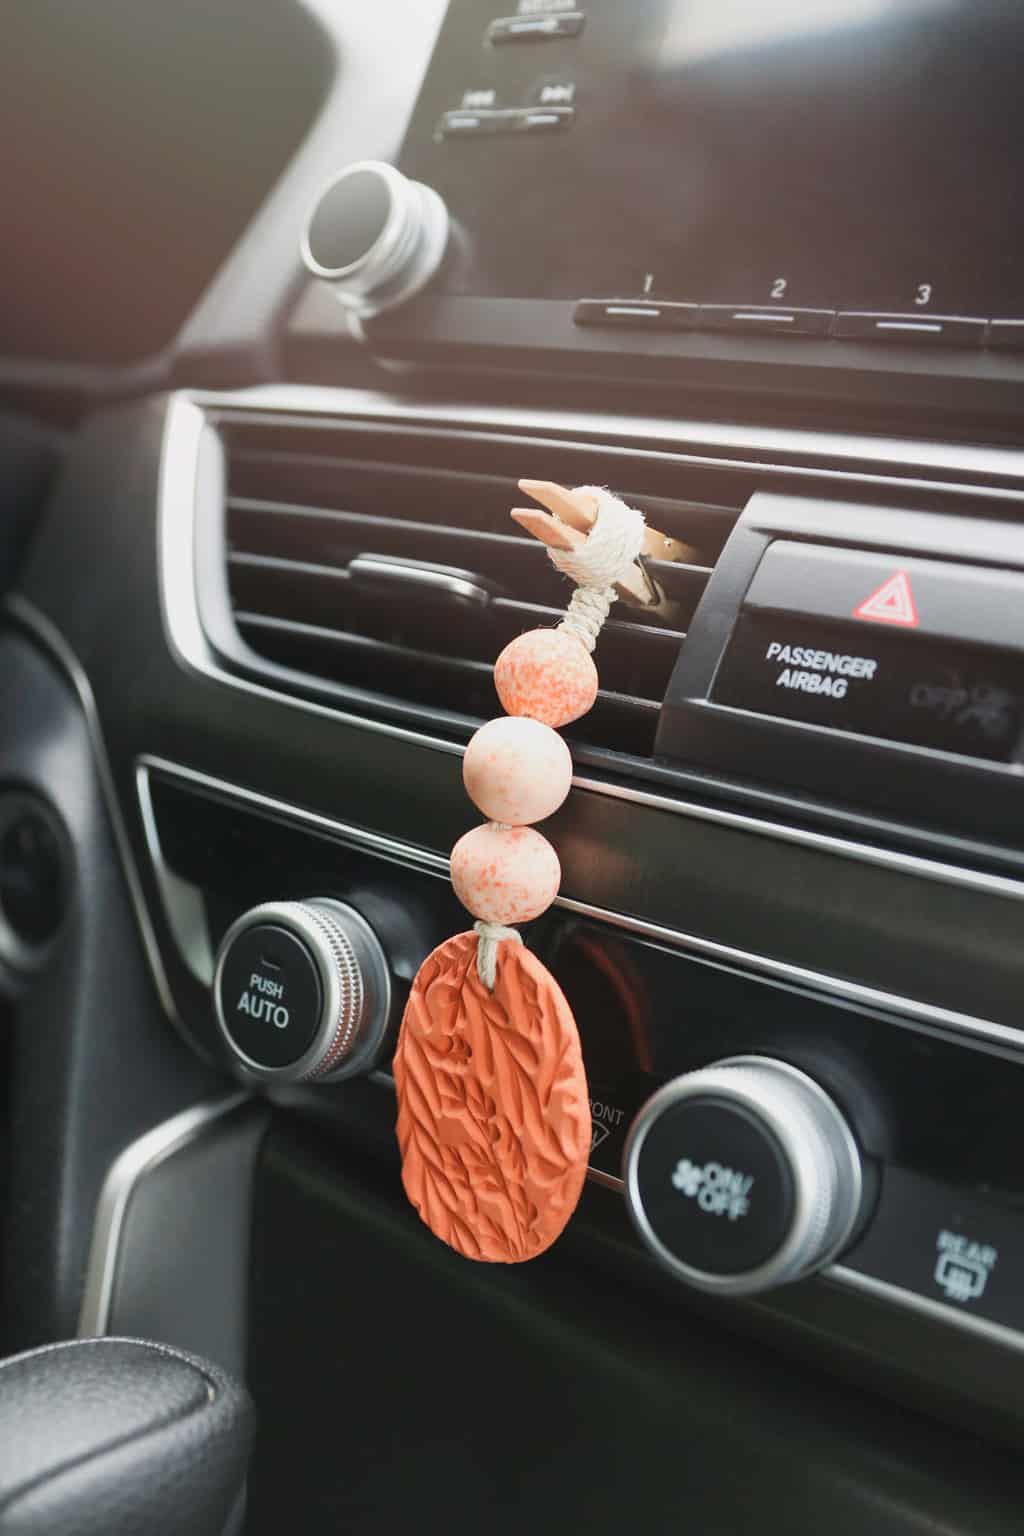
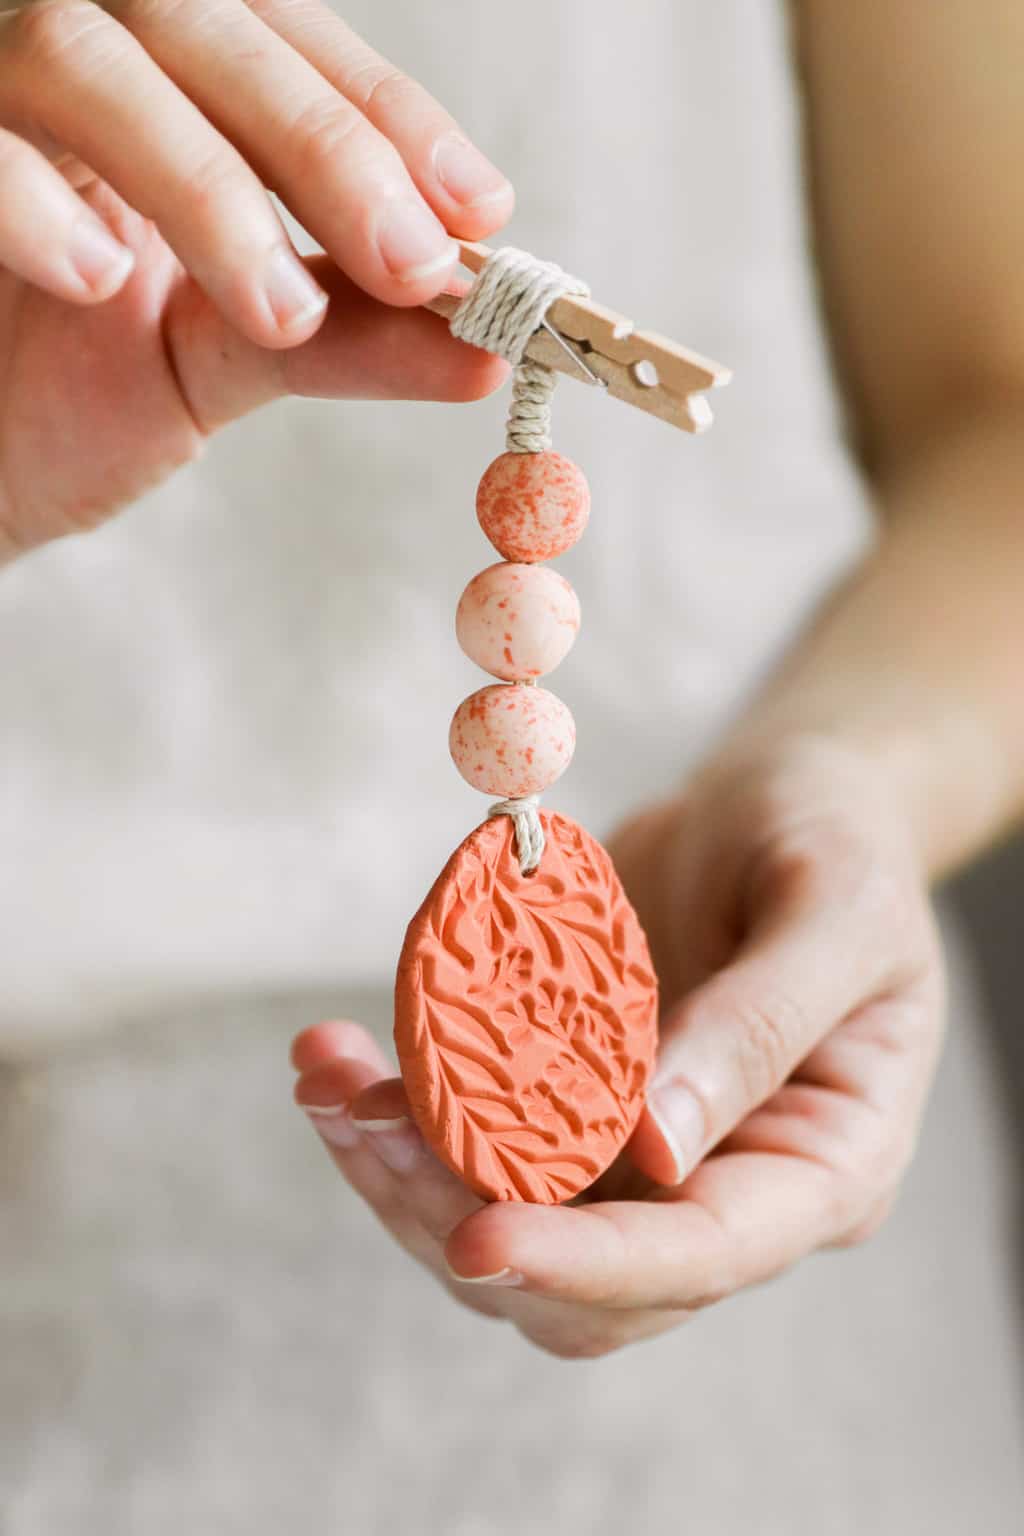
This portable diffuser is highly absorbent, so it holds onto oils and slowly diffuses them into the air like a champ. And it only requires a few inexpensive supplies to make: airy dry clay, twine, and a small clothespin.
If you’d prefer to hang it from your rear-view mirror, then skip the clothespin and just tie the twine together, so it creates a loop from which to hang it. When the car warms up, the heat helps release the oils from the clay, giving you all the benefits of aromatherapy on the go.
Best Essential Oils to Use in the Car
The beauty of essential oils is that you can make your own blends to suit your needs. If you find yourself getting sleepy during a long commute, then opt for energizing oils.
If you tend to get antsy when sitting in traffic, reach for soothing ones. And if you’re feeling under the weather, choose something to support the immune system.
Energizing oils
Whether you’re a night owl trying to survive the early morning commute or you need a pick-me-up after a long day, sometimes you need scents that will give you a boost. Energizing oils are great for the car because they can improve your mood and give you a much-needed energy boost.
Relaxing oils
These oils have relaxing properties, making them perfect for those road-ragey moments. Since some essential oils are said to promote sleep, go easy on them if you have a tendency to get sleepy in the car. And definitely don’t use them when driving at night or for long distances!
Immune-boosting oils
Essential oils are a staple of my medicine cabinet during cold and flu season, thanks to their many antiviral and antibacterial properties [source]. These oils can help soothe cold and flu symptoms or give the immune system a little extra support.
Of course, these aren’t the only essential oils you can use. Sometimes you just want your car to smell nice (nothing wrong with that!), so feel free to make up your own blends using oils you already have.
How to Make an Essential Oil Car Diffuser
Some diffusers look super complicated to make, with paint, tassels, ribbon, and the like. But we like to keep things simple around here because who has the time for all that? If you want to dress up your diffuser, go ahead—a little paint never hurt anybody! But it might affect the absorbency of your diffuser, meaning you won’t get a lot of scent out of it.
Because terracotta is what most essential oil diffusers are made out of, I used terracotta air dry clay for mine. Simple and effective, I say!
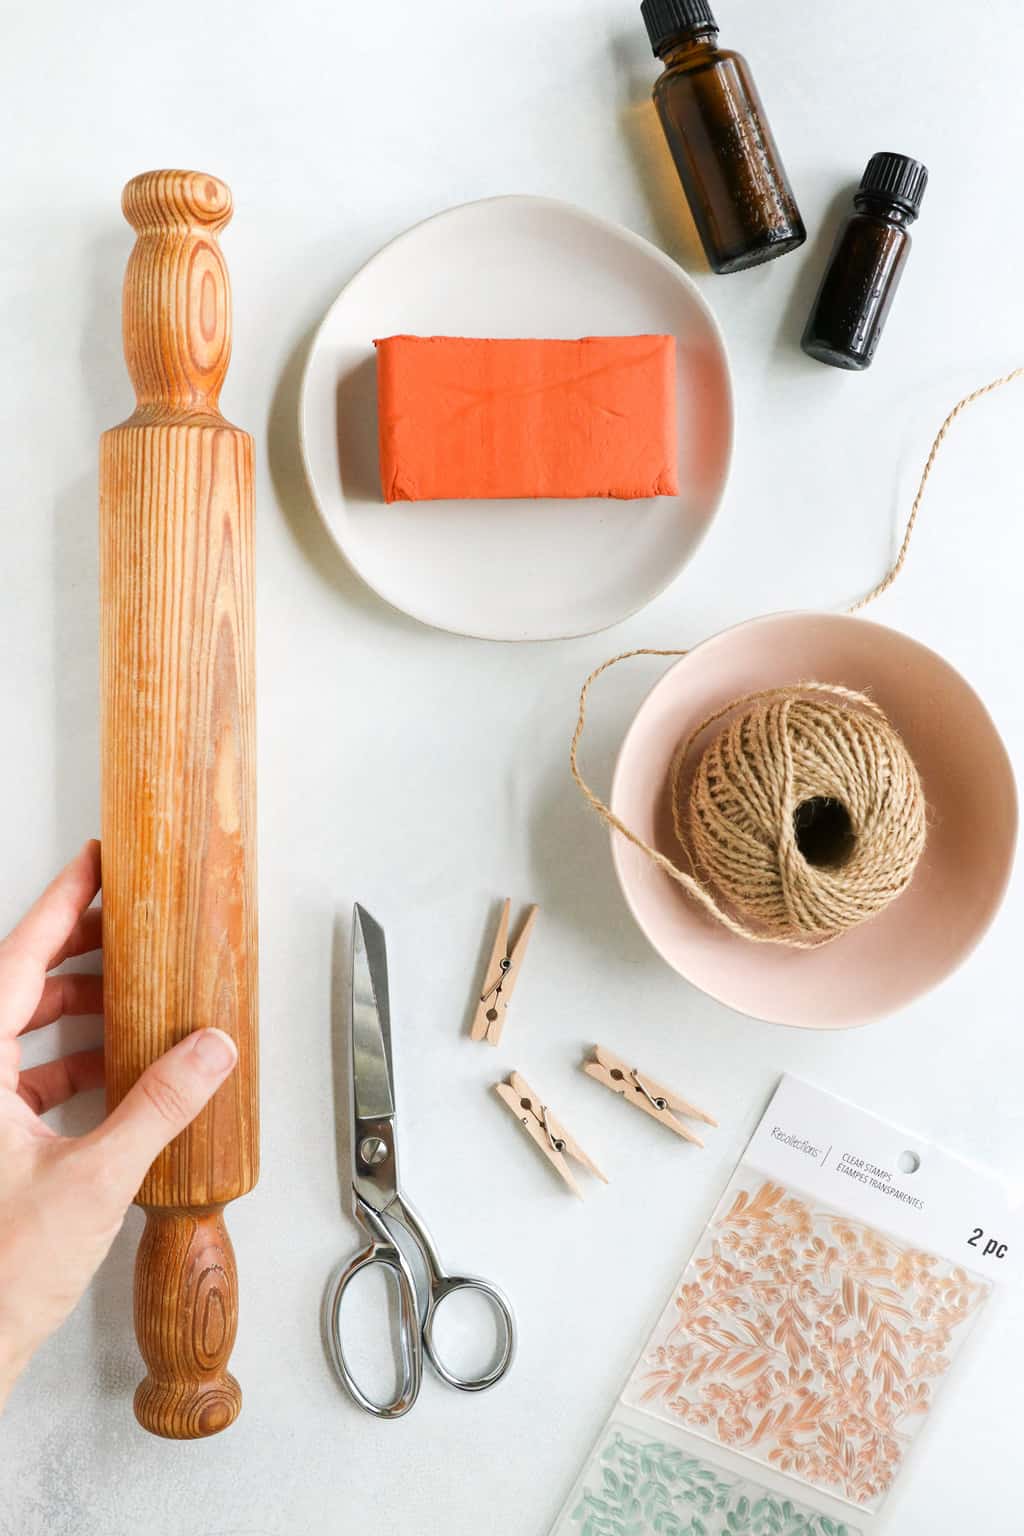
Supplies
- Air dry clay (I used both white and terracotta. You can use just one or the other if you like.)
- Twine or string
- Small clothespin (if you plan to hang yours from a vent)
- Butter knife
- Essential oils
- Wooden skewer
- Stamp to create a pattern (optional)
- Rolling pin and wax paper
- Glue
Instructions
I highly recommend using air dry clay for this as opposed to polymer clay. Air dry clay is porous and super absorptive, so it holds essential oils really well.
Polymer clay, on the other hand, is more like a plastic and doesn't hold or release scents very well. I also don't recommend painting your clay because the paint can interfere with the clay's ability to absorb oil. But it's completely up to you!
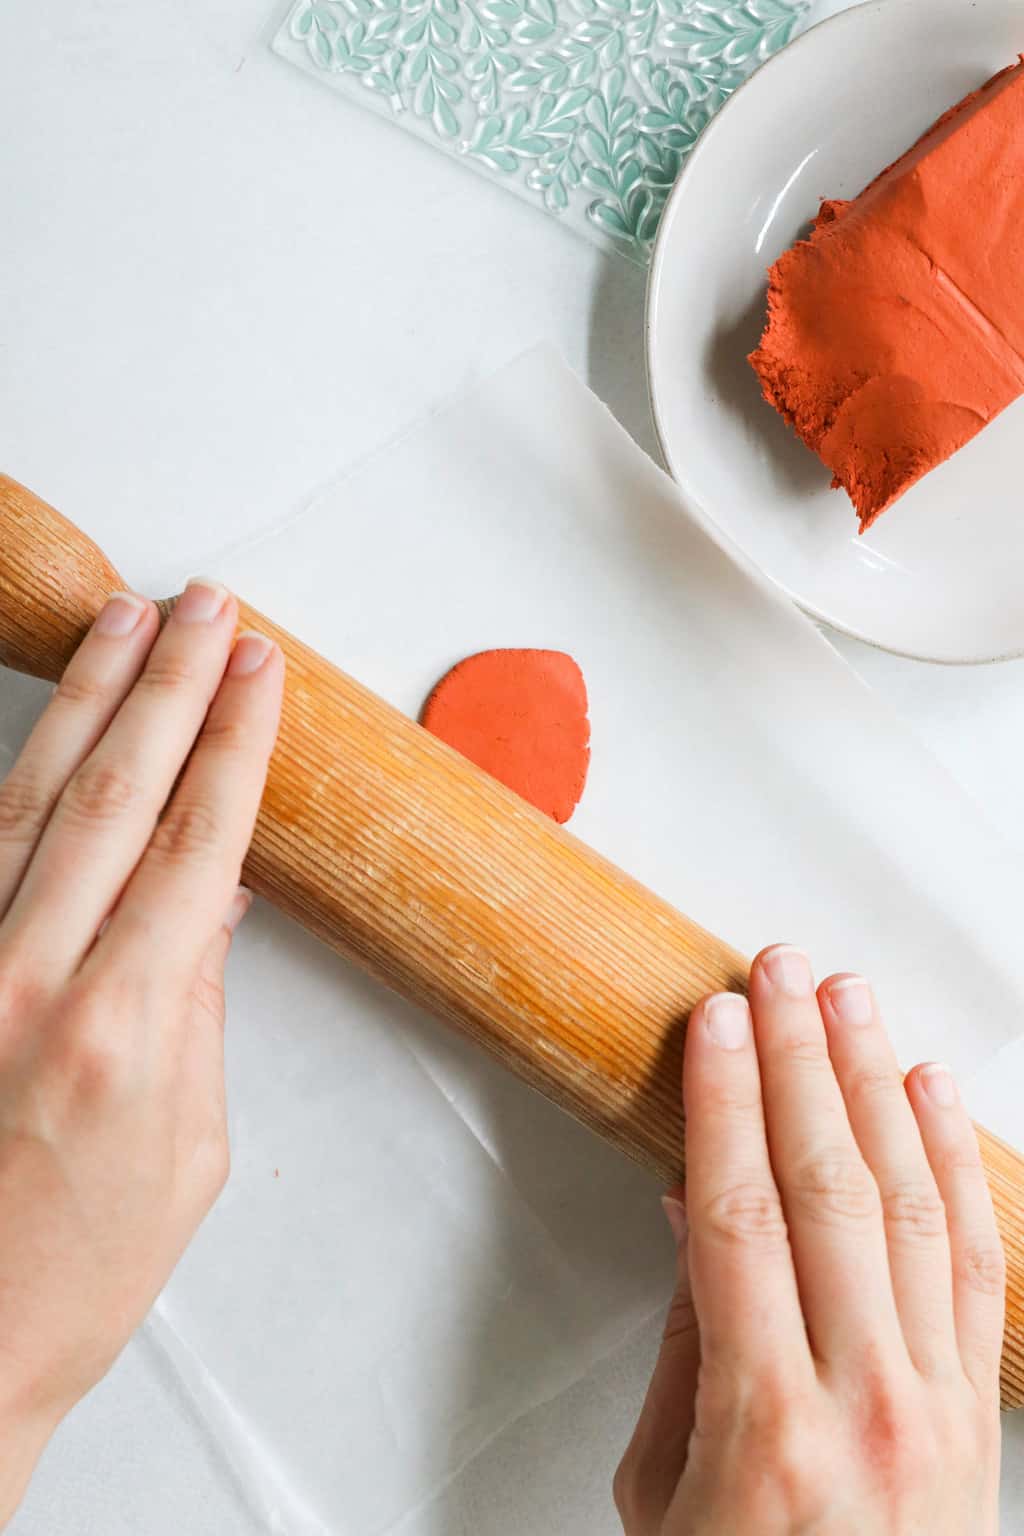
Step 1
Pinch off a small chunk of clay, roughly the size of a quarter, and roll it into a ball. Place it on a piece of wax paper, and use the rolling pin to lightly flatten it.
Step 2
Use a stamp to impress a design into the clay. You can skip this step if you like, but it's a great way to dress it up without using paint.
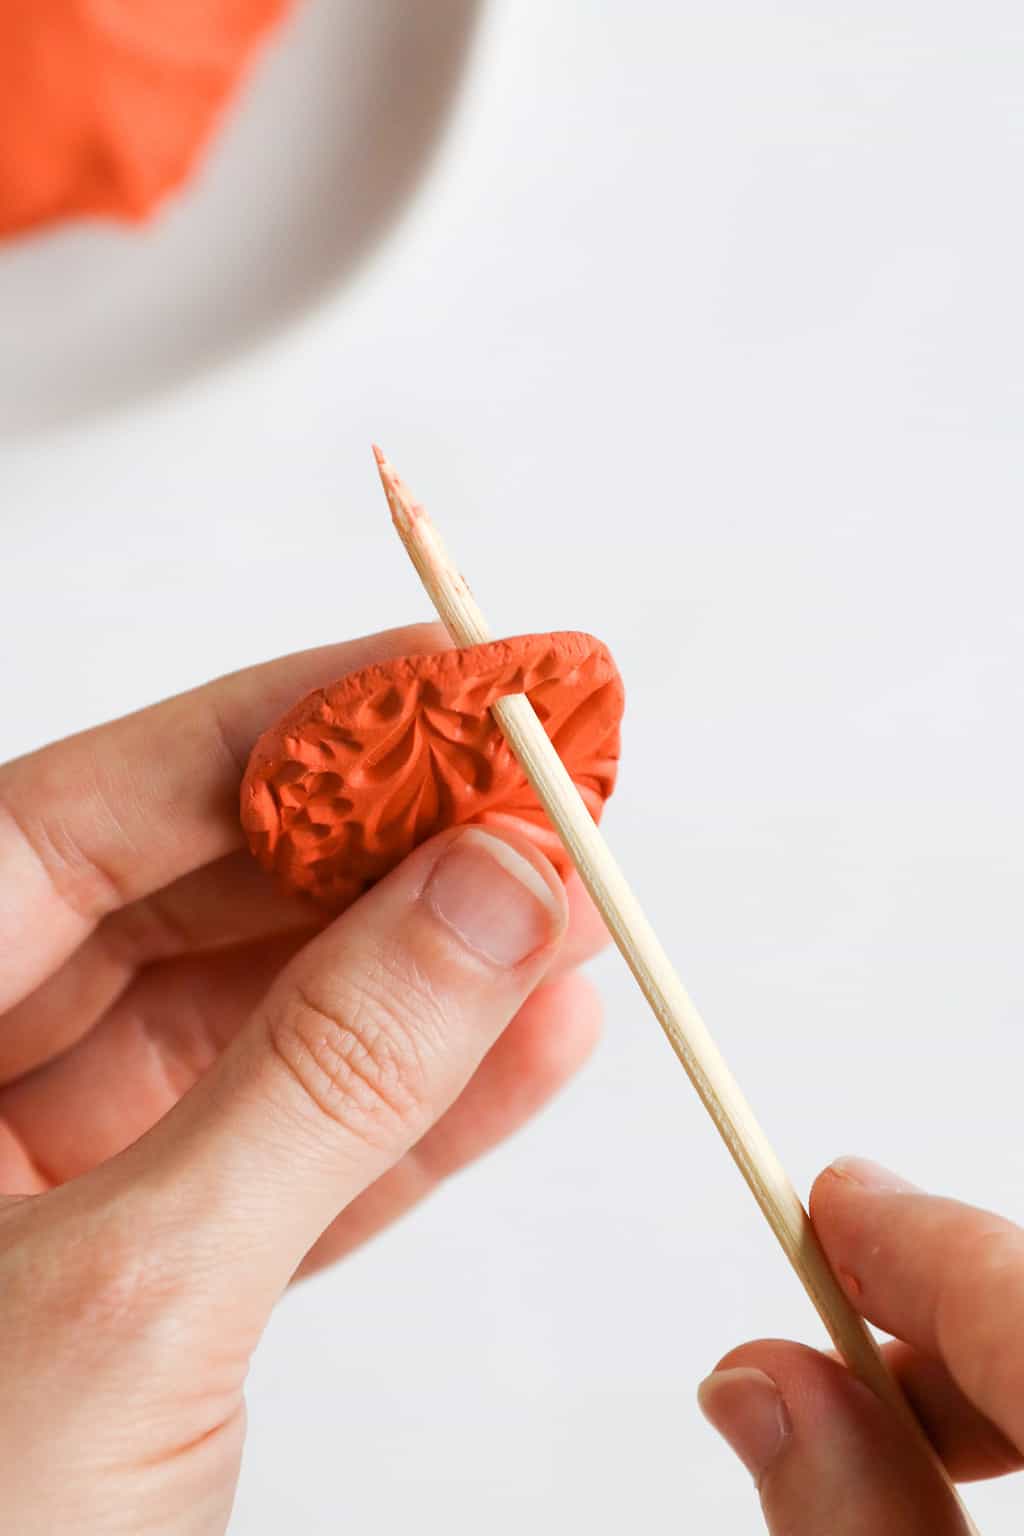
Step 3
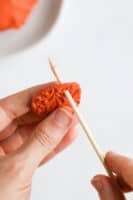
Using the sharp end of a skewer, make a small hole at the top of your diffuser.
Step 4
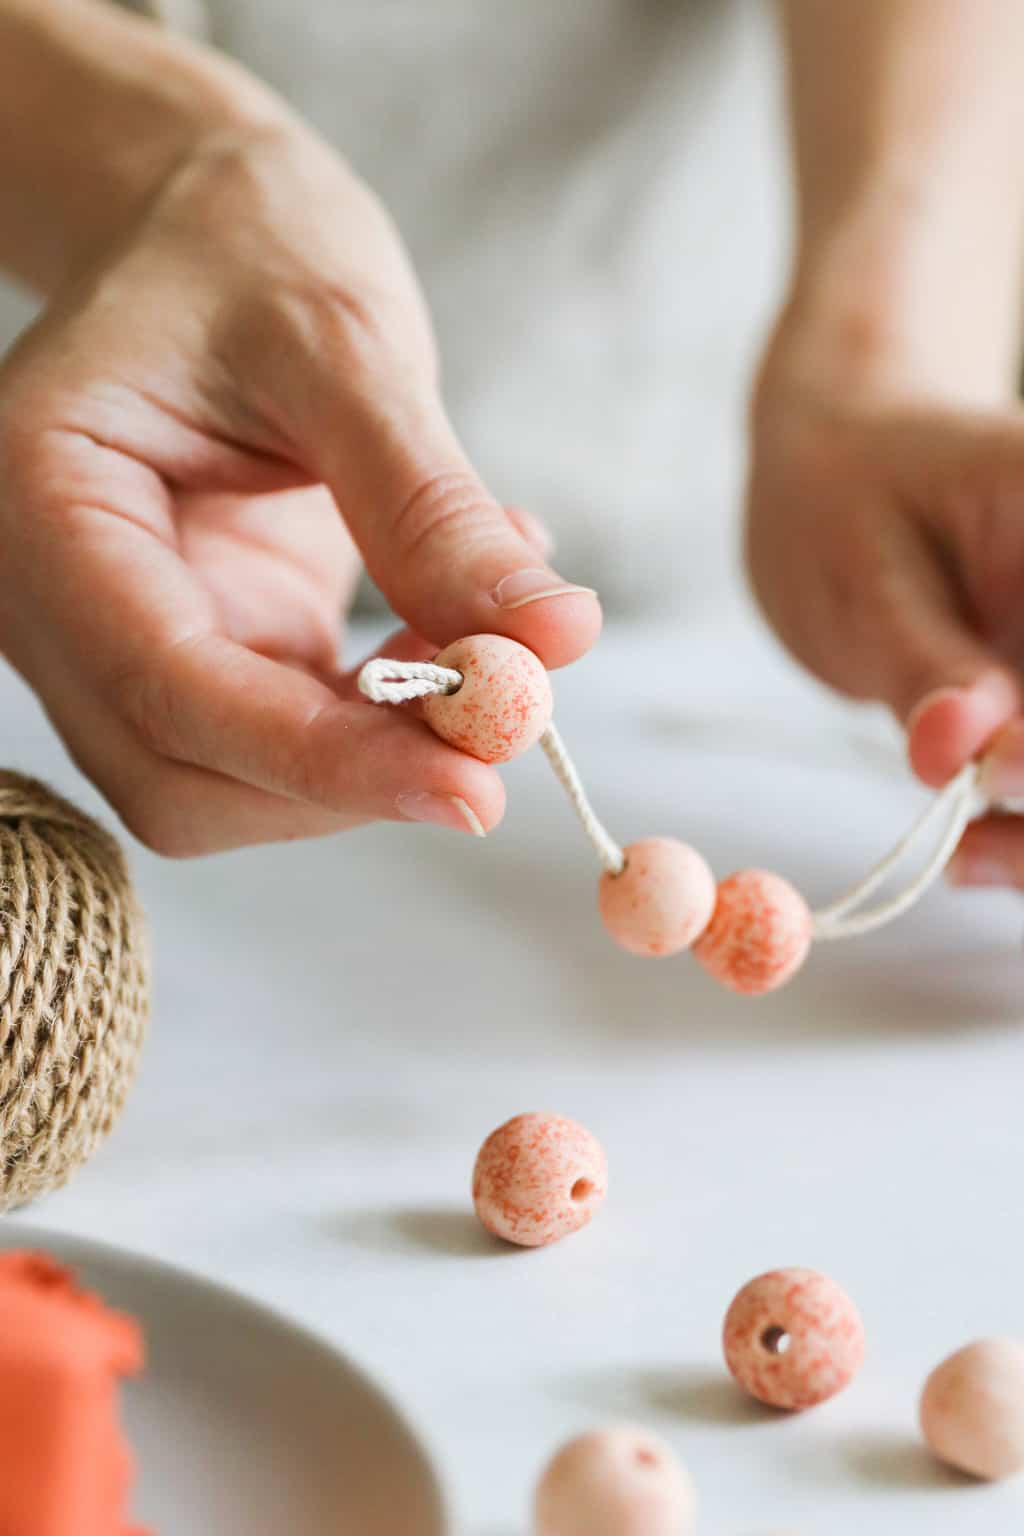
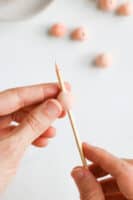
Create a few clay beads by rolling clay into balls roughly the size of a penny and using a skewer to create a hole all the way through. I used white air dry clay for my beads, but my hands were still covered in terracotta clay, so it gave them a pretty speckled pattern. A happy accident!
Step 5
Let everything dry overnight.
Step 6
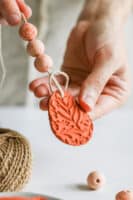
Cut a piece of twine about 12" long and fold it in half. Feed the folded end through several beads.
Step 7
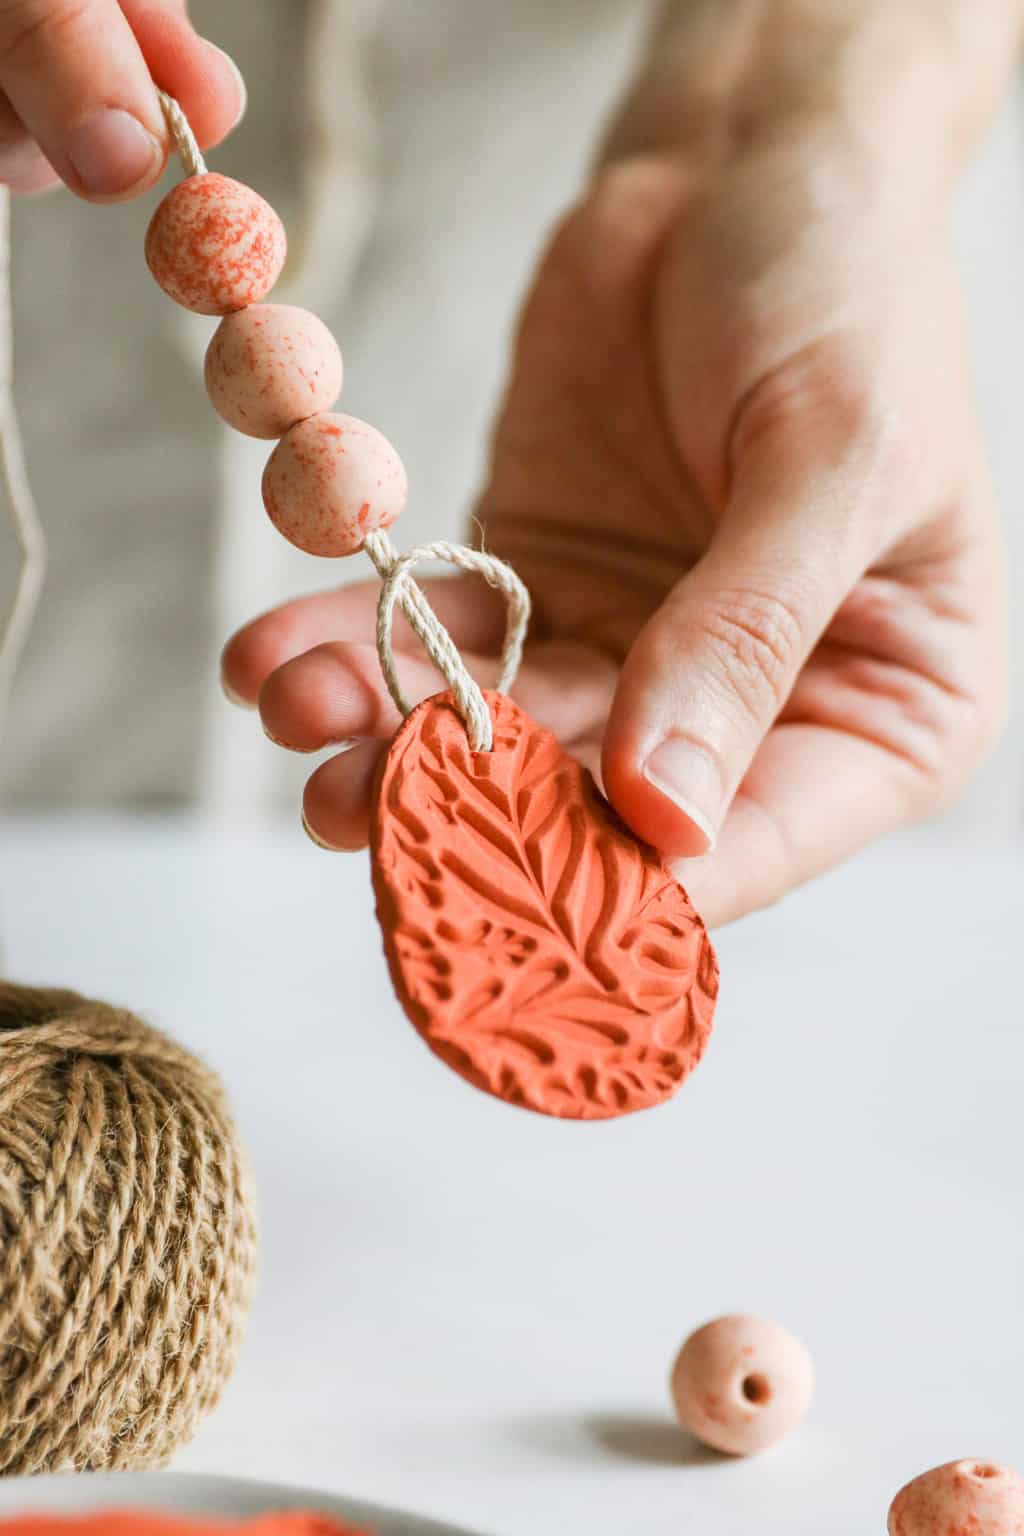
Feed the folded end of the twine through the hole in the stamped piece of clay as well.
Step 8
Take the two loose ends of the twine and feed them back through the loop of twine. Pull the beads through the loop. Then keep pulling gently to get rid of any leftover slack in the twine.
Step 9
Wrap the ends several times around the middle of a small clothespin and secure with glue. Trim off any excess twine.
Step 10
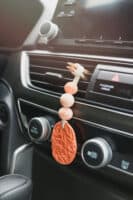
When everything's dry, add several drops of essential oils to the clay and clip the diffuser to the air vent in the car. Add oils whenever you notice the smell of your essential oil car diffuser beginning to dissipate.
Note: rather than making your own beads, you can use colorful glass or wooden beads if you like. Glass beads won’t absorb oils, so they won’t release a scent. But un-painted wood beads will, to an extent.
To keep things simple and increase the fragrance released by my diffuser, I just make my beads out of clay. Not to mention, it’ll save you money!
Have extra clay?
Try making a diffuser bracelet or a key chain to take with you on the go!
How to Make An Essential Oil Car Diffuser
Equipment
- Rolling Pin
- Wax paper
Materials
- Air dry clay (I used both white and terracotta. You can use just one or the other if you like.)
- Twine or string
- Small clothespin (if you plan to hang yours from a vent)
- Essential oils
- Wooden skewer
- Stamp to create a pattern (optional)
- Glue
Instructions
- Pinch off a small chunk of clay, roughly the size of a quarter, and roll it into a ball. Place it on a piece of wax paper, and use the rolling pin to lightly flatten it.
- Use a stamp to impress a design into the clay. Use your fingers or a butter knife to clean up the edges and refine the shape.
- Using the sharp end of a skewer, make a small hole at the top of your diffuser.
- Create a few clay beads by rolling clay into balls roughly the size of a penny and using a skewer to create a small hole. I used white air dry clay for my beads, but my hands still had terracotta clay on them, giving them this pretty speckled pattern. Let everything dry overnight.
- Cut a piece of twine about 12" long and fold it in half. Feed the folded end through the beads.
- Then feed the folded end of twine through the hole in the stamped piece of clay.
- Take the two loose ends of twine and feed them back through the loop of twine. Pull the beads through the loop, and then gently pull to get rid of any leftover slack in the twine.
- Wrap the ends several times around the middle of a small clothespin and secure with glue. Trim off any leftover twine.
- When it's dried completely, add several drops of essential oils and clip to the air vent in the car.
Notes
This article was medically reviewed by Dr. Gina Jansheski, a licensed, board-certified physician who has been practicing for more than 20 years. Learn more about Hello Glow's medical reviewers here. As always, this is not personal medical advice and we recommend that you talk with your doctor.
66
