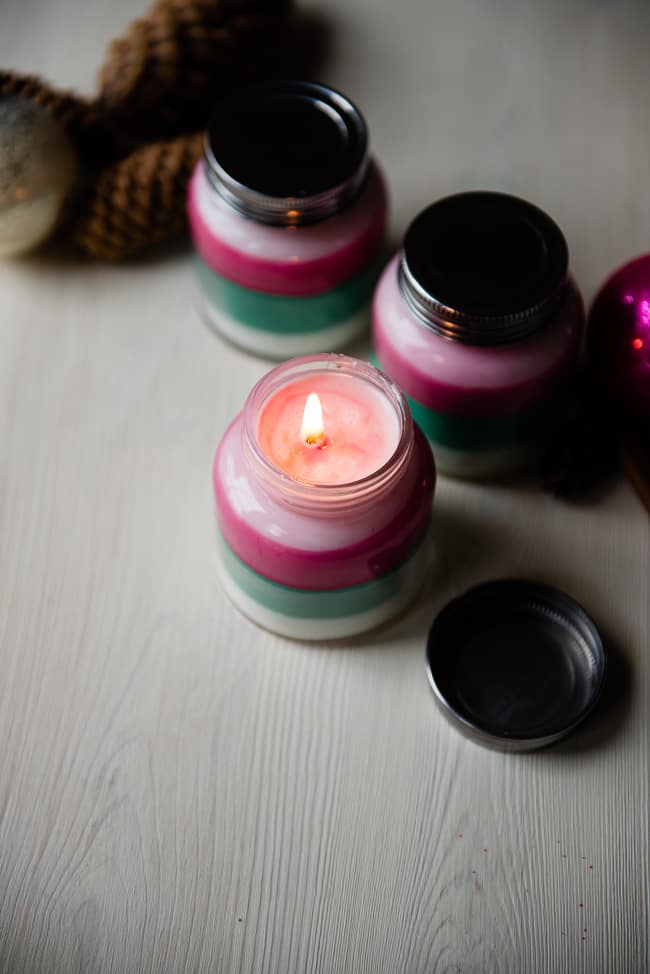
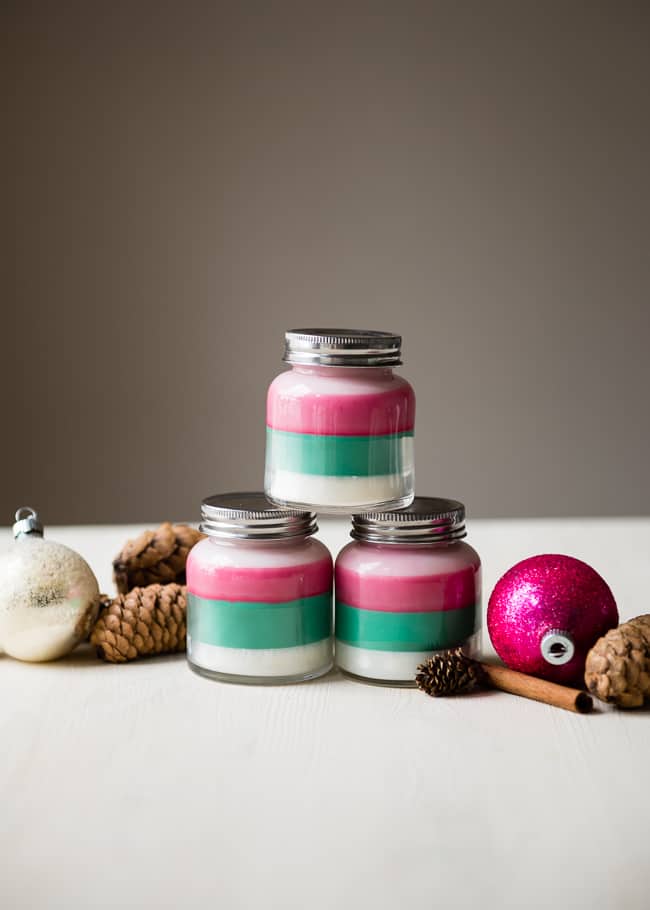
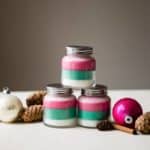
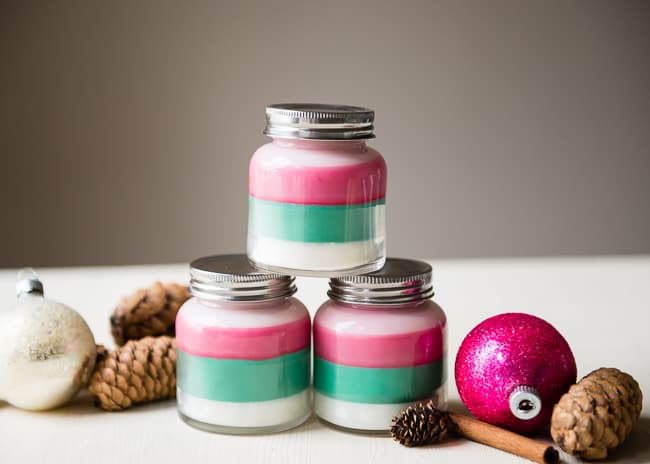
The really great thing about these DIY holiday candles is that each layer is not only a different color but also a different holiday scent. So as the candles burn, the delicious aroma of peppermint, balsam, or frankincense wafts through the air.
I'm kind of hooked on homemade candles. They are so much fun to make! If you're on my holiday gift list, expect to receive homemade candles this year 😉
Jump to:
Supplies needed
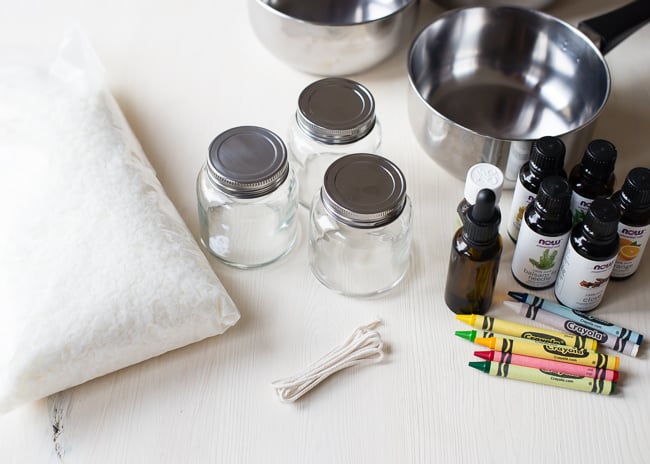
- Small glass jars (be sure they are the kind that won't break when heated)
- Soy candle wax
- Essential oils
- Candle wicks
- Crayons
- Small pans
What Essential Oils to Use for Holiday Candles
Use about 5–10 drops of essential oil per color/layer. These are the scents I used:
- white layer: vanilla
- green layer: balsam fir
- pink layer: sweet orange
Note: You might also like this version of the DIY holiday candles, with ginger and cedarwood.
How to Make DIY Holiday Candles
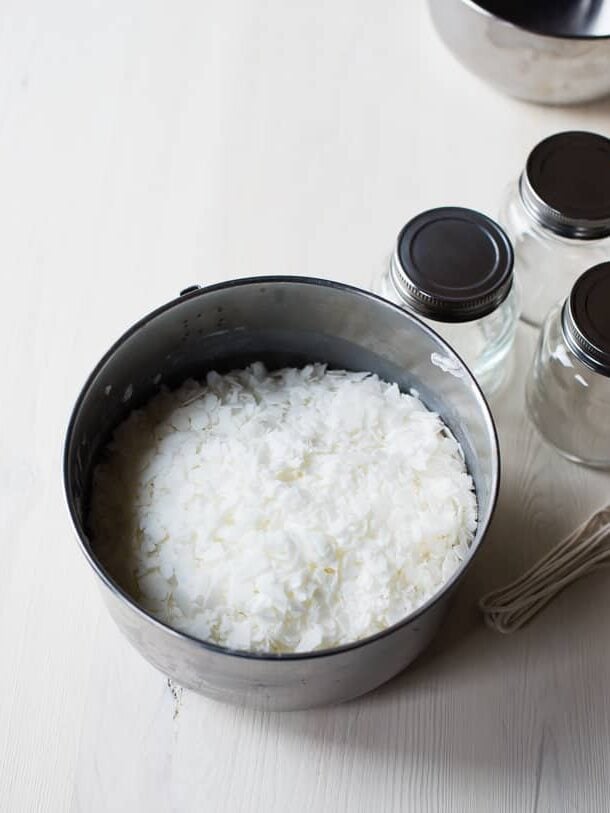
Melt the wax. Work in smaller batches because each layer will need to cool completely before adding the next one.
I started with plain wax first for my white layer. For the other layers, I removed the papers from the crayons and broke them into small pieces.
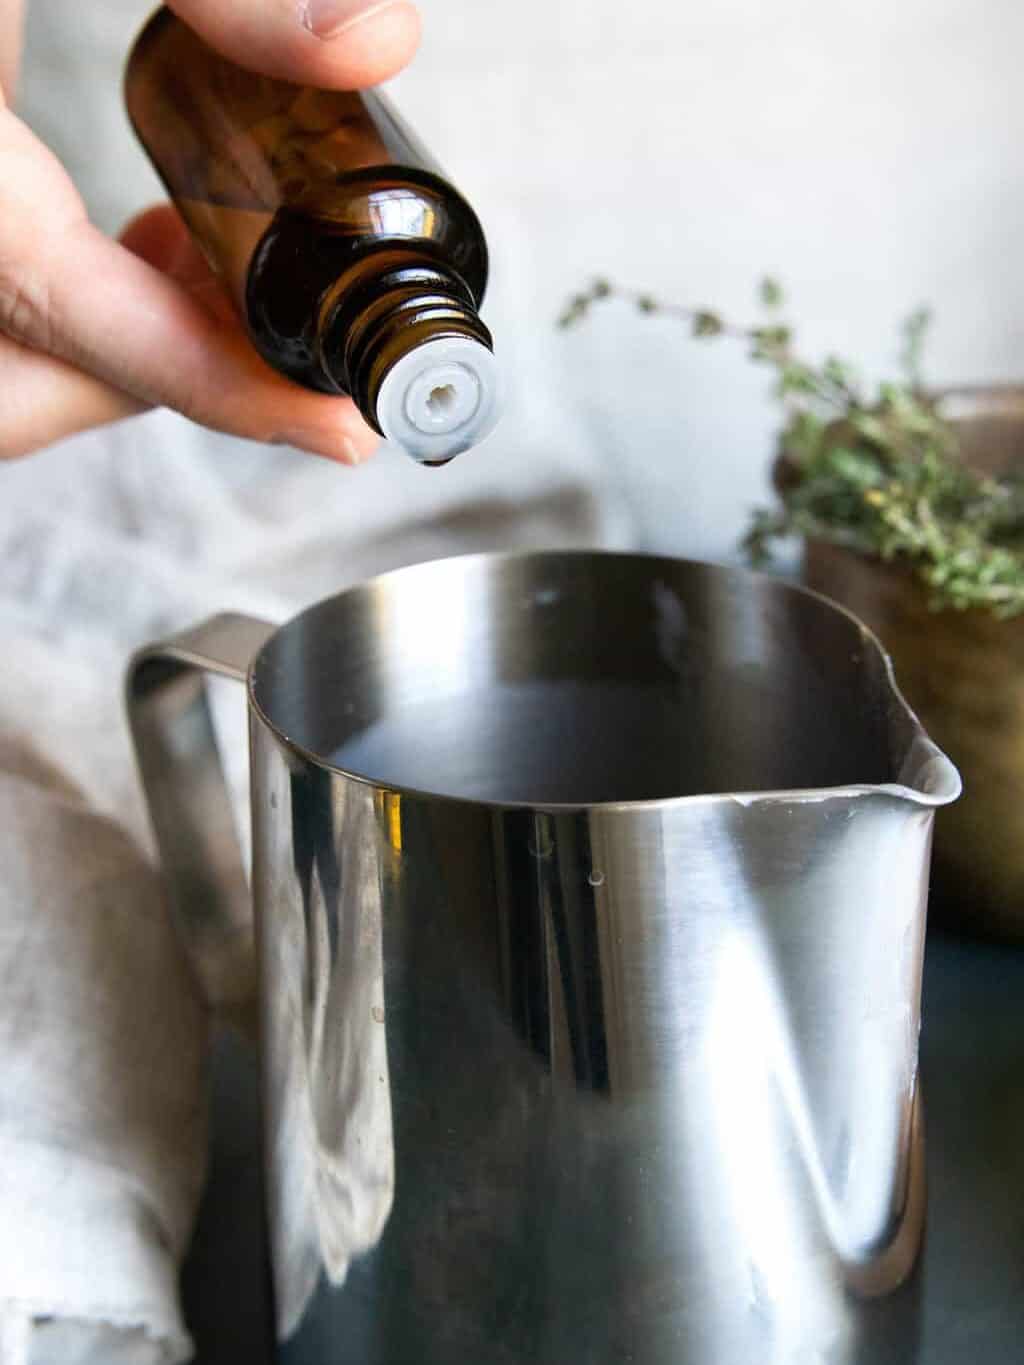
After the wax has completely melted, stir your chosen essential oils into the pan with a small wooden spoon or popsicle stick.
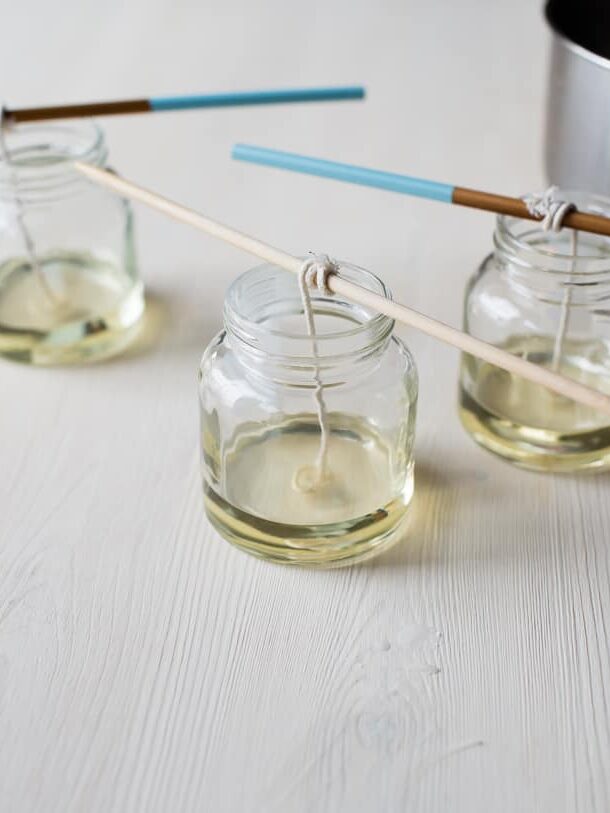
Adhere the wick to the bottom of the jar using a little melted wax. Wrap the top around a chopstick or skewer that can be laid across the top of the jar to keep it centered.
Pour the first layer into the jars. Let cool completely. Repeat the process with the other layers and scents, allowing each one to cool completely before adding the next.
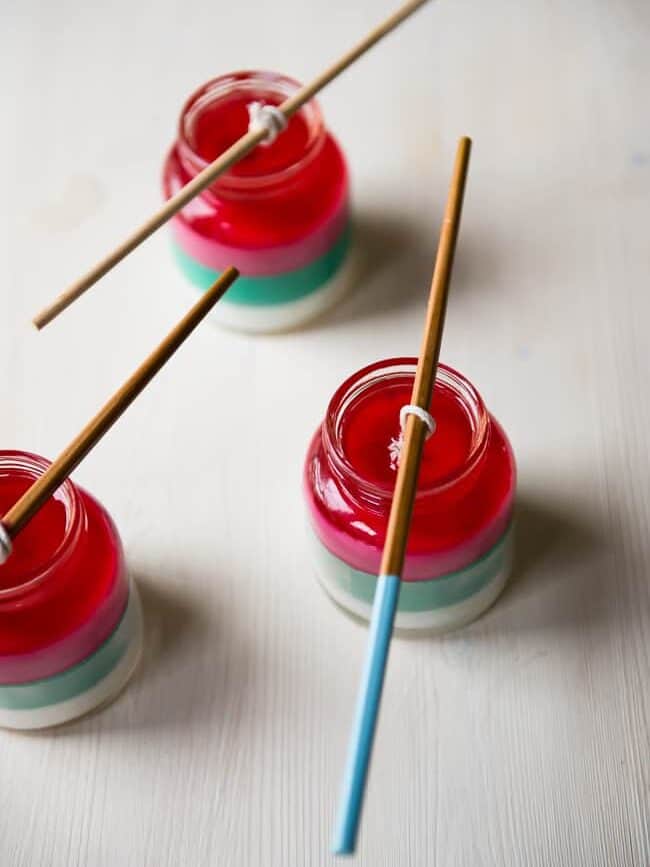
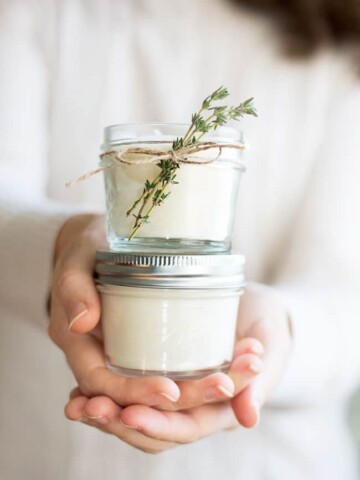
Trim the wicks, so there is about ½ to ¼ inch at the top for lighting. Top with the lid and store until ready to use or give as a gift!
Tip: Crayons melt very quickly. Use more or less of the different color crayon pieces to get the desired shade.
Tip: To speed up the cooling process, you can place the candles outside or in the fridge, but it can affect the way the wax sets. For a very even layer without bubbling or cracking, let them cool at room temp.
DIY Layered Scent Holiday Candles FAQs
Can you use beeswax pellets instead of soy to make these candles?
Yes, you can substitute beeswax for soy. However, beeswax has a stronger natural scent than soy, so you might not get the same effect with the layered scents.
Is it possible to color the wax without crayons if I don't have any on hand?
Instead of using crayons, you can color the wax by reusing old taper candles or adding wax color dye chips or special liquid drops. Keep in mind that common liquid food coloring won't work to add color to candles because it is water-based, which will prevent it from mixing with the oils in the wax.
Can you make a candle with just crayons?
Crayon wax is not the same thing as candle wax. When used on their own to make a candle, crayons don't melt well with a wick. Adding soy wax into the mix with the melted crayons helps to solve this issue.
Layered Scent DIY Candle
Equipment
- Several small bowls for melting wax
- Small heat-proof jars
- Chopsticks or clothespins for holding the wicks
Materials
- Soy wax flakes
- Crayons in assorted colors
- Wicks
- Essential oils
Instructions
- Choose the number of layers you want to create for each candle. Divide the wax evenly. I used about ¾ to 1 cup of wax flakes per layer (so about ⅓–¼ cup per layer, per jar). Remove the papers from the crayons and break into small pieces. Melt soy wax flakes and crayons in a pan. Slowly stir in 5–10 drops of the desired essential oil with a wooden spoon.
- Adhere the wicks to the bottoms of the jars using a little melted wax. Wrap the wick around a skewer or toothpick so it can be suspended to keep it centered.
- Pour the first color layer into the jars. Let cool completely. You can speed up the process by placing them outside or in a cool place. Repeat the process with more wax, crayons, and essential oils. To keep the new layer from melting the previous layer, it is helpful to let the wax cool slightly before pouring into the jar.
- After the last layer is poured into the jar, let the jars sit undisturbed for several hours or overnight. Trim the wicks, top with the lids, and package up to give as gifts.
Notes
