
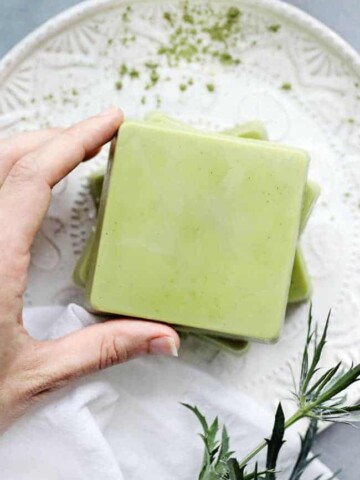
It’s that time of year again: bath season (did you think I was going to say the holidays? Yeah, that too.) True to their name, copycat Lush bath melts are butter-based bath products made to dissolve in warm water and coat your skin in a layer of hydrating oil. If there’s one thing Lush does right, it’s making the most luxurious, skin-nourishing bath oils.
I don’t know about you but we’re only one month in and already I’m desperate for some R&R outside of all the parties and festive hoopla. All I want is to run a hot bath and toss in some of the amazing-smelling bits and bobs I saw at Lush recently.
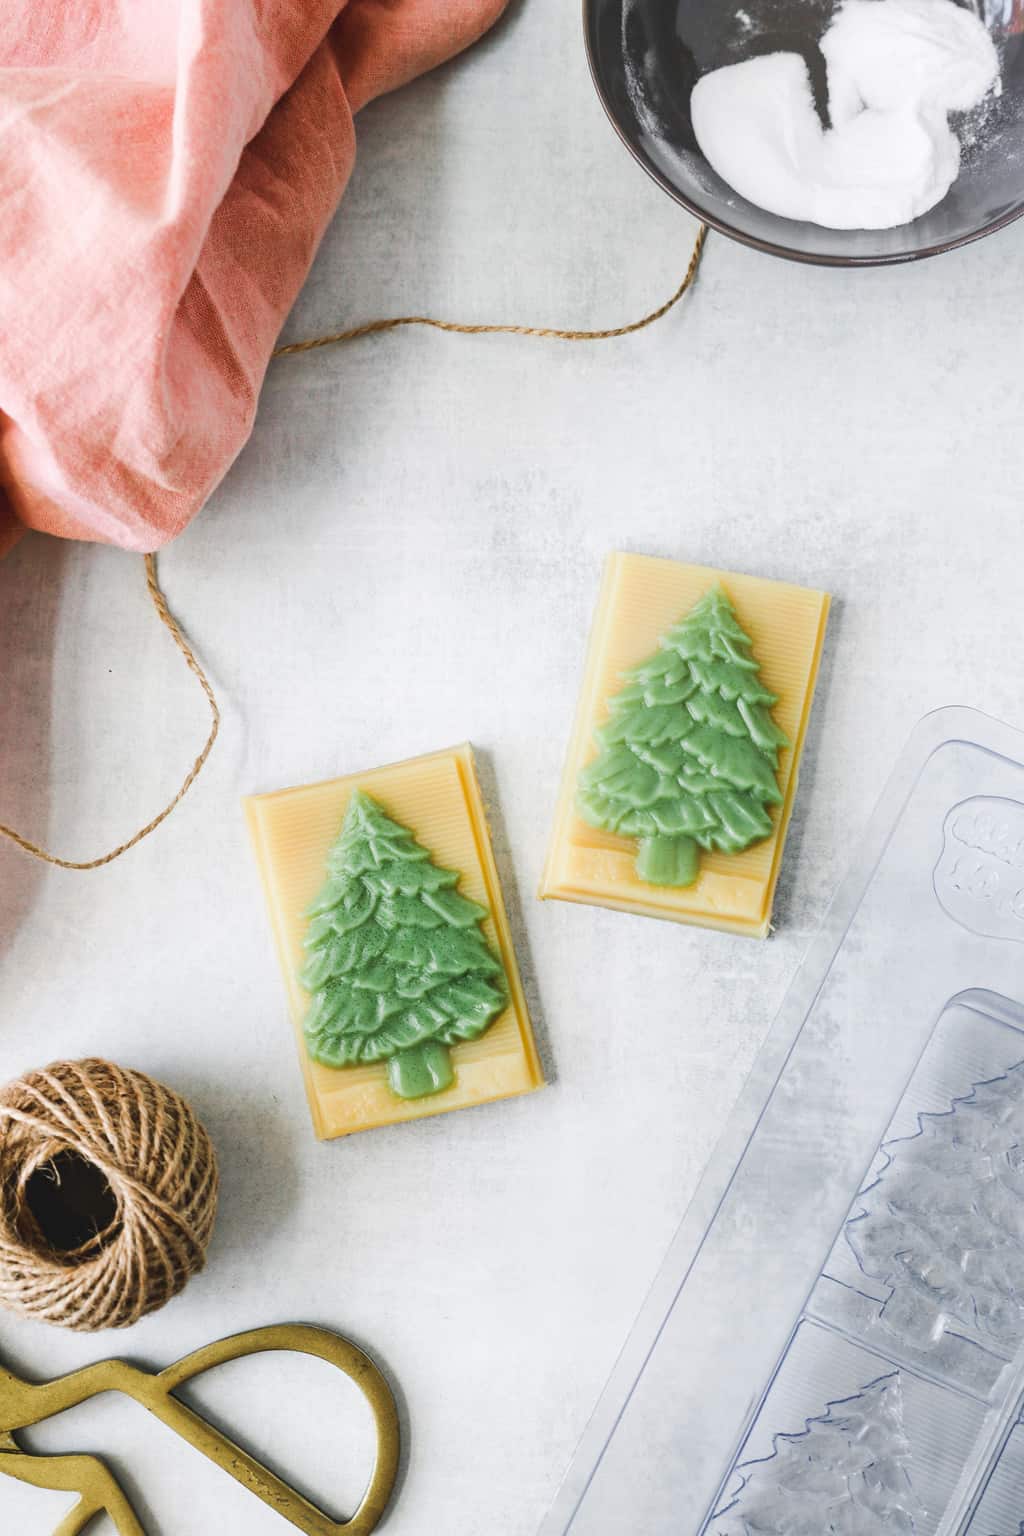
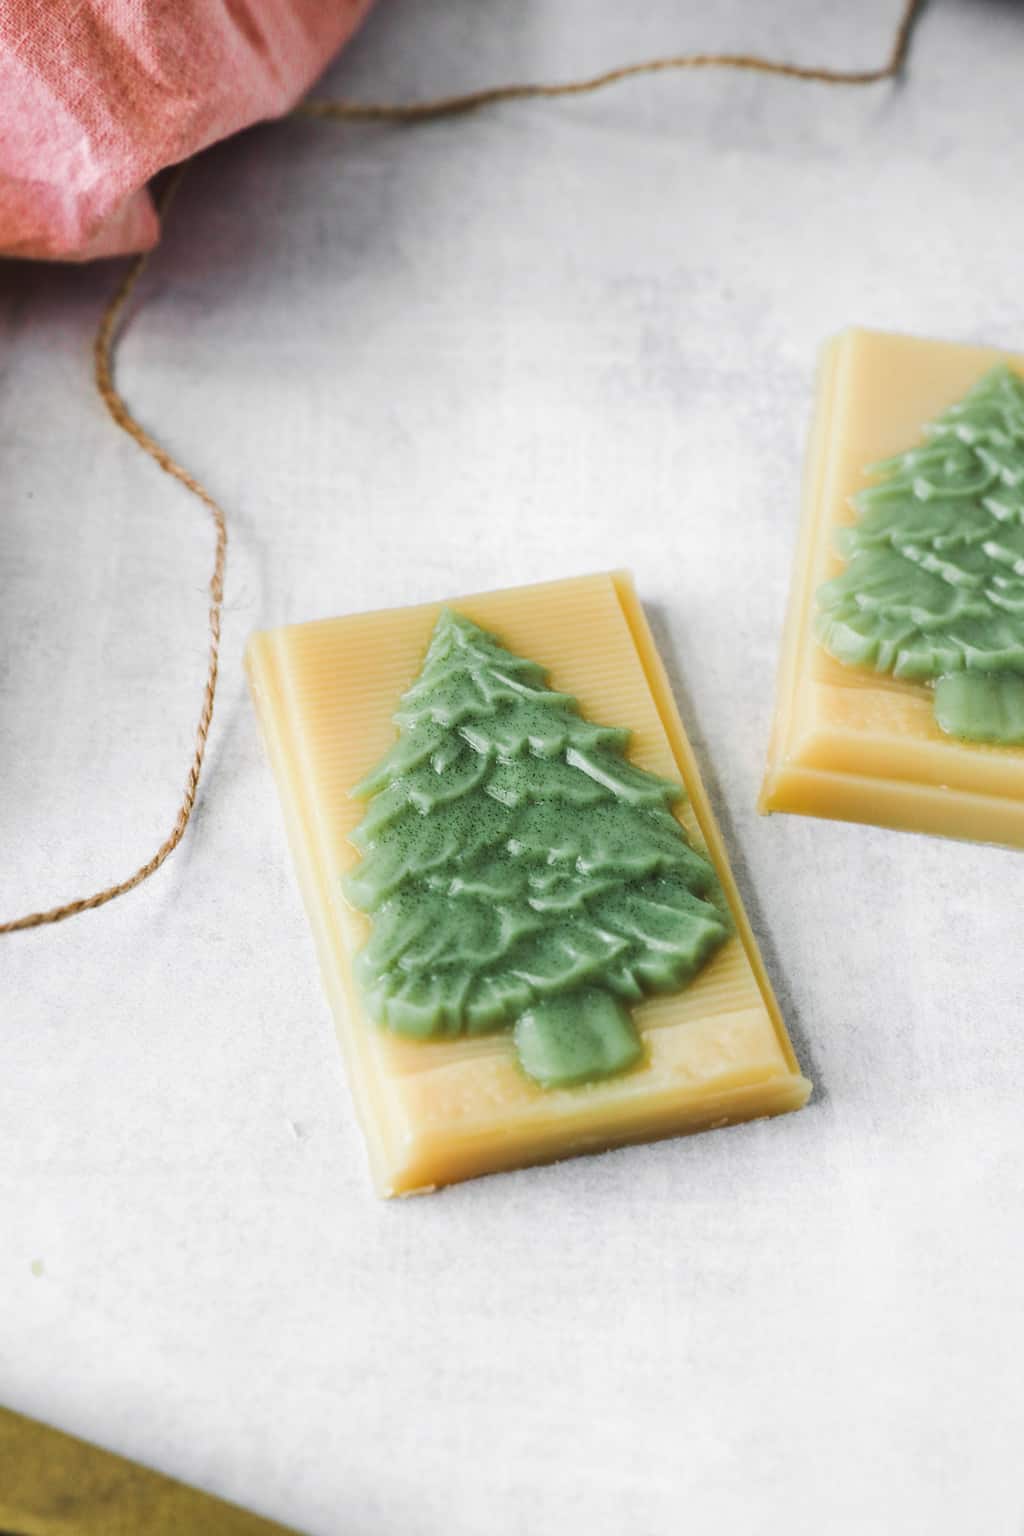
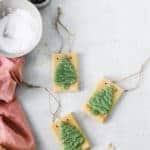
Lush bath bombs, bubble bars, and Christmas tree bath melts are at the top of my list. I love making my own since I get to control the ingredients and save a little money in the process.
Plus they’re perfect for wrapping up and giving as gifts to all the other frazzled ladies on my list. Add a string for some festive charm and… I mean, does it get any cuter than that?
Jump to:
Ingredients
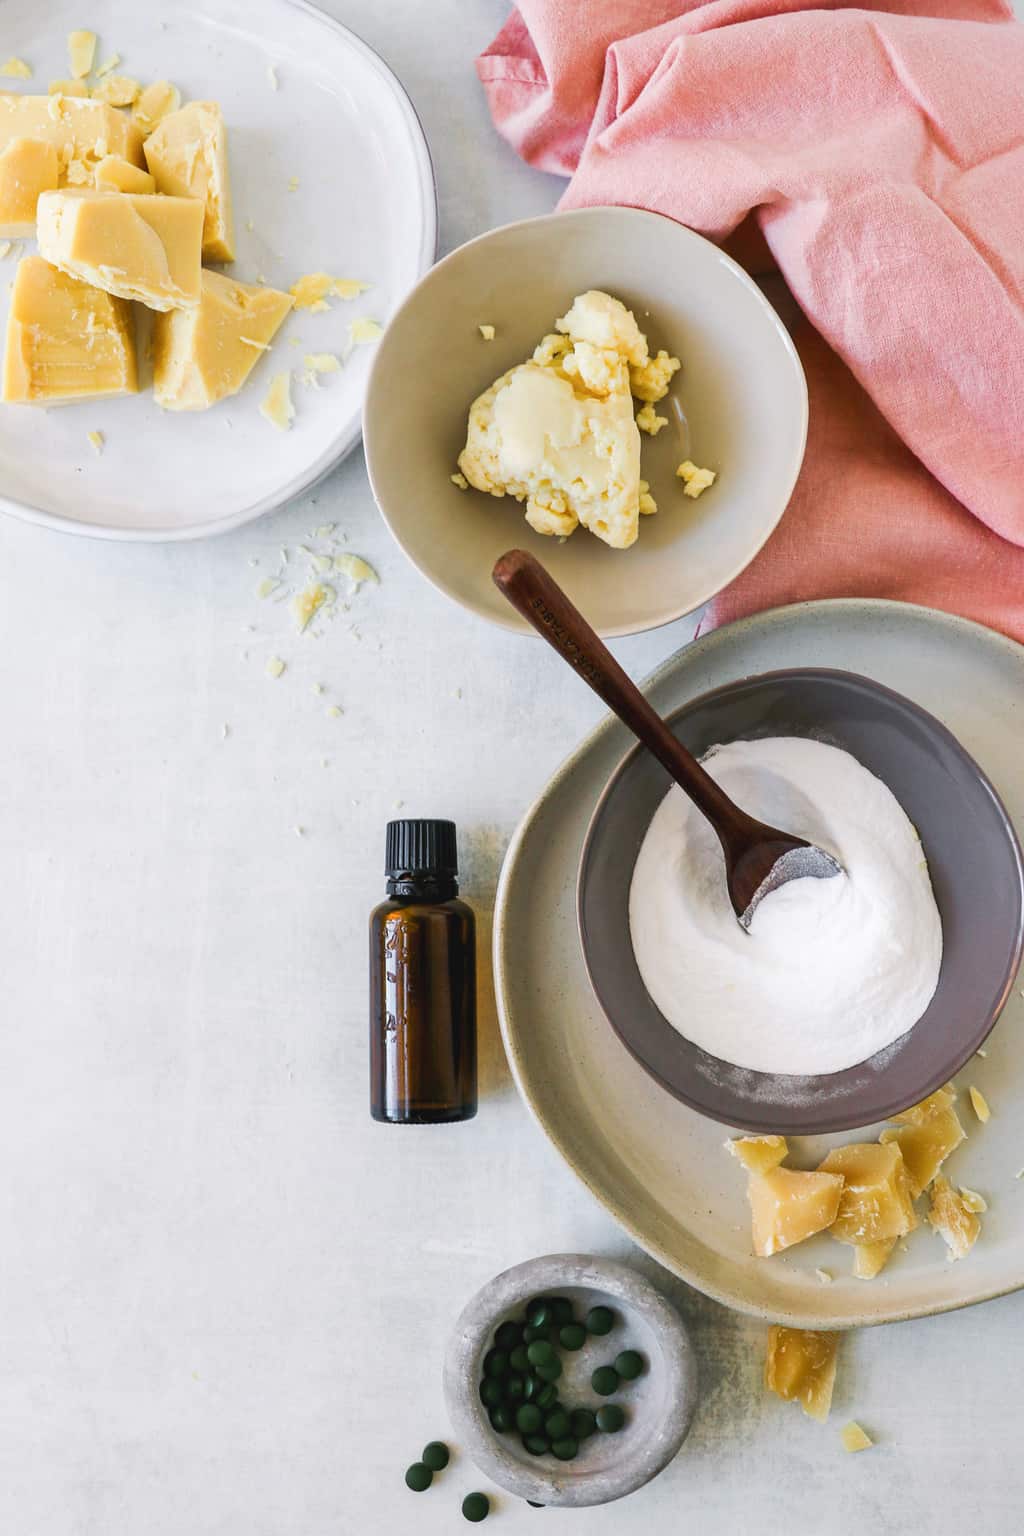
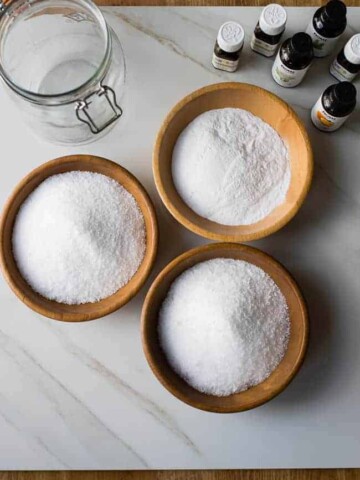
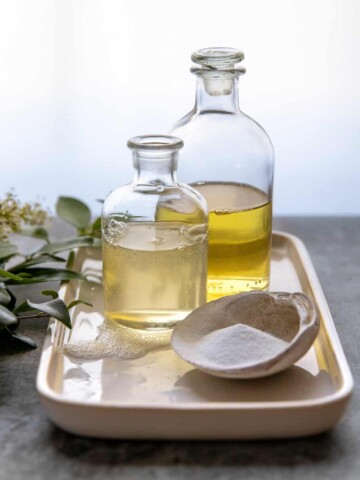
I made these bath melts as close to the original as I could. They contain some easy-to-find things like cocoa butter, baking soda, shea butter, and essential oils as well as some harder-to-find ingredients like cupuacu butter and carnauba wax.
Since they don’t need to be identical to be amazing, I purchased what I could (cupuacu butter), subbed out what I couldn’t (carnauba wax), and scrapped whatever I didn’t think was necessary. And they came out perfectly.
- ¾ cup cocoa butter
- ½ cup shea butter
- ¼ cup cupuacu butter
- 2 tablespoon beeswax
- 2 tablespoon baking soda
- 20 drops ylang ylang essential oil
- 10 drops grapefruit essential oil
- ½ teaspoon chlorella for color - I ground it into a super fine powder using a coffee grinder.
- Kitchen twine or string
Instructions
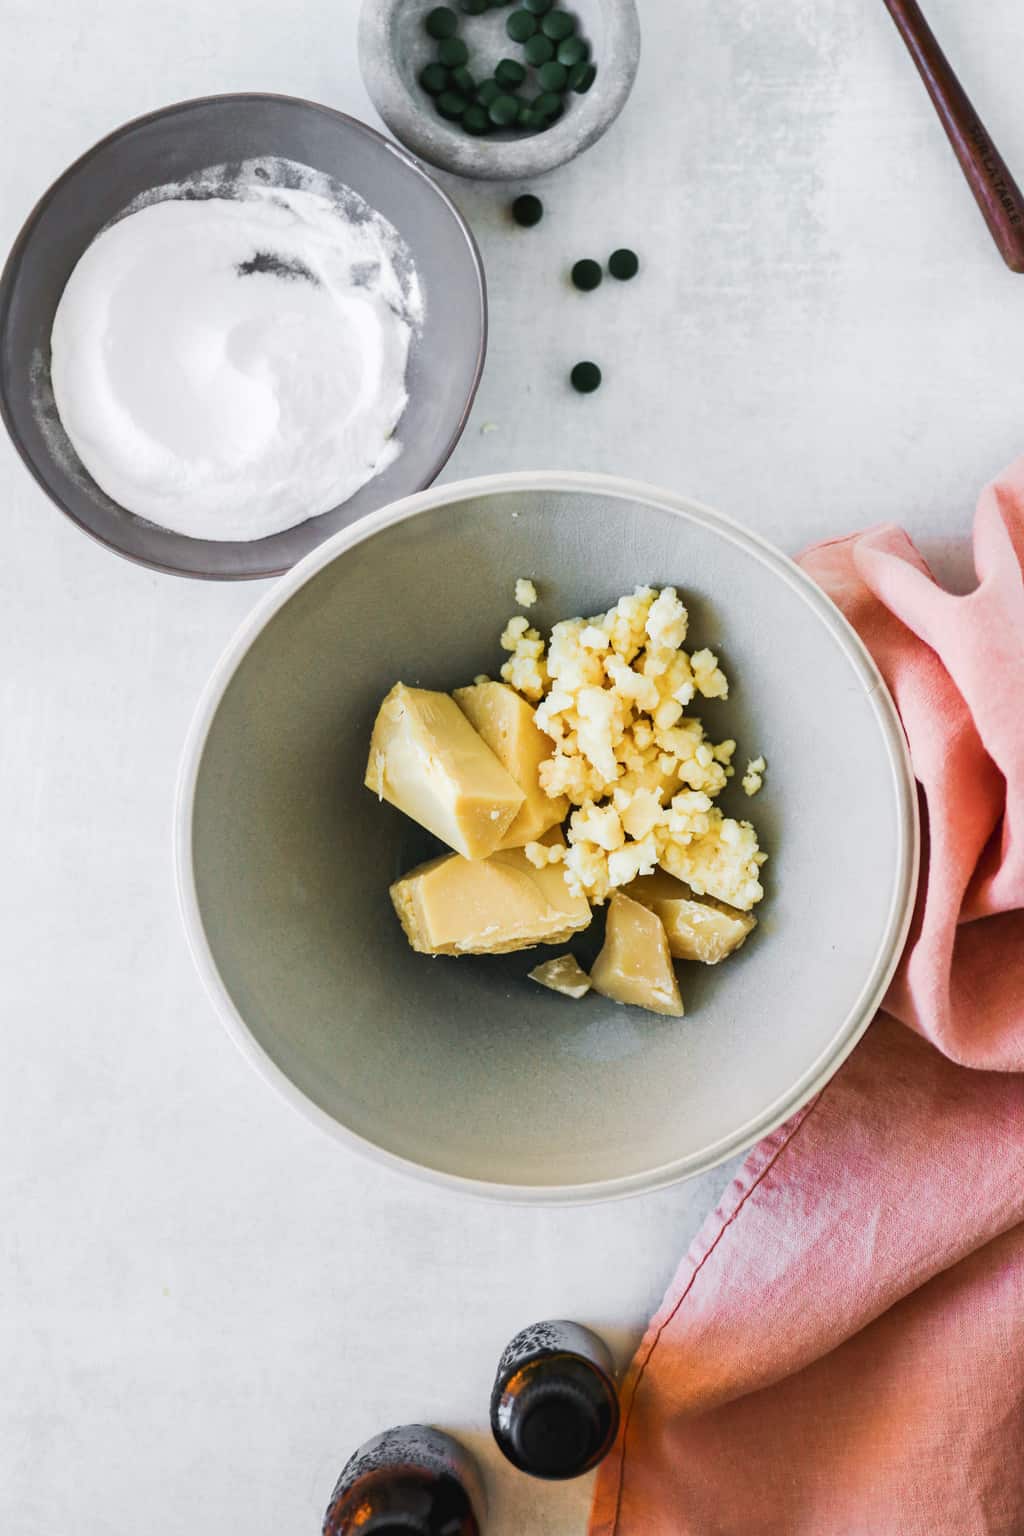
Step 1 | Melt butters + wax
Combine the butters and beeswax and melt over low heat. Once melted, add the baking soda and essential oils.
I separated the butter mix into 2 bowls so I could make the Christmas tree a different color than the rest of the bar.
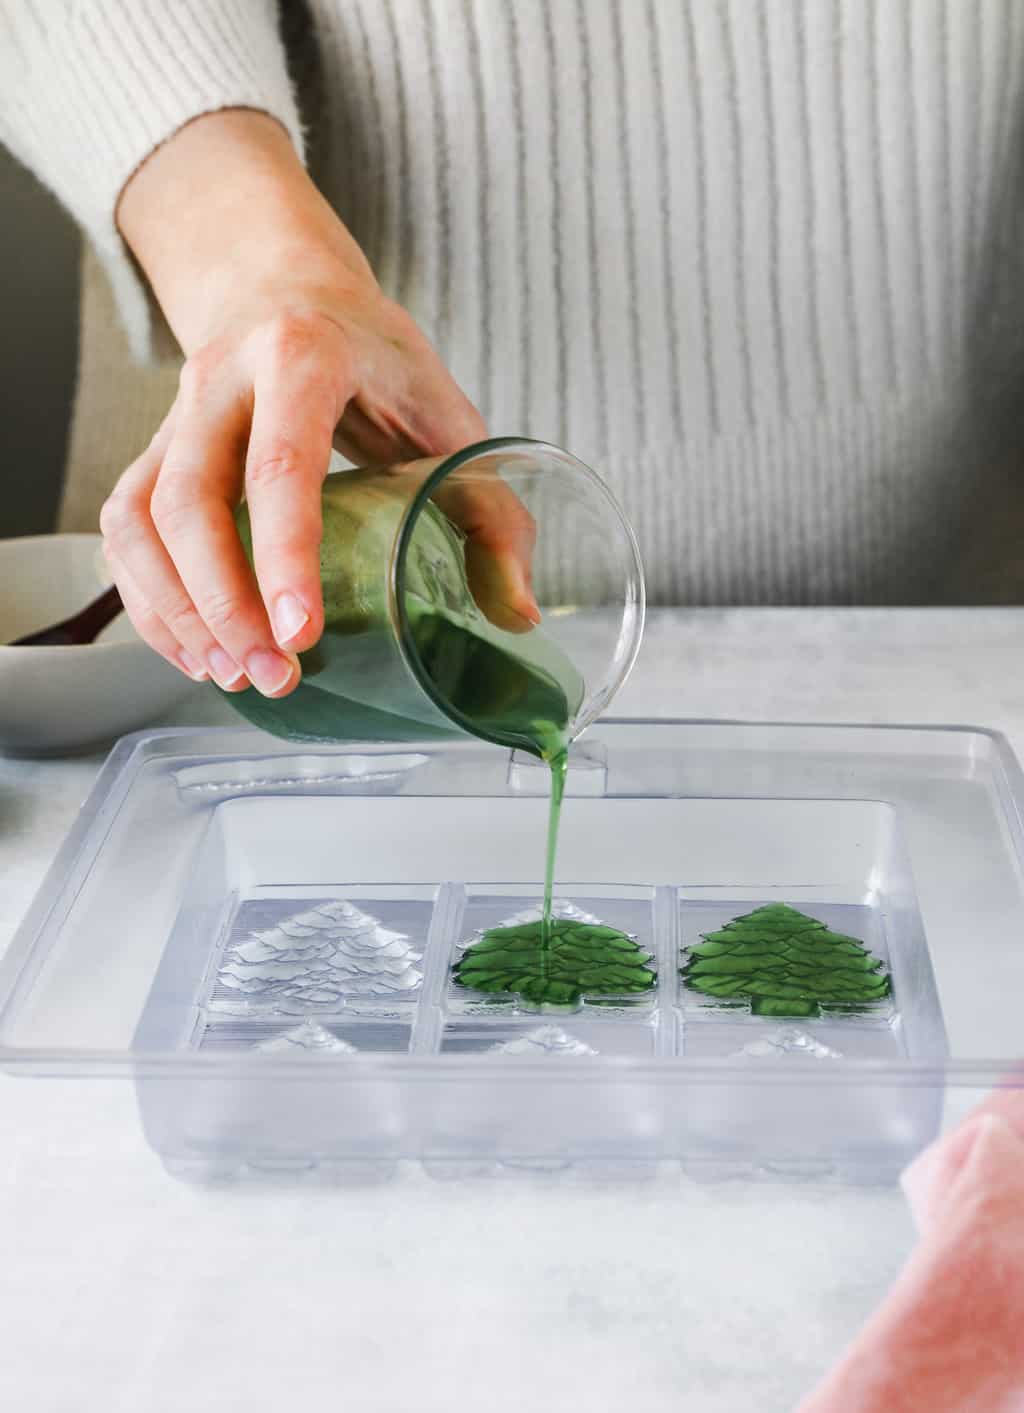
Step 2 | Add color
Pour some of the melted oil into a separate bowl (you'll need about 4 ounces, depending on your mold) and add the ground chlorella for color.
Then pour the colored butter into the tree portion of the mold and wait for it to cool before pouring the rest.
Step 3 | Add remaining oil
Pour in the remaining melted wax (reheat if needed). Set the whole thing aside to cool overnight.
Remove the solid bath melts from the mold, using a butter knife to separate them, if needed.
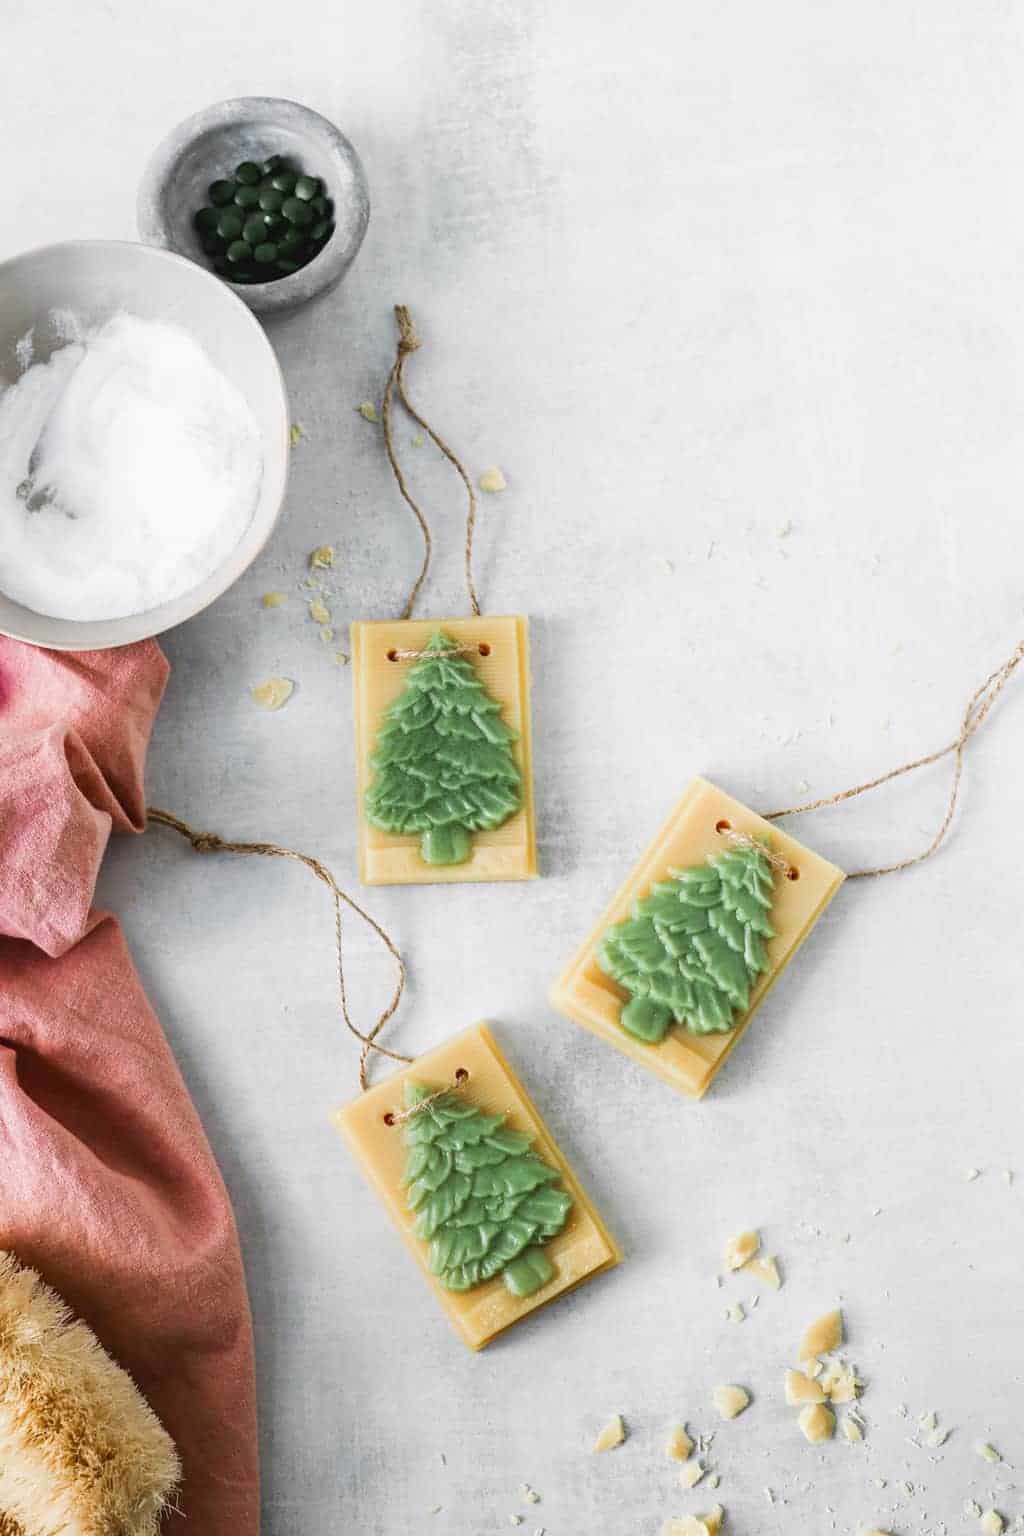
Step 4 | Tie string
Take a metal nail and hold it over a candle or open flame. Punch two holes at the top of each bath melt and run a piece of string through the holes. Tie in a knot at the top.
Hint: To make a bath melt that's all one color, just combine the wax and butters in a small bowl and melt. When the wax cools a little, add your essential oils and pigment for color, then pour it directly into the mold.
Substitutions
- Cocoa butter — You can swap the cocoa butter for more shea butter or try kokum butter or mango butter.
- Color — If you don't have chlorella, try matcha for green bath melts. Or you can use artificial colors or any kind of food-safe dye.
- Essential oils — Any of these bath bomb essential oils would be perfect in bath melts too.
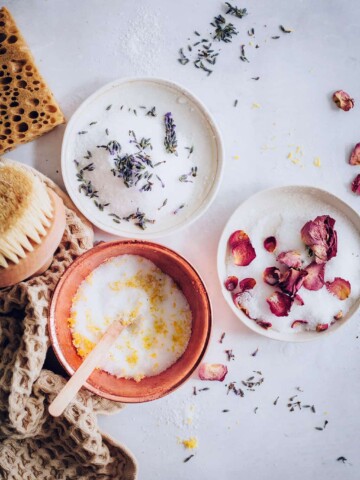
Cocoa Butter Bath Melt Variations
We all know someone who loves bath bombs and Lush bath products, so why not treat them with these very simple quickfire bath melts?
Basic Cocoa Butter Bath Melts
- ½ cup cocoa butter
- 2 tablespoons coconut oil
- 10-15 drops of your favorite essential oil (e.g., lavender, chamomile, or rose)
Instructions:
- In a heatproof bowl, melt the cocoa butter and coconut oil using a double boiler or in short bursts in the microwave. Stir until well combined.
- Allow the mixture to cool slightly before adding the essential oil.
- Pour the mixture into silicone molds of your choice.
- Place the molds in the refrigerator for a few hours or until the melts harden.
- Once set, remove from the molds and store in a cool, dry place.
Sweet Almond and Vanilla Bath Melts
- ½ cup sweet almond oil
- ½ cup cocoa butter
- ¼ cup shea butter
- 1 teaspoon vanilla extract or vanilla oleoresin
Instructions:
- Melt sweet almond oil, cocoa butter, and shea butter together in a heatproof bowl using a double boiler.
- Remove from heat and stir in vanilla extract or vanilla oleoresin.
- Pour the mixture into molds and refrigerate until solid.
Chocolate Mint Bath Melts
- ½ cup cocoa butter
- 2 tablespoons coconut oil
- ¼ cup grated dark chocolate
- 10 drops peppermint essential oil
Instructions:
- Melt cocoa butter and coconut oil together in a heatproof bowl using a double boiler.
- Stir in grated dark chocolate until fully melted.
- Add peppermint essential oil and mix well.
- Pour the mixture into molds and refrigerate until hardened.
Equipment
We like plastic or silicone molds for easy removal. You can find molds in various shapes and sizes to add a decorative touch. These and these are similar to the ones we used.
Storage
Store your cocoa butter bath melts in a cool, dry place away from direct sunlight. Using airtight containers helps prevent them from absorbing moisture and losing their effectiveness.
Usage
To use, simply drop a bath melt into a hot bath and let it dissolve, releasing its nourishing oils and lovely scent. Enjoy your homemade bath melt for a relaxing and rejuvenating me-time experience.
If your bars are large and there’s enough oil in each bar to last for a few baths, you can break it into pieces and toss one or two small chunks in the tub. The oils will float on top of the water, softening your skin as you soak.
You can also hang the bar over the faucet and let the running water melt some of the oils before setting the rest of the bar aside.
You can also do what I do when I'm feeling lazy and want to skip putting on moisturizer: use the bar as an in-shower skin conditioner. Simply let the hot water soften the oils a bit, then rub it over freshly washed skin. Hop out and dry off as usual.
FAQ
Common ingredients include cocoa butter, shea butter, coconut oil, essential oils, and other optional additives like dried herbs or flower petals.
Use a double boiler or a heatproof bowl over simmering water to melt your ingredients gently. Avoid overheating, as this can affect the quality of the oils.
The setting time can vary, but generally, it takes a few hours to overnight for bath melts to harden completely. Placing them in the refrigerator can speed up the process.
It's not recommended to use homemade bath melts in a hot tub, as they may leave a residue. However, they are perfect for individual baths in a regular bathtub.
More Cocoa Butter Recipes
Looking for other cocoa butter recipes? Try these:

Cocoa Butter Bath Melt Recipe
Equipment
- Christmas tree soap mold
- Medium microwave-safe bowl
Materials
- ¾ cup cocoa butter
- ½ cup shea butter
- ¼ cup cupuacu butter
- 2 tablespoons beeswax
- 2 tablespoons baking soda
- 20 drops ylang ylang essential oil
- 10 drops grapefruit essential oil
- ½ teaspoon chlorella finely ground (for color)
- Kitchen twine or string
Instructions
- Combine the butters and beeswax in a a heat-safe bowl and melt in a double boiler over low heat. Once melted, add the baking soda and essential oils. Stir well.
- Pour some of the melted oil into a separate bowl (you'll need about 4 ounces, depending on your mold) and add the ground chlorella for color. Do not add color to the remaining oil mixture.
- Pour the green oil into the tree portion of the mold and let cool completely (if you like, you can put it in the refrigerator to cool faster). Meanwhile, re-heat the non-colored oil so it remains a liquid.
- Pour the remaining oil into the mold and set aside to cool completely.
- Remove the solid bath melts from the mold, using a knife to separate them, if needed.
- Then, take a metal nail and hold it over a candle or open flame. Punch two holes at the top of each bath melt and run a piece of string the holes. Tie in a knot at the top.
- To use, break the bath melt into pieces and toss a couple small chunks into running bath water. The oils will float on top of the water, softening skin as you soak.
This post was medically reviewed by Dr. Jennifer Haley, a board-certified dermatologist with extensive experience in medical, cosmetic and surgical dermatology. Learn more about Hello Glow’s medical reviewers here. As always, this is not personal medical advice and we recommend that you talk with your doctor.
57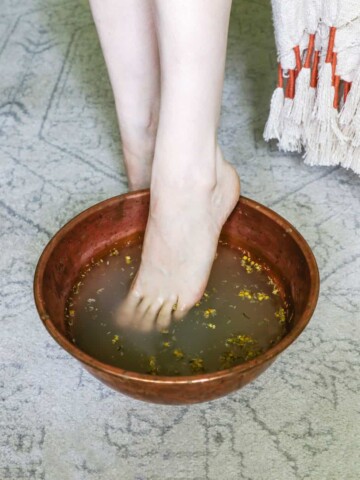
Sandra says
This looks so beautiful, I want to make them peppermint and do some pumpkin flavored! for Thanksgiving. Thank you so much for sharing. Bath melts are a must-have after a rough day, and after this rough 2020, we are all going to need them! Thanks
I found some beautiful molds for thanksgiving on https://bulkapothecary.com
A friend says
Linalool is naturally occurring in essential oils such as lavender. Please don't spread unnecessary fear.
https://www.edensgarden.com/blogs/news/aaa-what-is-the-importance-of-linalool-in-essential-oils
Stephanie Gerber says
That's a great point, thank you for clarifying!