If you've ever gotten a facial, you know how amazing it feels. Not only does it work wonders on your skin, but it's like a mini massage. The steam, the mask, the face massage—it's all so heavenly.
"Receiving a facial is an effective way to increase cellular turnover, decrease fluid buildup, and prevent breakouts," explains Patricia Walker, skincare expert and formulator of Farm to Skin. "Receiving a professional facial not only leaves your skin clean and glowing, but is also a great opportunity to speak with a skincare specialist who can address your unique skin concerns and offer professional advice."
Most estheticians recommend getting regular facials, which means at least once every 4-6 weeks, but, if we're being honest, that's hard to keep up with. Not only is that quite the time commitment, but facials are expensive!
If you're committed to healthy, glowing skin, there's no reason why you can't recreate the experience at home. Find a time to relax and give yourself the pampering of a facial at home or with a group of your besties. Here's how:
How To Do a Facial at Home
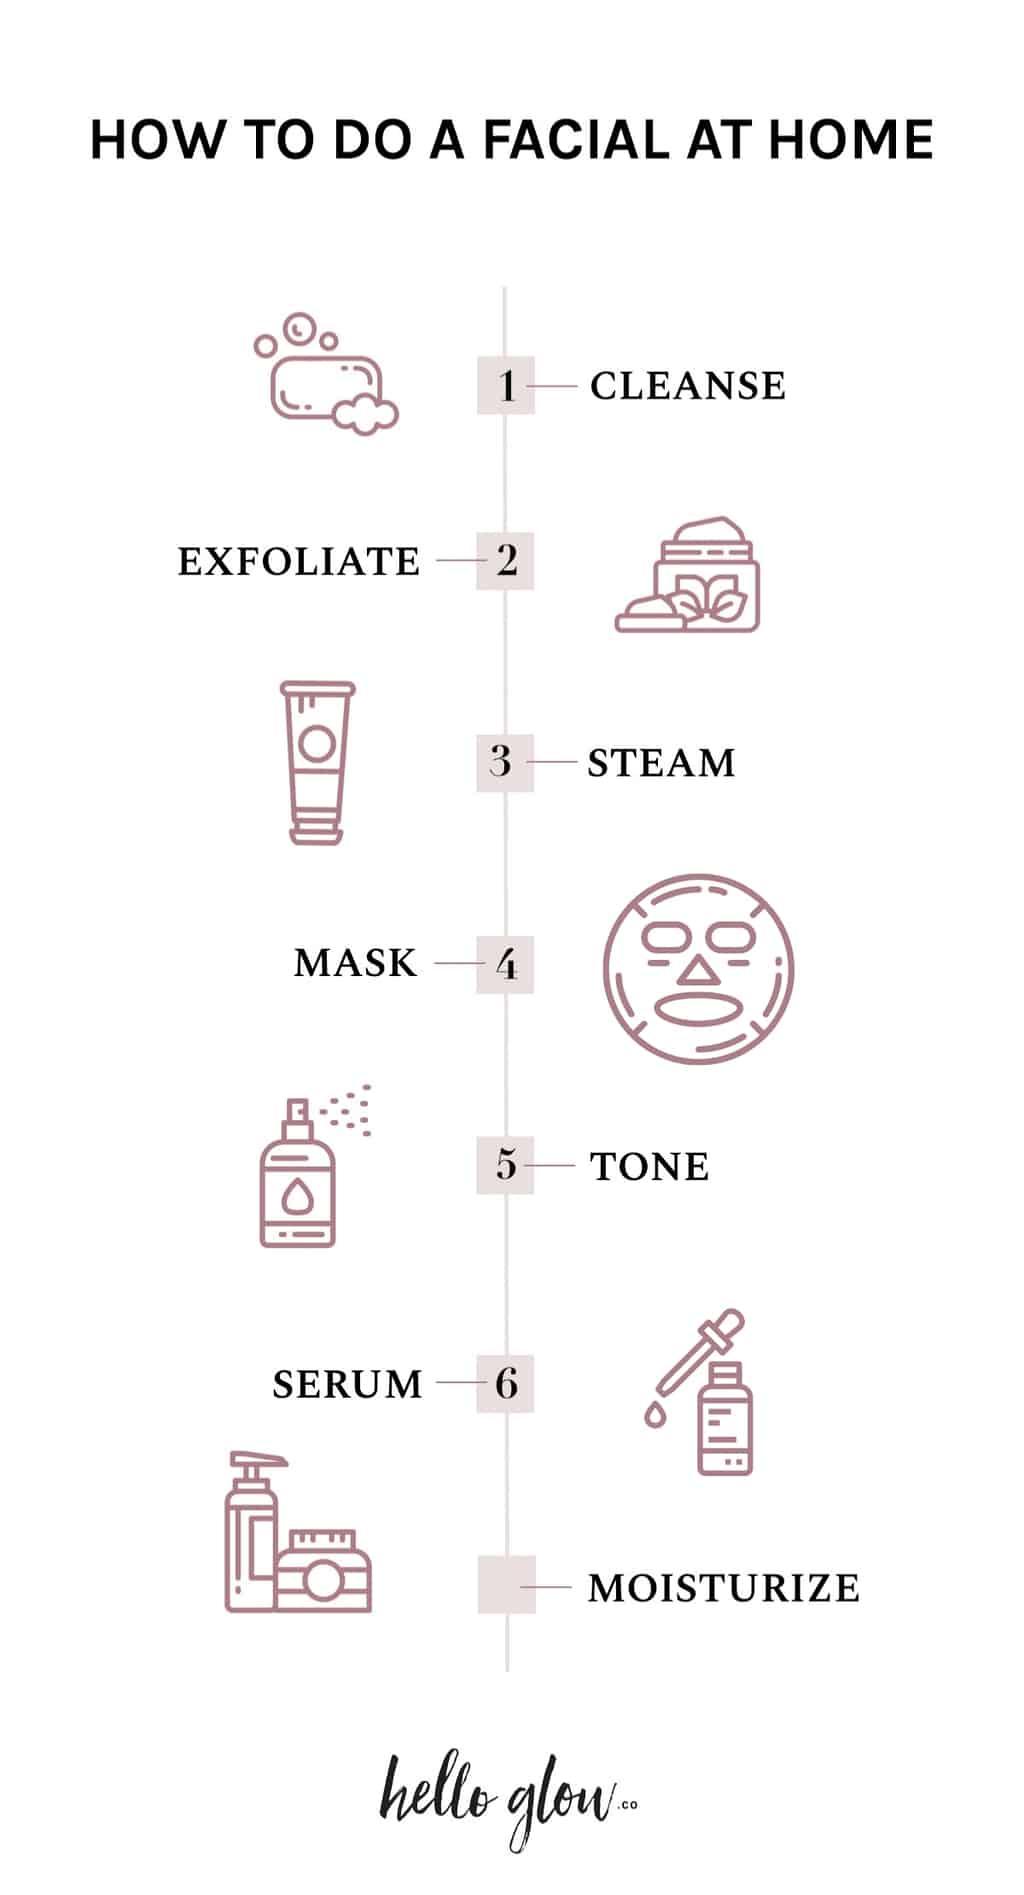
STEP 1: Cleanse
This is the first step in any skin care routine, so it makes sense that a facial would start the same way. "Cleansing helps remove the top layer of oils and impurities on your skin so that the exfoliators and penetrate and be effective," says Nava Greenfield, M.D., New York City-based dermatologist with Schweiger Dermatology Group.
Start by removing all of your makeup and giving your skin a good cleanse. You don't want any dirt or oil blocking the absorption of the awesome products you're about to use.
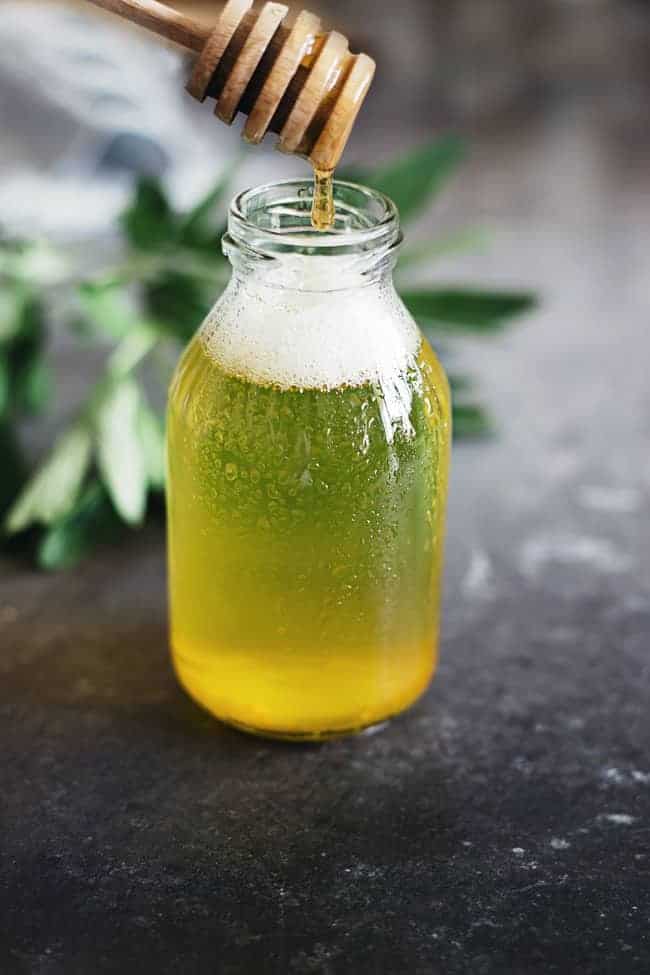
Not sure what cleanser to use? Read up on the best regimen for your skin type, or check out these DIY cleansers. I'm all about washing my face with honey, but this oil cleanser is pretty fabulous for dry skin, too.
It is essential to breathe and take a moment to get yourself in the zen space. Remember a couple of important tips:
—Begin by wetting your face with warm water. If you're using an oil cleanser, you can start with dry skin and then add a bit of water halfway through.
—Start at the chin and work upward in small, circular motions.
—Use two fingers to massage in the cleanser. Keep it gentle—some pressure is fine but avoid tugging and pulling.
—Avoid using hot or cold water while washing your face—warm is just right.
—Follow the oil with a gentle foaming cleanser for a 2-step facial cleanse.
—Invest in an ultrasonic device to effectively clean out pores and remove unnecessary dead skin cells from your face, neck, and chest.
—Then pat your skin dry.
STEP 2: Exfoliate
Don't discount the importance of exfoliating—something you should be doing 2-3 times a week at home. This is a method of removing the top layer of cells leaving behind a more vibrant layer, explains Dr. Greenfield. She recommends Paula's Choice Skin Perfecting 2% BHA Liquid Exfoliant or REN Clean Skincare Ready Steady Glow Daily AHA Tonic, which both will leave your skin well exfoliated but are not too harsh to damage your stratum corneum, the first layer of skin cells.
In addition to removing dead skin cells and leaving your skin feeling super soft, exfoliation also allows skincare products to penetrate better and helps even out your skin tone.
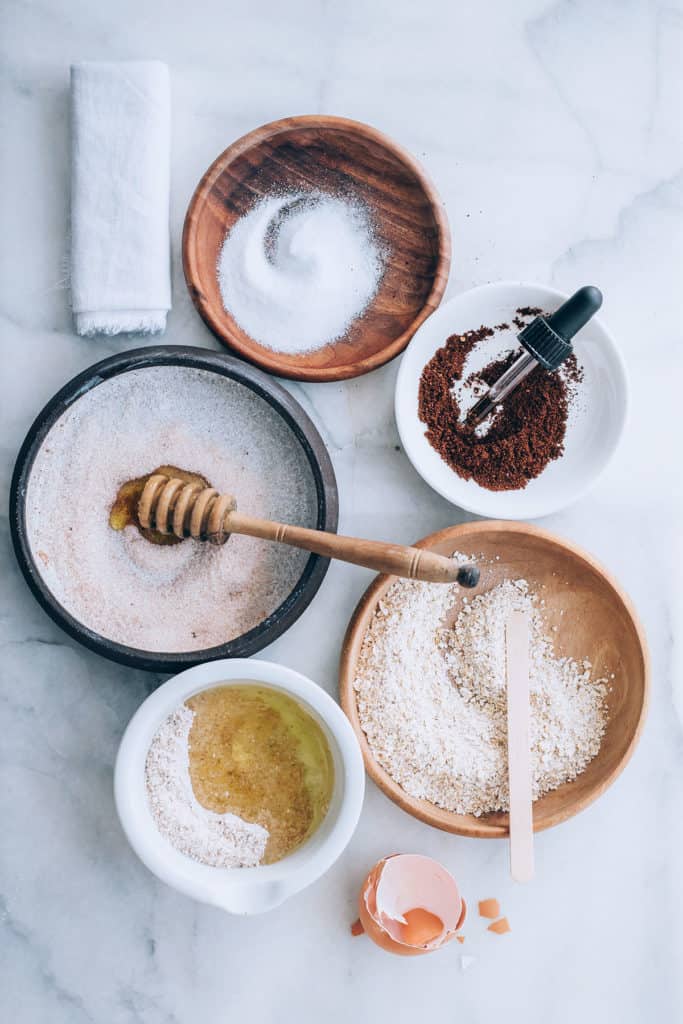
For DIY exfoliation products, you can make a ton of homemade face scrubs or cleansing grains with a few pantry ingredients. Here's our guide to making face scrubs at home for every skin type.
Take a dime-size amount of scrub (add a bit of water if using dry cleansing grains) and use only your pinky and ring fingers, rotating in gentle sweeping circles over your face. Gentle is the key here.
Just lightly moving the scrub around your face is plenty of pressure to get the job done. Learn more about the right way to exfoliate here.
STEP 3: Steam
To be honest, this part takes a little effort to recreate at home. But once you get it done, it's so worth it. Steam is the key to opening up the pores, softening skin, and increasing circulation, notes Dr. Greenfield.
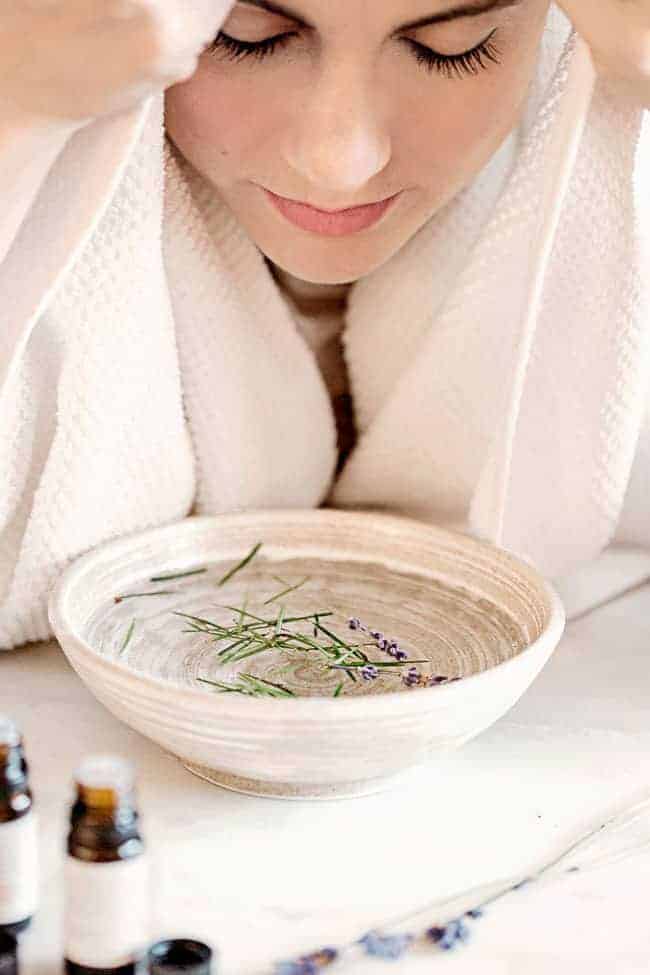
Bring a pot of water to boil and grab a towel that's large enough to cover your shoulders, head, and a large bowl. You can customize the steam to fit your skin type by adding herbs or essential oils.
Pour the hot water into your bowl. Then drape the towel over your head, and lean your face into the steam. Don't get too close (keep your face about 10–18 inches away), and don't steam for longer than 10 minutes.
You should experience no pain or discomfort whatsoever. For those of us who are a bit lazy with steaming, an easier way I recommend is getting in the shower and closing the door to create a steamy environment after exfoliating and before you apply your personalized mask treatment.
STEP 4: Mask
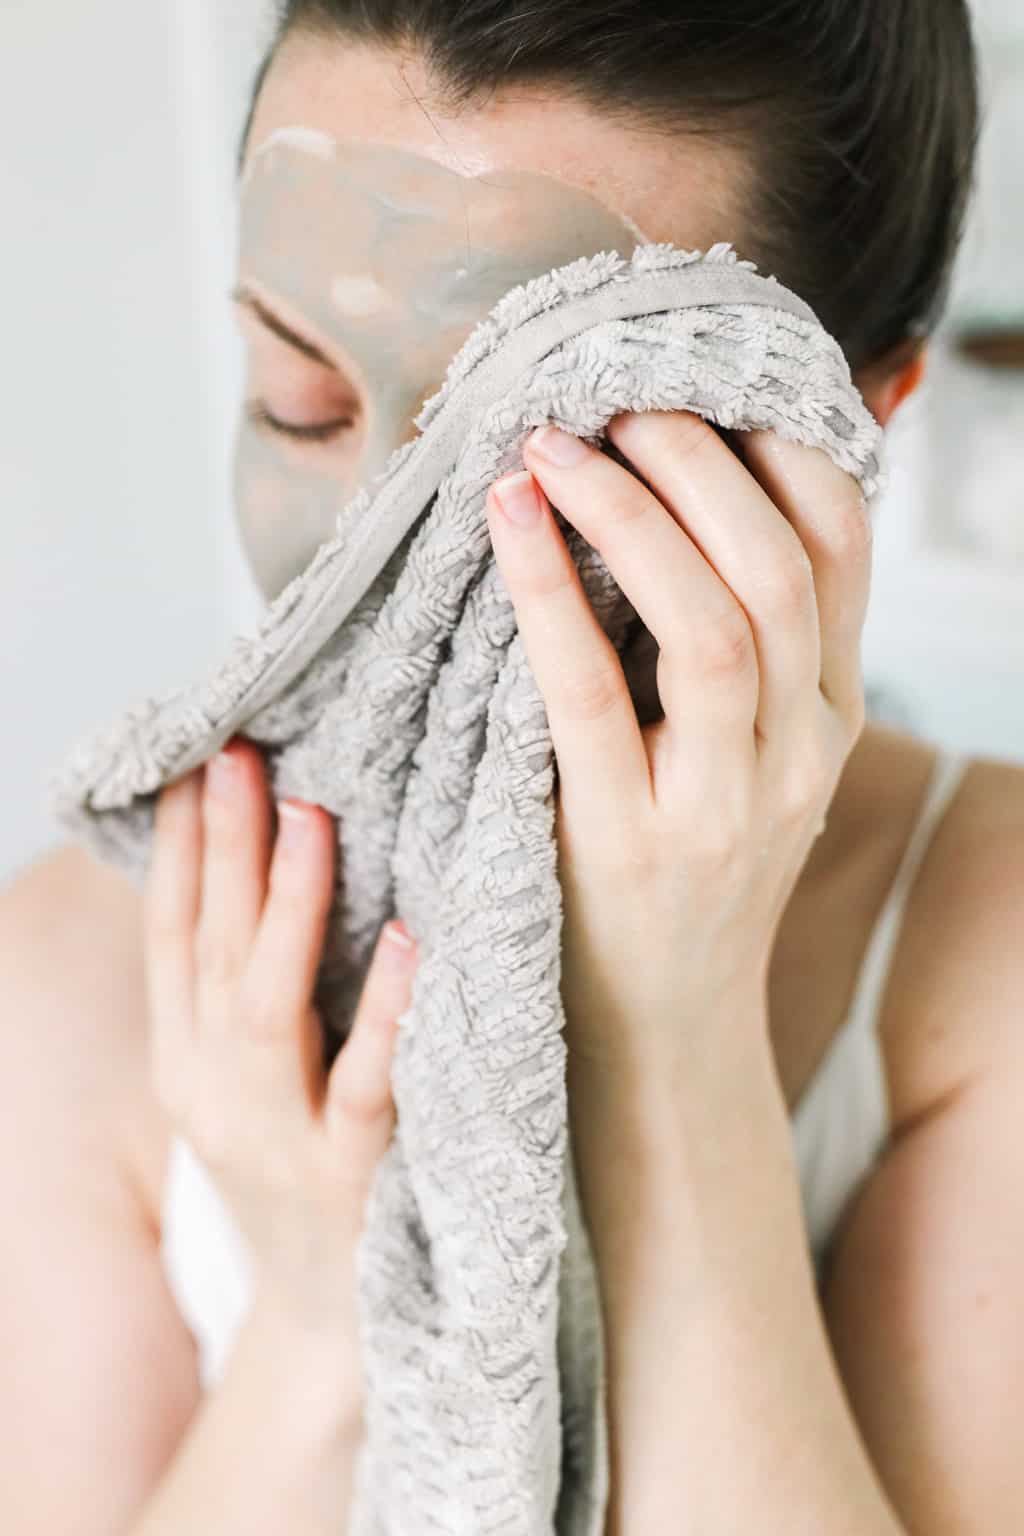
Now that your skin has been cleansed, exfoliated, and steamed, it's time for a treatment mask. Your pores are now open and ready to soak up the nourishing mask ingredients.
There are about a gazillion face masks to choose from, so pick one that meets your skin type and its current needs. I like to use a honey mask or this simple clay mask because my face is always dry.
If you have acne, you might try a mask with tea tree essential oil or turmeric. Whatever your skin type, there's a mask for that. Just check out our big list of DIY face masks.
STEP 5: Tone
After you remove the face mask, it's time for toner. Yes, this step is important! Toner helps equalize the skin’s pH after cleansing and masking, bringing it back to its natural level.
It's easy to make your own toner, so make a batch of one that fits your skin type. I prefer to spritz on toner—who has cotton balls anymore? And of course, we have recipes for making a facial mist too.
STEP 6: Serum
Are you applying your products in the right order? Yes, it matters—and if you don't do it right, your products won't work like they're supposed to. After toning comes a treatment serum. "Serums provide certain ingredients a medium to efficiently penetrate and act on the deeper layer of skin cells," Dr. Greenfield explains.
I'm in skin repair mode, so I stick with this anti-aging serum with rosehip oil. Aloe vera and chamomile together make a super simple serum for calming redness and acne.
And if you have a lot of products and are not sure which comes first, a general rule is to apply thinnest to thickest and allow each step to dry completely before applying the next one.
If you don't want to DIY, try one of these natural serum picks; at night, we like to use the ones with glycolic or salicylic acid.
STEP 7: Moisturizer
And finally, we end with moisturizer, a step that helps build back the skin barrier that was disturbed during the whole process. "Without barrier support through moisturizing, your skin will be prone to rashes, eczema, breakouts etc.," says Dr. Greenfield.
Customize a face oil that works for your skin type (just avoid these face oil mistakes). Coconut oil doesn't work for everyone's skin (it may cause breakouts for some), but I love this moisturizer with green tea.
You can also apply an eye-specific cream or serum and even a neck and décolletage cream. After all, if you want your neck and chest to match your face as you age, you need to take care of those adjacent areas, also.
Have you noticed in facials how they massage in the moisturizer? It feels heavenly. There's a purpose behind those soothing facial massage motions.
Keeping the facial muscles toned and improving circulation and lymphatic flow helps prevent sagging and helps the beneficial oils penetrate the skin. So give your face a 1- to 2-minute massage (gua sha is a great tool!) to finish up your at-home facial. It will help relieve stress too!
Tips For Different Skin Types
If you have oily skin, ingredients like clay, such as bentonite or kaolin, can help absorb excess oil and unclog pores. Salicylic acid can also be effective in controlling oil and preventing breakouts. Tea tree oil is another ingredient that can help combat acne and oily skin.
If your skin is on the drier side, you can use a gentle exfoliating scrub with ingredients such as sugar, coffee grounds, or ground oatmeal.
This post was medically reviewed by Dr. Jennifer Haley, a board-certified dermatologist with extensive experience in medical, cosmetic, and surgical dermatology. Learn more about Hello Glow’s medical reviewers here. As always, this is not personal medical advice, and we recommend that you talk with your doctor.
141
