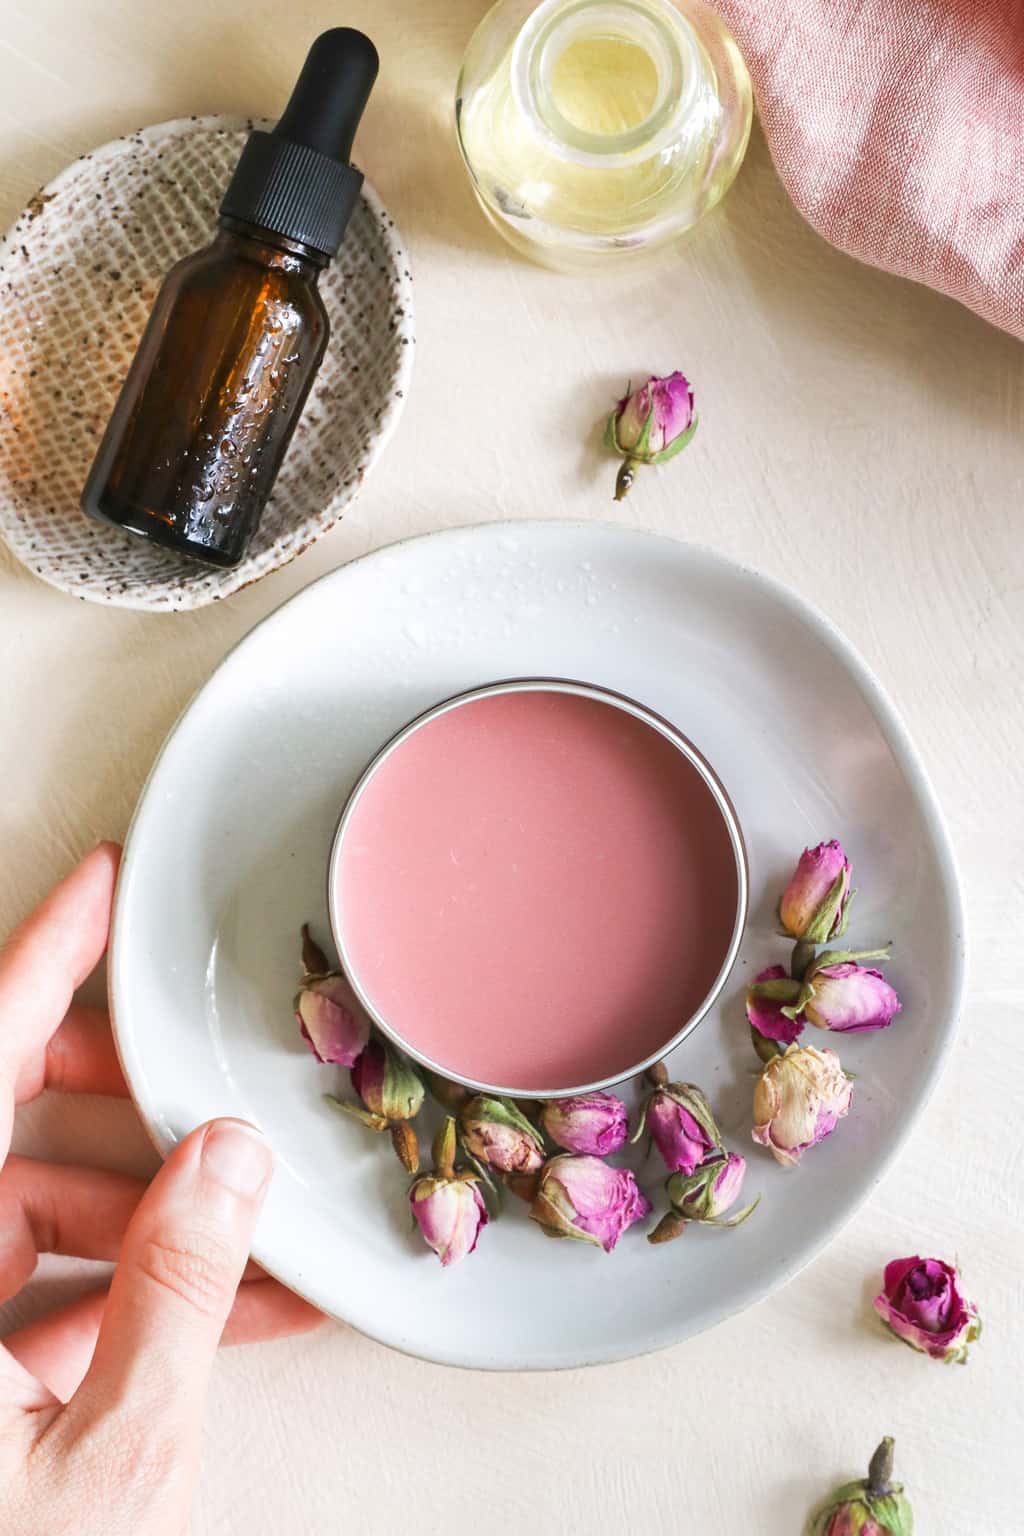
Quick question: what’s your holy grail beauty product? You know, that one product you would break into a Sephora for in the event of an apocalypse? For me, it’s a simple, do-it-all rose salve.
Soothing, moisturizing, and the most gorgeous shade of pale pink, rose salve can replace 90% of the products in your beauty stash (or at least it has in mine!). But if you don't have the Sephora budget, breathe a sigh of relief: it's incredibly easy to make at home.
Jump to:
Rose Salve Benefits
We’ve talked about rosehip oil and rosewater before, but rose oil is the star of this salve—thanks to its amazingly strong fragrance and concentrated beauty benefits.
- Rose oil is packed with antioxidants [source], such as vitamins A and E, making it a fantastic anti-aging remedy to have in your beauty toolkit.
- Thanks to its antibacterial and antifungal properties, rose oil can help prevent skin infections [source].
- And it’s also anti-inflammatory [source] and has been used to improve wound healing and lessen the appearance of scars [source].
But the benefits of rose oil don’t stop there.
- The aromatherapy benefits of rose range from easing menstrual pain [source], reducing back pain [source], and relieving anxiety [source] to easing depressive symptoms [source] and boosting sex drive [source].
10 Rose Salve Uses
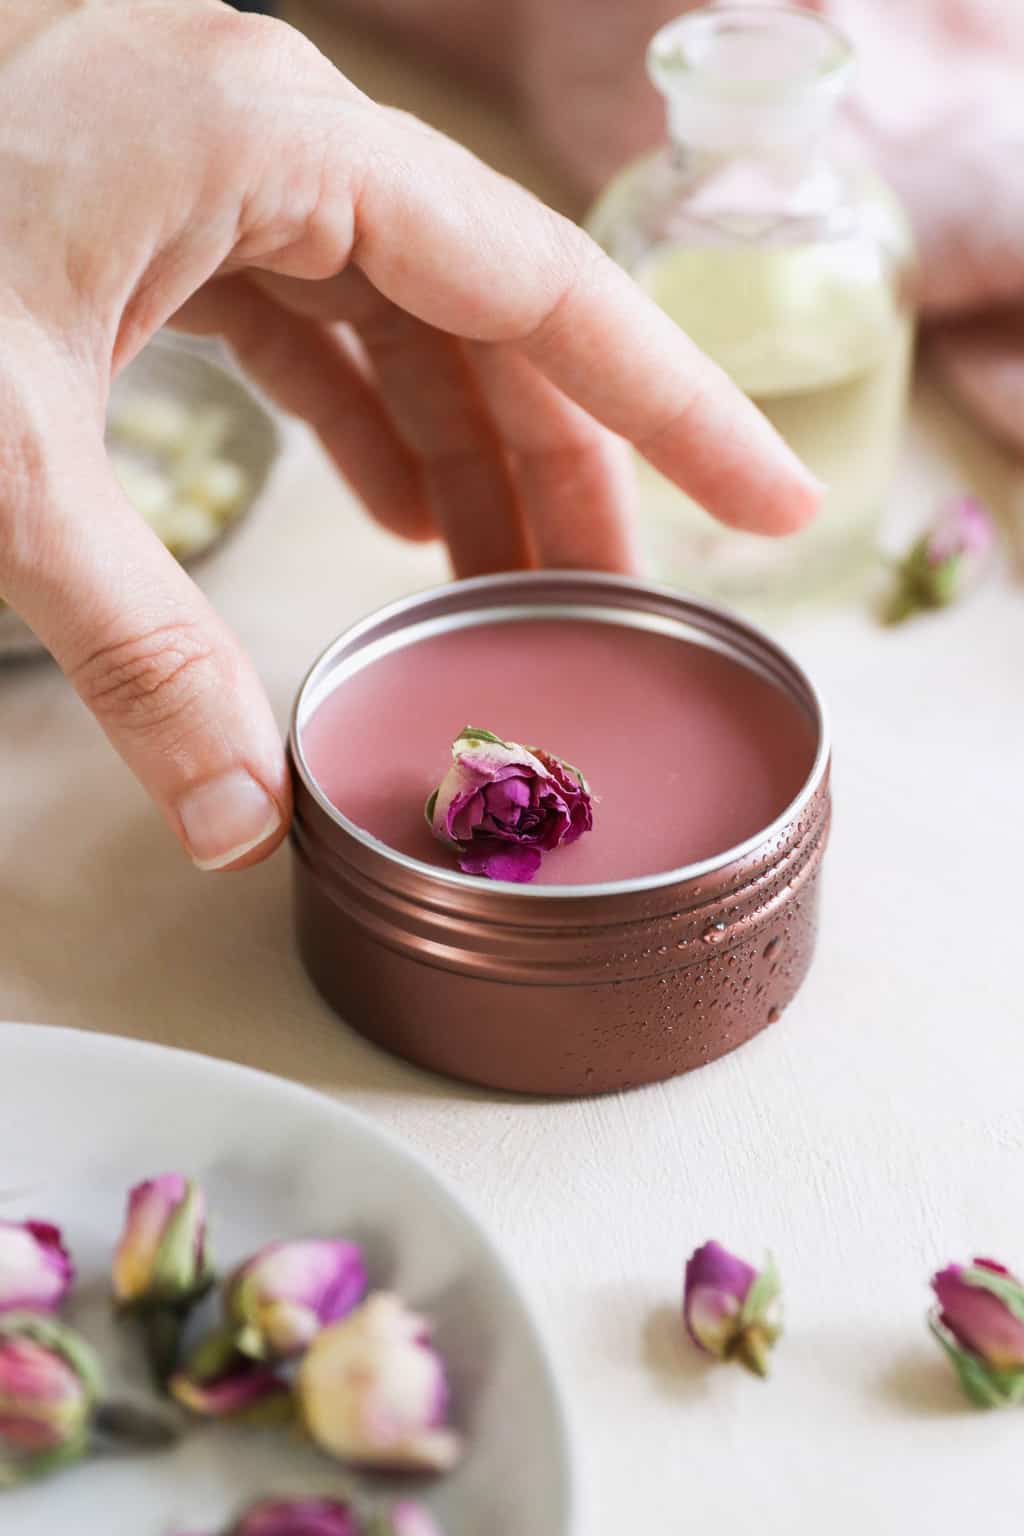
As a beauty product, rose salve does it all. And because of that, it's earned a prime spot in my purse and on my nightstand.
You can use rose salve as:
Perfume — Dab the rose salve on your wrists, behind your ears, and on other pulse points for a subtle solid rose perfume.
Lip balm — Slather it on dry, flaky lips to lock in moisture and give lips a pretty, rosy hue.
Highlighter — Pick up a small amount of rose salve with your fingertips to highlight cheekbones, brow area, nose, and forehead with a radiant glow.
Moisturizer — Decadently moisturizing, rose salve can help tame dry patches on knees, elbows, feet, and wherever else you experience dry skin.
Breakout Balm — Whether you suffer from hormonal acne or monthly breakouts, rub a little salve onto pimples to soothe redness and irritation.
Wound healer — Remember those antibacterial benefits? Dab rose salve on small scratches or irritation to encourage healing.
Cuticle oil — Soothe dry cuticles, prevent hangnails and reinvigorate dry, cracked nails.
Frizz fighter — Smooth dry, frizzy locks and nourish hair, so strands look sleek.
Blush — Rose salve gives skin a subtle rosy glow. Dab a tiny bit on cheeks and massage in for a boost of moisture-rich color.
Beard Balm — My husband loves this stuff too! He melts a little bit between the palms of his hands and rubs it through his beard to keep stray hairs in check.
How To Make Your Own Rose Salve Recipe
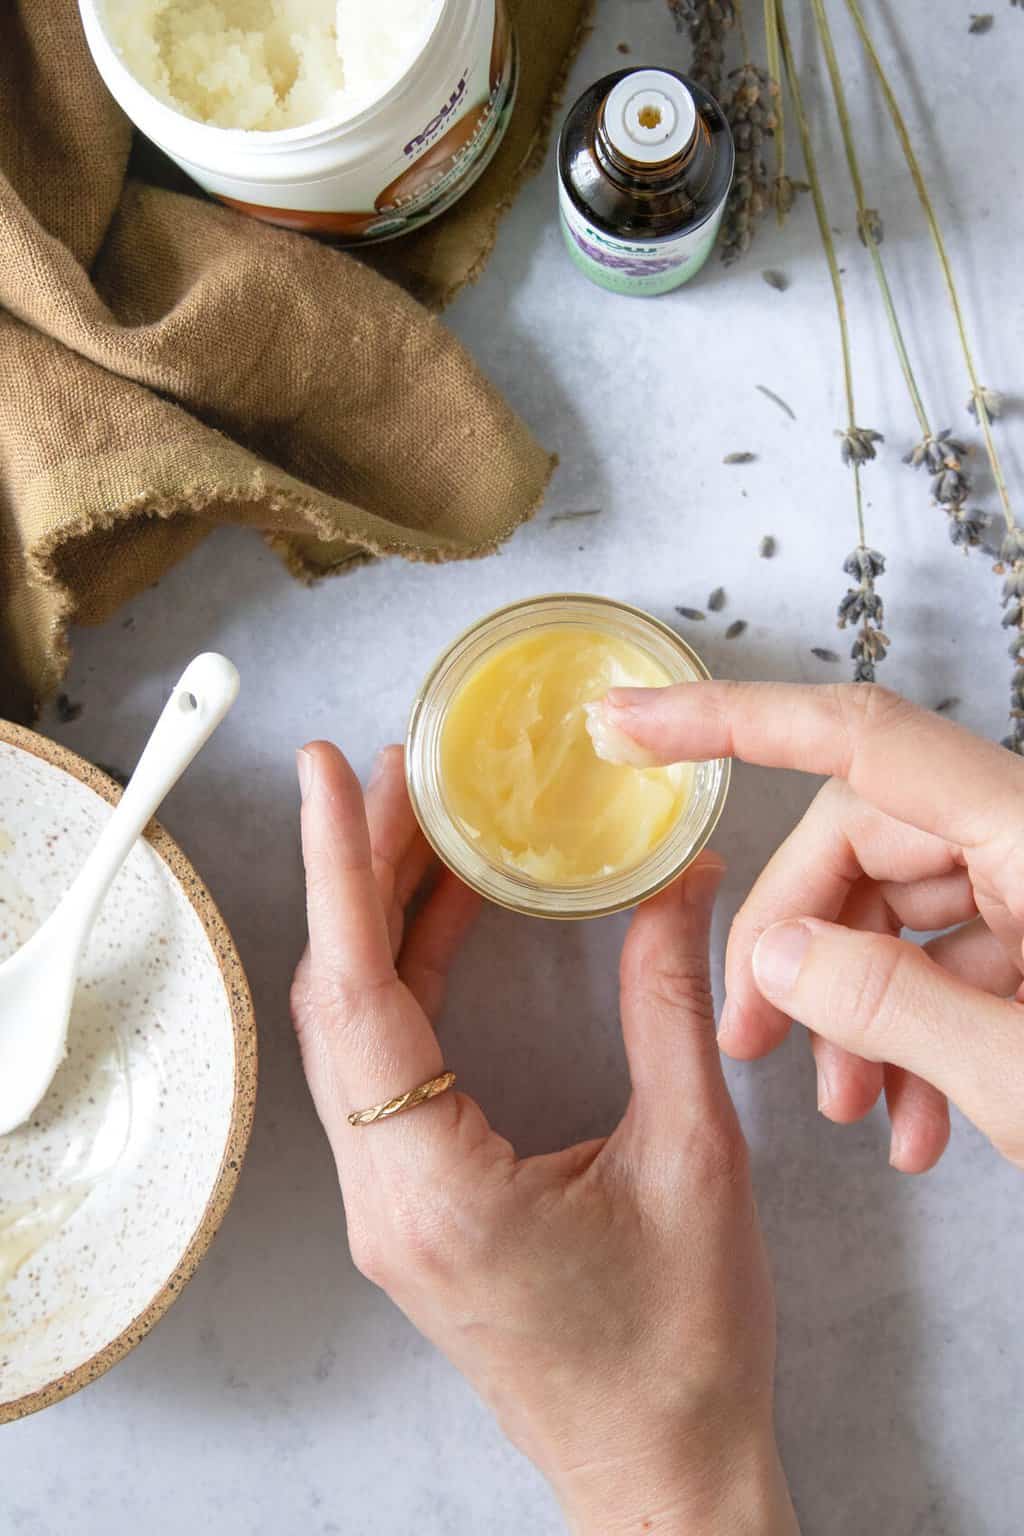
Don’t let the term salve intimidate you. A salve is simply a healing butter-like balm you put on your skin like a lotion. We’re huge fans of them around here because they’re ah-mazing for skin and great to keep in your emergency kit.
Ingredients
If you’ve made one salve, you’ve made them all. Here’s what’s in this rose salve:
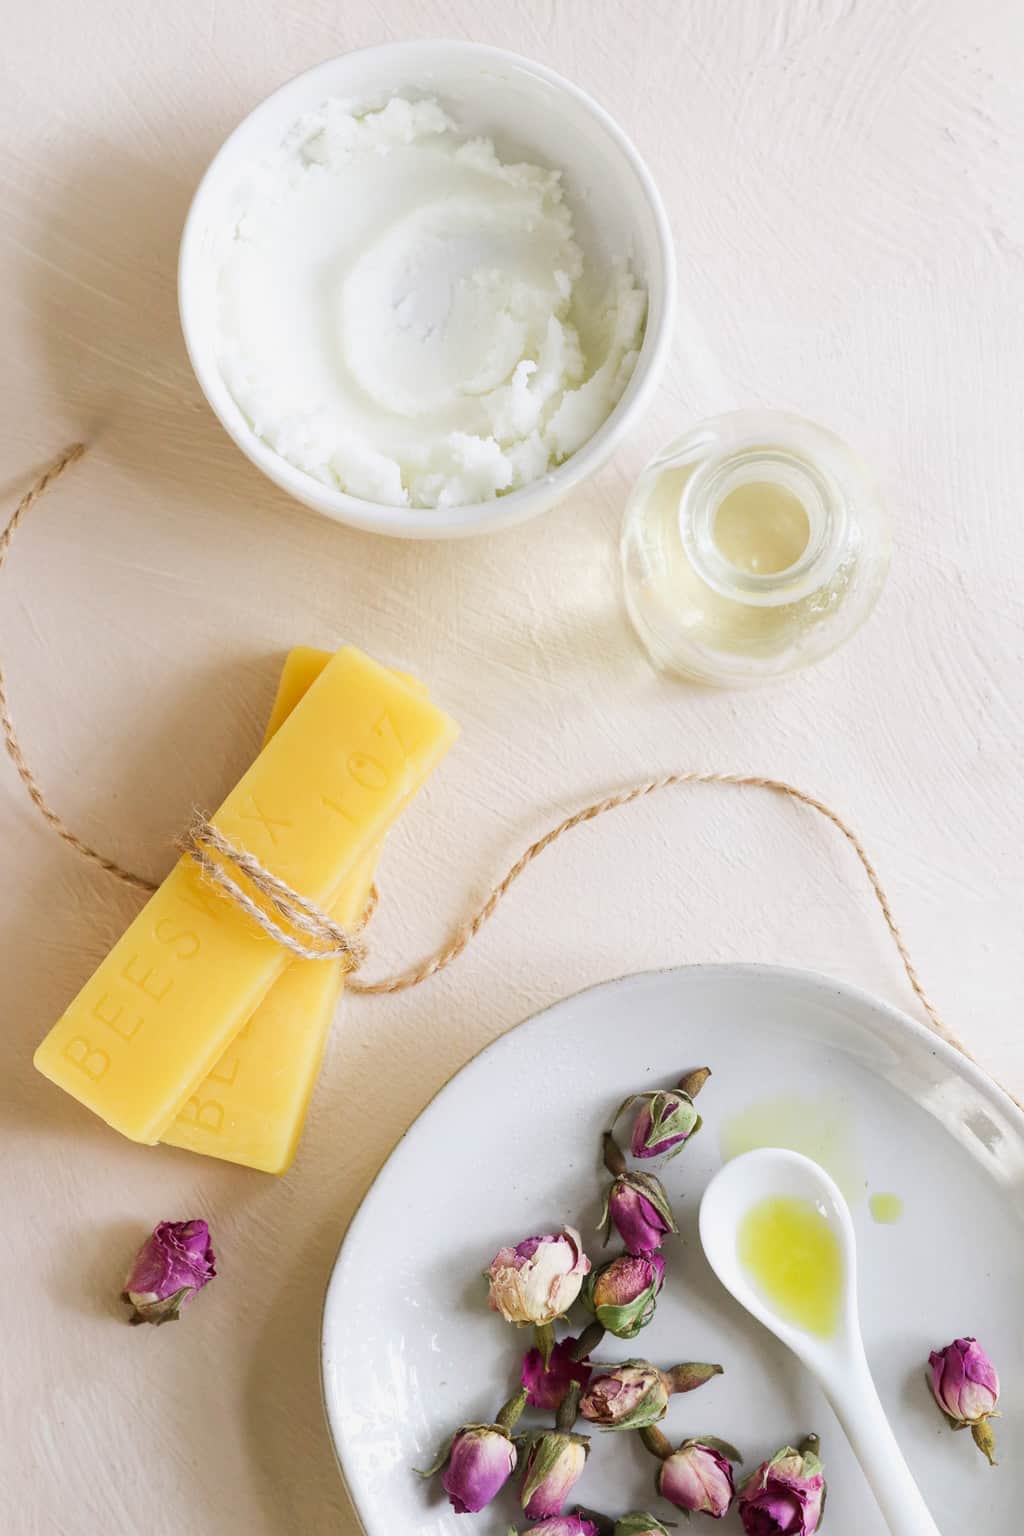
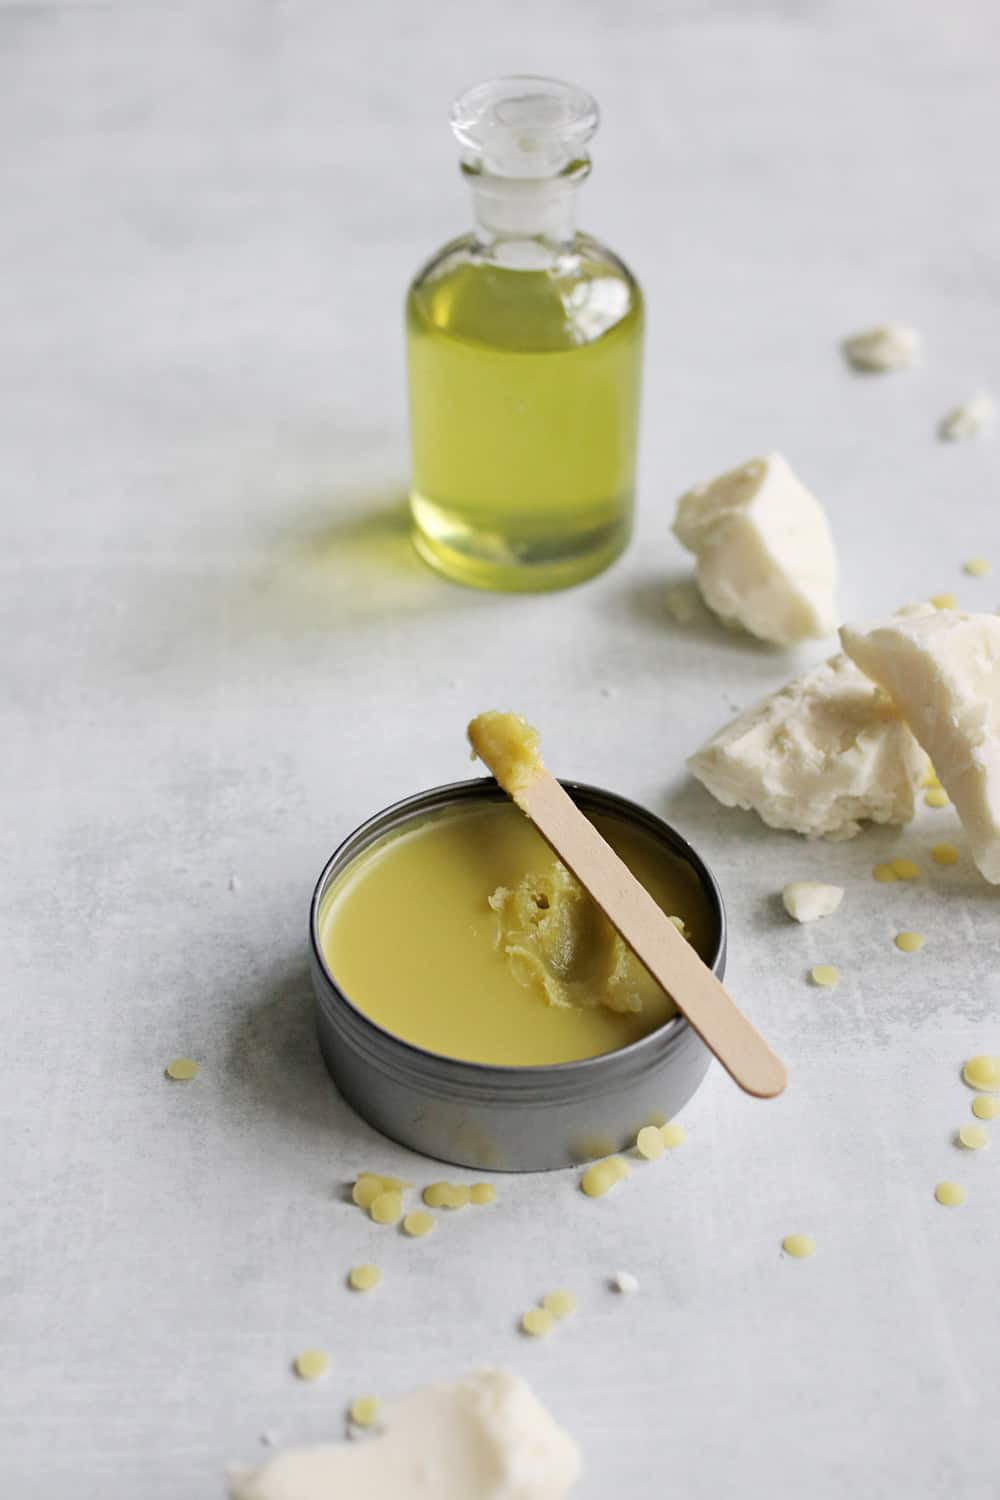
Beeswax
Often used as a binding agent, beeswax helps give the salve a solid consistency. If you’re not a fan of beeswax, go ahead and use candelilla or soy wax, both of which are great vegan substitutes.
Shea butter
Shea butter is one of my favorite natural moisturizers, and I swear by it for hydrating dry, itchy, irritated skin [source]. It’s not required for this recipe to work, but it will make your salve creamier and help it glide over skin.
Carrier oil
I use avocado oil for my rose salve because it’s what I have in my pantry, and it’s amazing for skin. But you can use any oil you want. Sweet almond, jojoba, olive, and fractionated coconut oils are inexpensive, easy-to-find alternatives.
Rose essential oil
The easiest way to reap the benefits of rose is by using a high-grade rose essential oil. Rose oil is highly concentrated, so a little goes a long way, and you’ll have plenty left over to make extra batches.
But if the price is a turnoff, you can buy a pre-diluted version or make your own by infusing rose buds in a carrier oil. If you decide to go the infusion route, this post will show you how to infuse oils.
Simply replace the coffee with dried rose petals, and you’re good to go. And when it comes time to make your salve, skip the essential oil, and just use your rose-infused oil in place of the carrier oil.
Colorant
There are a lot of different ways to get that pretty rose color: pink clay, beet root powder, mica. Personally, I like to melt a small amount of nontoxic lipstick into my salve.
It’s highly pigmented, so it shows up on lips and cheeks. Plus, it’s oil-based, which means it will melt fully into the salve without leaving a grainy residue at the bottom of the tin.
You can also infuse your carrier oil with roses for a subtle pink tint. Follow hot or cold infusing instructions here.
See recipe card for quantities.
Instructions
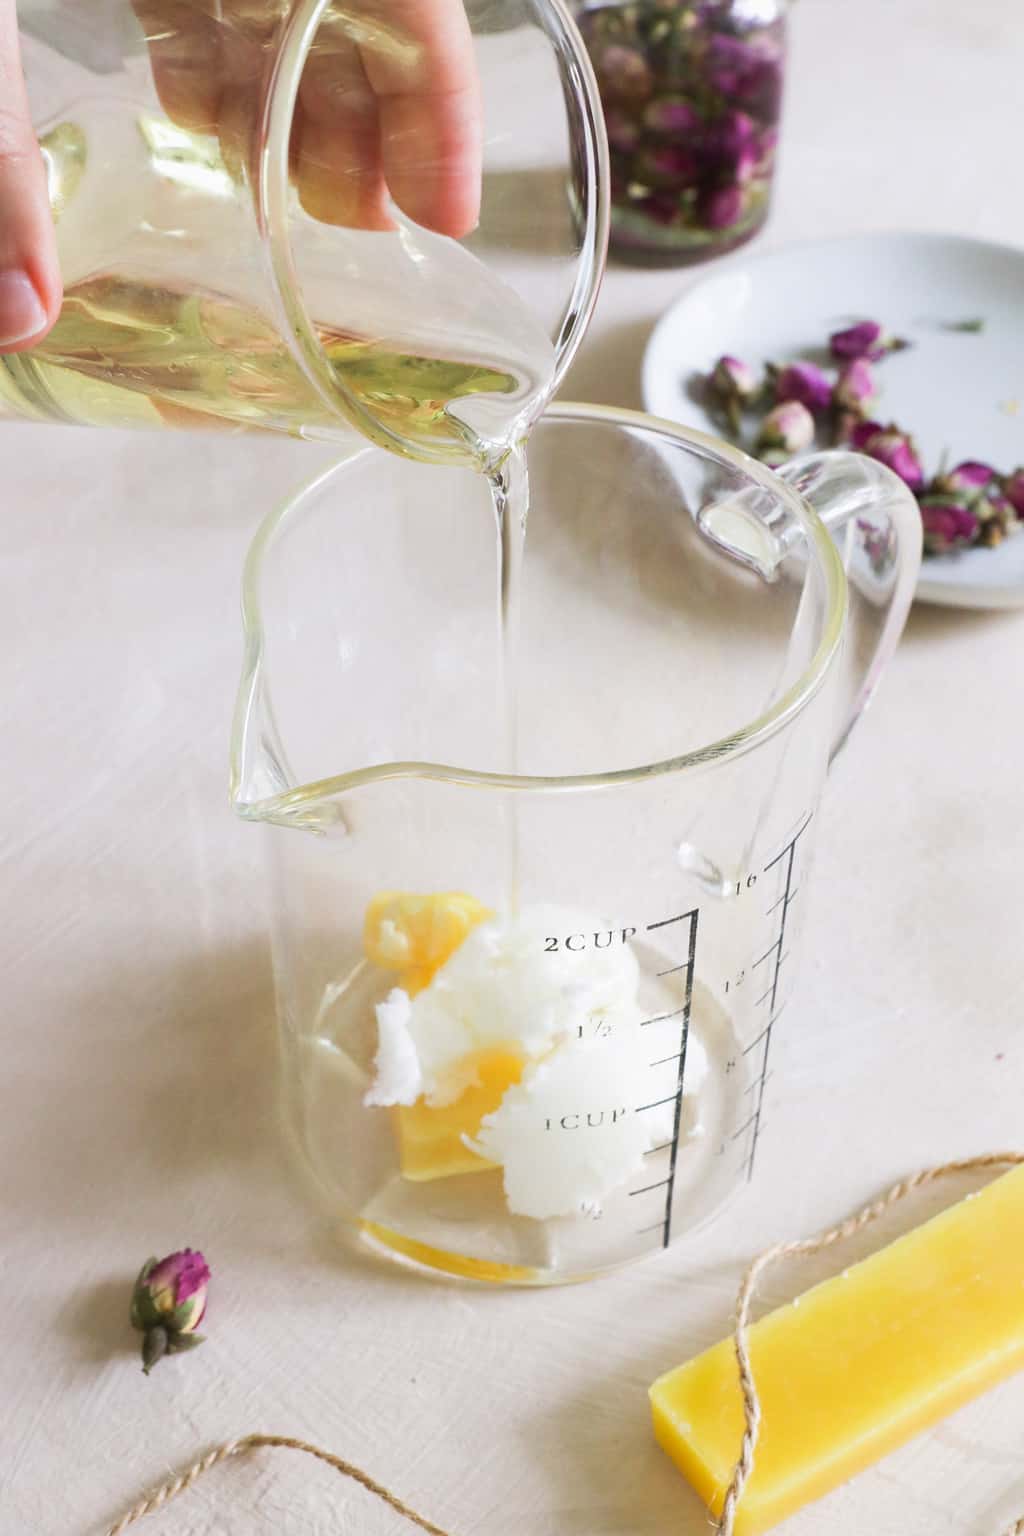
Step 1: Melt Ingredients
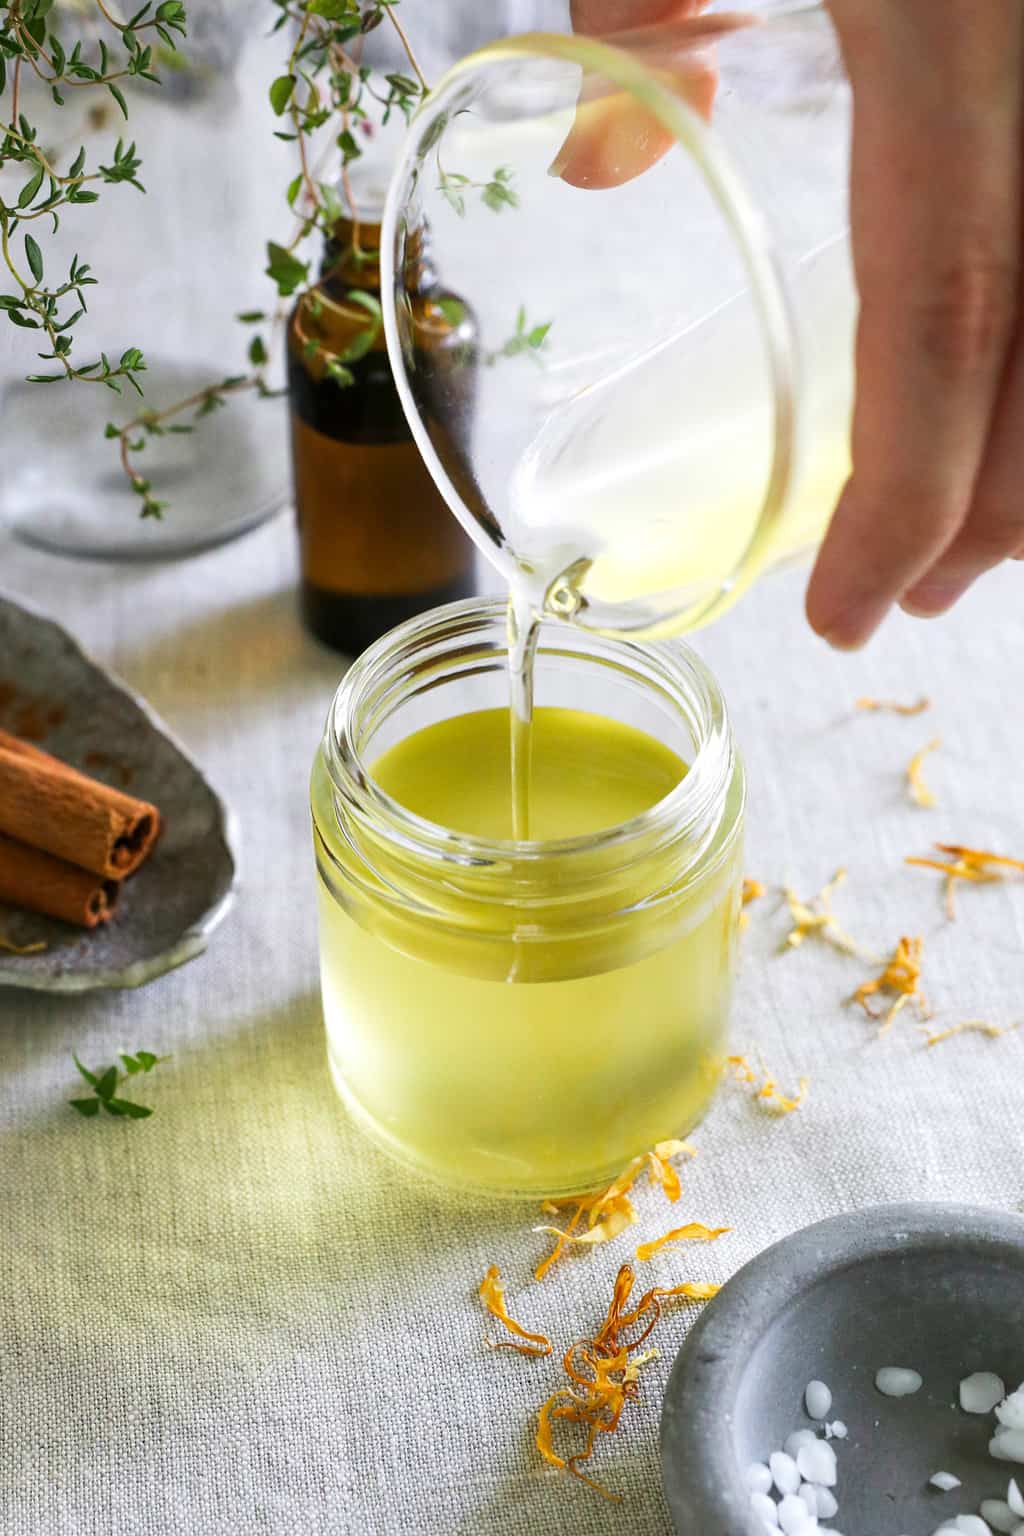
Combine beeswax, shea butter, and the carrier oil in a heat-proof container and microwave in short bursts until melted.
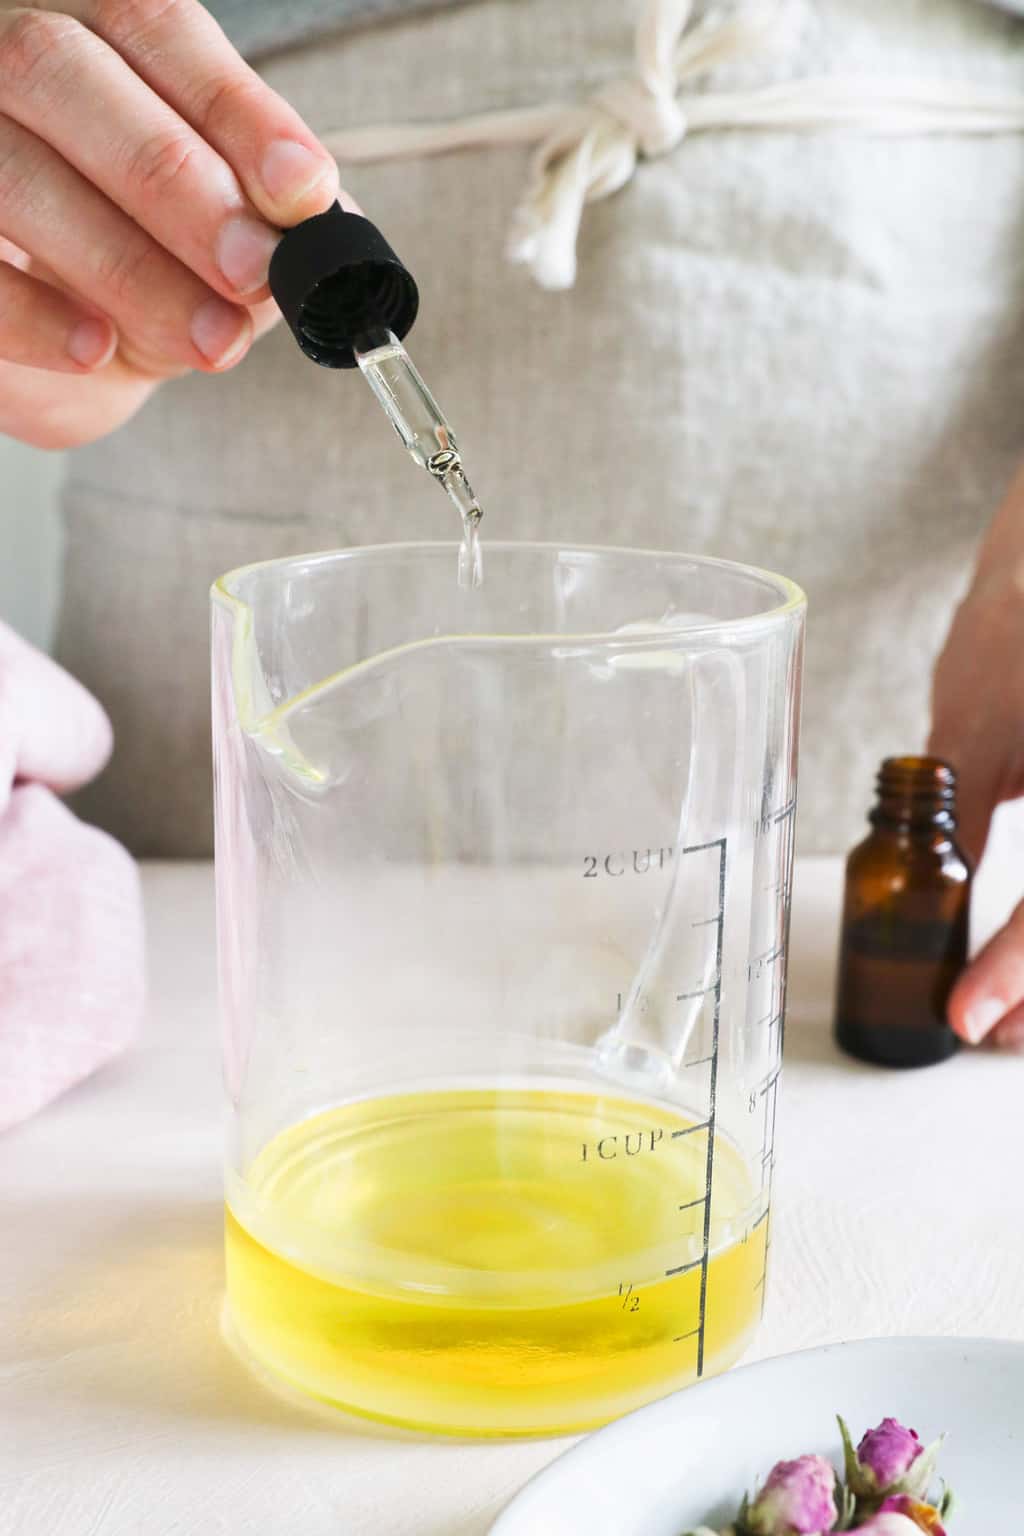
Step 2: Add Essential Oil
Let cool for 2-3 minutes, then add rose oil and colorant, if using.
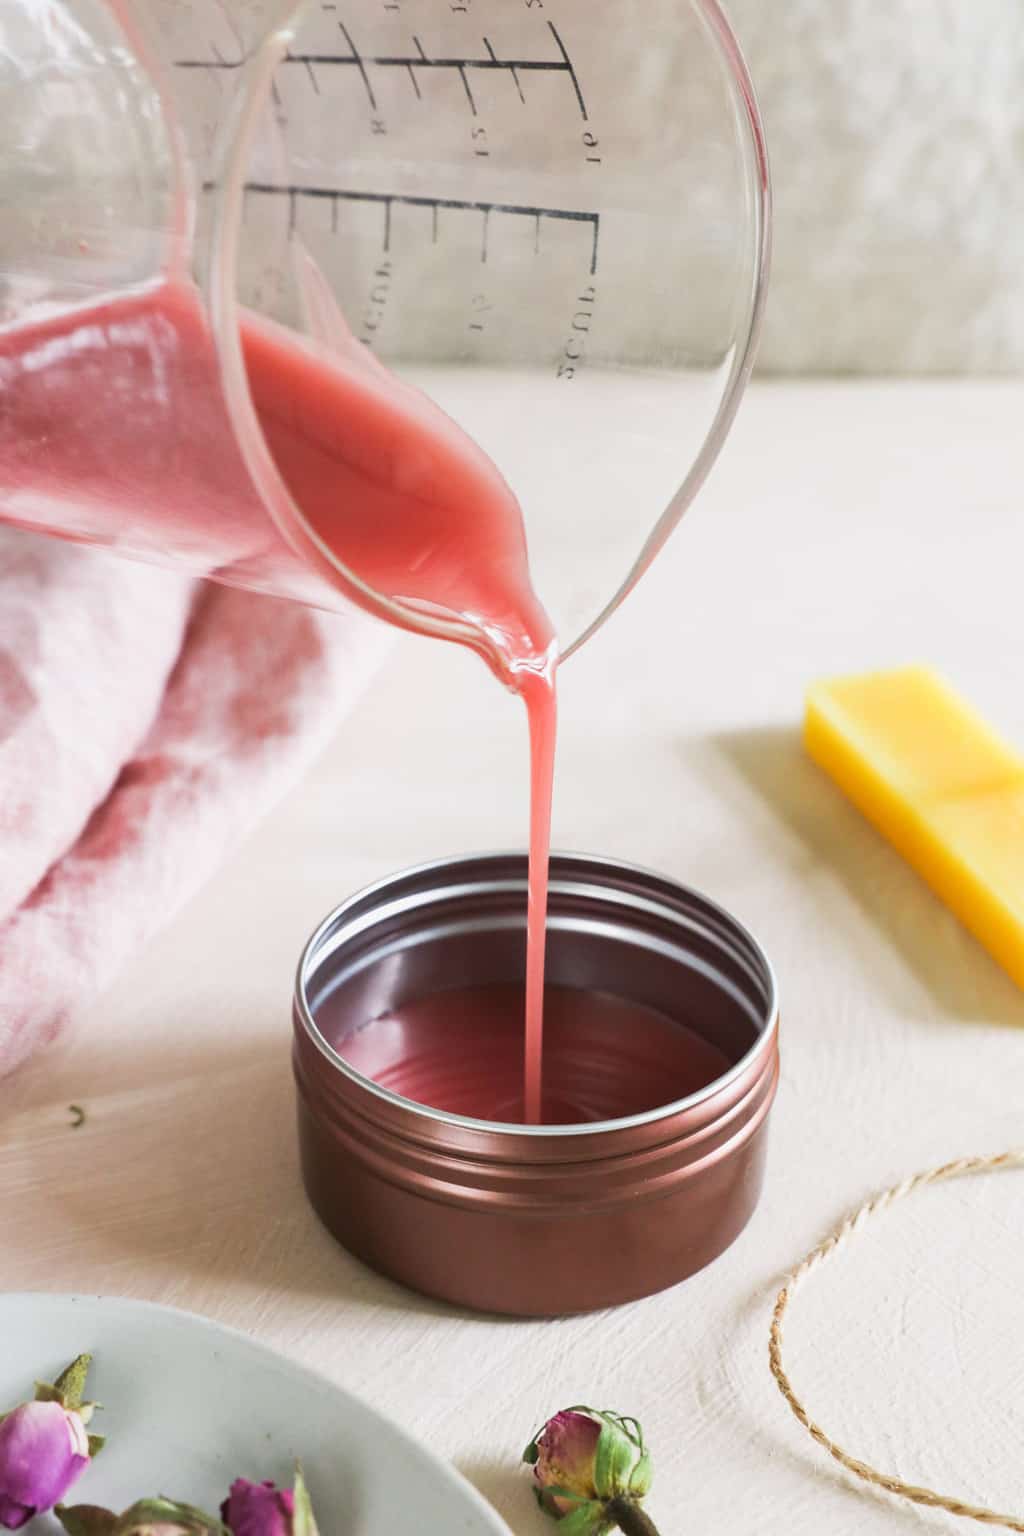
Step 3: Pour + Cool
Pour into a 3-ounce tin and let cool completely before using.

Step 4: Apply To Skin
Apply salve directly to your skin 2–3 times a day or as needed for wound and skin healing.
Substitutions
- Vegan — For a vegan version of this salve, replace beeswax with either candelilla or soy wax, using 1:1 substitution.
- Carrier oil — We used avocado oil for this recipe, but you can easily substitute for a carrier oil of your choice, while keeping the same ratio. Some options: almond, jojoba, coconut or a combination of them.
Troubleshooting
- Experiment with the oil to wax ratio - Play with the amount of beeswax until you achieve your desired consistency. More beeswax will create a firmer salve, while less will make it a softer, glossier salve.
- Test the consistency before letting it cool - Before pouring the salve into containers, test a small amount by placing a spoonful in the fridge for a few minutes. Adjust the beeswax or oil if needed.
- Customize your salve with extra oils - Experiment with different herbs and oils to create unique blends. Calendula, chamomile, and lavender are great additions for extra soothing properties.
Storage
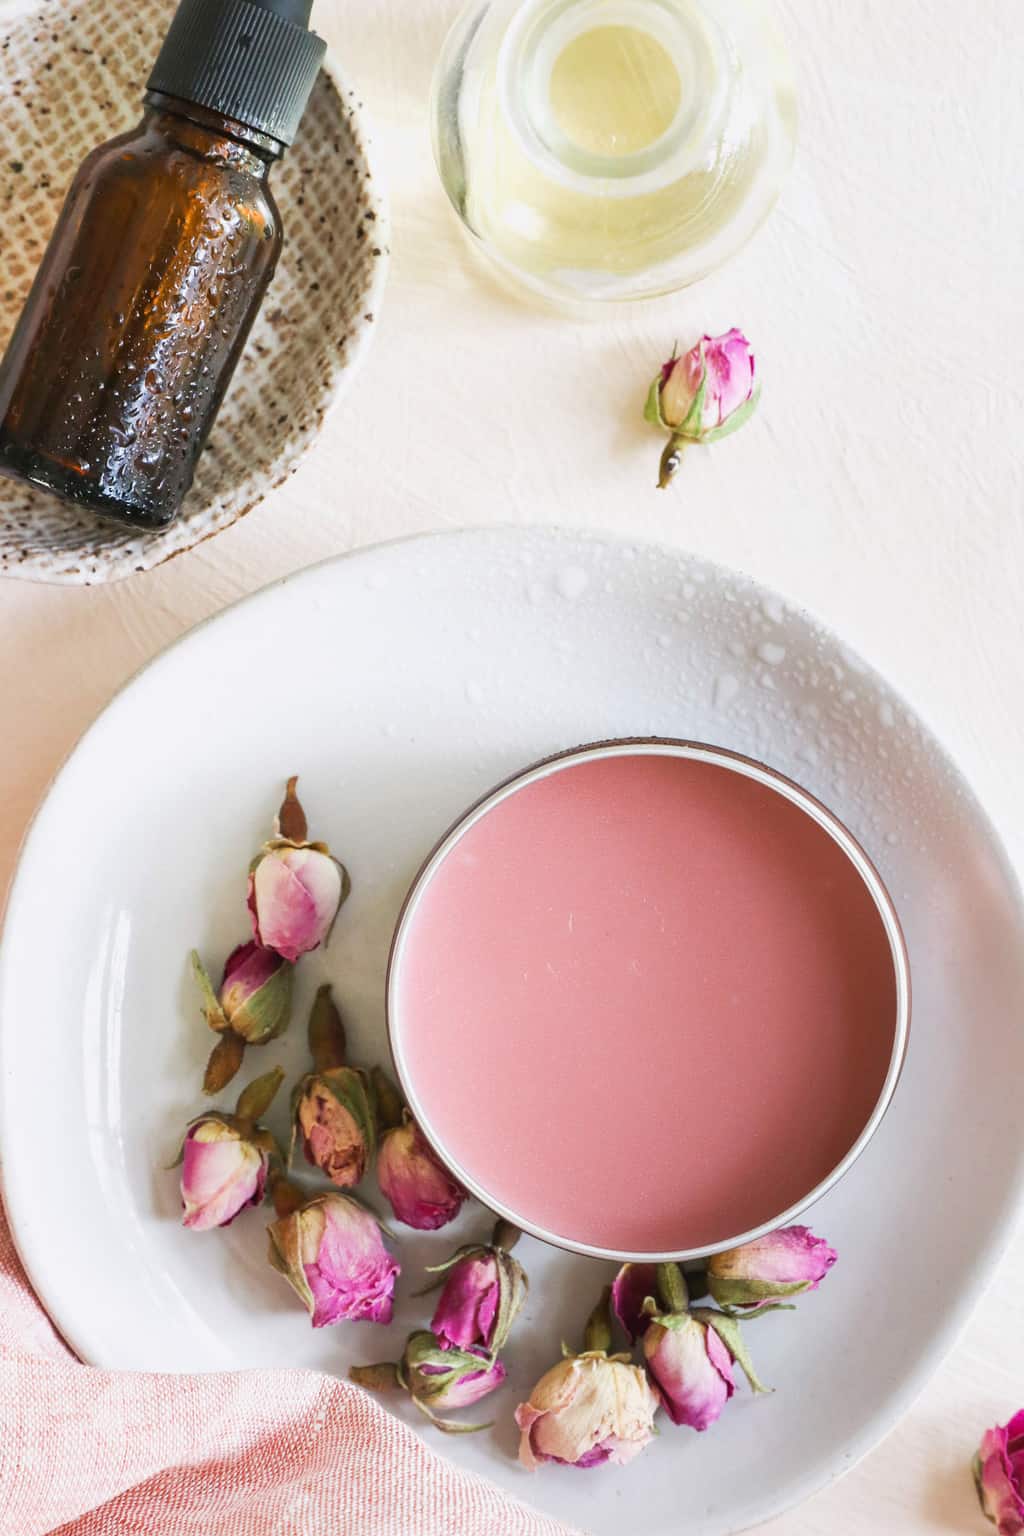
This salve should last for at least a year if sealed tightly and stored in a cool, dry place. If you find that the rose scent fades after a while, simply scoop it from the tin, re-melt (slowly!) and add more rose essential oil.
FAQ
Rose salve is amazing for any form of skin irritation. Go ahead and apply it to eczema, dermatitis, mild sunburn, bug bites, or pimples.
This is a basic salve recipe that you can customize with any carrier oil you like. You can even use 2–3 different essential oils at a time. Just make sure to keep the oil ratios relatively the same, or it might affect the consistency and safety of your salve.
It's safe to use this salve several times a day. As always, keep an eye out for redness and irritation (or a worsening of existing skin problems) and stop using if you start to notice a reaction.
Rosebud salve is great for eyebrows! It can help to smooth and condition the eyebrow hairs, giving them a polished look. Additionally, it can tame any unruly hairs and provide a subtle shine.
Because it's made with gentle, non-toxic ingredients, homemade rosebud salve is generally considered safe for most skin types. But if you have sensitive skin, always do a patch test before using it extensively.
How to Make a Natural Rose Salve
Equipment
- 3-ounce tin with lid
- Microwave safe bowl or measuring cup
Materials
- 1 tablespoon beeswax (or carnauba wax, if you're vegan)
- 2 tablespoons shea butter
- ¼ cup avocado oil (or another oil, such as almond, jojoba, or coconut)
- 20 –25 drops rose essential oil
- Non-toxic lipstick, beetroot powder, or pink clay (optional for color)
Instructions
- Combine beeswax, shea butter, and the carrier oil of your choice in a microwave-safe bowl. Microwave in 30-second intervals until melted.
- Let the oil mixture cool for 1–2 minutes before adding rose essential oil and colorant.
- Pour into a 3-ounce tin and let cool completely before using.
Notes
This article was medically reviewed by Dr. Gina Jansheski, a licensed, board-certified physician who has been practicing for more than 20 years. Learn more about Hello Glow's medical reviewers here. As always, this is not personal medical advice and we recommend that you talk with your doctor.
430

Leave a Comment