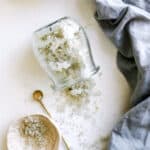
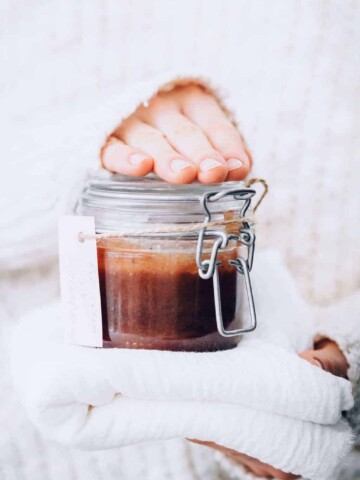
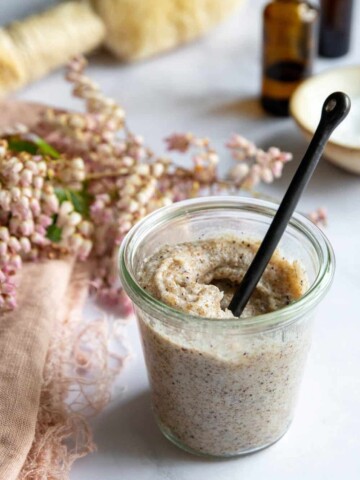
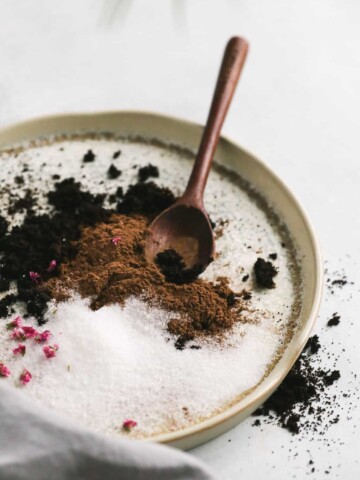
We all know that sugar is great at polishing away dry skin, but the benefits of salt scrubs go far beyond exfoliation. They’re loaded with vitamins and minerals that help replenish the skin and nourish it from the outside in. Here’s everything you need to know about making your own salt scrub recipe at home for healthy, happy skin.
Why Use Salt as a Scrub?
While moisturizing lotions and body butters can help dry skin, an exfoliating scrub is still a must for sloughing off dead cells and revitalizing skin. And salt scrubs are great for removing dry, flaky patches, especially on tougher skin areas like the feet.
Salt is a wonderful exfoliant that softens skin, gets rid of flakiness, and infuses the upper layers of skin with vitamins and minerals. Combined with soothing body oils, a salt scrub can help to moisturize and hydrate the skin.
When using a salt scrub, it's important to wet your skin first, then apply the scrub in a circular motion, focusing on areas that tend to be dry. Rinse the scrub off with warm water and pat your skin dry.
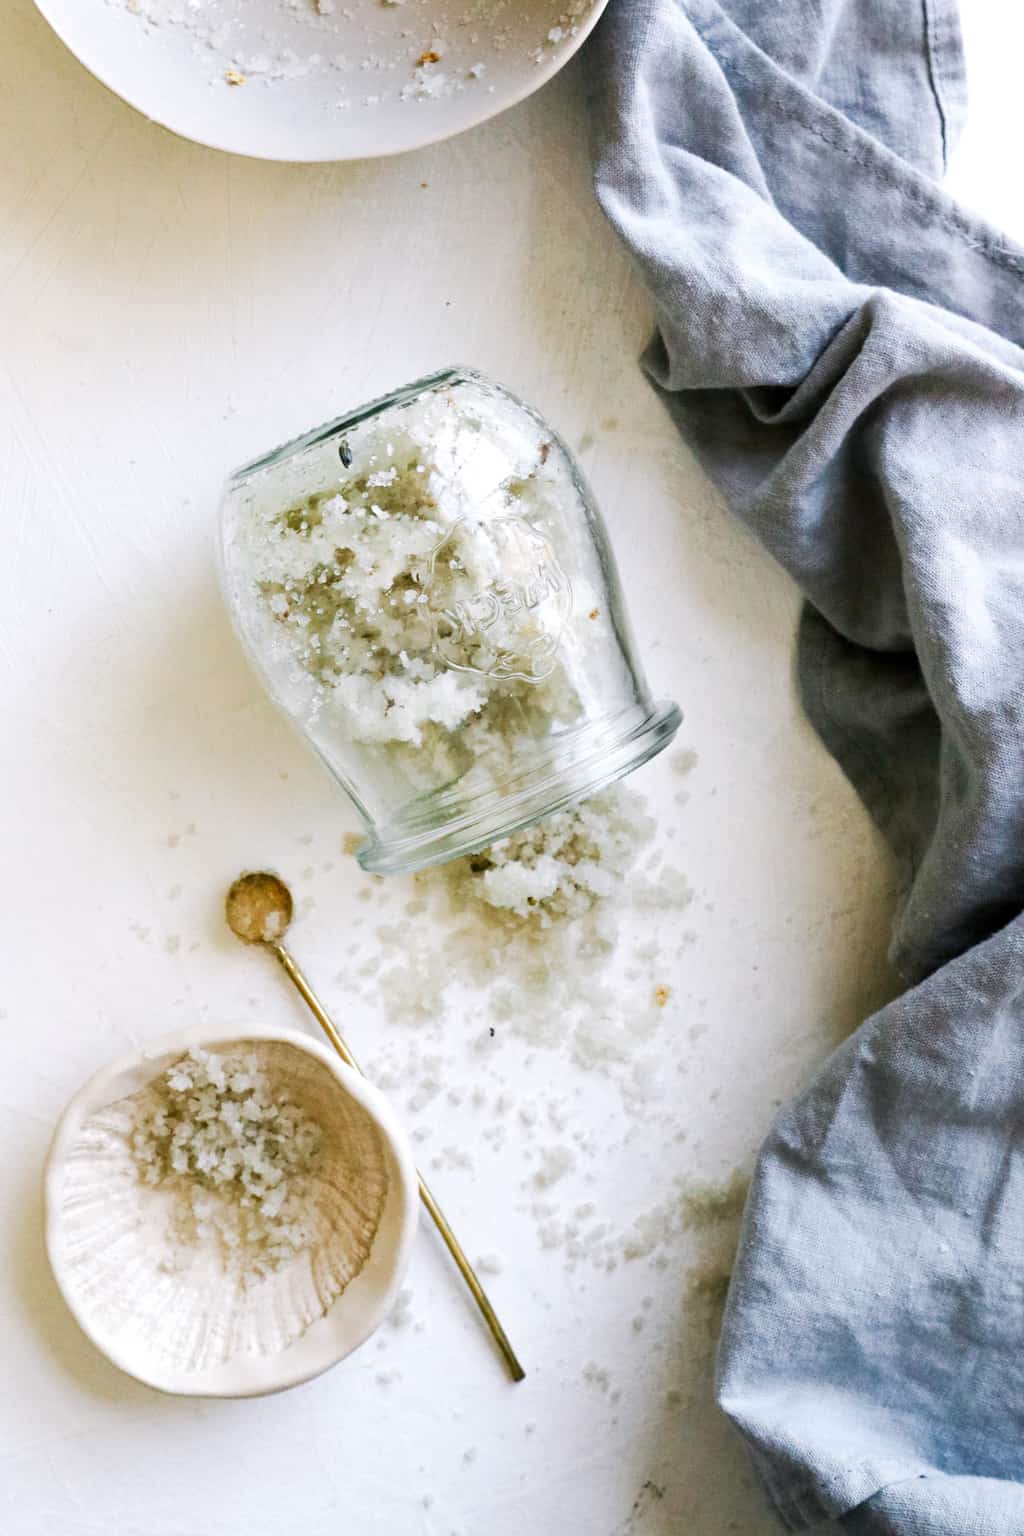
The Benefits of Salt for Skin
Fun fact: it’s believed that somewhere during the course of evolution, we emerged from the ocean to become land dwellers. And some people have said that this is why our bodies contain the same concentration of minerals and nutrients as the sea itself.
That means those same minerals that are so prevalent in natural sea salt are the ones that can also help balance and restore the body when we’re feeling dry, achy, or run down. And those benefits are most noticeable in our skin.
When your skin’s out of balance, things like dryness and irritation can be hard to get rid of. But volunteers in studies showed Dead Sea salt baths improved skin hydration, strengthened the skin’s moisture barrier, and reduced inflammation and roughness of the skin [source].
Sea salt has been utilized in various cultural practices for generations for the treatment of skin rashes, including eczema, fungal rashes, and psoriasis [source], and as therapy for aging skin and rheumatic conditions [source].
There are various ways you can use salt therapeutically: take a dip in the ocean, soak in a salt-infused bath, or my personal favorite, apply salt directly to the skin in the form of a body scrub. You can even add other ingredients like aloe vera to heal and protect, lavender to soothe redness, and a slew of skin-soothing oils to balance moisture, leaving you with a well-rounded scrub that does it all.
The Difference Between Salt and Sugar Scrubs
Sugar scrubs have a lot of the same benefits as salt scrubs, but there are a couple of important differences.
Level of exfoliation
The first is in the size of the exfoliating granule. Sugar is typically a finer grain than salt, so it’s better suited for use on the sensitive skin of the face and neck.
Salt scrubs, on the other hand, are often more abrasive, meaning they do a better job at smoothing out rough patches on the body.
Natural nutrients
In addition, sugar doesn’t contain the nutrients that salt does. So, while it makes for a great exfoliant, sugar doesn’t nourish skin as well as the all-natural forms of salt.
When To Use Salt Scrubs
Most of us are used to exfoliating our faces, but the skin on our bodies needs the benefits of exfoliation too. Because they can be so abrasive, salt scrubs should only be used two to three times a week at most. If using coarse salt, stick to removing dead skin on areas like feet, elbows, knees, and any stubborn patches on the legs and arms (gently, of course!).
If you’re using a finer grain, go ahead and apply it to the whole body (minus the face) and use a light touch so as not to cause skin irritation. Always remember to rub in a gentle circular motion to help free ingrown hairs and gently polish away dead skin.
Salt scrubs can also be used much like a dry brush to encourage circulation and aid skin detoxification. Gently massage the salt granules into wet skin like you normally would with a dry brush. But instead of focusing solely on dry patches, start at the feet and gently swipe upward over the entire body, ending at the heart.
Salt Scrub Ingredients
Obviously, a natural salt is a must. While you might be tempted to use table salt, it doesn’t contain minerals like more natural forms of salt do, so it’s not nearly as beneficial. Feel free to add in a bit of sugar or coffee to your scrub as well.
Next up, add your oils. A quality carrier oil like fractionated coconut (so it stays liquid at room temperature), jojoba, sweet almond, or argan oil is super nourishing and has anti-inflammatory properties [source]. It also helps the scrubs glide easily over skin without snagging dry or sensitive areas.
You may want to add some skin-specific essential oils for more targeted skin-soothing action. I swear by lavender, chamomile, and carrot seed oils for their overall skin-healing attributes.
Lastly, I love adding extra ingredients like aloe vera, bentonite clay, ground almonds, and flower petals. That’s because they contain added vitamins, antioxidants, and minerals that can further soothe away the inflammation that causes flakes and irritation.
6 Ways to Make a Salt Scrub Recipe
Not all salts are created equal. The best, most natural salts have added benefits from essential minerals and nutrients leached from the environment in which they were created. Here are some of the most nutrient-rich salts to use for beauty purposes.
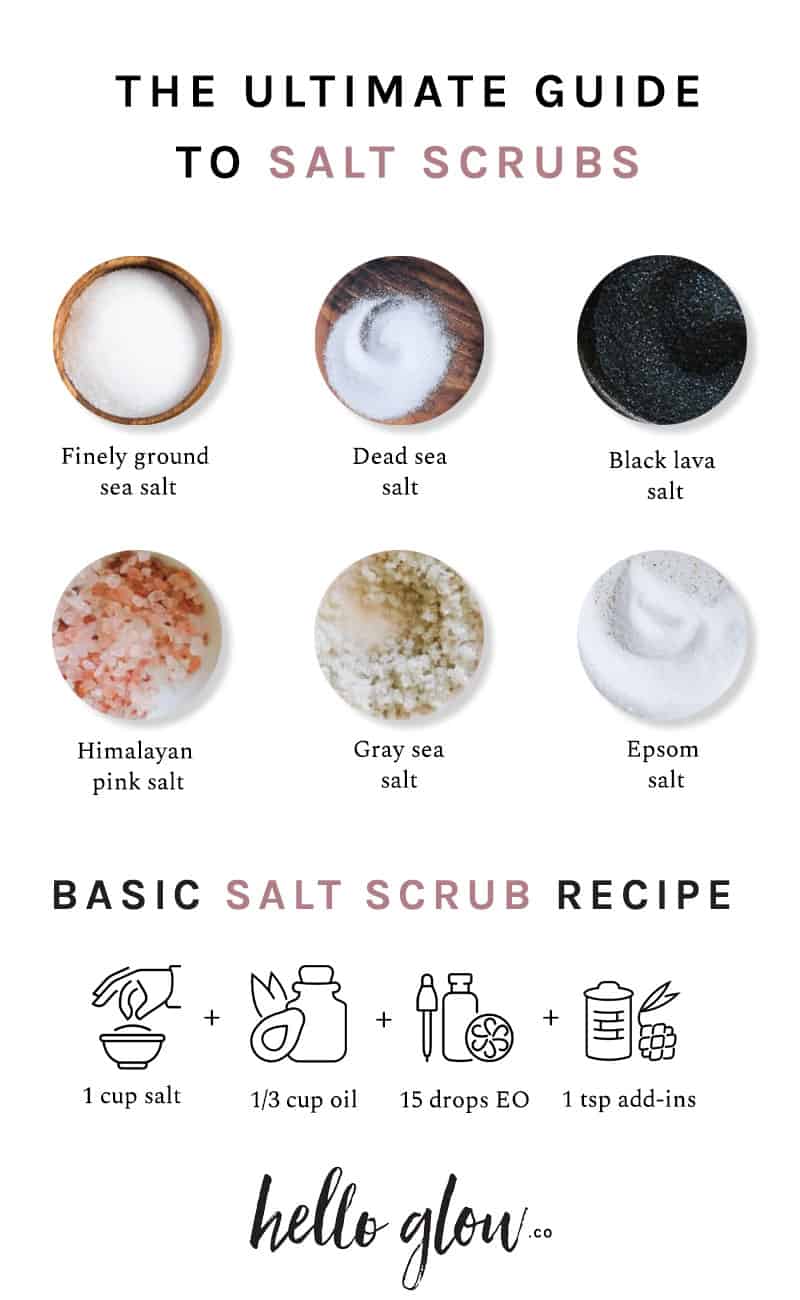
1. Finely Ground Sea Salt
Generally speaking, sea salt is a natural detoxifier that helps absorb toxins from the skin. Most sea salt is high in magnesium, a mineral known to increase the moisture content in skin, soothe redness, and improve the skin’s overall appearance, along with other minerals such as potassium, iron, and calcium [source].
Since most sea salt is coarsely ground, it’s not ideal for sensitive skin or large areas that get angry and red quickly. While not technically a type of sea salt, more like a type of grind, finely ground sea salt is gentler than its coarse cousins. That means it’s well suited for slightly more sensitive areas like the stomach, backs of the arms, and even the chest if you use a light hand.
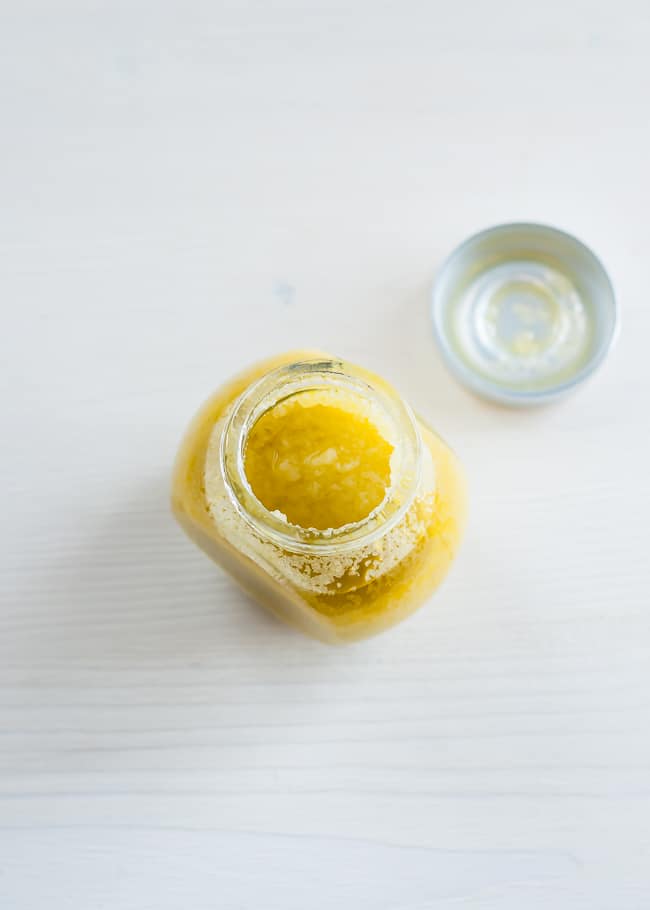
Sea Salt Hand Scrub
—Juice of a ½ lemon
—⅓ to ½ cup sea salt
—¼ cup olive oil
—5 drops lavender essential oil
—5 drops tea tree essential oil
Combine all ingredients in a jar with a lid and keep it by the sink.
2. Dead Sea Salt
I’m a huge fan of Dead Sea salt. One of the most nutrient-rich salts on the planet, Dead Sea salt contains around 20 minerals and trace elements also found in the body and often lost throughout the day. Combine salt with the blissful addition of hydrating coconut oil and antioxidant-packed kiwi and you’ve discovered smooth skin nirvana.
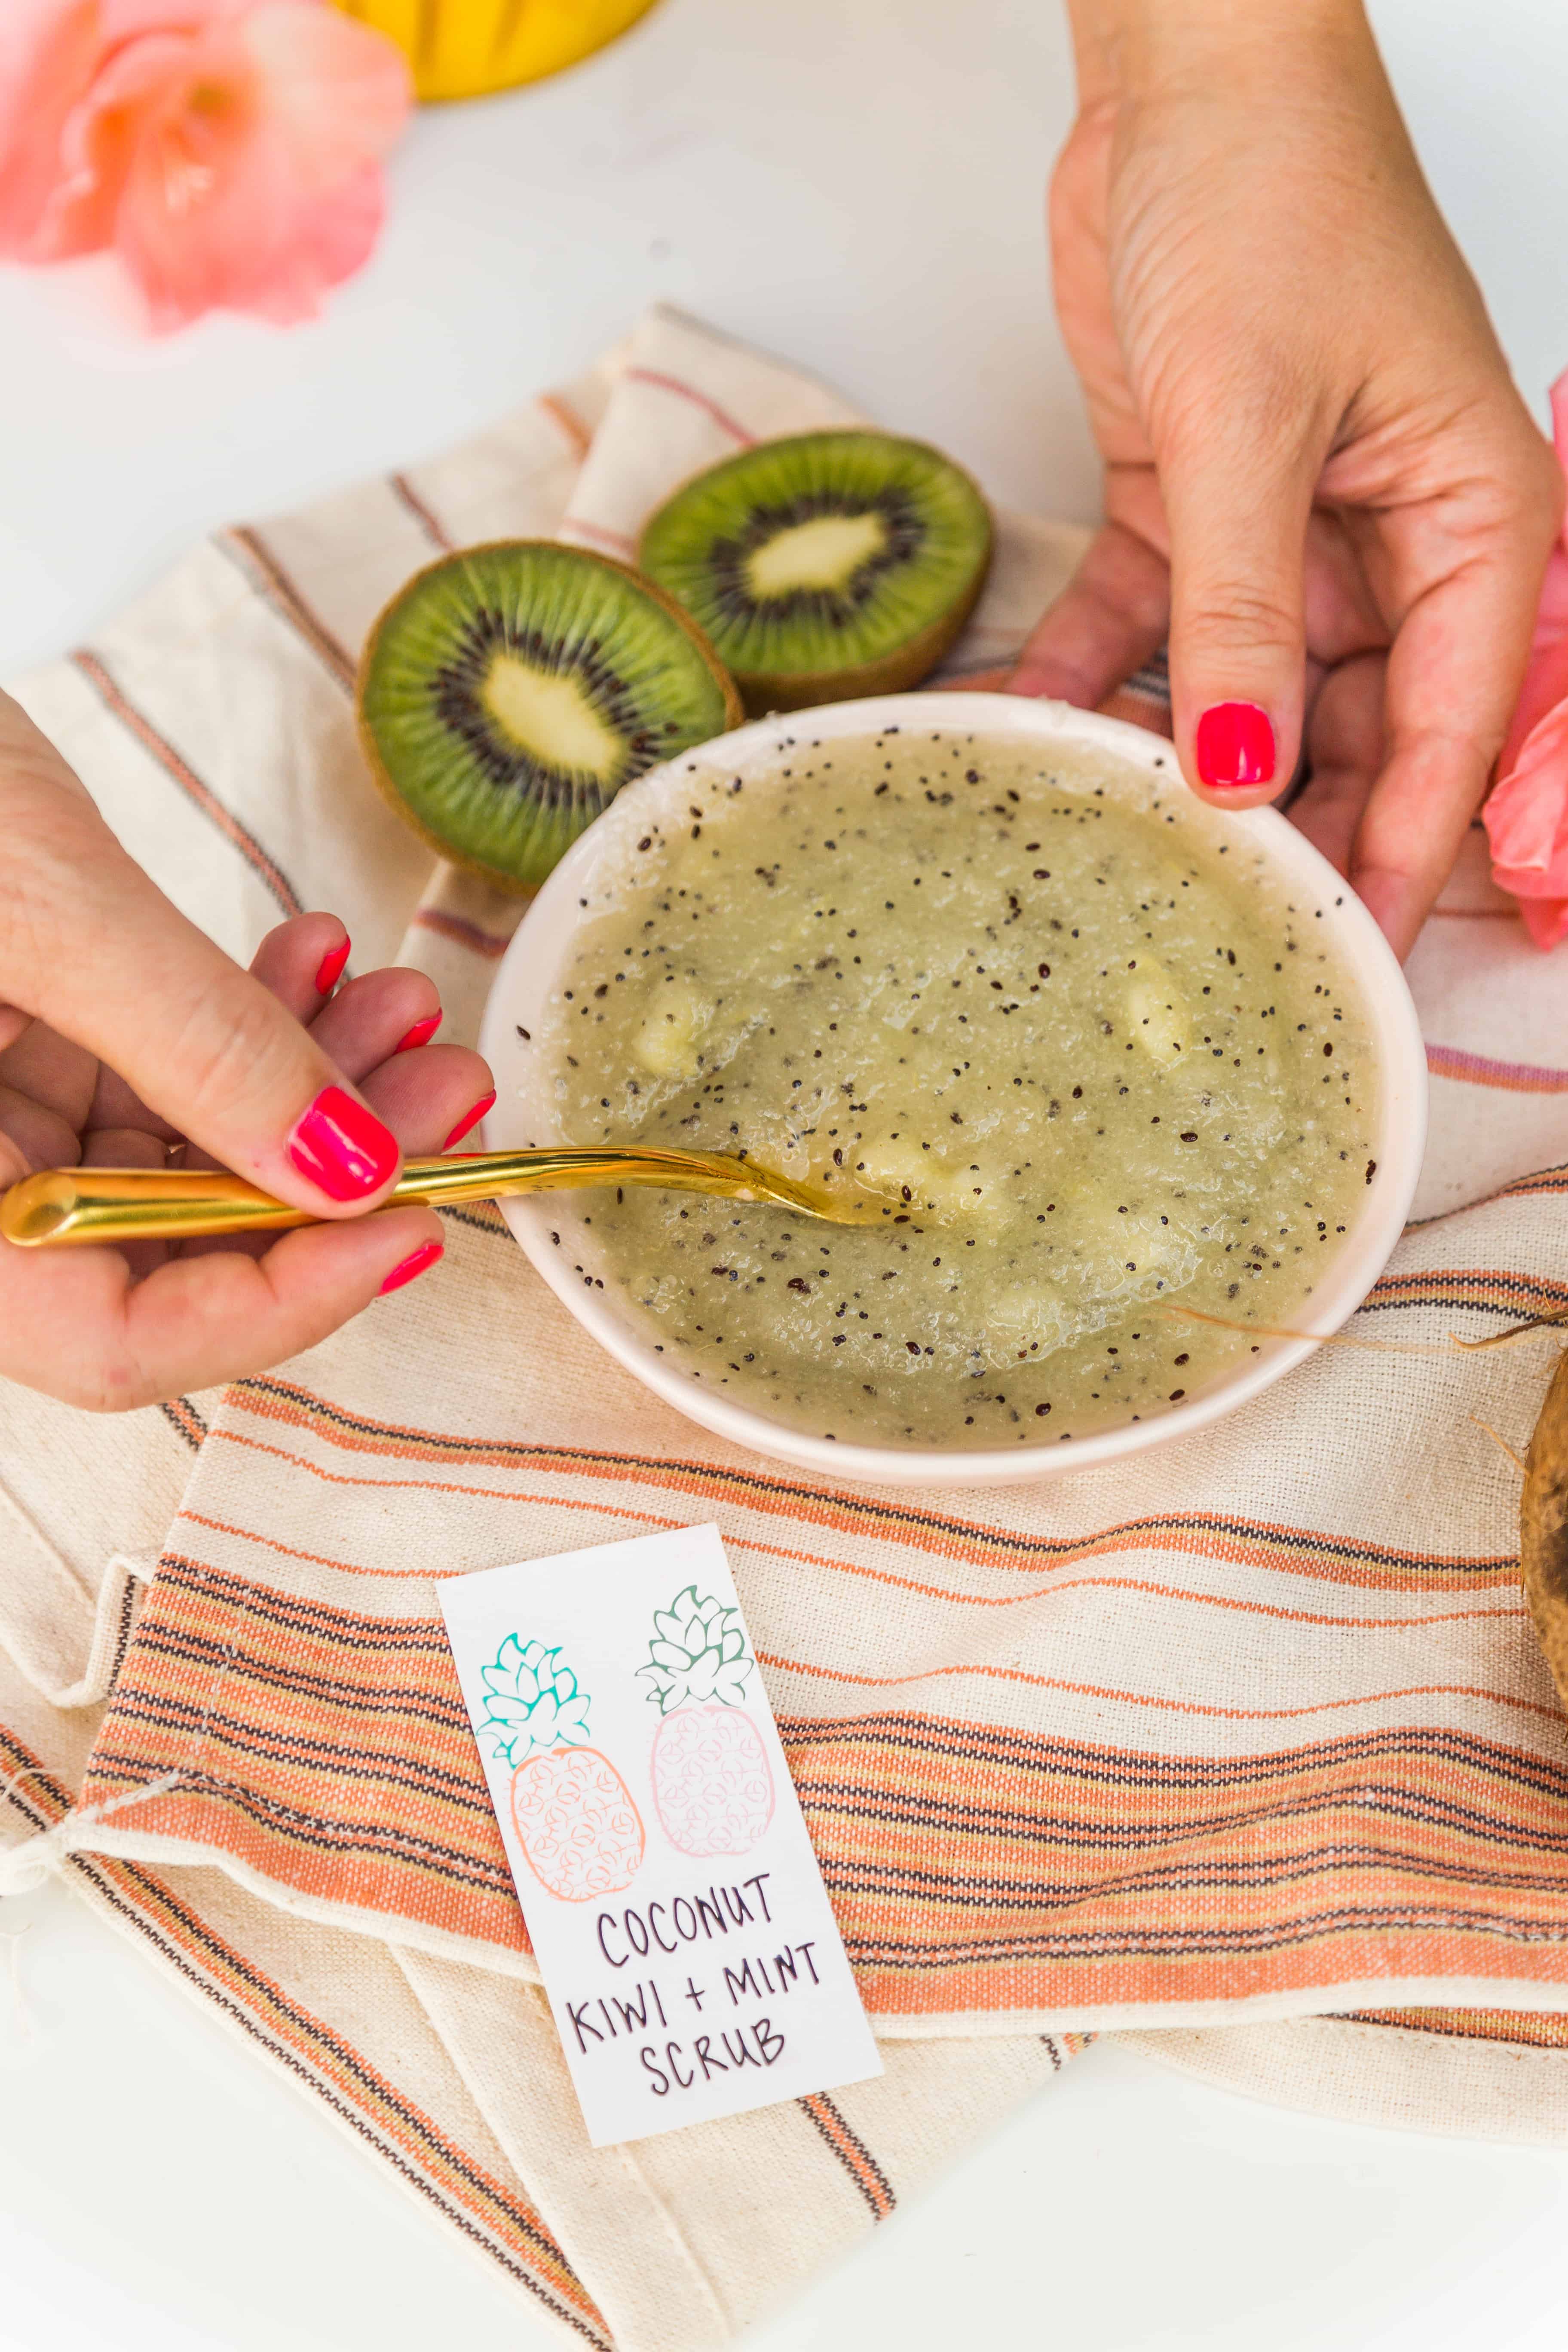
Cooling Coconut Kiwi Sea Salt Scrub
—1 cup Dead Sea salt
—1 kiwi, with skin removed
—¼ cup coconut oil
—10 drops peppermint essential oil
—1 teaspoon poppy seeds (optional)
Remove the skin from the kiwi and scoop out the flesh. Use a fork to crush and blend the kiwi flesh until smooth. Mix in the mineral sea salt, coconut oil, and peppermint essential oil. Blend well.
Add more coconut oil, if needed, to get the desired texture. Sprinkle in a few poppy seeds for extra kiwi cuteness.
Use as an exfoliating scrub on your skin in the shower or bath and then rinse with water. To soothe extra-irritated skin and enhance cooling properties, leave the scrub on your skin for a few minutes before rinsing clean.
3. Black Lava Salt
Black lava sea salt, also known as Hawaiian salt, is a sea salt that gets its pitch-black color from the addition of charcoal. The activated charcoal in lava salt is thought to be effective for cleansing and removing toxins from your body.
It may also help to ease joint and muscle pain, reduce water retention, and soothe cramps. Overall, it makes an excellent cleanser for skin, helping to reduce acne while leaving skin feeling refreshed.
Citrus Salt Body Scrub
This salt scrub is both relaxing and immune boosting. The natural uplifting fragrance from the citrus zest will also keep you energized.
—½ cup Black lava sea salt
—½ cup jojoba, almond, or olive oil
—1 teaspoon orange or grapefruit zest
Combine the salt and oil, and mix well in a bowl until the salt is saturated with oil. Then add the teaspoon of zest and mix. Store your scrub in a covered jar, and use it as needed all over your body. Rinse and towel dry when you’re finished.
Follow with a body moisturizer for optimal hydration. Salt can be grittier than sugar, so be sure you use light pressure, and never use this scrub on the face or neck.
4. Himalayan Pink Salt
Himalayan salt is one of the purest salts on Earth. It is a rock salt mined in the area south of the Himalayas in Pakistan. Pink salt is pretty easy to find in stores, making it ideal for pink salt baths and whipping up large batches of scrub.
Pink salt is one of the more coarsely ground salts on the market, so I'd recommend a few pulses in a coffee grinder to get a finer texture before using it as a body scrub or in this ACV scalp scrub. It’s said to have anti-inflammatory properties that help soothe skin and calm irritation and breakouts.
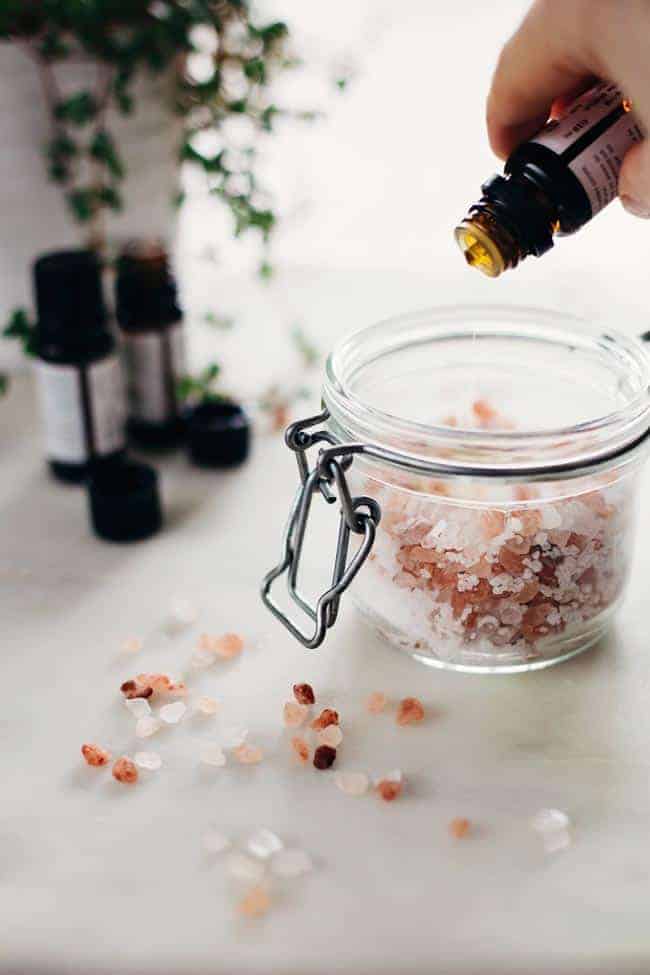
Hibiscus + Grapefruit Salt Scrub
Consider this pretty pink scrub your magic elixir on early mornings or those days when you need an extra pick-me-up. Grapefruit boasts a ton of antioxidants to fight free radicals, not to mention that it’s high in vitamin C and flavonoids to detox and help protect the skin. With the additional anti-inflammatory and moisturizing effects of jojoba oil, you can expect this scrub to leave your skin hydrated, smooth, and supple.
—1 cup pink Himalayan salt
—¼ cup jojoba oil
—10 drops grapefruit essential oil
—2 hibiscus tea bags
Add the pink Himalayan salt, jojoba oil, and grapefruit essential oil into a bowl. Open the hibiscus tea bags and empty their contents into the bowl.
Mix again with a spoon until all ingredients are combined. Add more oil, if needed, to get the desired consistency.
Apply the mixture to your skin, scrub, and then rinse, or allow it to sit on the skin for several minutes before rinsing for its added benefits.
5. Gray Sea Salt
Gray sea salt is typically hand-harvested using the same traditional methods as those found in ancient Rome. It’s then dried in the sun, leaving the salt gray and wet.
This process ensures that its 82 vital trace minerals, which promote optimum biological function and cellular maintenance in the body, stay intact.
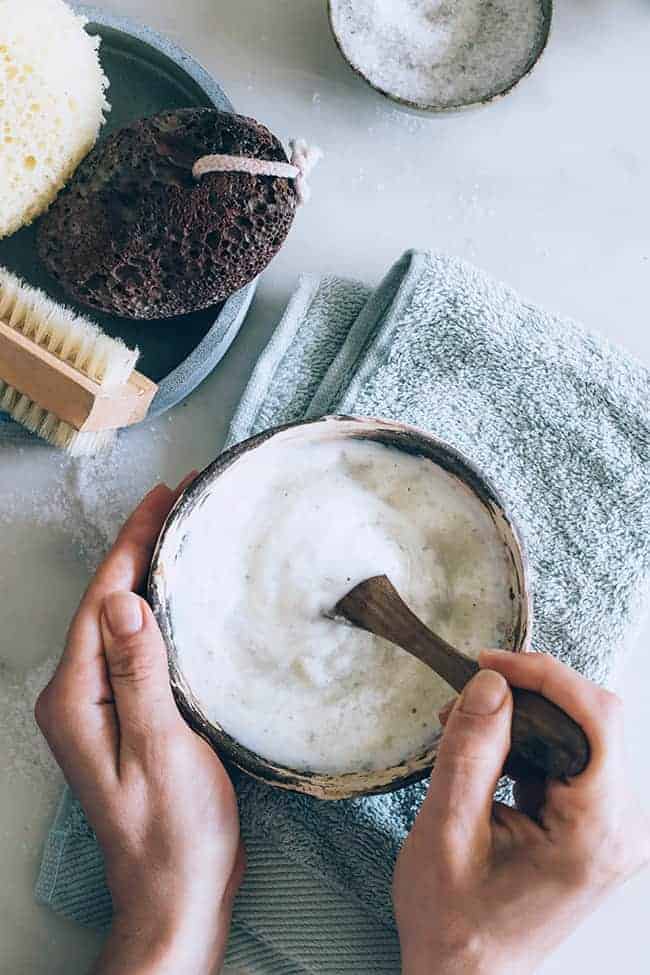
Salted Cream Scrub
—½ cup cream
—½ cup gray sea salt
—5 drops vanilla essential oil or 1 teaspoon vanilla extract
Combine ingredients in a small bowl. In the shower, apply salted cream scrub in vigorous circles all over the body.
Rinse off and quickly check how soft the skin is. Reapply to any areas that may have been missed or need a little extra help, like elbows and knees.
6. Epsom Salt
Named for the British town they’re found in, Epsom salts are famously muscle-soothing, in part because of the high levels of magnesium they contain.
Epsom salt is helpful for those with thick, dry skin on their knees and elbows, especially those with eczema or psoriasis. Try this ginger detox body scrub before a detox bath.
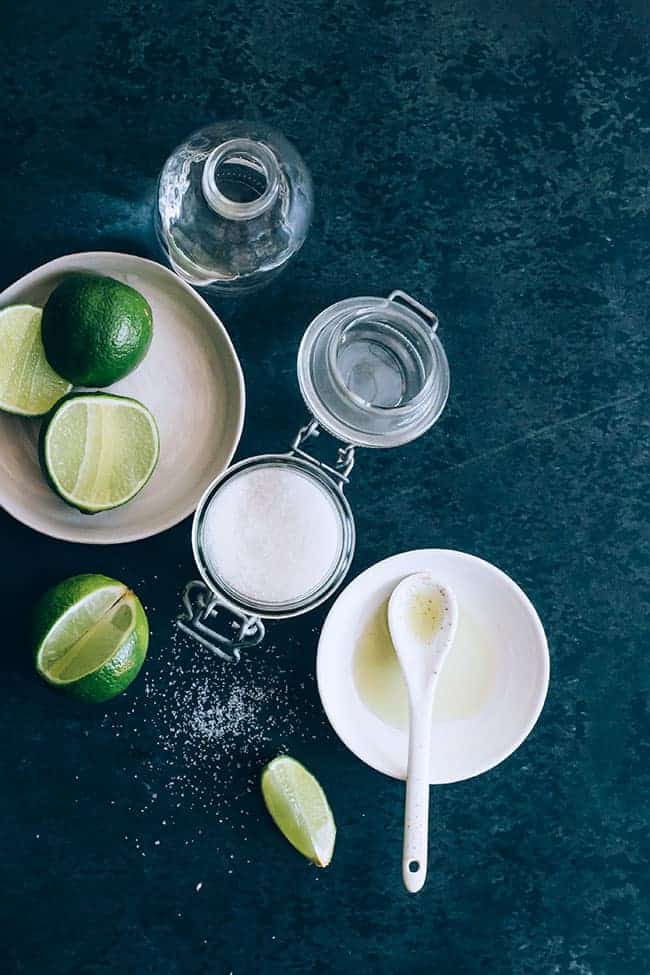
Margarita Body Scrub
The tequila and lime juice are natural antiseptics, the salt exfoliates any dead skin, and the olive oil adds lots of moisture.
—1 cup Epsom salt (pulse a couple of times in a food processor or coffee grinder)
—2 tablespoons olive oil
—1-2 tablespoons tequila
—Juice of 1 lime
Mix all ingredients together in small bowl until you have a paste. Add more olive oil if needed. Then scrub away in the shower. One note of caution - use the scrub before you shave, not after, because it might burn.
How to Use a Salt Scrub
Get things steamy: I recommend shutting the bathroom door and cranking the shower to very hot, creating a steam room-like effect. After a few minutes, turn the temperature down so the water is warm—but not hot—thus helping to keep skin from drying out and getting irritated even further.
Shower first: Next, shower as usual before applying your scrub. That way, you don’t run the risk of washing off the oils and minerals.
Use on wet skin: If you made your salt scrub in advance, give it a little stir to blend the oils that may have risen to the top. Scoop out a little with your hand and gently massage the salt granules into wet skin.
Focus on dry areas: Pay special attention to the extra-dry areas, such as feet and elbows, then rinse off and pat the skin dry.
Store properly: Since salt is naturally antibacterial, a simple scrub with just salt and oil in a proper container should last for up to a year. If it contains things like flower petals, aloe vera, or water, it’s best to use it up within a month.
How to Make a Salt Scrub
There are a ton of different salt scrub recipes out there, but the basics are all the same. Once you have the basic recipe down pat, try experimenting with your own add-ins, like flower petals, clay, coffee grounds, or essential oils.
How to Make a Salt Scrub Recipe
Equipment
- Small bowl
- 8-ounce glass jar with lid
Materials
- 1 cup sea salt (any natural sea salt will do)
- ⅓ cup almond oil (jojoba is also good for all skin types)
- 15 drops lavender essential oil (can also choose rosehip, carrot seed, or any oil you have on hand)
- 1 teaspoon bentonite clay (optional - or use dried flower petals, grated citrus rinds, coffee grounds, etc.)
Instructions
- Choose your salt based on your skin’s particular needs. Coarse pink sea salt is perfect for feet, knees, and overall circulation, while a finely ground salt is ideal for more sensitive areas. Any kind of carrier oil will do, but I love jojoba for its skin-soothing benefits and almond for gently locking in moisture.
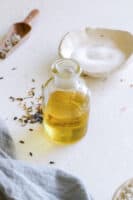
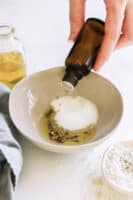
- Combine the salt and oils in a small bowl. Then add your essential oils and any optional ingredients. Mix again.
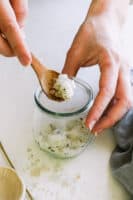
- Spoon the scrub into a glass jar and screw the lid on tight. If it’s just salt and oil, store in the bathroom for up to a year. If your scrub contains other ingredients (e.g., flower petals or aloe vera), use within a month.
Notes
This post was medically reviewed by Dr. Rina Mary Allawh, M.D., a dermatologist who practices adult and pediatric medical dermatology, cosmetic dermatology, and provides skin cancer treatment. Learn more about Hello Glow’s medical reviewers here. As always, this is not personal medical advice, and we recommend that you talk with your doctor.
162
