I am a Korean skincare regimen fanatic; of all the eleventy-billion steps in the routine, my very favorite is the mask. Clay masks, sheet masks, I love them all, but there's one type of mask that holds a special place in my heart: the agar peel-off mask.
These masks, while hydrating, are excellent for exfoliating, removing surface dead skin cells as you peel it off, and revealing glowing and fresh skin.
Benefits of Peel-Off Masks
Peel off masks are beneficial for many skin types and concerns. For those with oily skin, peel off masks can help to remove excess oil and unclog pores. For those with dry skin, the masks can help to remove dead skin cells and promote a healthy glow. Most peel off masks are also great for those with sensitive skin, as they are easy to apply and remove without causing irritation. peel off masks can help to remove acne-causing bacteria and improve the appearance of skin tone.
Exfoliating face masks, like these peel off masks, are also an important part of any skincare routine as they can help to improve the effectiveness of other products you use, such as moisturizers and serums. By making your own peel off mask, you can customize the formula to fit your specific skin type and concerns, and also save money in the process.
Think of them as the cooler, younger sister of traditional face masks. You get all the nourishing benefits, plus some anti-aging perks.
Because they adhere to the top layer of skin, peel-off masks actually remove dead skin cells, so the skin looks young and fresh.
As they dry, charcoal and clay-based peel-off masks absorb excess oil and impurities from the skin.
If used regularly, peel-off face masks might even diminish the appearance of sun damage and wrinkles by encouraging cell turnover and refreshing skin.
Clean-up is a breeze! No need to scrub your face afterward. Just peel off the mask, toss it in the trash (or compost bin), and you're done.
How To Make an Agar Peel Off Mask
If you haven't tried making a DIY peel-off mask before, you may be wondering how exactly you can do it at home. We've got all the tips and tricks—plus recipes!—for successfully making your own peel off mask at home.
Once you're done, your skin will feel squeaky clean and totally refreshed. And after exfoliating, your serums and moisturizers will be able to penetrate your skin even better.
Gelatin
This is what makes the mask peelable. But gelatin is also a great addition to your beauty arsenal because it's made from collagen, making it a rich source of vitamins, minerals, and amino acids. When applied topically, its anti-aging benefits include increased hydration, smoothness, and wrinkle reduction [source].
Agar agar powder
If you're vegan and would prefer not to use animal products in your mask, you can replace the gelatin with agar agar powder, an ingredient often used in vegan desserts as an alternative to gelatin.
Agar (or agar-agar) is made from seaweed—more specifically red algae [source]. Rich in minerals, this seaweed boasts calcium, magnesium, iron and copper. Agar softens, whitens, and moisturizes skin [source]; it also helps thicken and bind other ingredients together.
An added plus to an algae-based peel-off mask is less chance of irritation for sensitive skin types. Agar-agar is a great substitute exfoliant if alpha-hydroxy acid masks make the skin red, inflamed, or irritated.
1. Charcoal Peel Off Mask
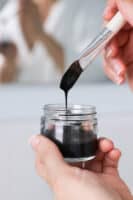
We love masks with activated charcoal, and this DIY charcoal peel-off mask is the better, gentler, more effective version of a face peel. The star ingredient in this mask is activated charcoal, which acts kind of like a magnet, drawing dirt, toxins, and other harmful substances [source] from clogged pores. It's deeply purifying and leaves skin feeling soft and refreshed.
And if you're new to activated charcoal, there are so many beauty uses for it! Yes, it can get a little messy, but don't be intimidated. After you whip up this face mask, try this charcoal face wash recipe or make these gut-healing gummies.
Charcoal peel off mask recipe
—1 tablespoon water
—1-½ teaspoons of agar agar powder or 2 tablespoons unflavored gelatin
—1 tablespoon witch hazel
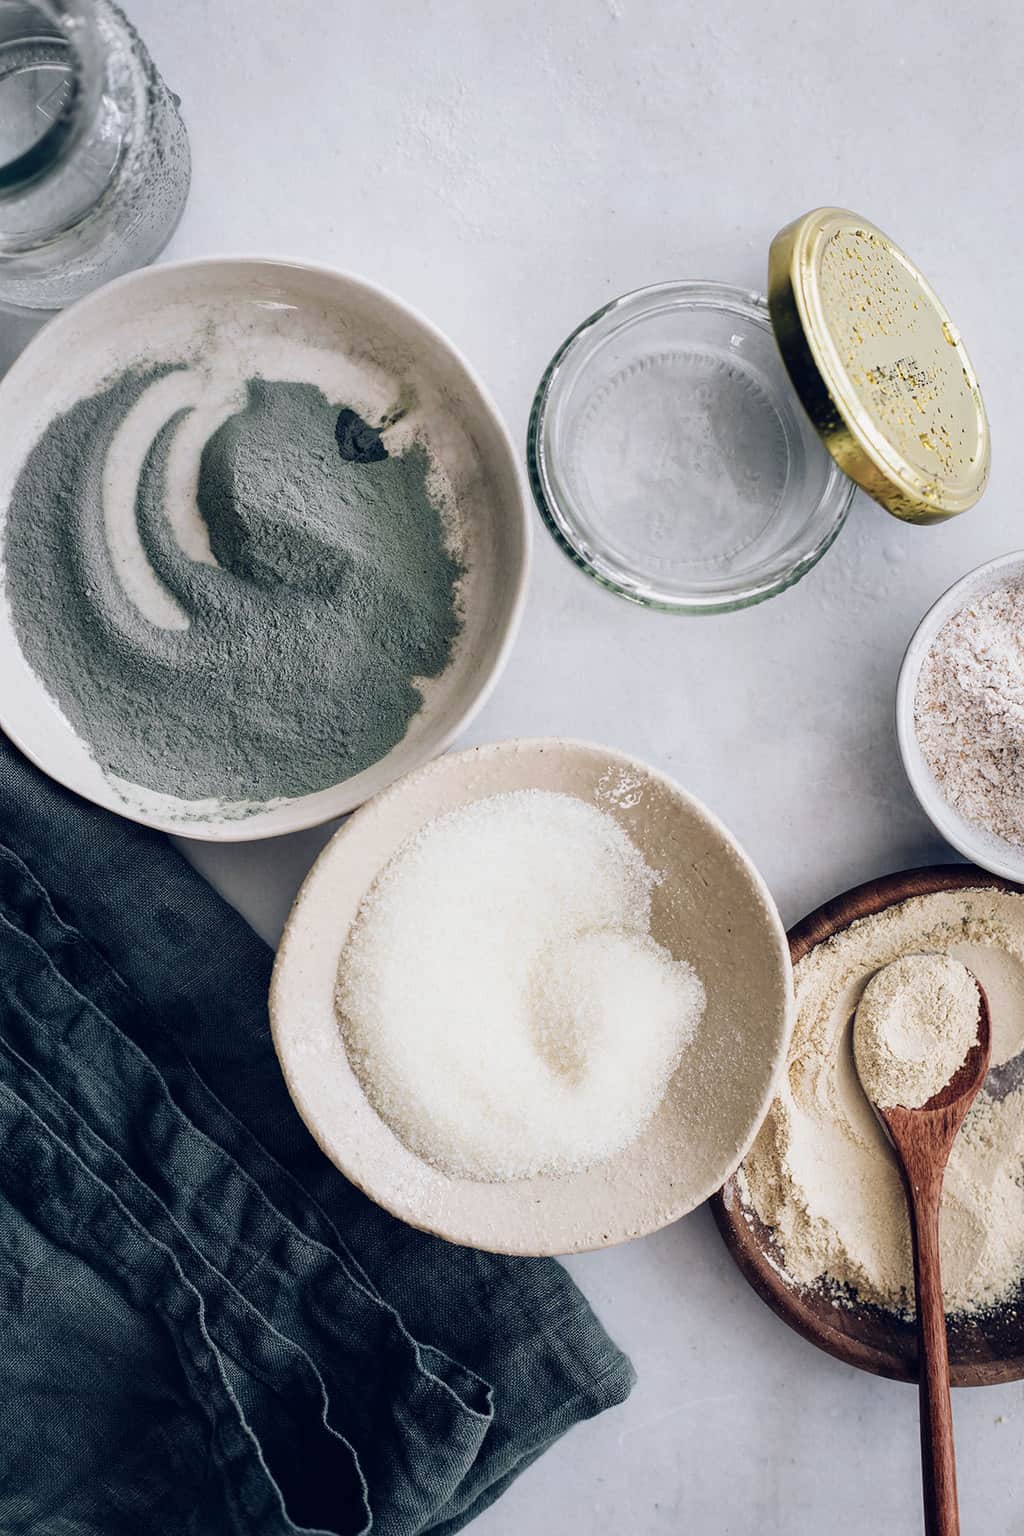
—1 teaspoon activated charcoal
—1 teaspoon kaolin clay
—½ teaspoon coconut milk powder
Instructions
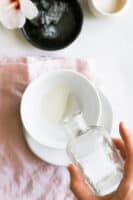
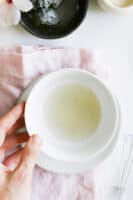
1. Combine water, witch hazel, and unflavored gelatin in a small, microwave-safe bowl and stir well.
2. Microwave in 15-second intervals until the mixture is warm and the gelatin dissolves when stirred.
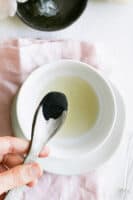
3. Add the kaolin clay, coconut milk powder, and activated charcoal. Stir well.
4. Let the mask cool for a minute or two before applying it to your face.
2. Skin-Soothing Agar Peel-Off Mask
To make this recipe totally vegan, you could skip the milk or swap it for a plant-based one. Try oat milk as oats are anti-inflammatory and have super soothing properties for skin [source].
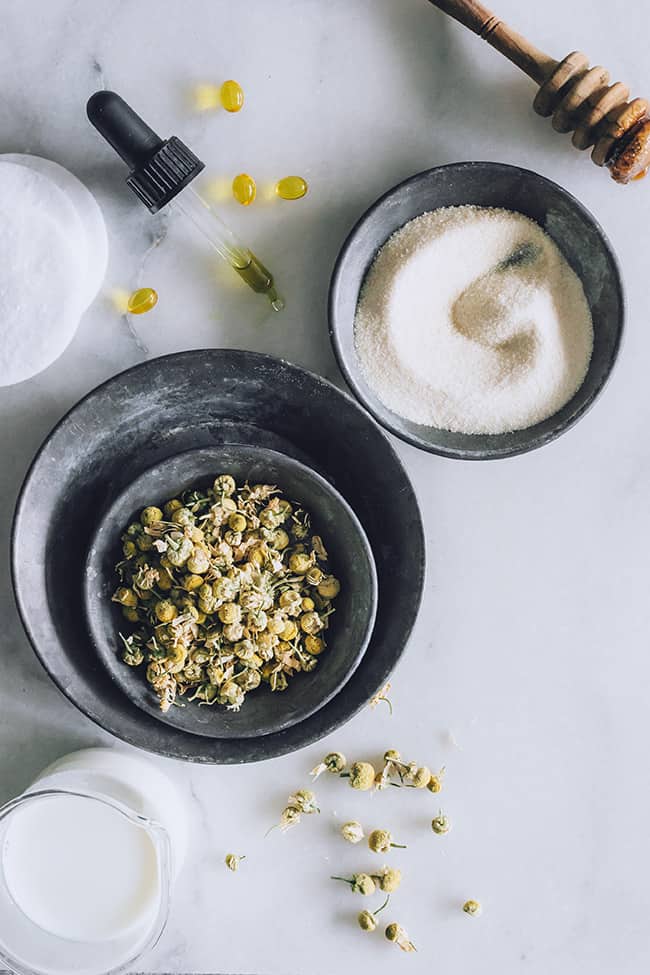
Chamomile + honey peel off mask recipe
—1 tablespoon agar powder
—2 tablespoons hot steamed milk
—1 teaspoon manuka honey
—2 drops chamomile essential oil (or substitute tea tree oil for acne-prone skin)
—1 capsule vitamin E oil for dry/aging skin (optional)
Instructions
1. Steam the milk in a heat-safe bowl, then add the agar powder. Mix well and add the honey and essential oil.
2. Keep mixing until the consistency is even. Apply while the mask is still warm but not hot.
3. If you’re not sure, dab a little on the inside of your wrist. The mask should be comfortably warm on your face. If you put it on and it’s a little too hot, rinse it off right away to avoid burns.
3. DIY Jiggle Juice Mask
This DIY rubber peel-off mask from Ina De Clercq's recent book, DIY Beauty is a copycat version of Dr. Jart+'s Shake & Shot Rubber Masks. In addition to the agar agar, there's clay, rice flour, and oatmeal in it to help absorb oil and clean out your pores.
Clay + rice peel off mask recipe
—½ cup water
—¼ teaspoon agar powder
—1 tablespoon bentonite clay
—1 tablespoon rice flour
—1 tablespoon colloidal oatmeal, finely ground
Instructions
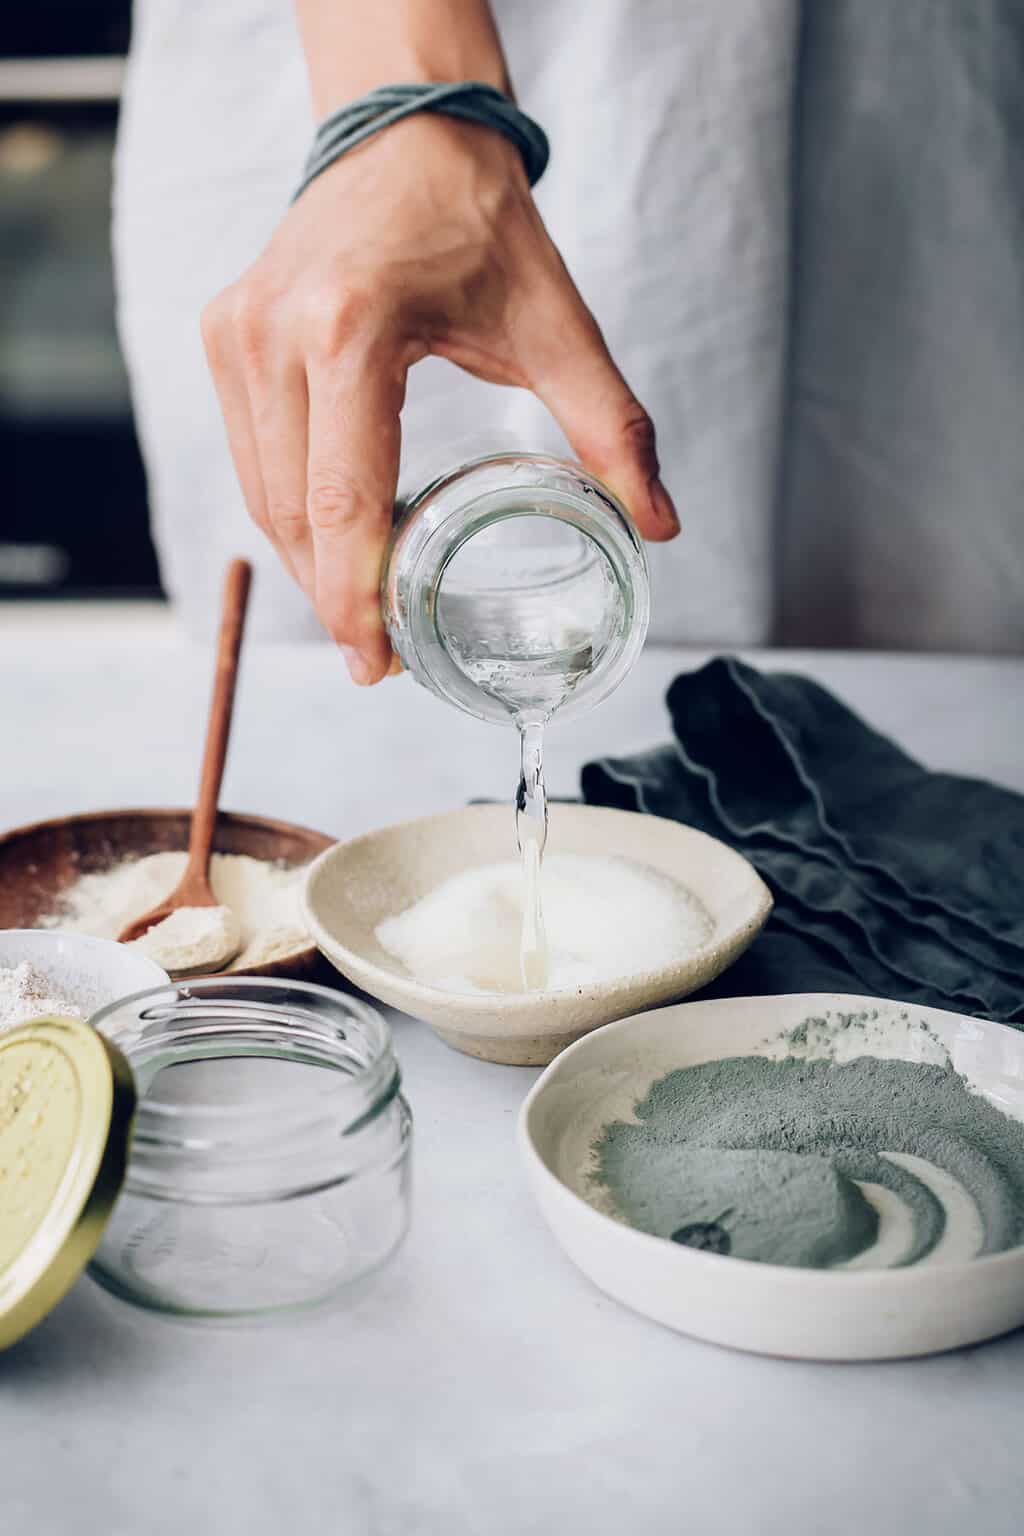
1. Pour water into a small saucepan. Add agar agar powder and stir.
2. Bring the mixture to a boil. Keep stirring the mixture and let boil 1 minute.
3. Take the saucepan off the heat and allow to cool 1 minute. Pour the mixture into the container.
4. Add bentonite clay, rice flour, and oatmeal to the container.
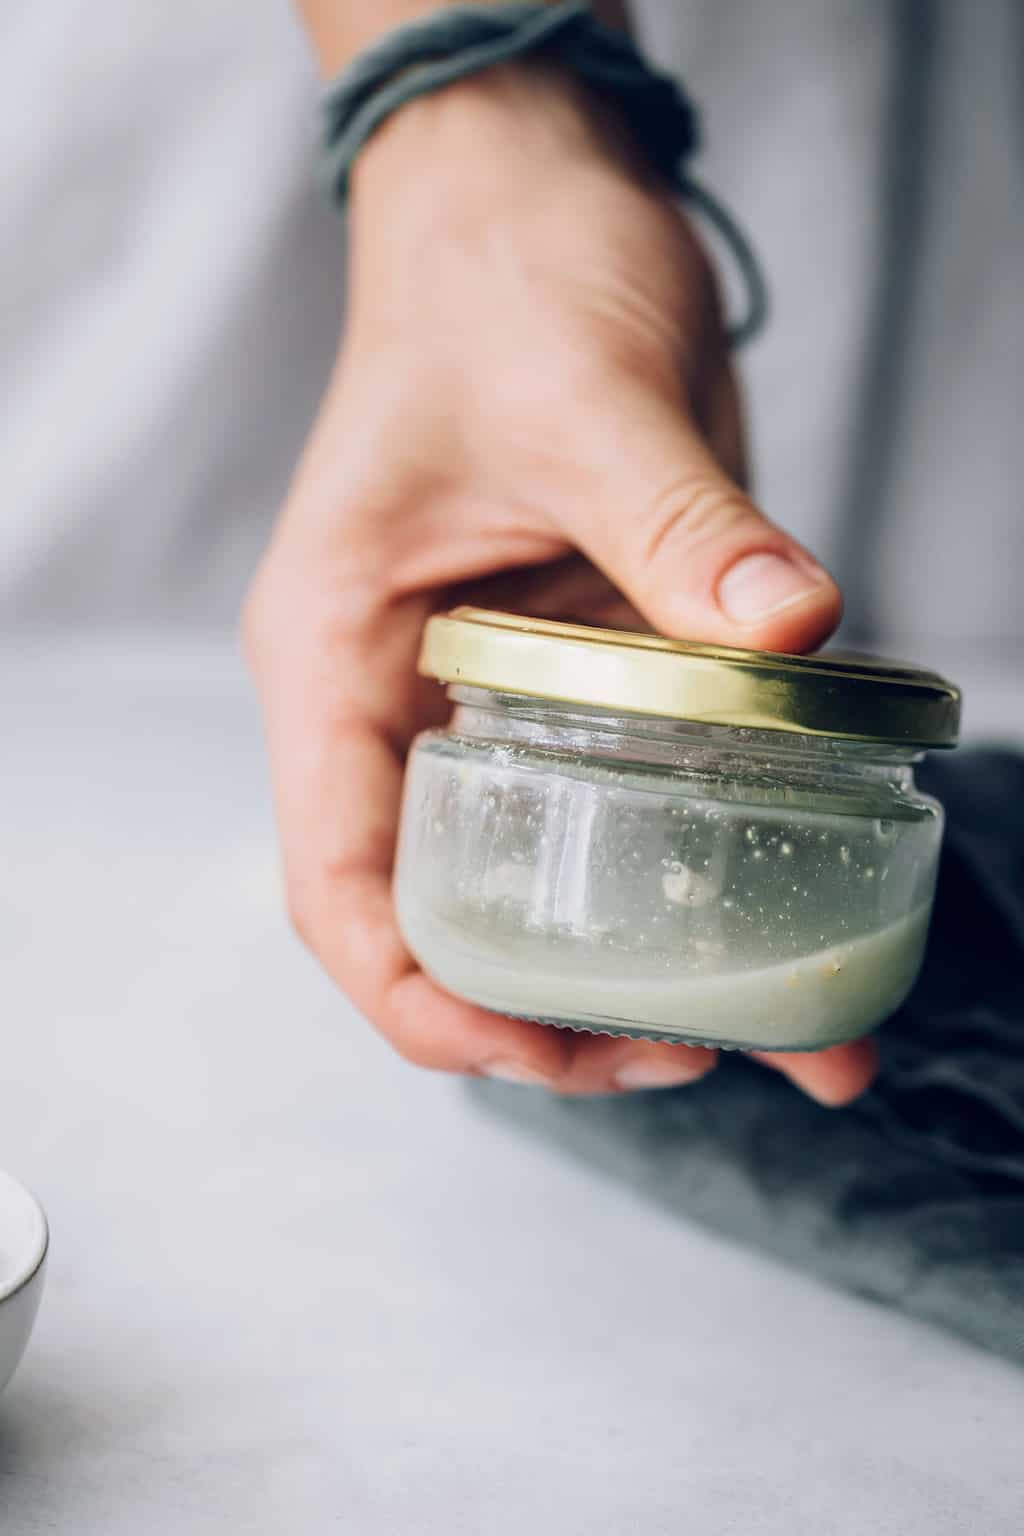
5. Secure the lid on the container. This is a hot liquid, so make sure the lid is on tight! Carefully shake the container to combine ingredients.
6. Pour the contents into a small dish or mixing bowl. Let the mixture cool down to room temperature 10 minutes. It will start to thicken.
How to Apply a Peel Off Mask
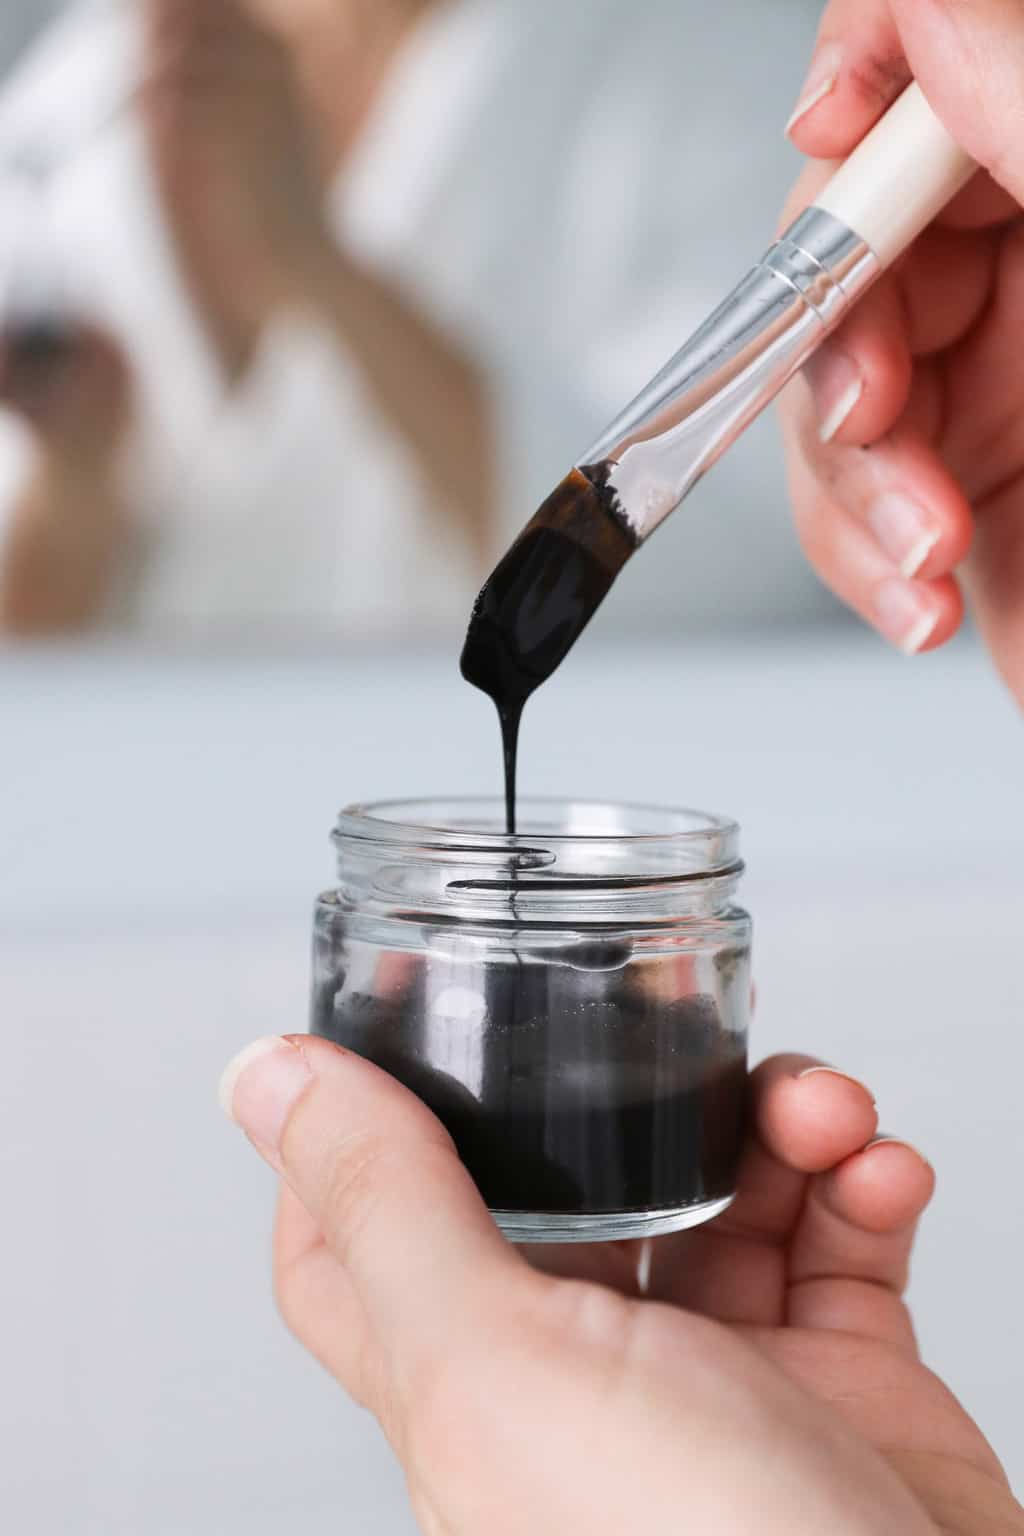
1. Make sure the mixture has cooled down to room temperature. Do a patch test on your arm or hand first to check the temperature.
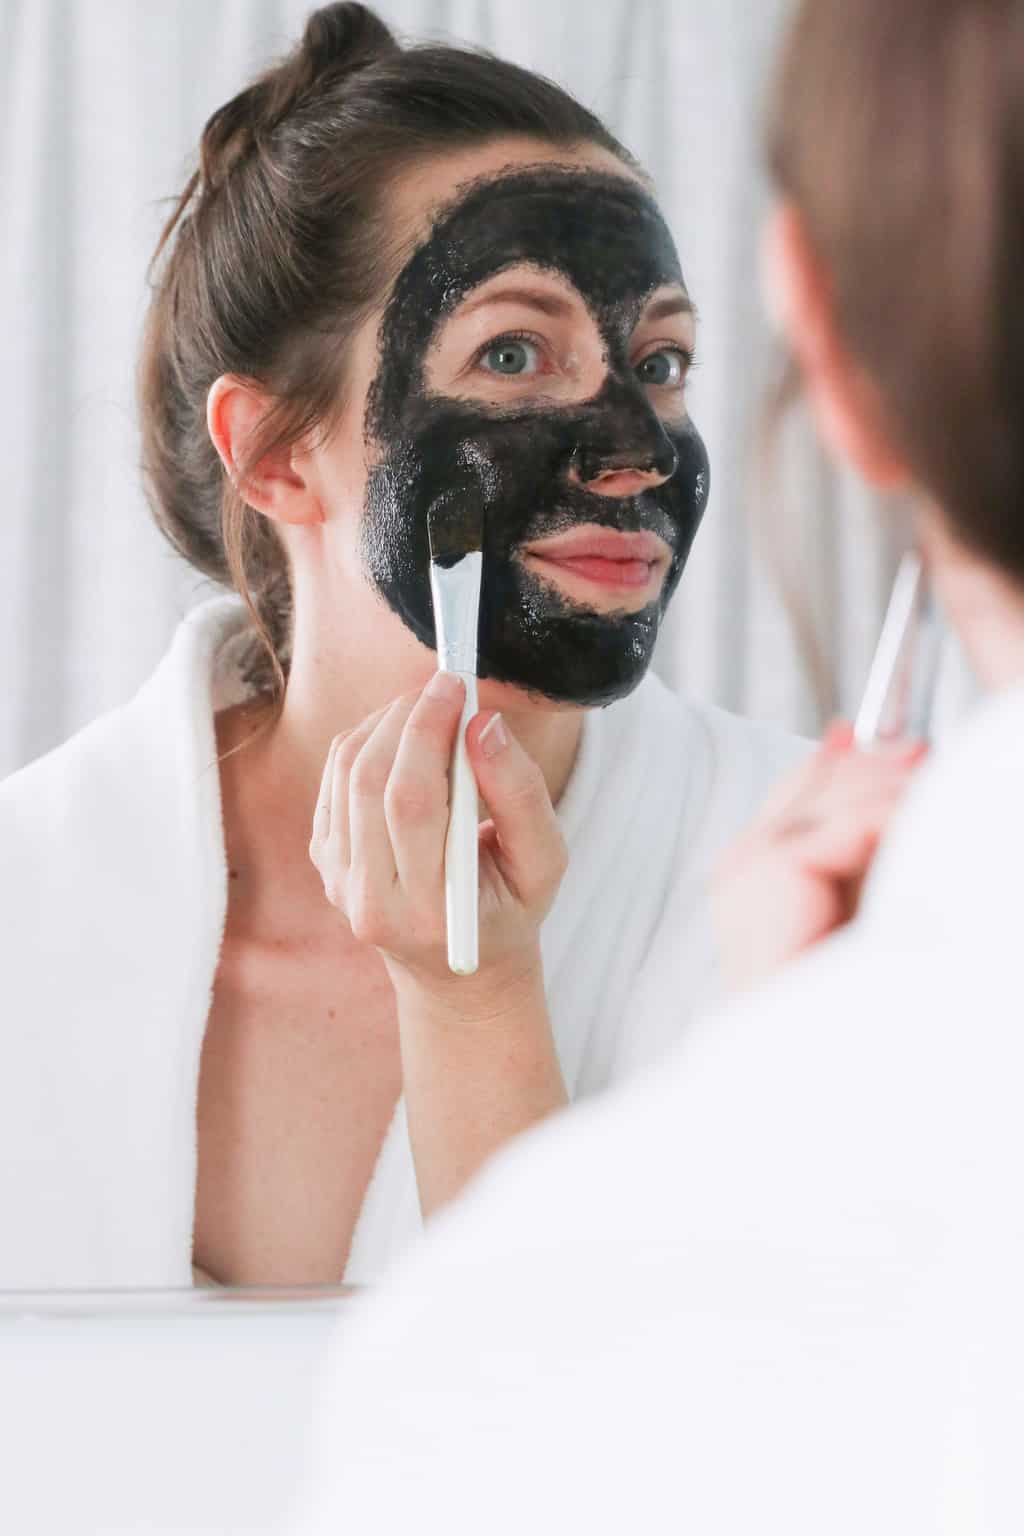
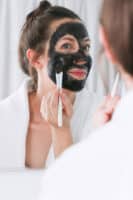
2. Use a makeup brush or your fingers to apply a thick layer on your skin. An old, flat makeup brush works wonders for applying this mask precisely! And believe me, accuracy matters when you’re putting this baby on the face.
3. While applying the mask with a face or makeup brush, be sure to avoid the hairline, eyebrows and eye area, as it can pull and tug during removal.
4. Apply an even layer from chin to forehead. Concentrate on the nose or any area with concentrated clogged pores or blackheads.
5. Allow the mask to sit 10–20 minutes. Peel off the mask. Rinse with water.
Read on for tips on peeling!
How to Remove a Peel Off Mask
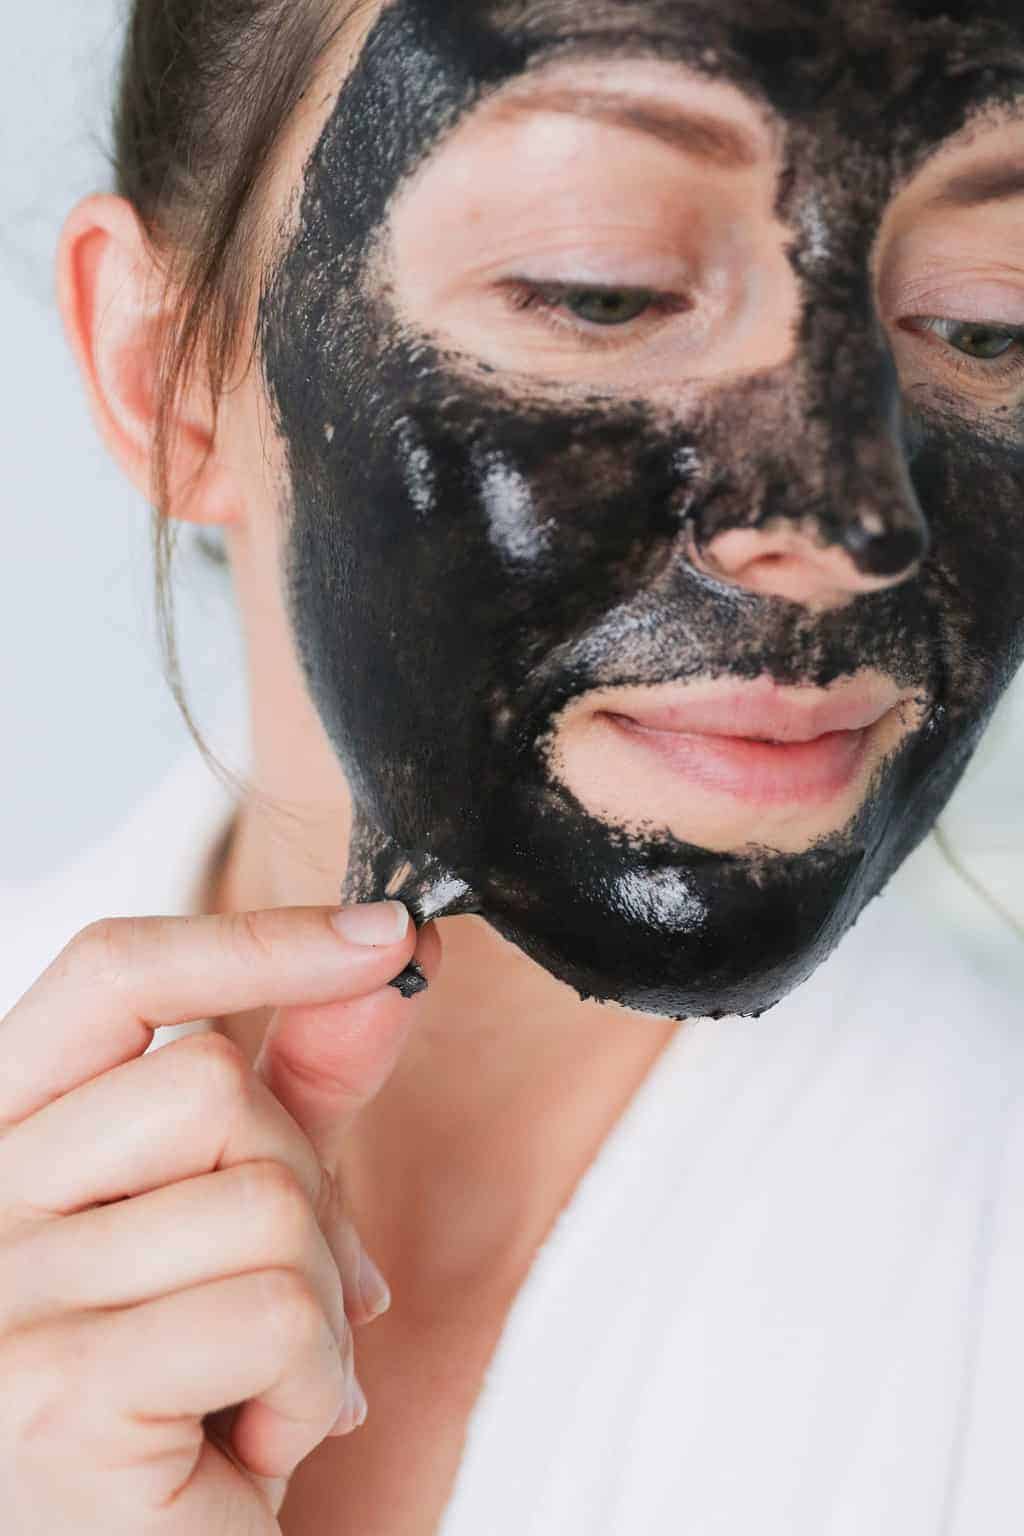
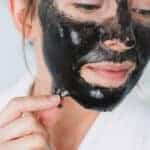
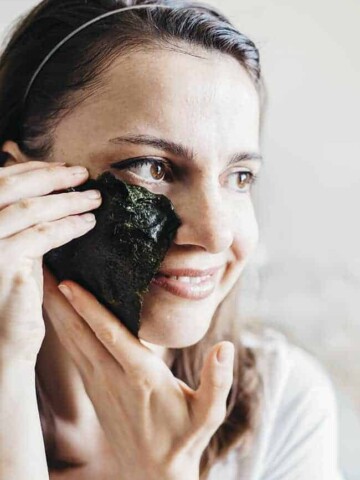
Peeling the mask off. Oh. Em. Gee. It is the best part of the whole DIY peel-off mask thing. It's so strangely satisfying. I always make a game of trying to peel the entire thing off my face in one go, although it never quite works out.
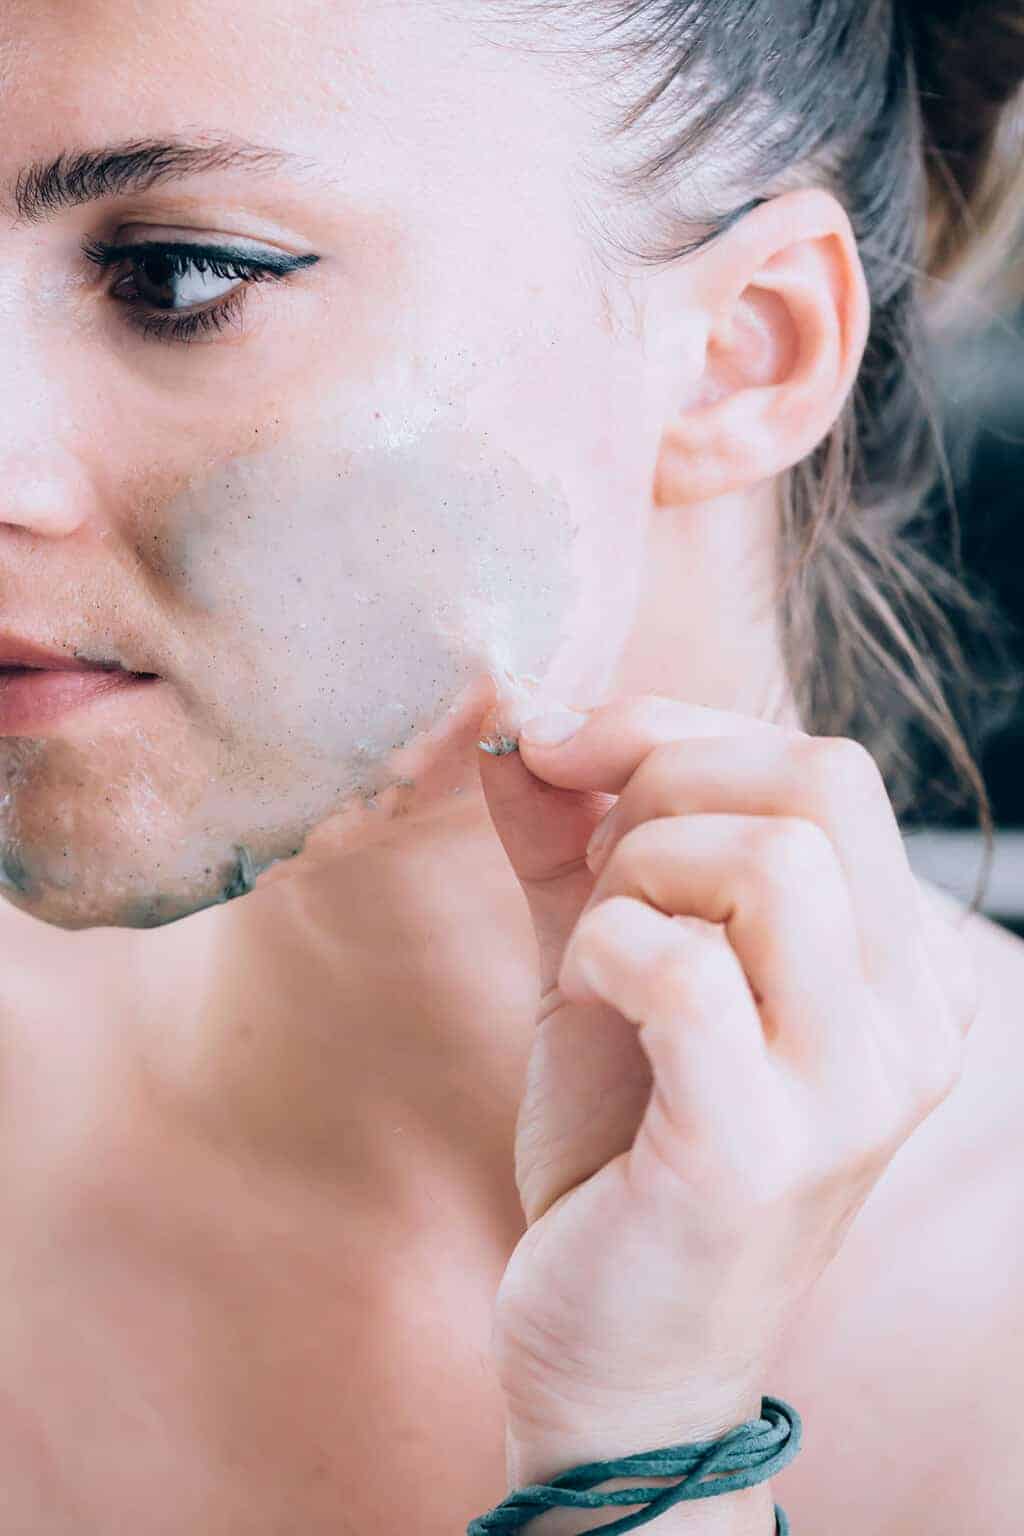
Once dry—it usually takes 10 to 20 minutes—you’ll feel your face tighten. Start to peel in an upward motion, beginning with the chin area. Gently peel the mask upward all the way through the forehead section. It may peel off in several sections, which is fine.
If the mask is being particularly stubborn in some spots, don’t try and force it off—you could really irritate your skin. Instead, just wet that part a little with some warm water to help loosen it. It should then come off much easier!
After peeling the mask off, if there's a little residue leftover, you can even rub it on your skin a bit with some water for some additional exfoliation benefits.
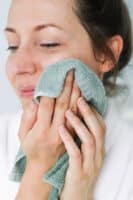
After you’ve peeled off most of it, use a warm washcloth and remove any leftover mask. Now, your skin is optimized to absorb the active ingredients in your routine! Finish with a hydrating moisturizer or serum.
Agar Peel Off Mask Tips & Tricks
A few suggestions for a successful peel off experience:
When applying be sure to try to avoid the hairline and eyebrows as it might pull on these hairs, and you might lose a few in the process.
Avoid the delicate skin around the eye area, tugging this fragile skin is never a good idea as we don't want to encourage fine lines and wrinkles.
Never underestimate the power of a little water on the fingertips if you're having any areas of struggle.
A warm wash cloth to finish it off is great for removing any leftover residue.
Have you ever tried your own peel off mask at home? Let us know in the comments your tips and tricks for a successful peel off!
Charcoal Peel-Off Mask
Equipment
- small microwave-safe bowl
Materials
- 1 tablespoon water
- 2 tablespoons unflavored gelation (or agar agar, if vegan)
- 1 tablespoon witch hazel
- 1 teaspoon activated charcoal
- 1 teaspoon kaolin clay
- ½ teaspoon coconut milk powder (or cocoa powder)
Instructions
- Combine water, witch hazel, and unflavored gelatin in a small, microwave-safe bowl and stir well.
- Microwave in 15-second intervals until the mixture is warm and the gelatin dissolves when stirred.
- Add the kaolin clay, coconut milk powder, and activated charcoal. Stir well.
- Let the mask cool for a minute or two before applying it to your face. If you let it sit too long, the mask will firm up, but you can always bring it back to liquid by microwaving for a few seconds.
- Wash and dry your face, then apply the mask in a thin layer using a clean, flat brush or your fingertips. Let sit for 10–15 minutes until it begins to peel off easily.
- Peel the mask off, then wash your face with warm water and a washcloth to remove any remaining bits, and finish your skincare routine.
Notes
This post was medically reviewed by Dr. Jennifer Haley, a board-certified dermatologist with extensive experience in medical, cosmetic, and surgical dermatology. Learn more about Hello Glow’s medical reviewers here. As always, this is not personal medical advice, and we recommend that you talk with your doctor.
222

Leave a Comment