Do face masks give you anxiety? Which mask should you use? When is the best time to use it? How much mask are you supposed to use? How often should you use the mask? We're going to cover it all in this guide, so the next time you whip up a face mask at home, you'll feel confident in all the hows and whys.
If I had to choose a favorite skincare product, it would definitely be face masks. Clay masks, honey masks, and sheet masks—I love them all. They’re the best way to get that fresh-from-the-spa glow at home. Plus, when you’ve got a mask on your face, it gives you an excuse to spend 15 minutes with a good book (or a trashy reality show) and relax a little bit.
And when those 15 minutes are up? Your skin feels softer, your pores are tighter, and you feel fantastic because the best thing about face masks is the quick, noticeable results you get from using them.
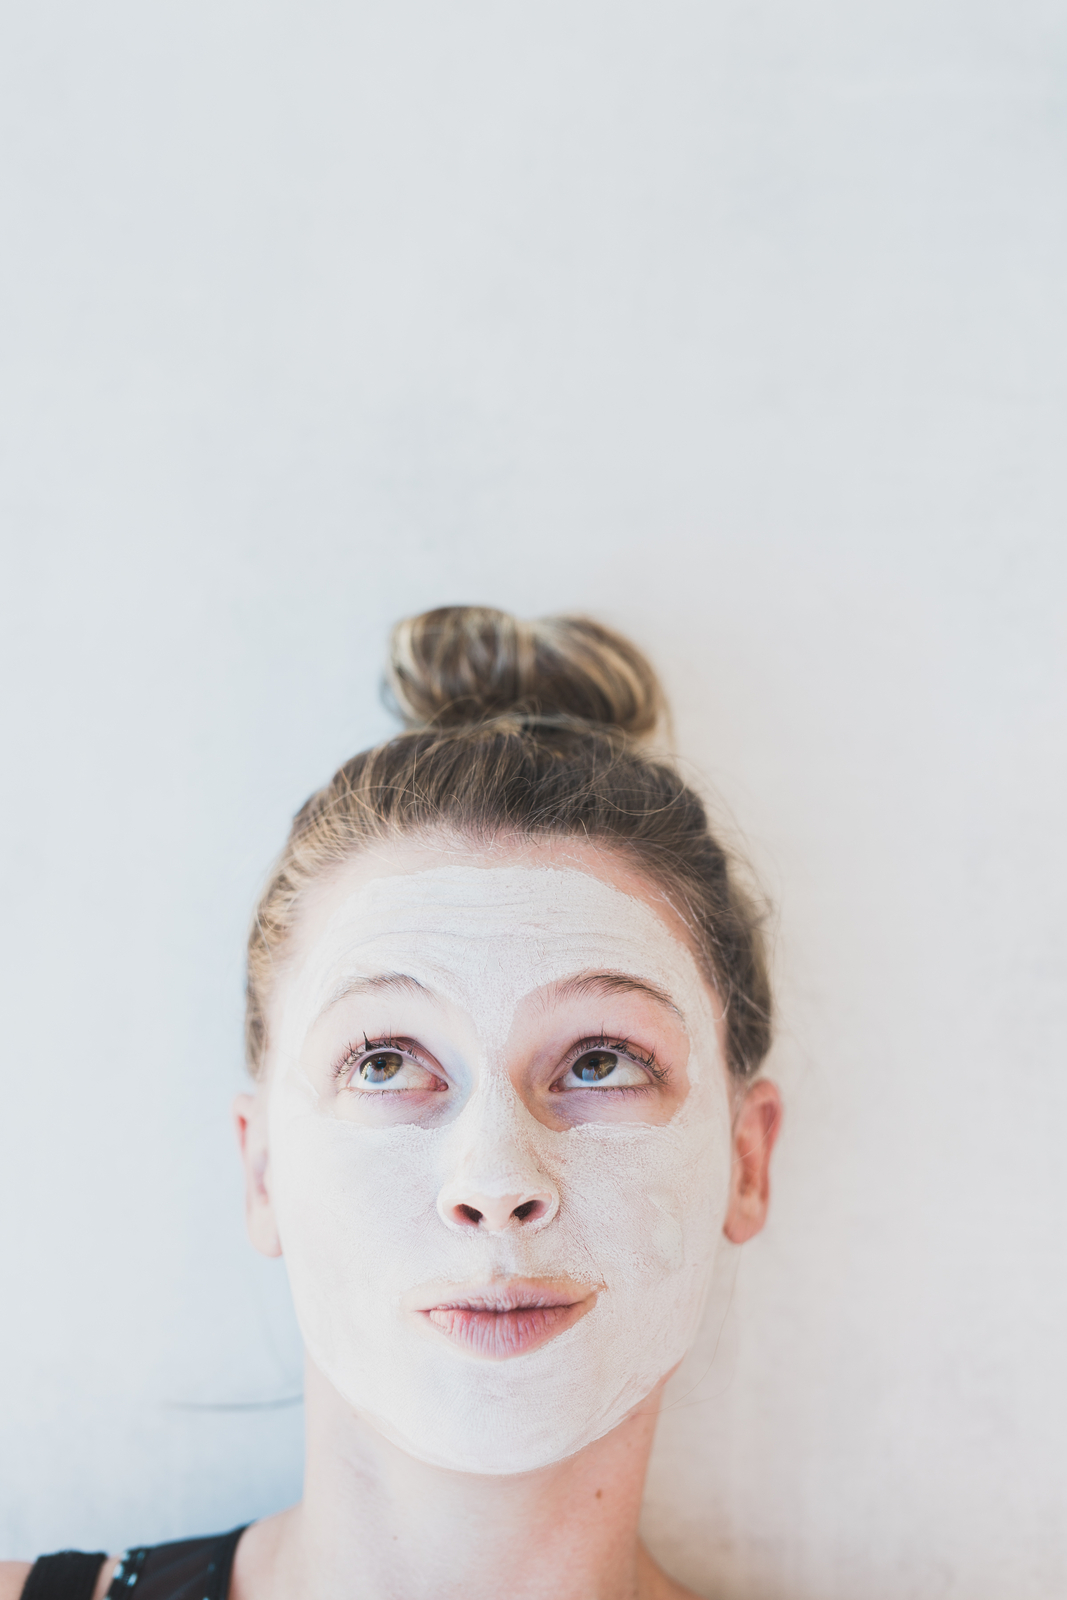
Why Use a Face Mask?
If you’re looking to amp up your skincare self-care, doing a face mask recipe at home is not only convenient, but it also gives you the empowerment of knowing what you’re putting on your face—and saving money at the same time. So go ahead; we’re giving you permission to raid the pantry. Things might get messy, but your glowing skin will thank you!
Face masks are wonderful, in part, because of how well they target specific issues. So keep that in mind when you pick your mask—whether it’s exfoliating, hydrating, anti-aging, oil balancing, complexion brightening, or almost anything else.
Face masks are not only good for your skin, but they feel wonderful, too—the best way to get that spa-at-home experience. So pamper yourself and your skin with a face mask recipe. Between the wonderful benefits of natural ingredients and the simple, effective results, you’ll be left feeling gorgeous inside and out.
How to pick the right face mask recipe
Once you determine the problem you want to address, then you can choose the correct face mask recipe. Face masks are effective at treating problems such as acne, dullness, and dehydration, or they can be the force for that glowy post-facial complexion we all want.
—An exfoliating mask might be the key if you are experiencing dryness, a dull complexion, or breakouts.
—Masks that include alpha-hydroxy acids help slough off dead skin, unclog pores, and even out your complexion [source].
—If you just want a bit of a rosy glow, using a mask that increases circulation will do the trick. Look for warming masks that include ingredients such as pumpkin, turmeric, cinnamon, or paprika. These are thought to help increase blood flow to the skin’s surface and give you that rosy result.
—If you are battling oil, you will want to choose a clay- or charcoal-based mask that has antimicrobial properties and will draw impurities and oil out of the skin [source] [source].
—For hydration issues, choose cream-based masks that have a thicker consistency and include ingredients such as hyaluronic acid [source] or peptides.
Must-Have Face Mask Tools
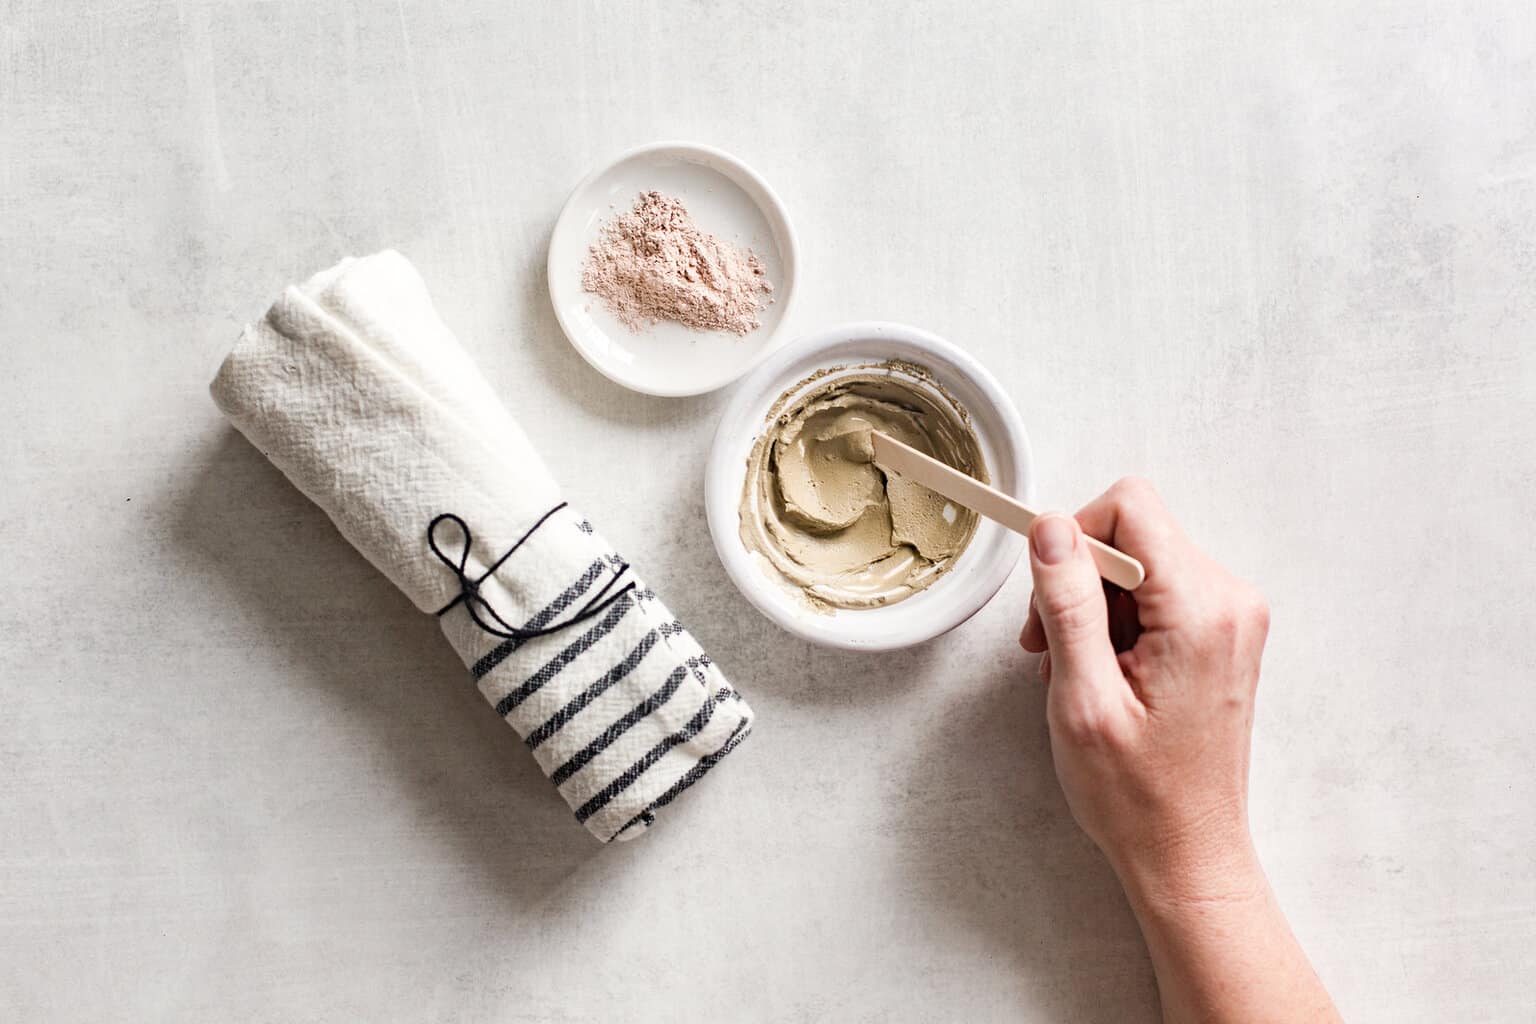
Along with some basic DIY tools (bowls, measuring spoons), there are a few face mask-specific items that make masking easier (less messy).
Facial brush: Yes, you can definitely use your fingers. But trust me, this little tool makes applying masks much less messy. It’s a good idea to invest in a few face mask brushes, which should be cleaned thoroughly with soap and warm water after each use and stored when dry in a sealed container to keep them sanitized.
Soft washcloth: Perfect for a quick steam before your mask to open up the pores. Also, washcloths are helpful for gently removing the mask without irritating your skin.
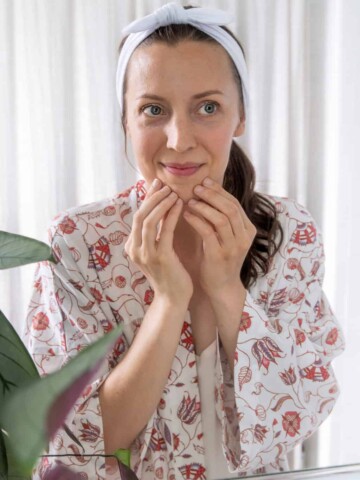
Headband: Besides keeping your hair back, it’ll make it easy to apply your mask up to your hairline, an often-neglected area that's prone to sun damage and clogged pores.
How to Apply a Face Mask FAQs
Masks should always be applied to freshly cleansed skin.
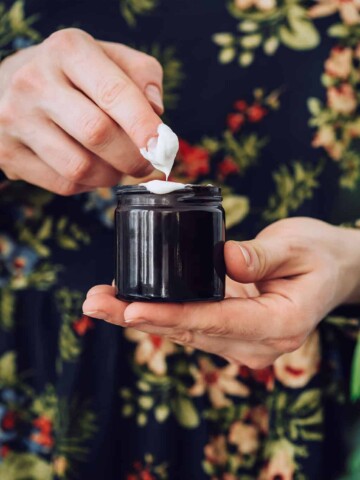
The size of the area you intend to treat will determine how much mask to use, generally a pea size for a small area to a nickel size for the entire face and neck.
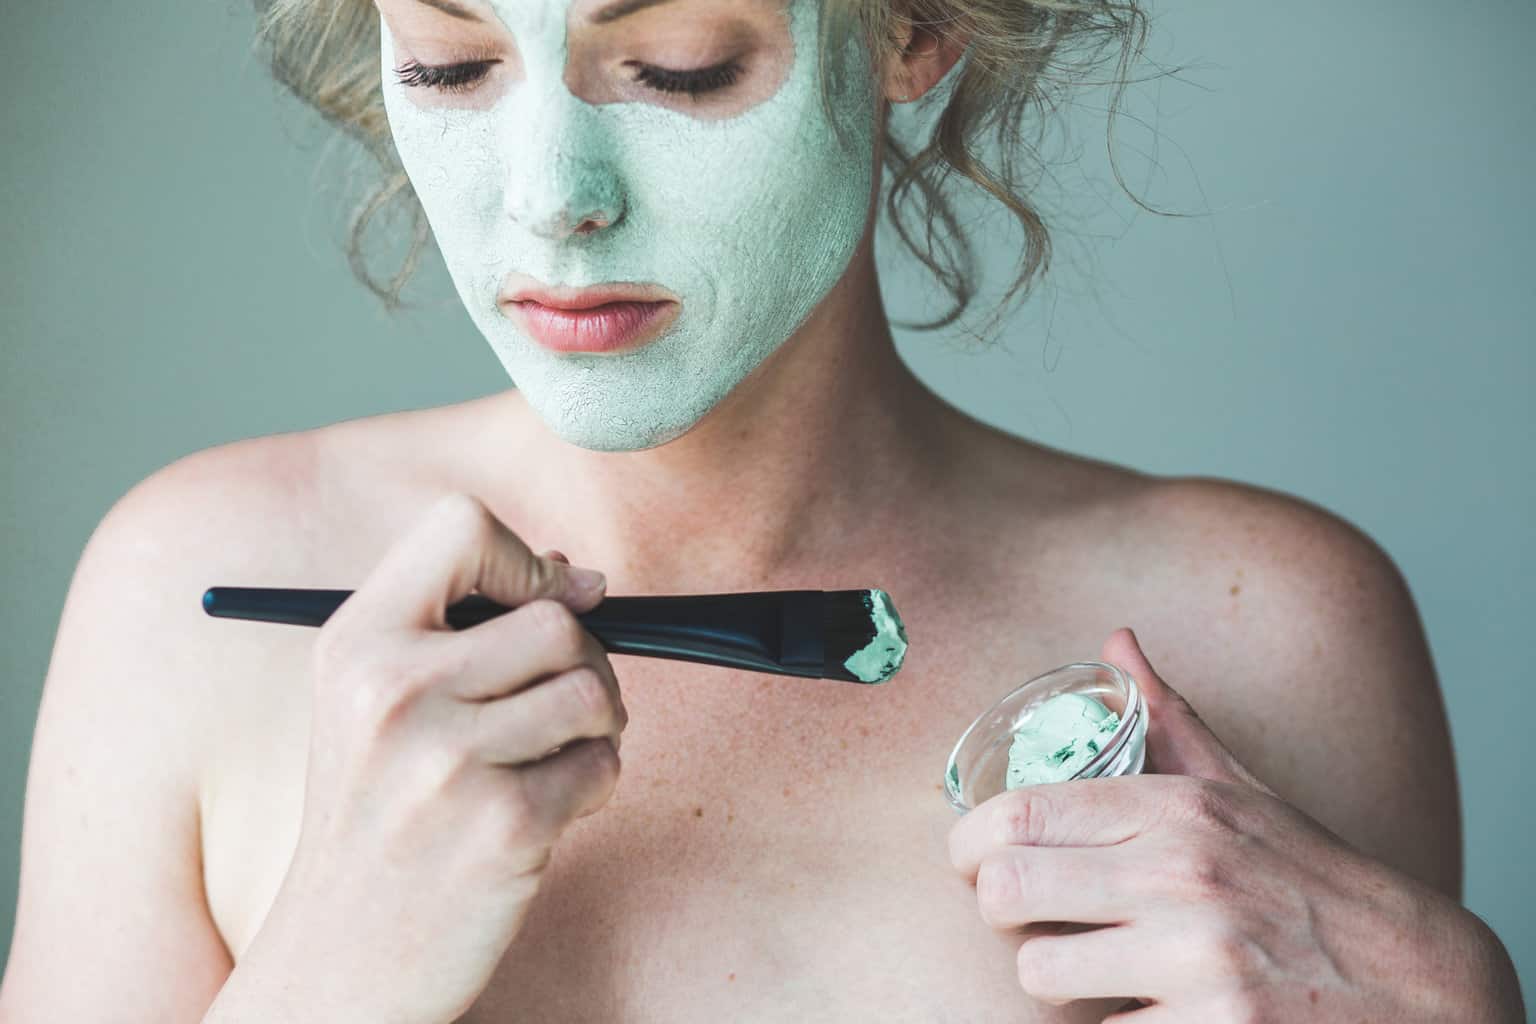
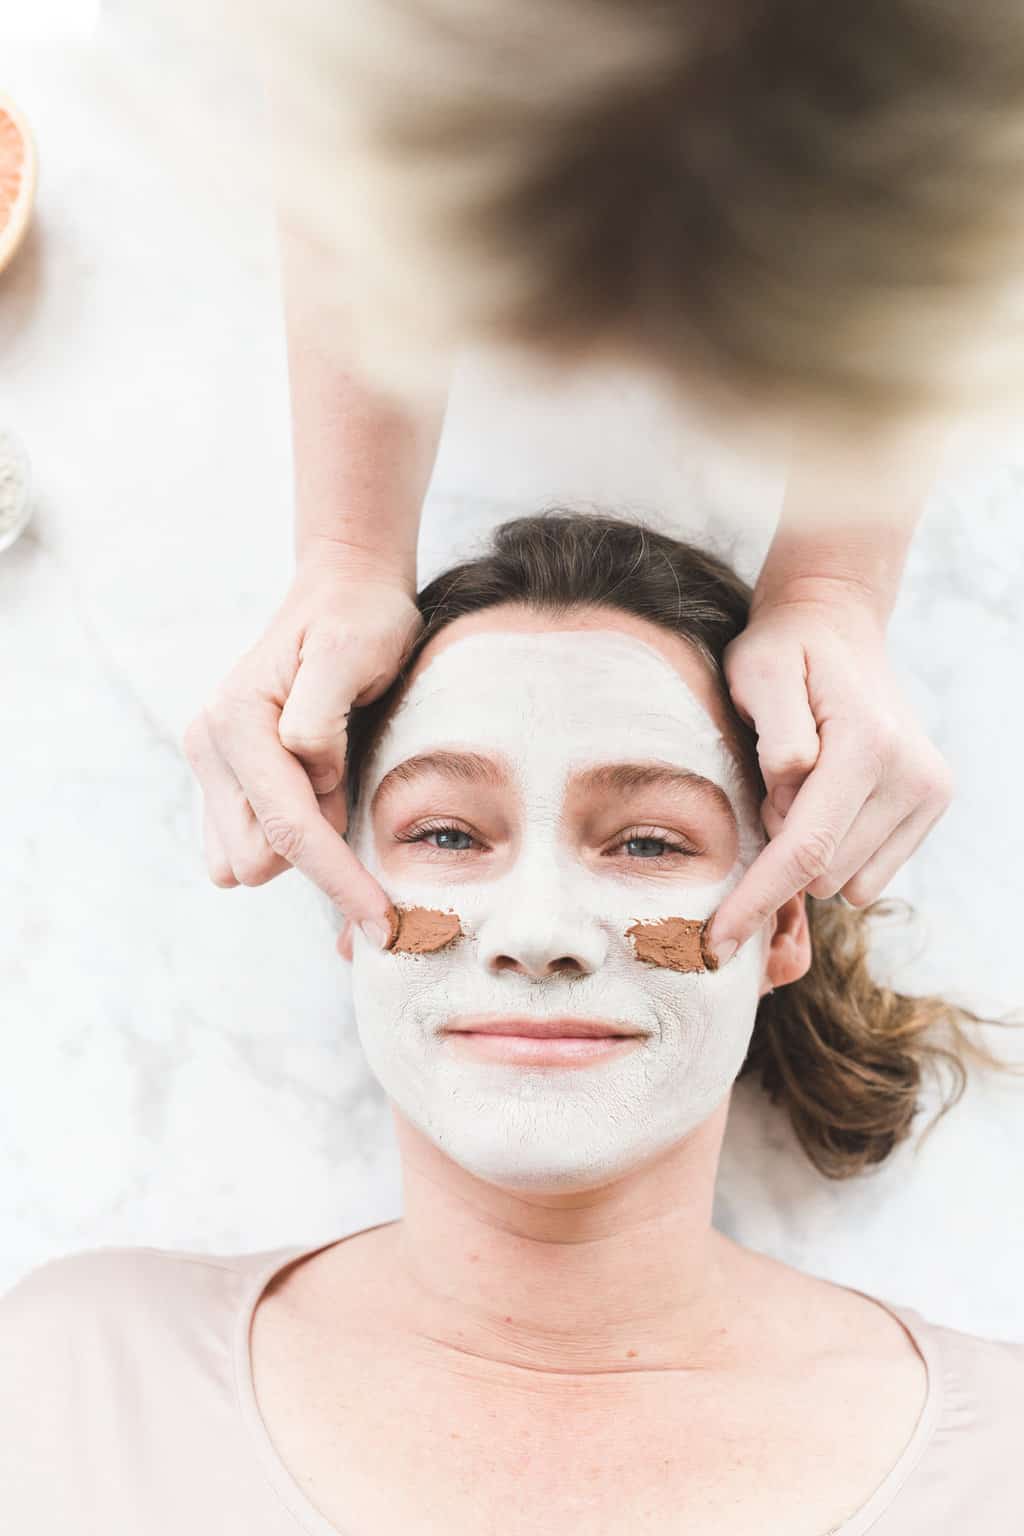
Masks can pretty much always be applied with either your fingers or a facial brush. Avoid the sensitive eye area from your brow bone to your cheekbone. Spread an even layer of the mask recipe on your forehead, cheeks, nose, chin, and neck. Yes, you can (and should) apply your face mask down your neck and even on your chest and hands. Those neglected areas are prone to the same issues as your face, so cover your chest with your mask and then smooth any extra on the backs of your hands.
Usually, you’ll want to keep the mask on for 10 to 20 minutes, but always check the directions to make sure you’re getting the most out of your mask.
Typically, a mask can be applied anywhere from 1 to 3 times a week, but again, follow instructions. If your skin gets irritated, cut back. Overdoing it can cause irritation and even sensitivities to certain ingredients.
Removing the mask with a warm washcloth helps not only to thoroughly remove the mask, but it also allows for a little extra exfoliation. Pat your skin dry and follow with a serum or moisturizer.
Yes! If you have sensitive skin, patch test each treatment on your arm before you fully indulge.
Make your facial mask even more effective
1. Start with a washcloth steam
Instead of fussing over boiling water, place a warm washcloth over your clean skin for 5 minutes to open your pores, and your mask will penetrate more deeply.
2. Mix two treatments
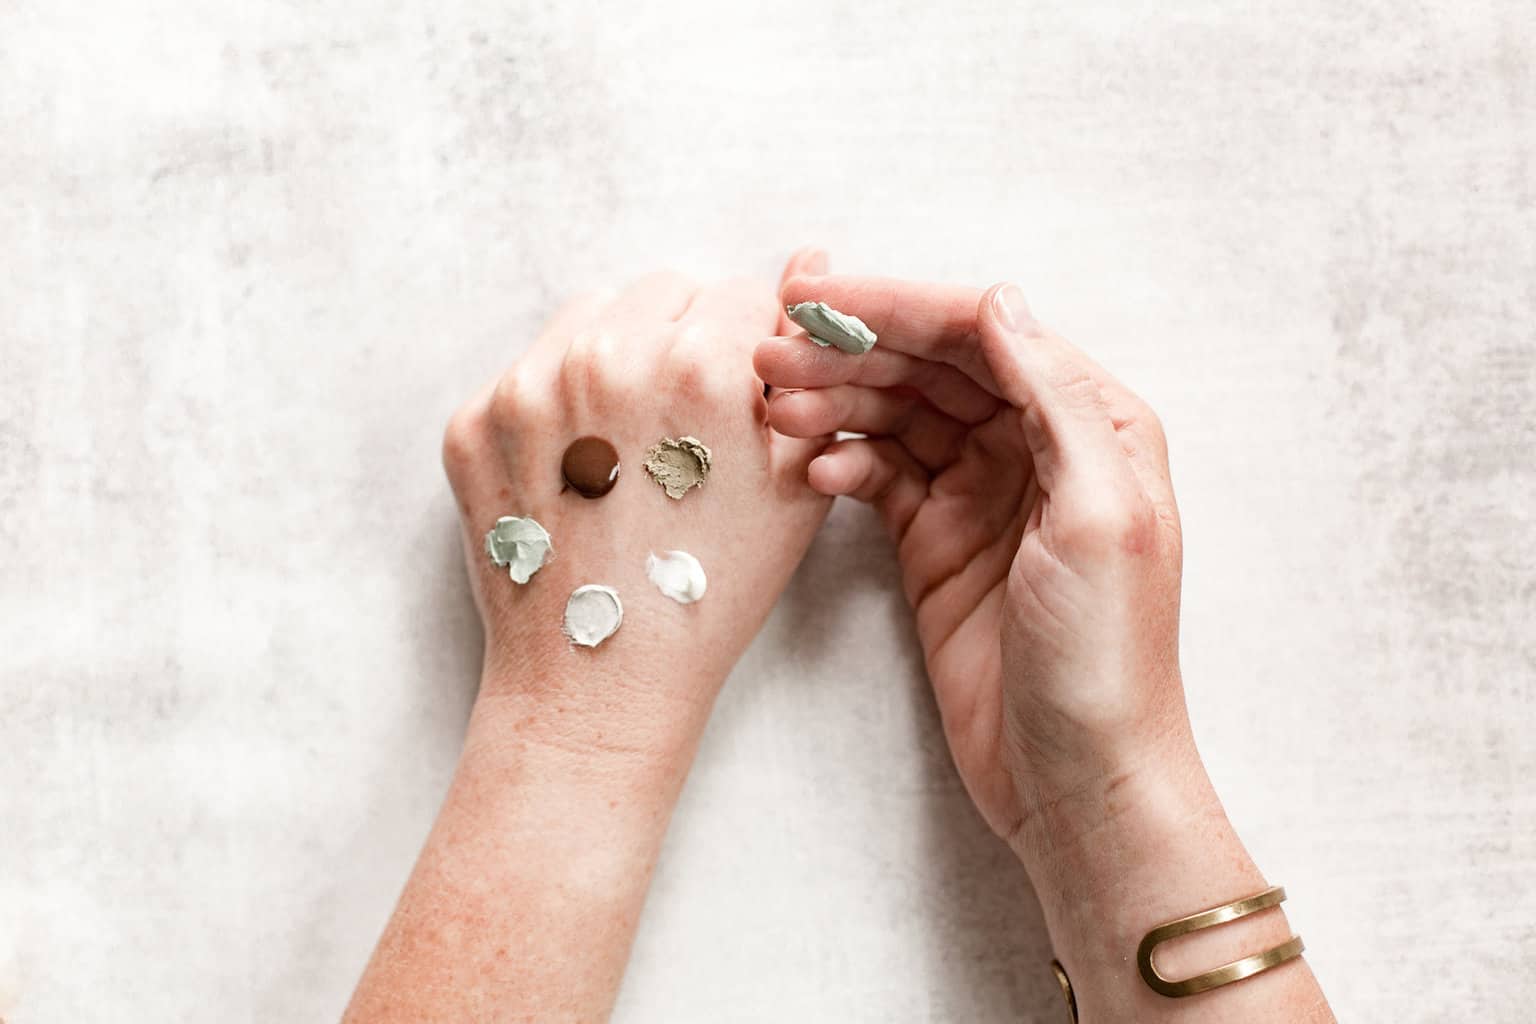
The wonderful part about applying a face mask is you don’t have to use one type of mask for your entire face. Multimasking can be very effective. Multi-masking is the method of applying different masks to areas that might have different needs, particularly for combination skin. If your t-zone is particularly oily, but your cheeks tend to get dry and tight, by all means, apply two different masks.
3. Make the most of natural ingredients
"I've found that the secret to an effective homemade anti-aging face mask is using only nutrient-dense active ingredients. When we leave the fillers and toxins out, we can achieve a gorgeous, glowy, younger-looking complexion!" says Kristy from the popular blog Life-n-Reflection. "And this is my go-to, better-than-botox, homemade anti-aging face mask recipe! Its unique combination of hibiscus, clay, and rosehip cleanses, moisturizes, softens, and nourishes the skin for a noticeable youthful glow."
4. Think holistically
Our skin reflects our overall wellness, so your treatments should address more than just what's going on with your face. Kari Jansen, an herbalist, Ayurvedic practitioner, and creator of the organic bodycare products at Poppy and Someday, shares three Ayurvedic face mask recipes that help balance inner wellness and target specific skincare issues.
Vata Face Mask
Vata dosha can bring on dryness and dark spots from dehydration, so nurturing and hydrating are key. Oatmeal [source] and marshmallow root [source] are anti-inflammatory, soothing, and moisturizing. The calendula [source] and lavender [source] are antibacterial and cleansing, which leaves you with soft, glowing skin.
—2 tablespoons oatmeal powder
—1 teaspoon calendula powder
—1 teaspoon lavender powder
—2 tablespoons marshmallow root powder
Mix with yogurt or milk until smooth.
Pitta Face Mask
Pitta dosha is fire and water, which can lead to redness and breakouts, so choose a mask that's cleansing and cooling. Rose has nourishing properties that calm and soothe redness [source].
Manjistha is an Ayurvedic herb that helps breakouts, evens out skin tone, and reduces inflammation [source]. Rosehips have antioxidants and a high vitamin C content to help restore skin cells [source].
—3 tablespoons French green clay
—1 tablespoon Manjistha powder
—2 teaspoons rose petals powder
—1 teaspoon rosehip powder
Mix with aloe vera gel and rose water until you have a paste-like consistency.
Kapha Face Mask
Kapha dosha is cool and stagnant, so choose a mask that's warming and stimulating. Turmeric is warming, antimicrobial, and anti-inflammatory [source]. It is also thought to stimulate circulation and draw out impurities.
Chamomile is nourishing and can reduce swelling [source]. Honey is cleansing and builds ojas—our vital immunity.
—2 tablespoons red or white clay powder
—1 teaspoon turmeric powder
—1 teaspoon chamomile powder
Mix with honey and lemon until you have a spreadable consistency. And then relax! Enjoy the feeling of having pampered yourself and of the wonderful effects to come.
References:
1. Tang SC, et al. Dual effects of alpha-hydroxy acids on the skin. Molecules. 2018.
2. Williams LV, et al. Chemical and mineralogical characteristics of French green clays used for healing. Clays Clay Miner. 2008.
3. Zellner T, et al. The use of activated charcoal to treat intoxications. Dtsch Arztebl Int. 2019.
4. Abatangelo G, et al. Hyaluronic acid: redefining its role. Cells. 2020.
5. Pazyar N, et al. Oatmeal in dermatology: a brief review. Indian J Dermatol Venereol Leprol. 2012.
6. Dawid-Pać R. Medicinal plants used in treatment of inflammatory skin diseases. Postepy Dermatol Alergol. 2013.
7. Arora D, et al. A review on phytochemistry and ethnopharmacological aspects of genus Calendula. Pharmacogn Rev. 2013.
8. Al-Mijalli SH, et al. Determination of volatile compounds of Mentha piperita and Lavandula multifida and investigation of their antibacterial, antioxidant, and antidiabetic properties. Evid Based Complement Alternat Med. 2022.
9. Mahboubi M. Rosa damascena as holy ancient herb with novel applications. J Tradit Complement Med. 2016.
10. Verma A, et al. Manjistha in herbal cosmetics: a review. Int J Res Med Sci Technol. 2019.
11. Mármol I, et al. Therapeutic applications of rose hips from different Rosa species. Int J Mol Sci. 2017.
12. Liju VB. et al. An evaluation of antioxidant, anti-inflammatory, and antinociceptive activities of essential oil from Curcuma longa L. Indian J Pharmacol. 2011.
13. Srivastava JK, et al. Chamomile: a herbal medicine of the past with bright future. Mol Med Report. 2011.
8

Leave a Comment