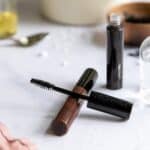
Take it from someone who knows: making your own mascara at home is easier on the body, the environment, and the wallet. If you've dabbled in the DIY beauty world by making simple things like lip balm or lotion, then you're ready to learn how to make mascara (and no, we're not talking about the coconut oil and activated charcoal kind—but the real kind).
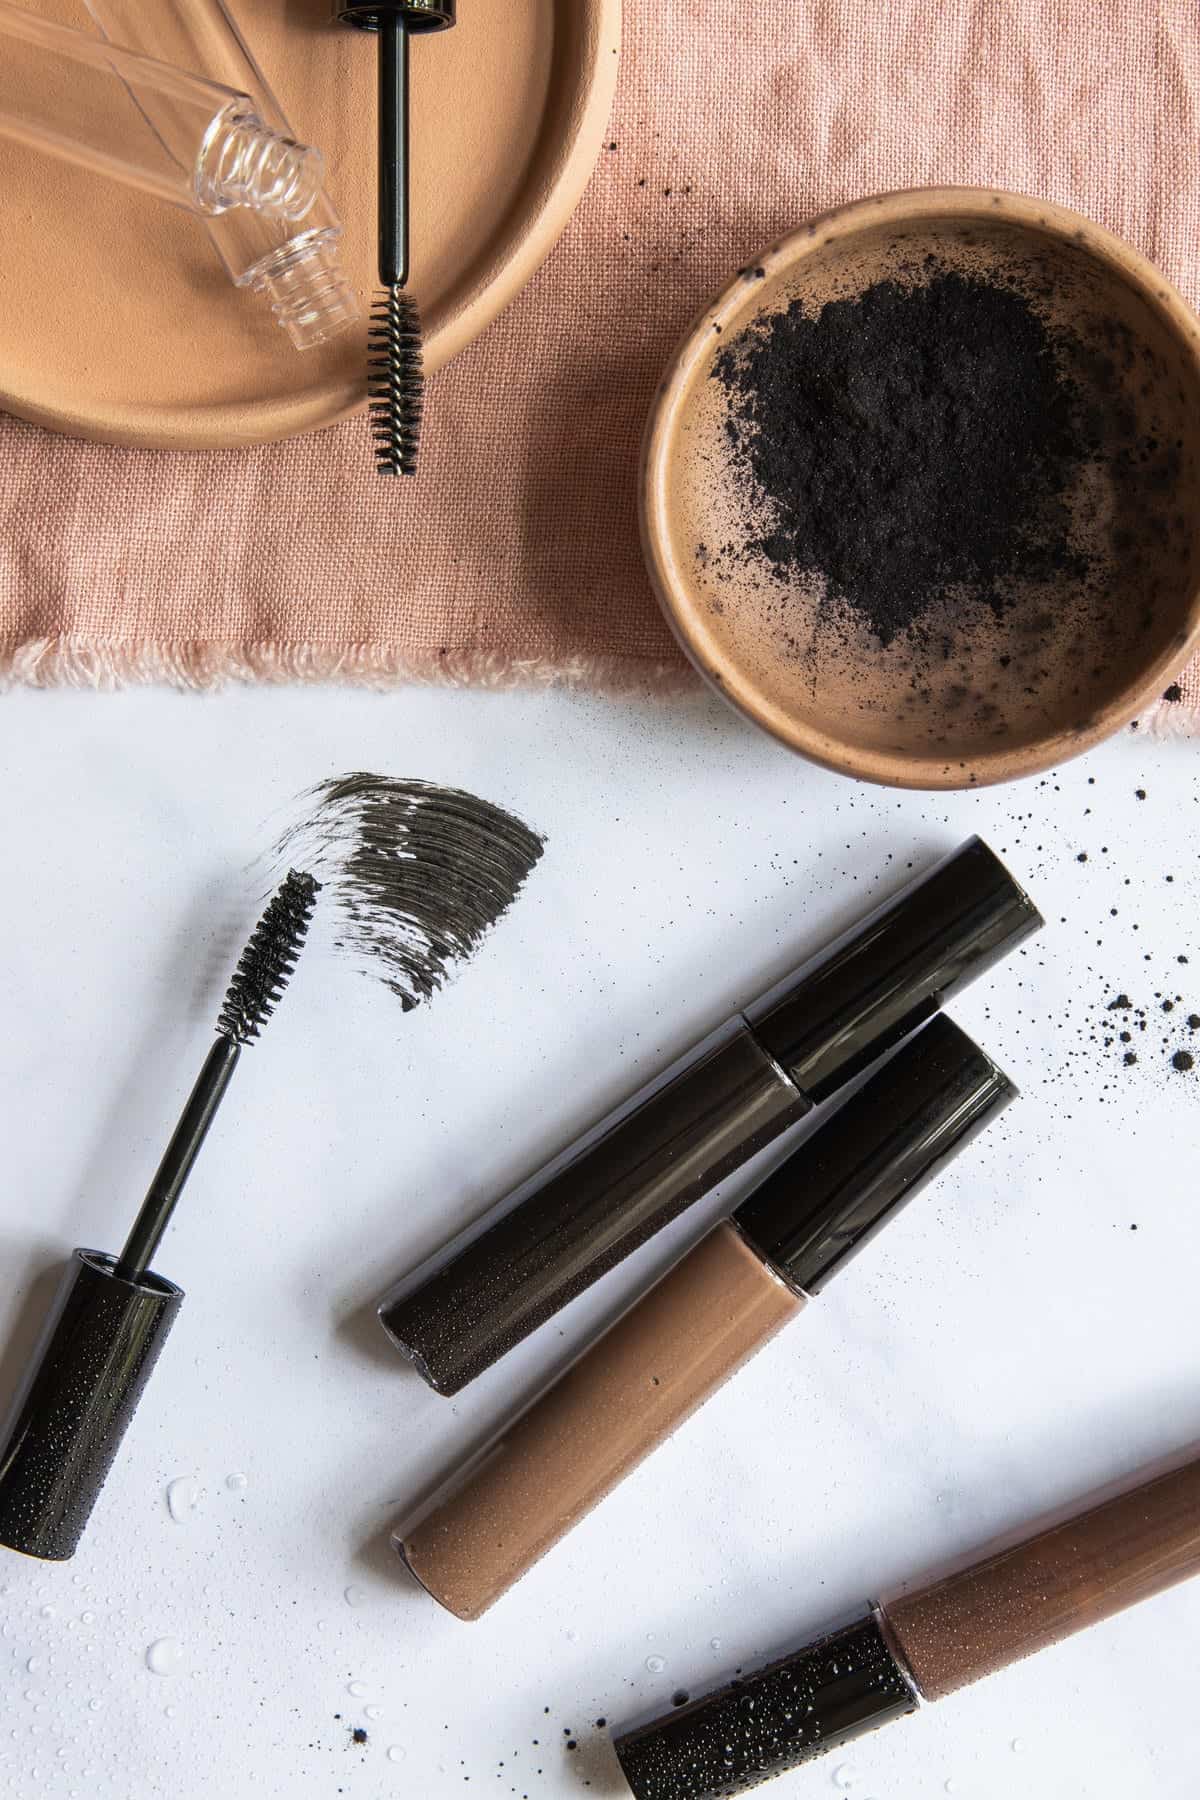
This non-toxic mascara recipe takes advantage of clean ingredients like plant-based oils, candelilla wax, and aloe vera as its base. From there, you'll add iron oxide pigments to create any color you like.
While you're free to make a classic black mascara, part of the fun is dabbling with a variety of pigments to make fun colors, just like we did with homemade eye shadow. But if you do go the colorful route, just remember this formula can double as a brow gel in a pinch, so maybe try a fun color and a natural color that works on your brows, too.
Jump to:
Ingredients
It's not hard to make your own mascara, but you will need a few special ingredients to ensure the whole process goes off without a hitch and your mascara solidifies as it should. This mixture cools quickly so gather everything ahead of time and set it where you can get to it easily.
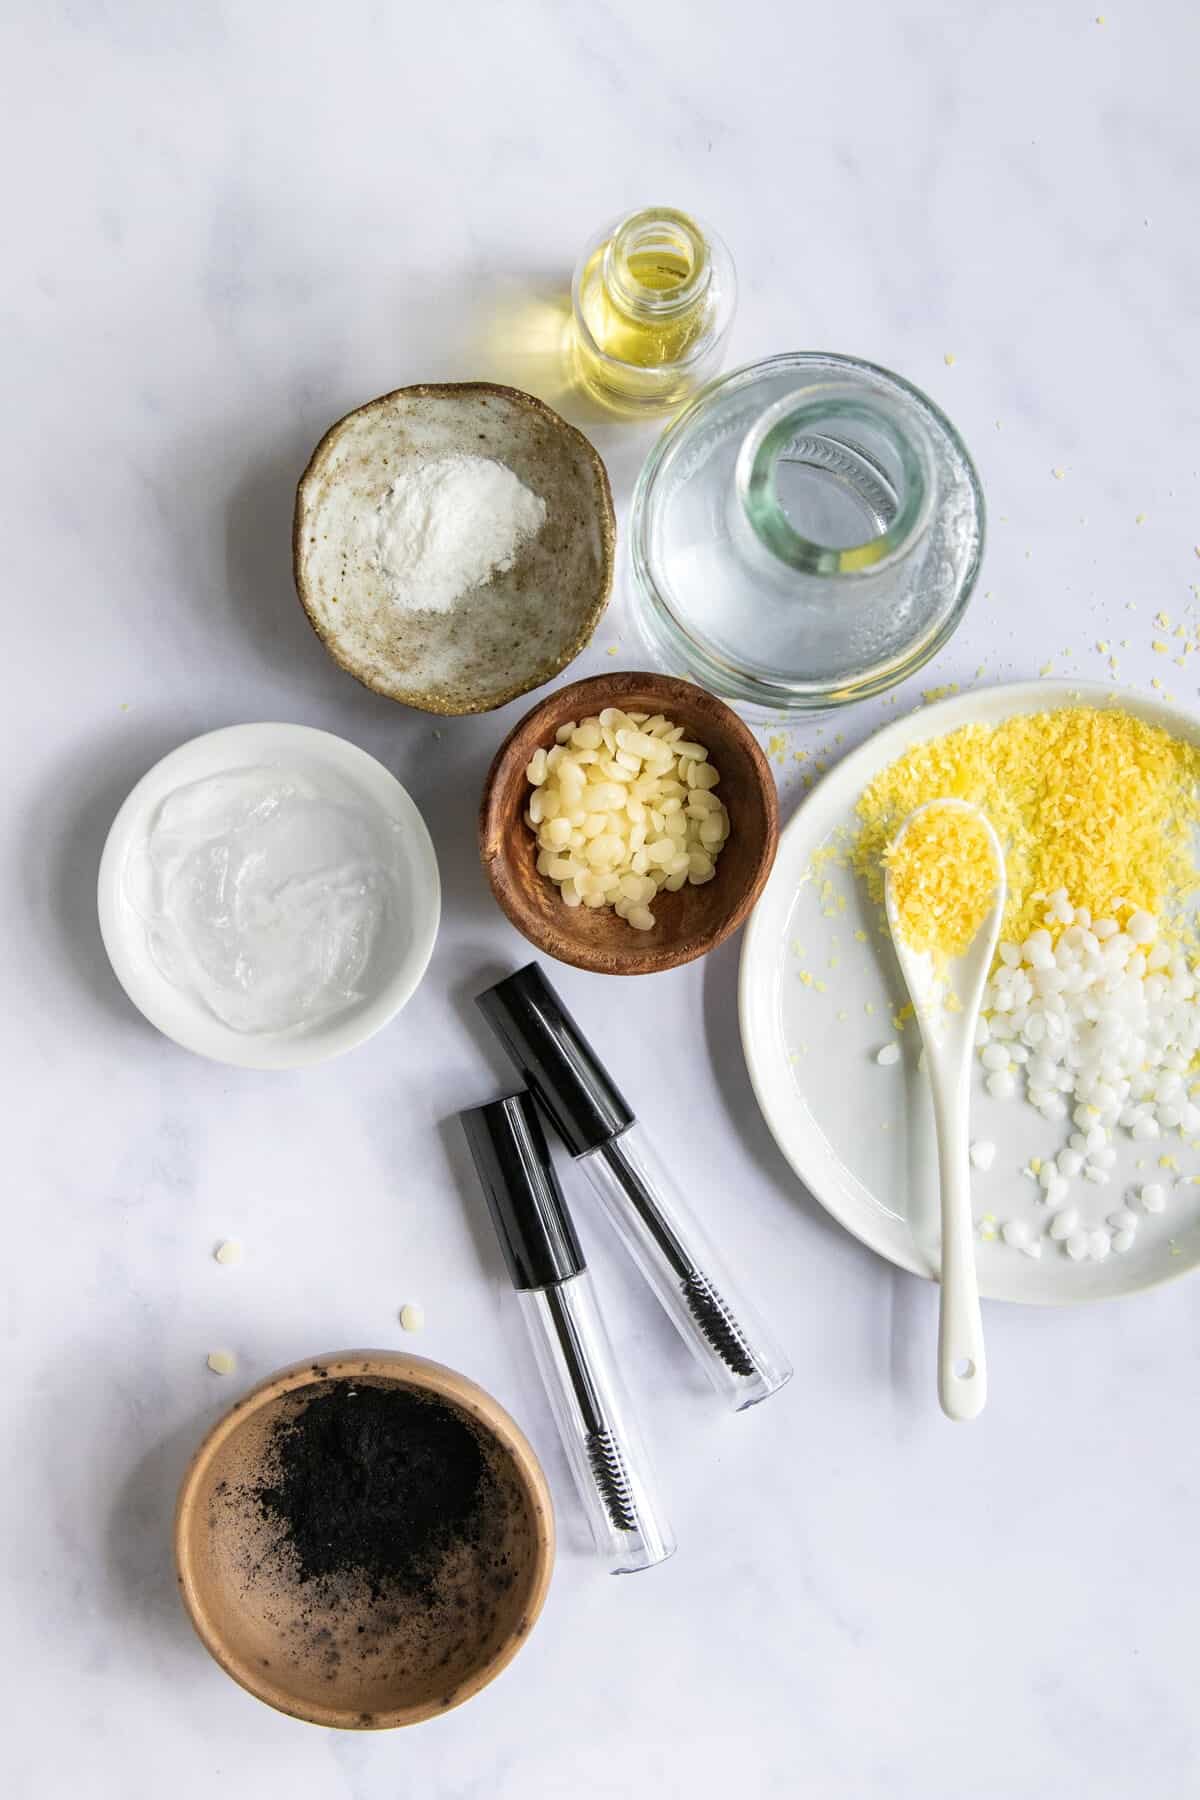
Iron oxide powder (any color you like): Iron oxide is a natural pigment used to give the mascara its color. Black iron oxide will, not surprisingly, result in black mascara, but you can use other colors if desired.
For blondes, I recommend using brown oxide. And for brunettes, mixing brown and black oxides together works to create a shade that closely matches your hair.
Jojoba oil: Oil serves several purposes in this recipe. For starters, it helps to blend the iron oxide in with the other ingredients, so you don't have any noticeable chunks. It also helps to make the mascara creamy and nourish your lashes at the same time.
Wax: We use a mixture of candelilla, beeswax, and emulsifying wax in this recipe to provide texture and structure to the product. They also help the mascara adhere to the lashes, so it lasts longer.
Stearic acid (optional): Stearic acid is a fatty acid that helps create a creamier texture. It enhances the mascara's spreadability and can contribute to a smoother application.
HEC: Hydroxyethyl cellulose is a natural thickening agent commonly used in cosmetics. It helps create a thicker consistency for the mascara, providing volume to the lashes.
Aloe vera and glycerin: These are both humectants that add moisture and help nourish the lashes.
See recipe card for quantities.
Instructions
This recipe comes together very quickly at the end. It may take you several tries and a bunch of paper towels to get it right. For that reason, it's best to make this in small, single-tube batches rather than trying to make a large quantity at once.
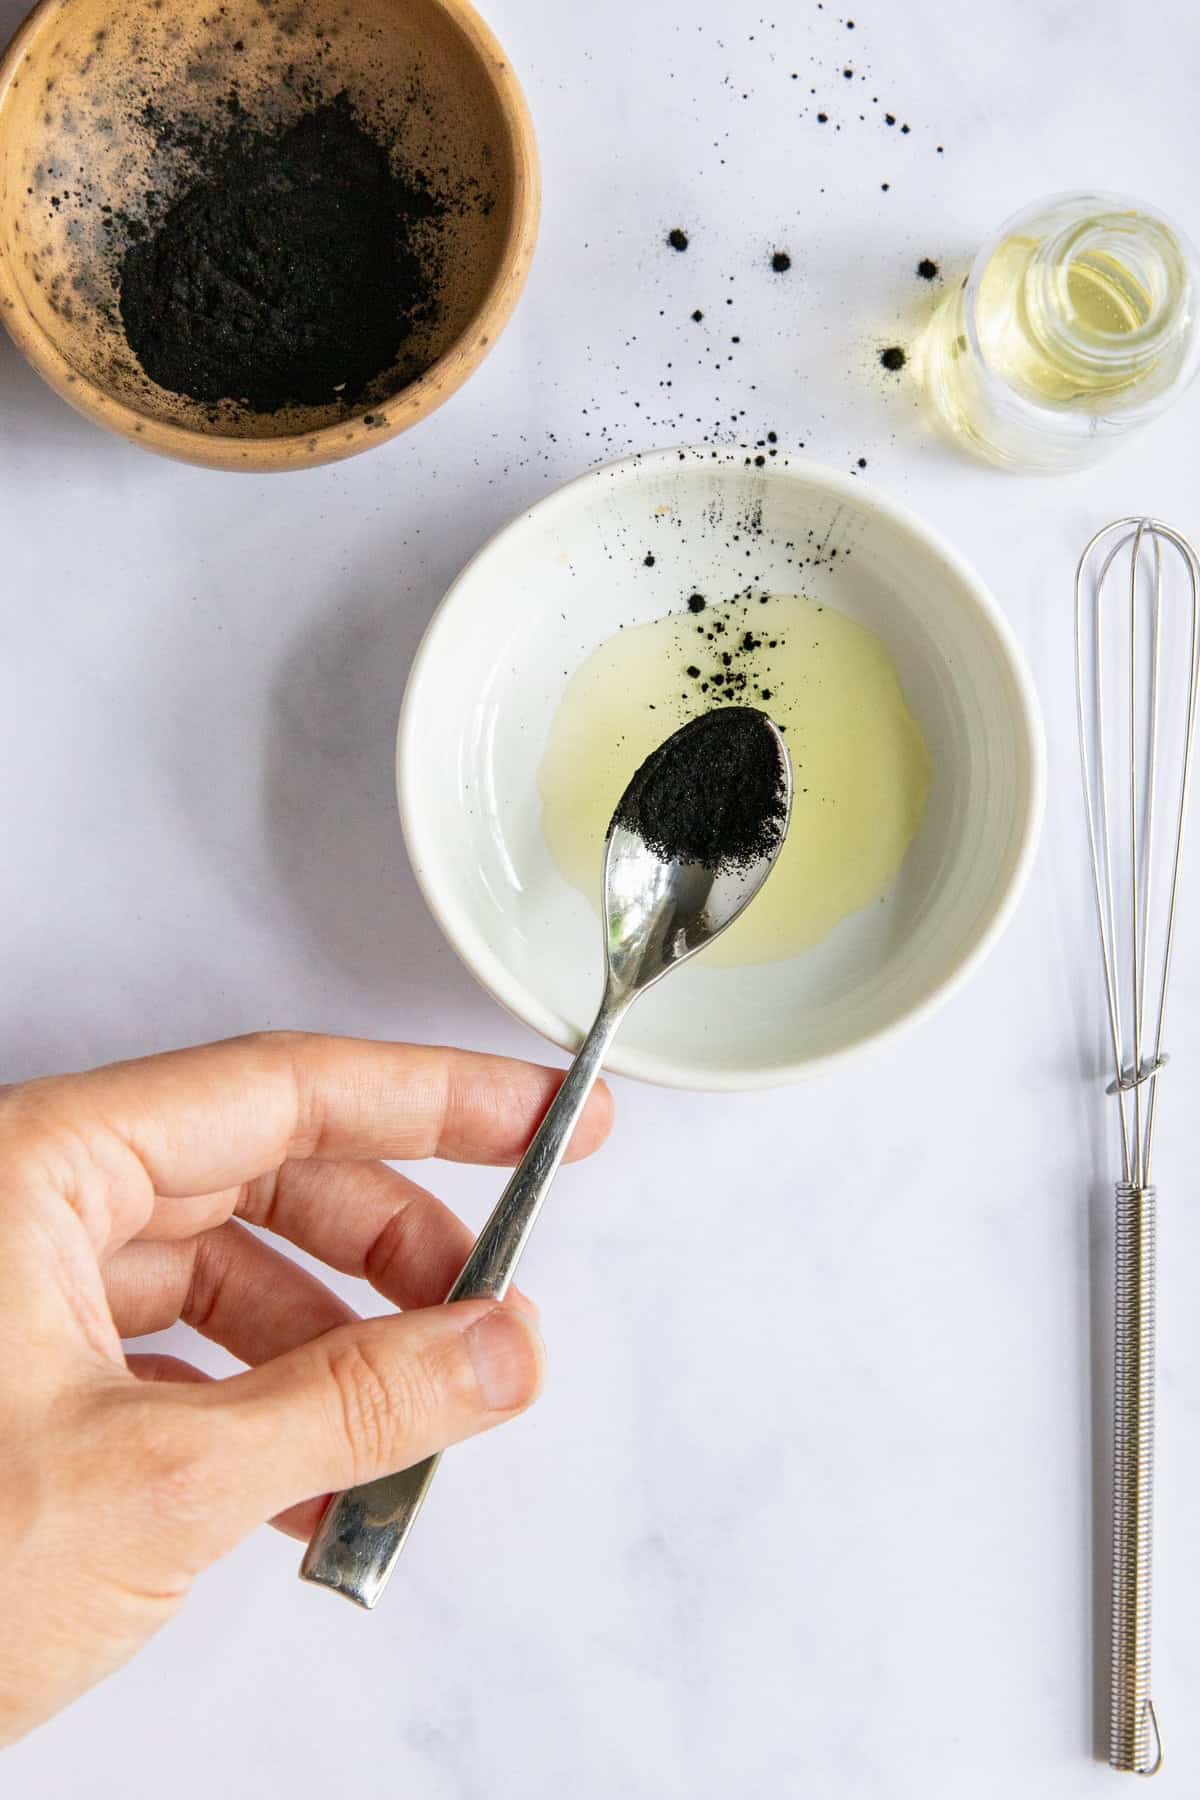
You'll start by combining the iron oxide powder and half the jojoba oil in a small bowl to ensure the powder gets evenly dispersed throughout the mascara mixture.
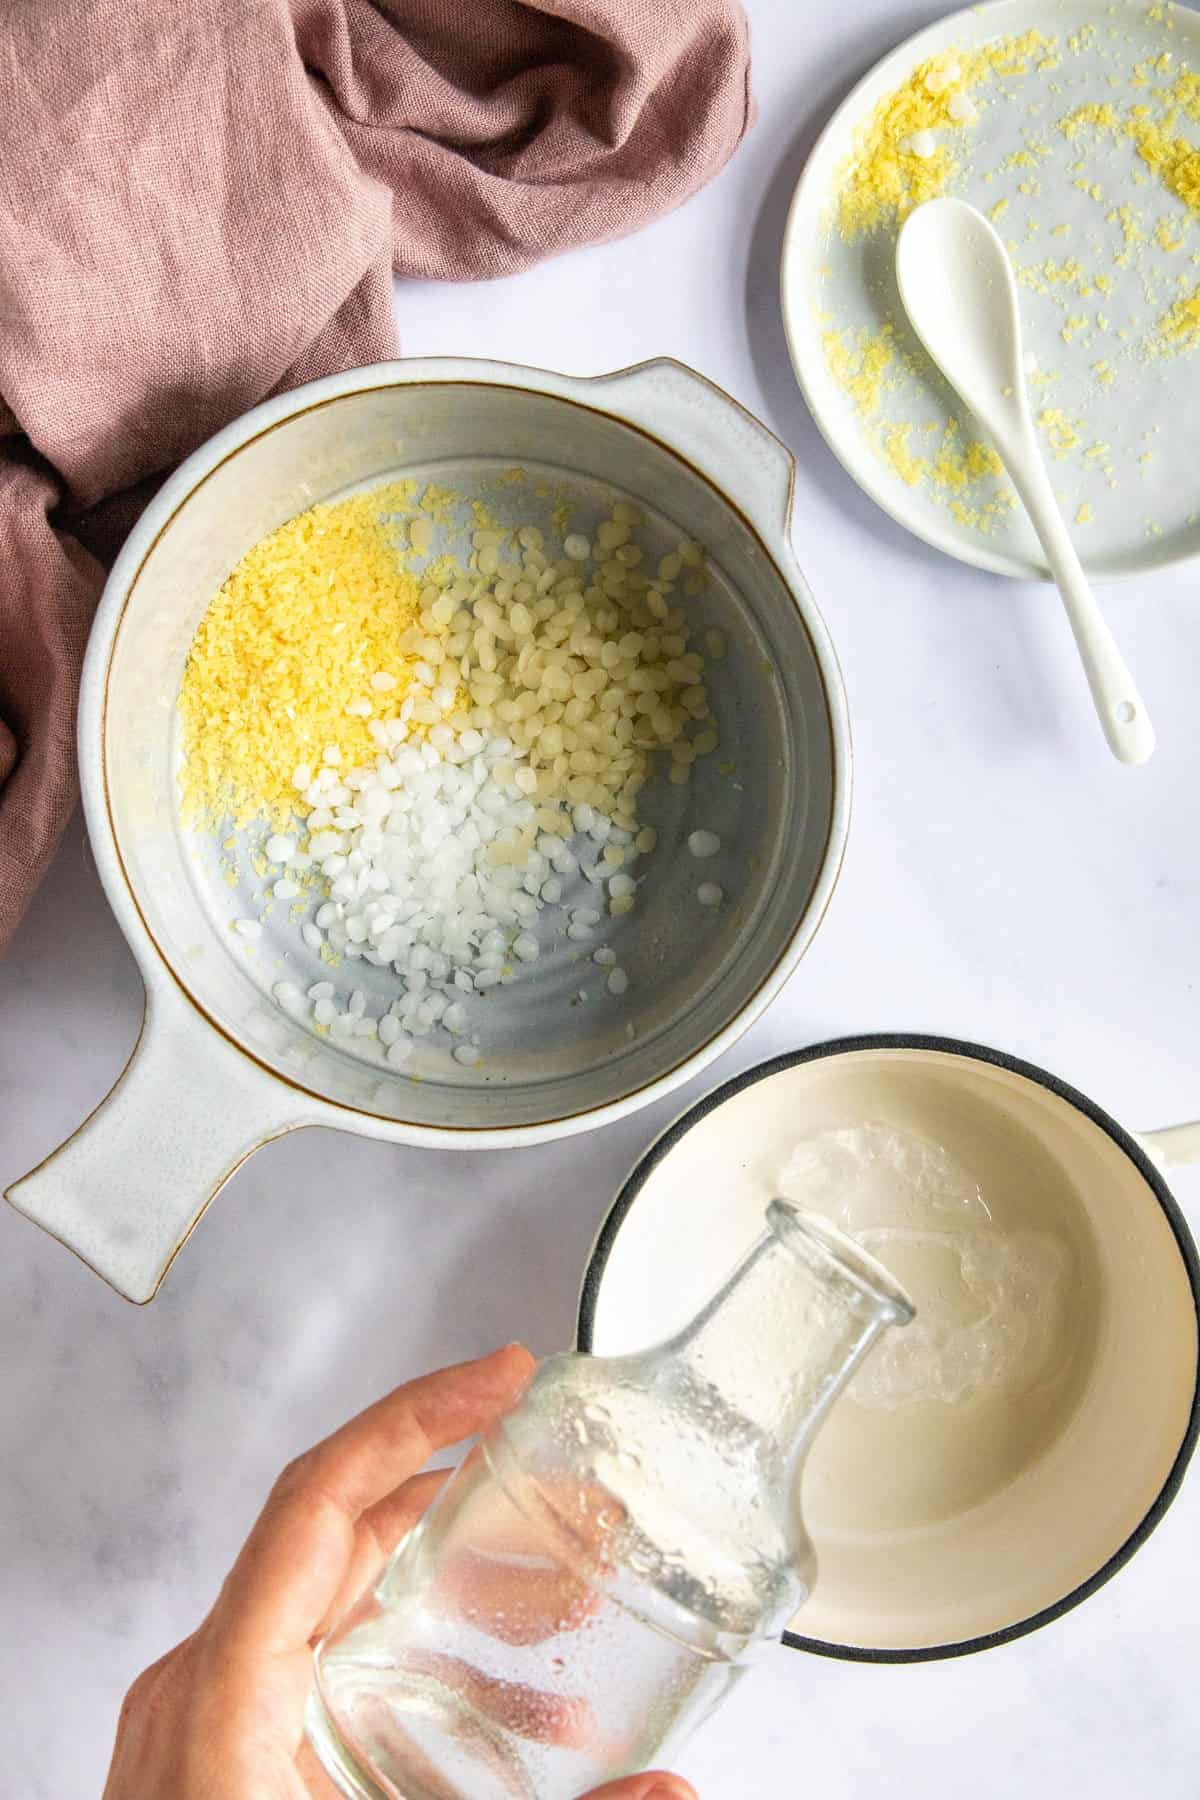
Next, combine the candelilla, beeswax, emulsifying wax, and stearic acid in one saucepan. And add the water, aloe vera, remaining jojoba oil, and glycerin into another. Warm them both on the stove over the lowest heat.
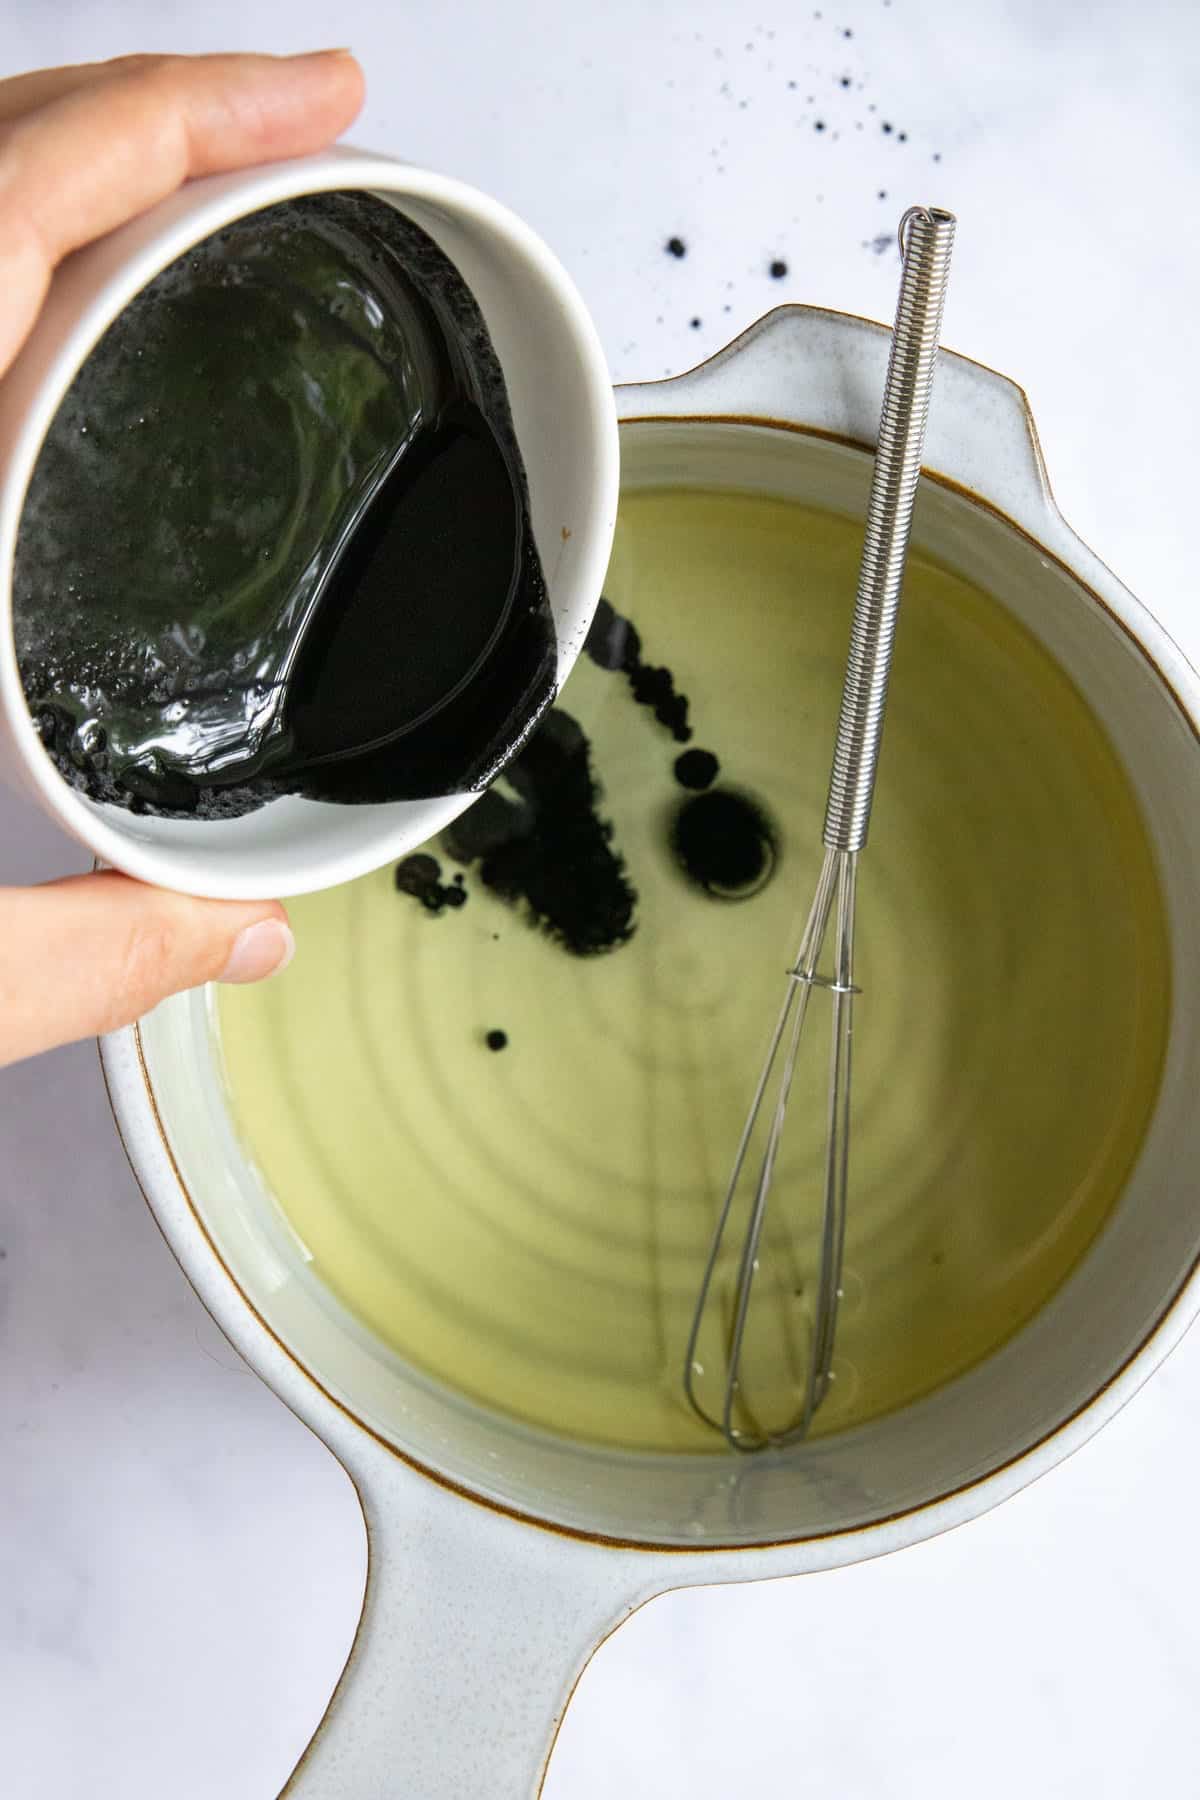
When the waxes are nearly melted, stir in the iron oxide and oil mixture. Then whisk the HEC into the water mixture.
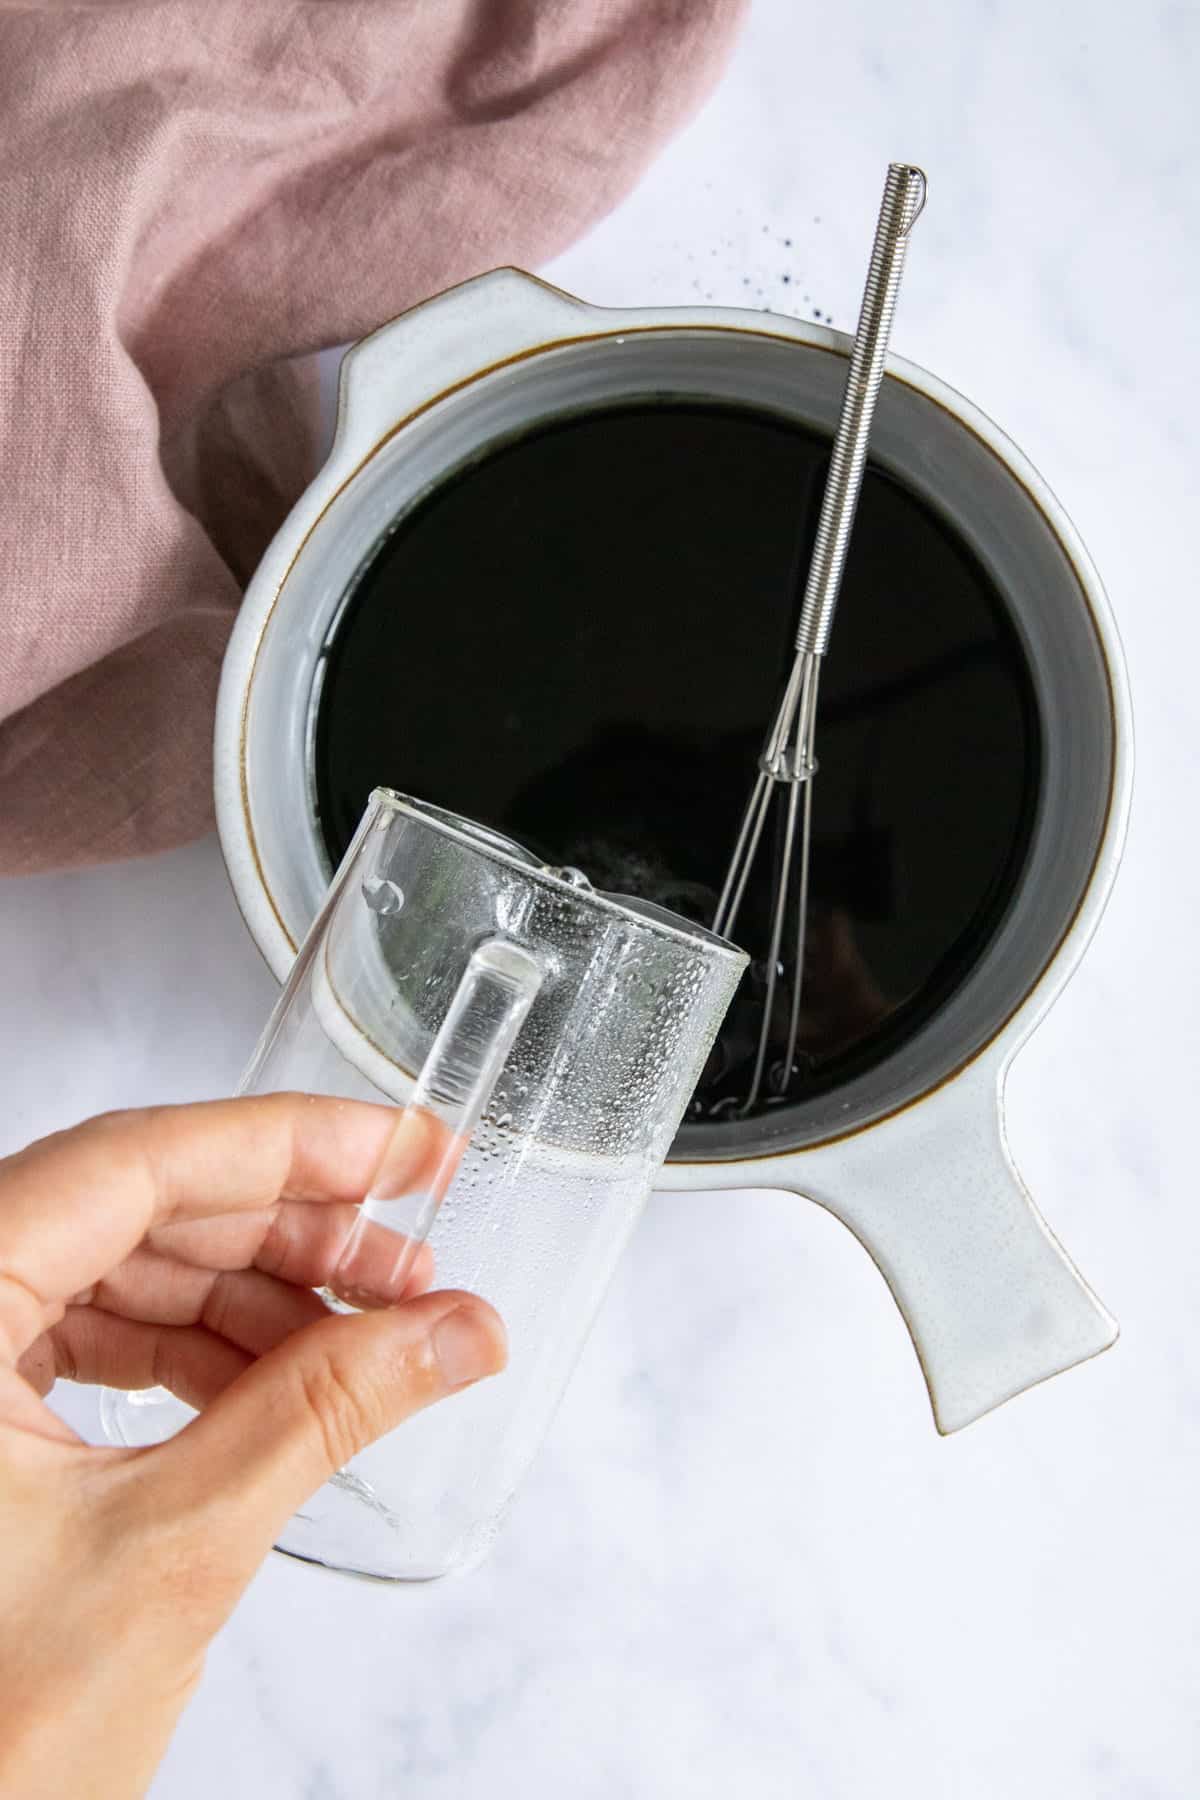
Using a container with a spout, slowly pour the water mixture into the wax mixture. Place the saucepan back on the stove over medium-low heat, and stir constantly until the mixture comes together and the chunks dissolve. At the very end, add the preservative.
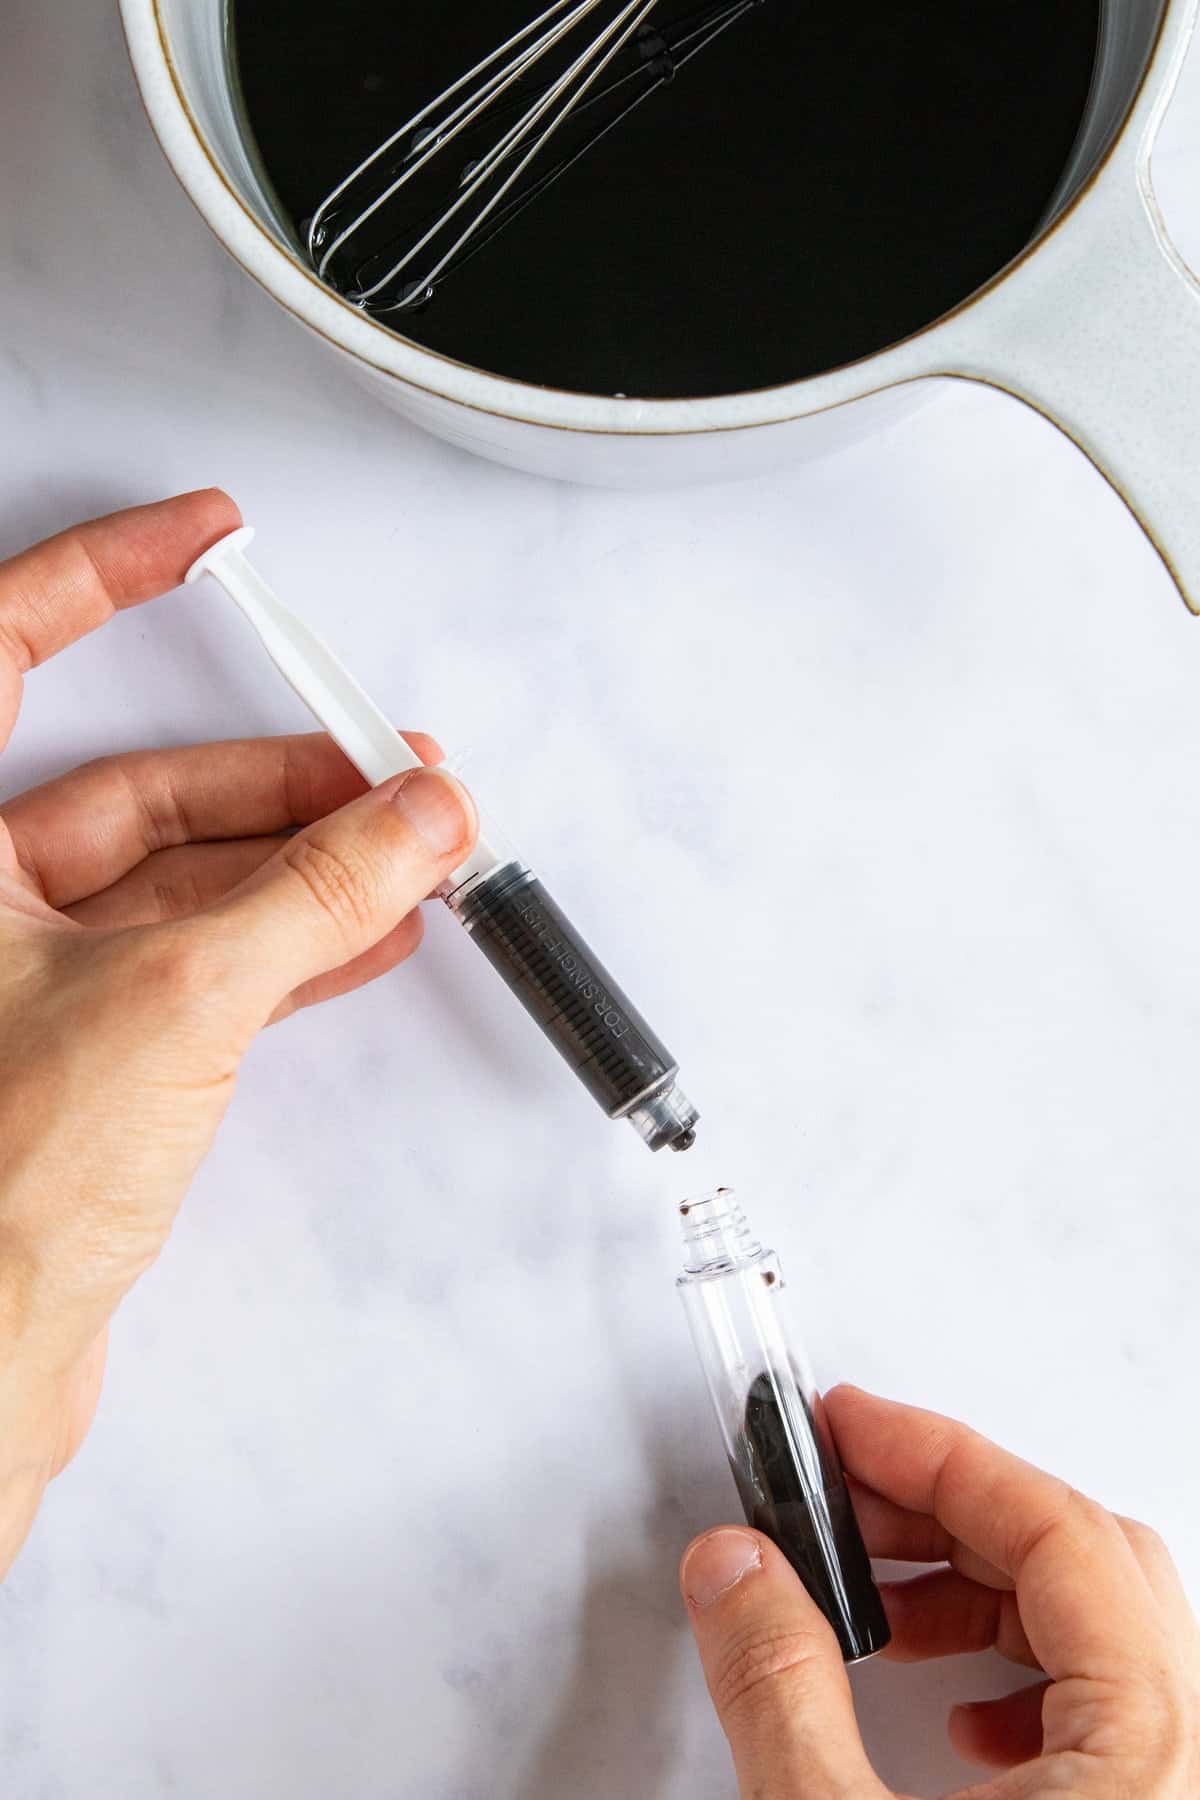
Acting quickly, use a syringe to transfer the mixture to a clean mascara tube before it has a chance to solidify.
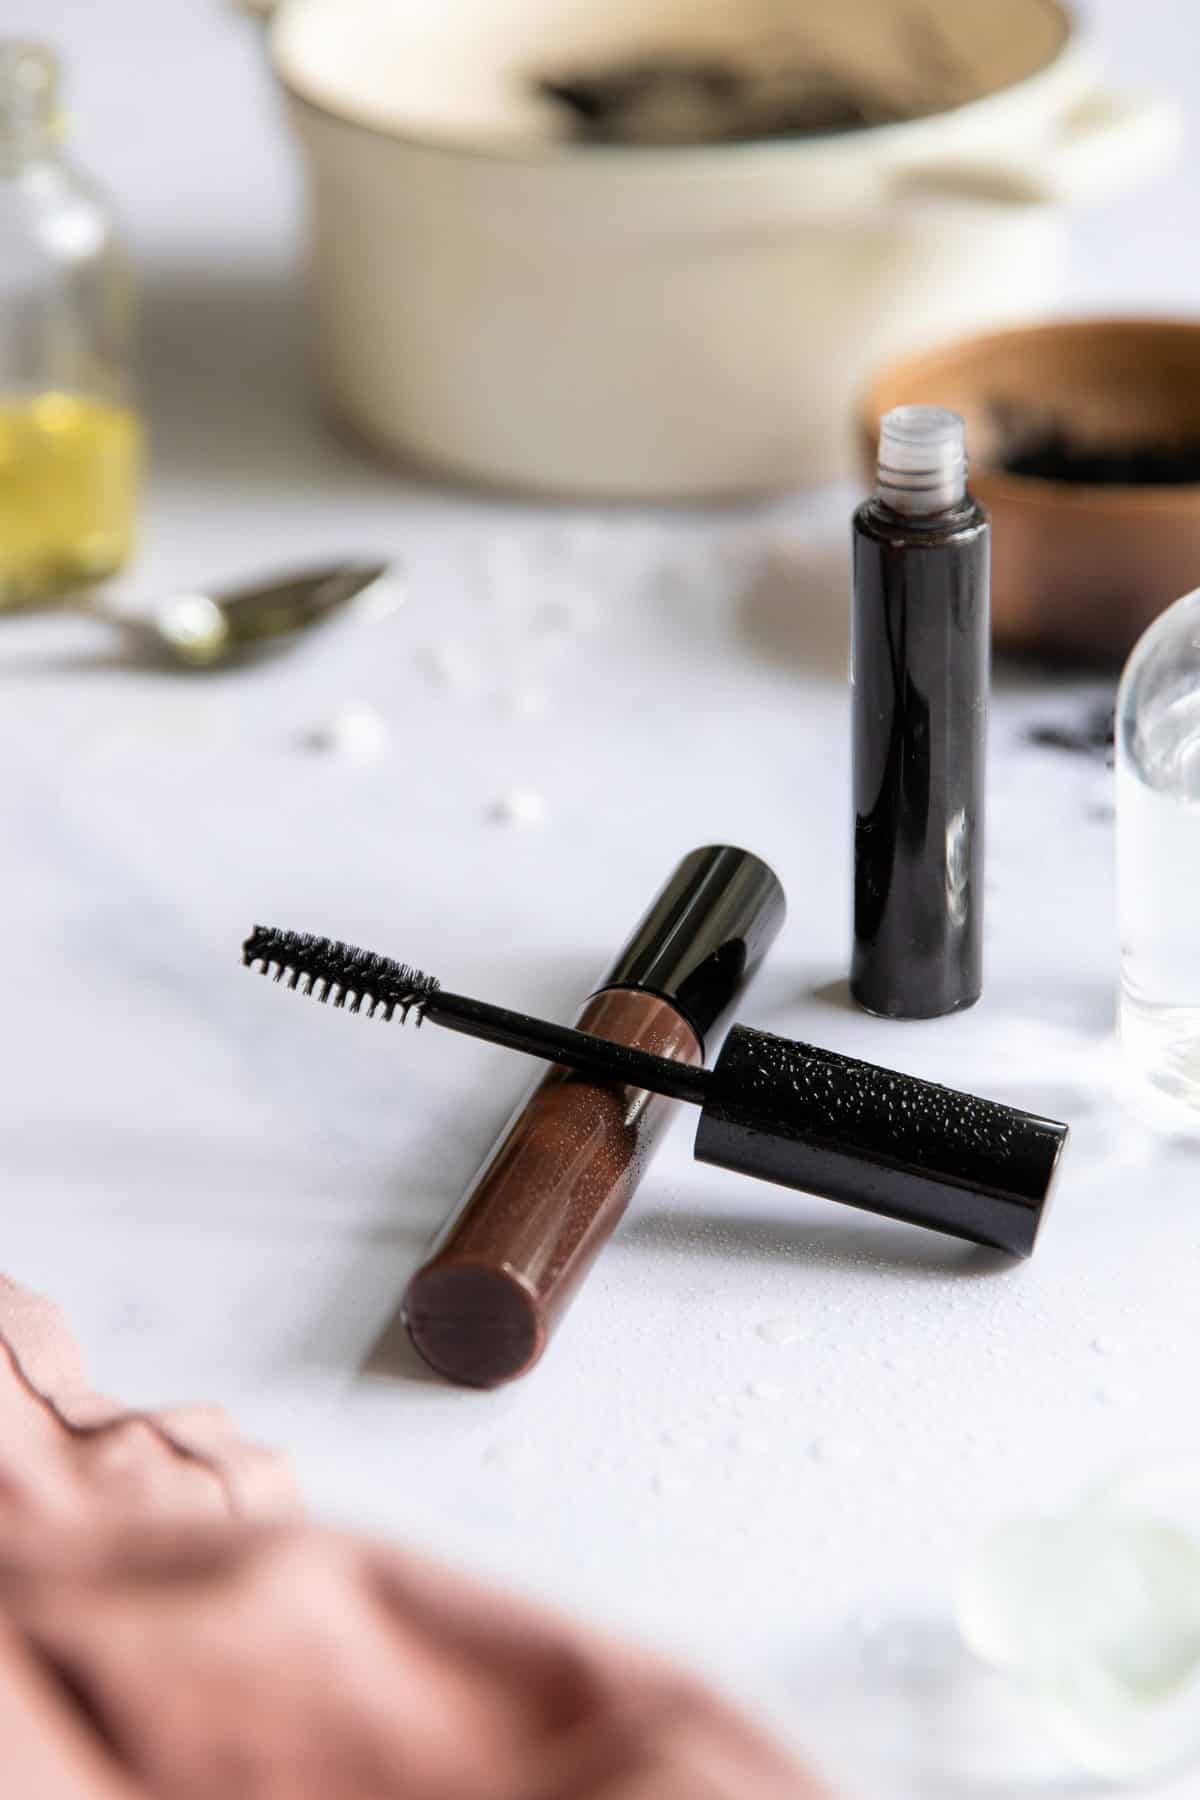
Let the mascara cure for 2–3 days before use.
Hint: It may take you several tries to perfect the color and successfully transfer the finished mascara to the tube before it hardens. Don't get discouraged!
Tips
Experiment with pigments: Like with eye shadow or homemade foundation, if you want to customize the color of your mascara, start with small amounts and gradually adjust the pigment until you achieve the desired color intensity. Just know that you won't really know what the shade will look like until the mascara has cured, which is another good reason to take detailed notes as you go along.
Adjust the consistency: The consistency of your homemade mascara can vary based on personal preference. If you prefer a thicker formula, you can add a bit more HEC or beeswax.
Conversely, you can reduce the amount of wax or add more jojoba oil for a lighter consistency. Adjust the consistency gradually to find what works best for you.
Oils for Different Lash Types
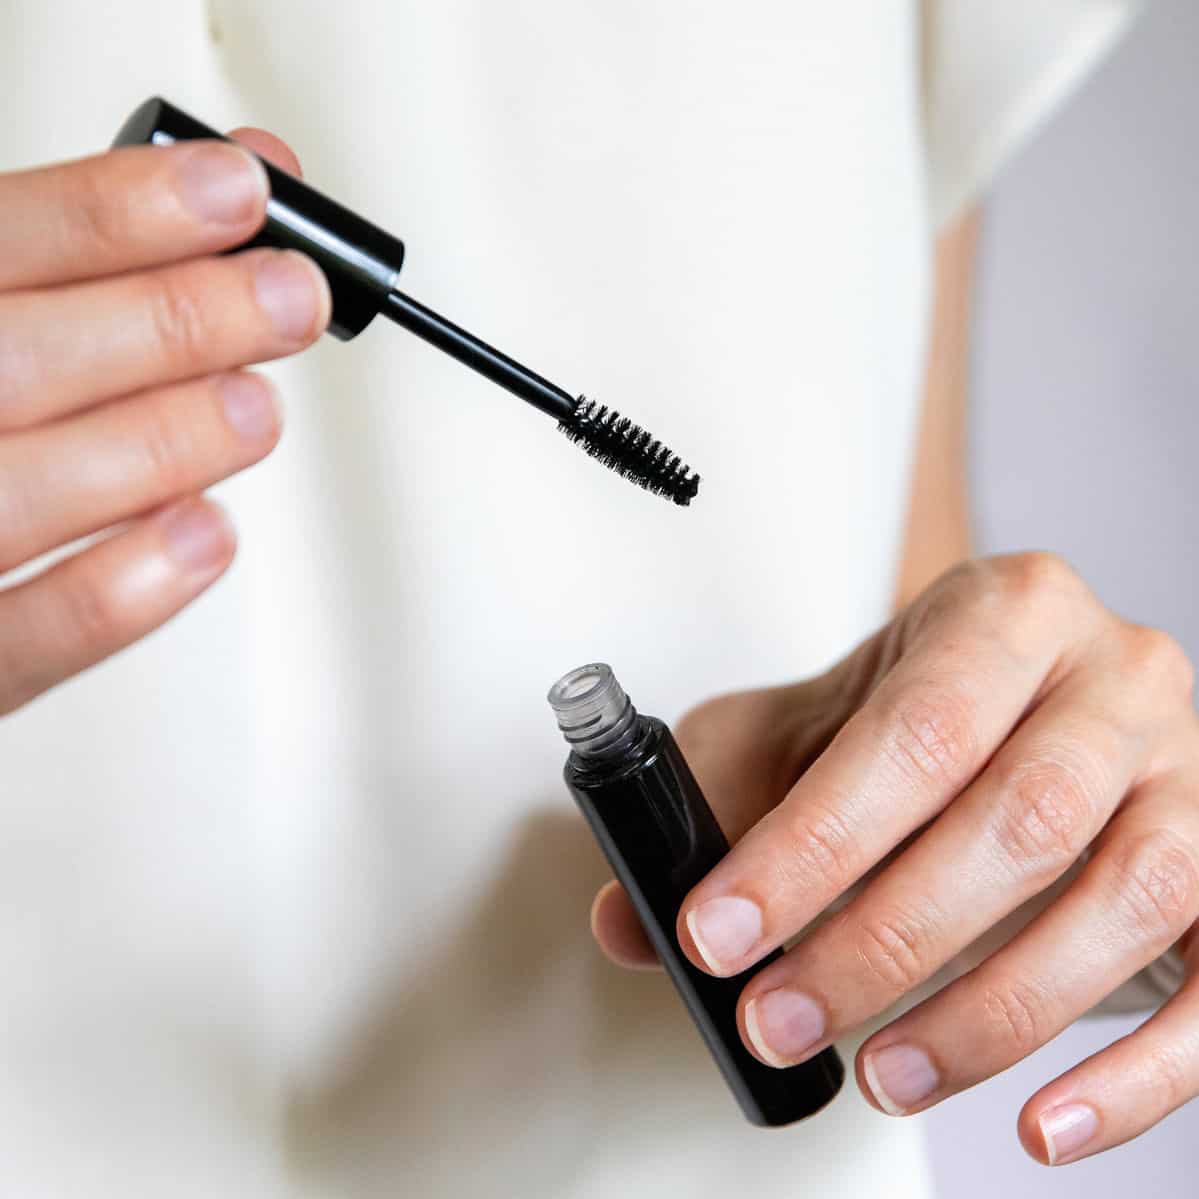
Just like when it comes to your hair, different oils serve different purposes for lashes as well. To customize your mascara, simply replace the jojoba oil in the recipe with the oil of your choice.
For lash growth: Castor oil
Castor oil is a great option for making short, sparse lashes longer and thicker. It contains ricinoleic acid, which can help strengthen and hydrate lashes. It's also loaded with essential nutrients, such as vitamin E, proteins, and omega-6 fatty acids [source], which provide nourishment to the hair follicles and promote healthier lash growth.
For nourishing lashes: Sweet almond oil
Sweet almond oil is a gentle and lightweight oil that is rich in vitamins and minerals. The fatty acids it contains make this oil an emollient [source] that helps nourish and condition eyelashes, making them softer and more manageable. Sweet almond oil is suitable for individuals with dry or brittle lashes, as well as those who wear mascara regularly.
For dry lashes: Argan oil
Argan oil is a highly moisturizing and nourishing oil derived from the kernels of the argan tree. It is also fatty acid-rich and contains vitamin E [source], both of which help to strengthen and protect the lashes.
For brittle lashes: Olive oil
Olive oil is another rich emollient that conditions and softens eyelashes. It contains vitamins, phenols, and antioxidants [source] that promote lash health and vitality.
Equipment
You'll also need to collect your tools ahead of time:
- Two small saucepans
- Stove
- Kitchen scale
- Empty mascara tube with wand
- Needleless syringe
- Small whisk
- Bowls
- N95 mask (to protect you from HEC and iron oxide dust)
- Paper towels
Sanitize your equipment: Before starting the mascara-making process, make sure to thoroughly clean and sanitize all the equipment and containers you'll be using. This helps prevent any contamination that could affect the quality and safety of your mascara.
Measure accurately: When measuring the ingredients, use a sensitive kitchen scale to ensure accurate measurements. Precision is essential for maintaining the right balance of ingredients and achieving the desired consistency.
If you do decide to get creative, write down the ingredients you use along with the measurements so you can make it again in the future.
Storage
Even though this recipe uses a preservative, you'll still want to keep an eye out for any signs of spoilage, like an off odor, unusual color, or clumping. If you notice any of these, it's best to discard the mascara immediately.
And to make sure your mascara lasts:
- Store in a cool, dry place. It's essential to store your homemade mascara in a cool, dry place away from direct sunlight and heat sources. Exposure to heat and sunlight can alter the consistency and effectiveness of the mascara, causing it to melt or spoil more quickly.
- Avoid moisture. Moisture can promote the growth of bacteria and mold. Therefore, it's crucial to keep the mascara away from humid environments, such as dark, damp bathrooms or areas prone to condensation. Moisture can also cause the mascara to clump or become watery.
- Use within 3 to 6 months. Unlike commercially manufactured mascaras, homemade mascaras typically have a shorter shelf life. It is advisable to use your homemade mascara within 3 to 6 months to ensure its freshness and efficacy. And throw it away if you notice any changes in texture, smell, or appearance.
FAQ
Before using any containers for your homemade mascara, it's important to ensure they are properly sterilized. You can wash them with hot, soapy water and rinse thoroughly. Then, sterilize them by wiping them with rubbing alcohol or running them through a hot dishwasher cycle.
To prevent clumping in homemade mascara, ensure that the ingredients are well blended. If clumping persists, you can try adding a few drops of vegetable glycerin or a tiny amount of aloe vera gel to improve the texture.
Not really. While you can experiment with adding more beeswax to help make the mascara more water-resistant, it may not provide the same level of waterproofing as commercial waterproof mascaras.
Eye Care Recipes
Looking for other eye care recipes like this? Try these:
DIY Mascara Recipe
Equipment
- Two small saucepans
- A stove
- Kitchen scale
- Empty mascara tube with wand
- Needle-less syringe
- Small whisk
- Bowls
- N95 mask (to protect you from iron oxide dust)
- Paper towels
Materials
- Iron oxide: start with 0.1 ounce, adding more as needed
- 0.1 ounce jojoba oil, divided
- 0.1 ounce candelilla wax
- 0.1 ounce beeswax
- 0.1 ounce emulsifying wax
- 0.1 ounce stearic acid
- 1.5 ounces distilled water
- .08 ounce aloe vera gel
- .04 ounce glycerin
- .03 ounce HEC
- .02 ounce preservative
Instructions
- Combine the iron oxide powder and .05 ounces of jojoba oil in a small bowl. Using the back of a spoon, stir everything together, making sure the powder gets evenly dispersed throughout the oil.
- In one small saucepan, combine the candelilla, beeswax, emulsifying wax, and stearic acid. In the other small saucepan, combine the water, aloe vera, almond oil, and glycerin. Heat them both on the stove over the lowest heat until the oils are nearly melted and water is warm.
- When the waxes are almost melted, stir in the iron oxide and oil mixture. At the same time, whisk the HEC into the water mixture.
- Slowly pour the water mixture into the wax mixture (it will get clumpy—that's okay). Place the saucepan back on the stove over medium-low heat, and stir constantly until the mixture comes together. At the very end, add the preservative.
- Acting quickly, use a syringe to transfer the mascara to a clean mascara tube before it has a chance to solidify.
- Let the mascara cure for 2–3 days before use.
Notes
References
- Patel VR, et al. Castor oil: properties, uses, and optimization of processing parameters in commercial production. Lipid Insights. 2016.
- Ahmad Z. The uses and properties of almond oil. Complement Ther Clin Pract. 2010.
- Gharby S, et al. Argan oil: chemical composition, extraction process, and quality control. Front Nutr. 2022.
- Lin TK, et al. Anti-inflammatory and skin barrier repair effects of topical application of some plant oils. Int J Mol Sci. 2017.

