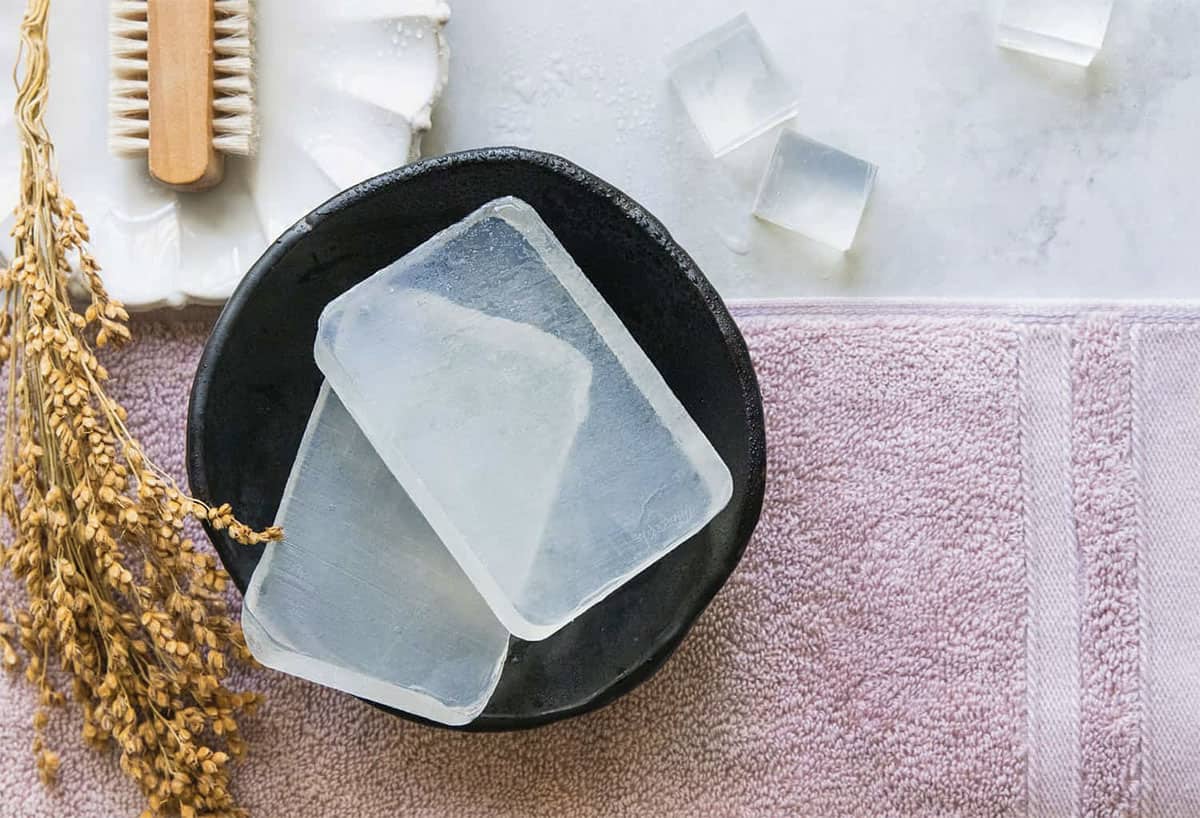
Ready for a fun melt-and-pour soap project? These easy exfoliating soaps not only look and smell amazing, but they're perfect for a bit of exfoliation while you lather up. Gently slough away dead skin cells and lock in moisture with one magical soap bar and a little in-shower scrub session.
Soap-making can feel intimidating, but once you get started, you'll realize it's an easy and rewarding craft. I started out wanting to make a gentle, naturally exfoliating soap bar—but then got totally carried away and made several versions.
Melt-and-pour soap is so easy to customize when you use a premade soap-making base (like glycerin or shea butter) from the craft store. It's like a kitchen science experiment, adding in different textures and colors.
There are endless variations, but here are some simple recipes to try for a scrubby soap bar to buff off dry skin.
Jump to:
Ingredients
- 1 lb (16 oz) melt-and-pour soap base
- 2 tablespoons distilled water
- Rubbing alcohol in a spray bottle
- 2 tablespoons oil (olive oil, coconut oil, grapeseed oil, almond oil)
- ⅛ - ⅓ cup exfoliants (chia seeds, cornmeal, oatmeal, or coffee)
- Soap mold container (Any soap mold will work but massage bar soap molds are fun. You can also use glass storage containers or something from the recycling bin.)
Instructions
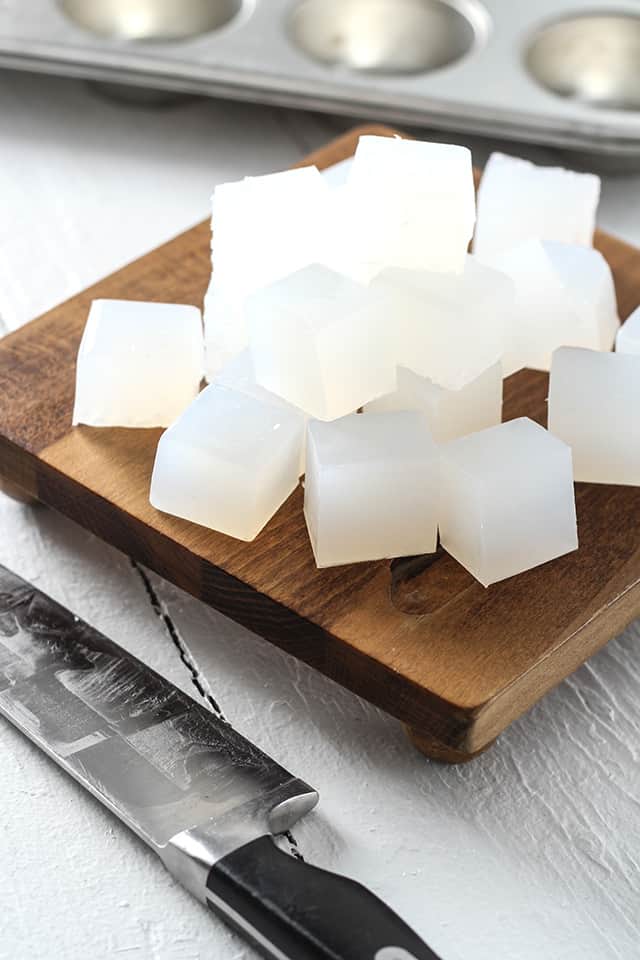
Step 1: Melt soap base
Cut the glycerin soap block into evenly sized cubes (about 1-inch is good) and add them to a microwave-safe glass container. I usually do this in a Pyrex measuring cup for easy pouring.
Melt the soap in the microwave in 30-second intervals. Stir between each interval to break up any clumps.
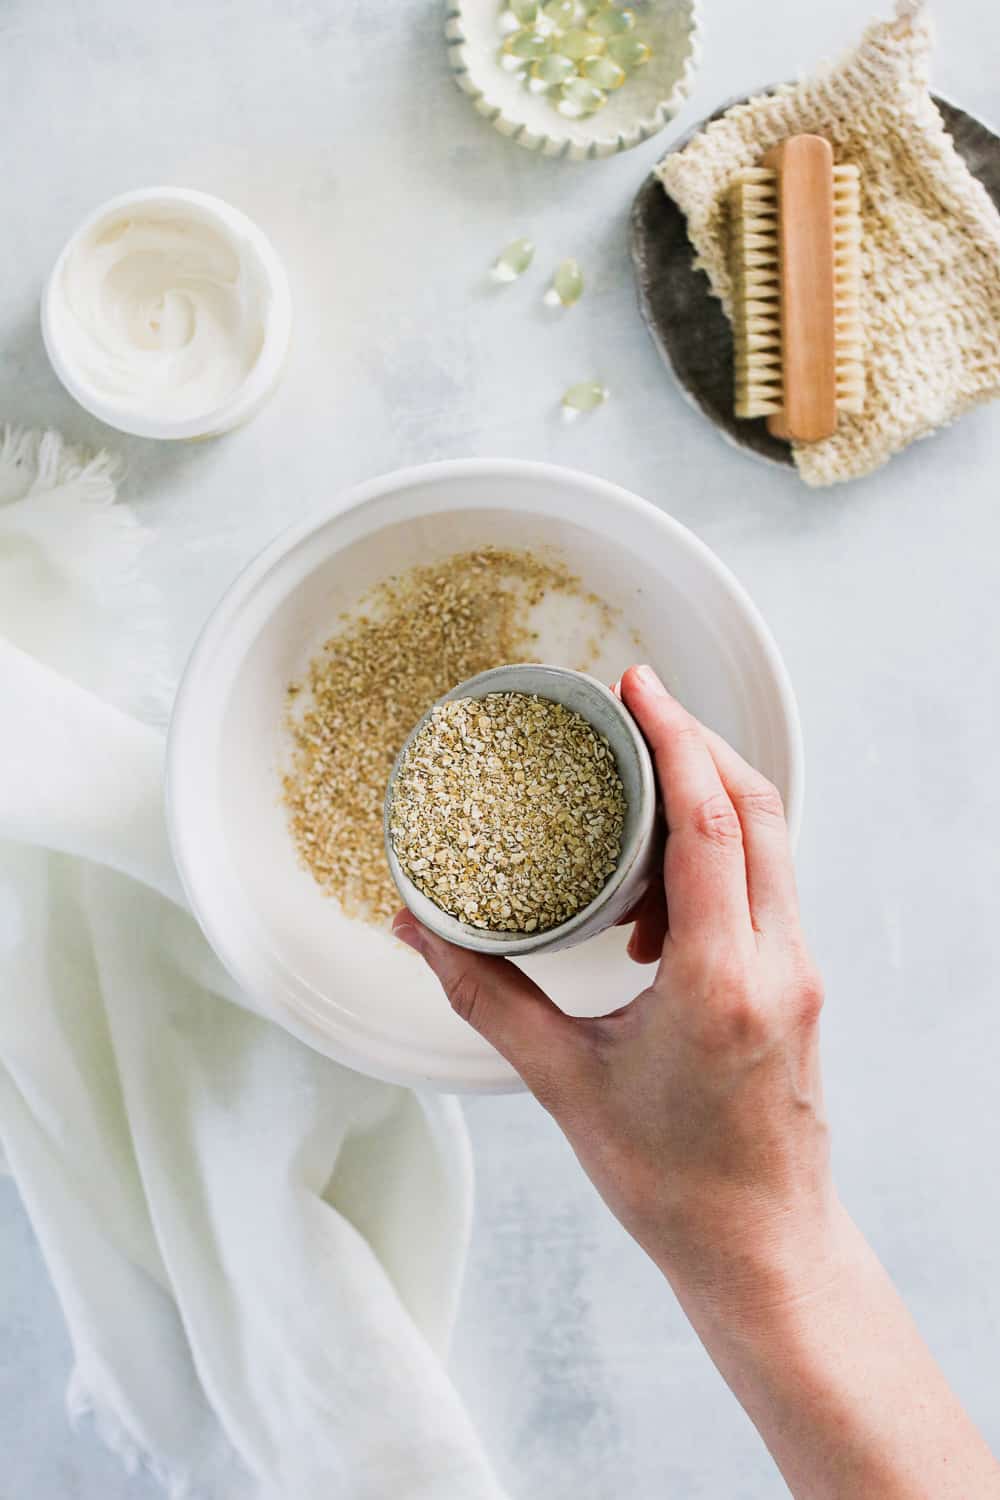
Step 2: Add remaining ingredients
When all of the soap is melted, let it cool slightly, then add the oil, water, and dry ingredients. Stir or whisk everything together. Keep mixing for 1–3 minutes until the mixture starts to thicken.
Let the soap cool down until it gets a little bit thicker and starts to form a “skin” on top. Then stir again.
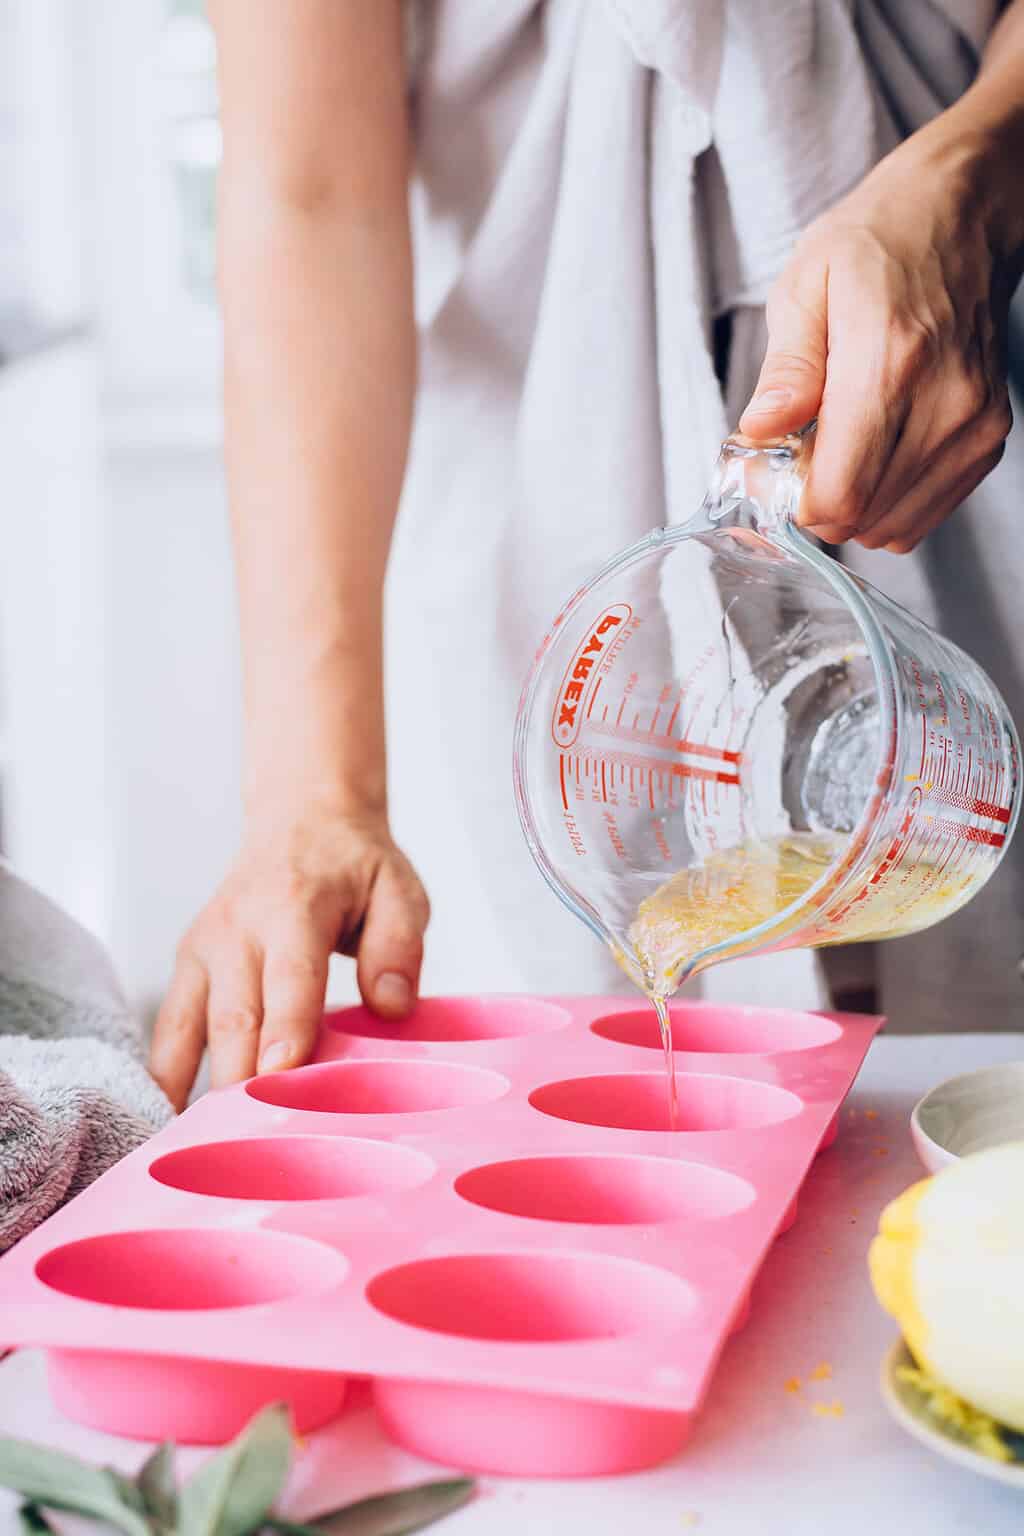
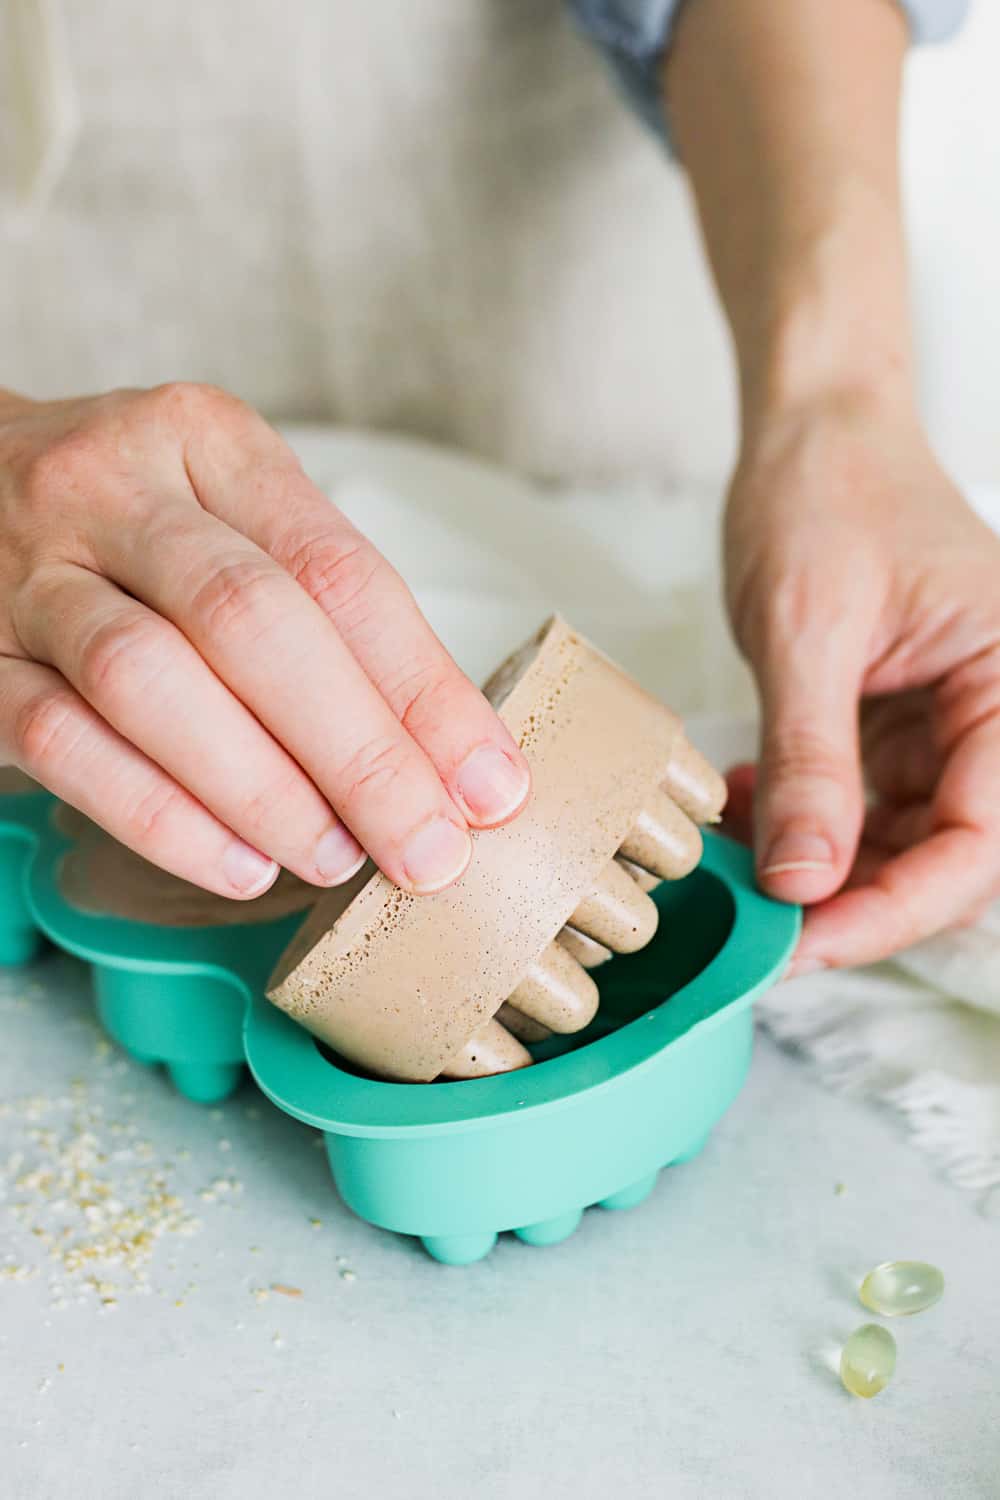
Step 3: Pour the soap
Pour the soap into your mold.
Note: The soap should not be hot. If you pour the soap mixture into your molds while the soap is still hot, the exfoliating ingredients will sink to the bottom.
To avoid that, let your soap cool to almost room temperature, give it one last stir (it will be slightly chunky by that point), and then pour it into your molds. This will help keep the exfoliating ingredients suspended.
If the soap cooled down too much, just pop it back in the microwave for another couple of 30-second bursts.
Step 4: Remove air bubbles
Add rubbing alcohol to a 2 oz spray bottle and spritz all of the soaps with rubbing alcohol to eliminate bubbles.
Step 5: Let it cool
Let the soap harden for 12–24 hours before unmolding. The cooling and hardening time can vary, but generally, it takes a few hours for the soap to completely harden. Larger or thicker soaps may take longer.
Placing the molds in the refrigerator can expedite the cooling process, but avoid freezing, as it may affect the soap's texture.
Step 6: Remove from molds
Once the soap has fully hardened, carefully pop the soap out of the molds. If you encounter resistance, let it sit for a bit longer.
The soap is ready to use right away.
1. Chia Seed and Aloe Exfoliating Soap
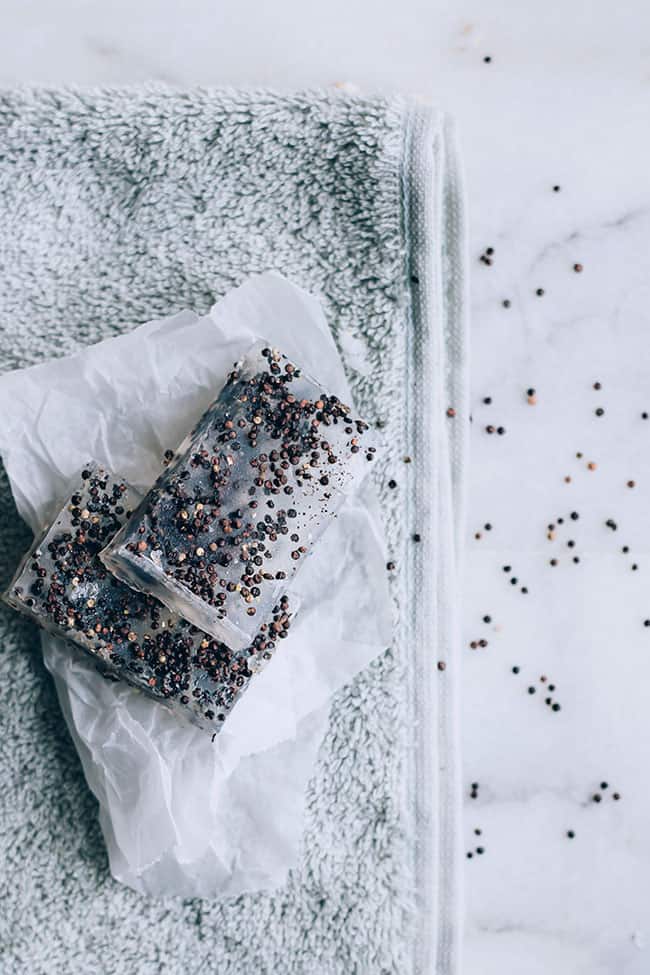
Aloe vera is a natural skin soother and healer, and chia seeds are my new favorite exfoliators.
Their tiny size is perfect for sensitive skin, and incorporating them into a soap keeps the mess factor down in the shower. Plus, they are environmentally friendly.
For this version, substitute aloe vera juice for the oil and water and add 1–2 tablespoons of chia seeds.
2. Cornmeal and Calendula Exfoliating Soap
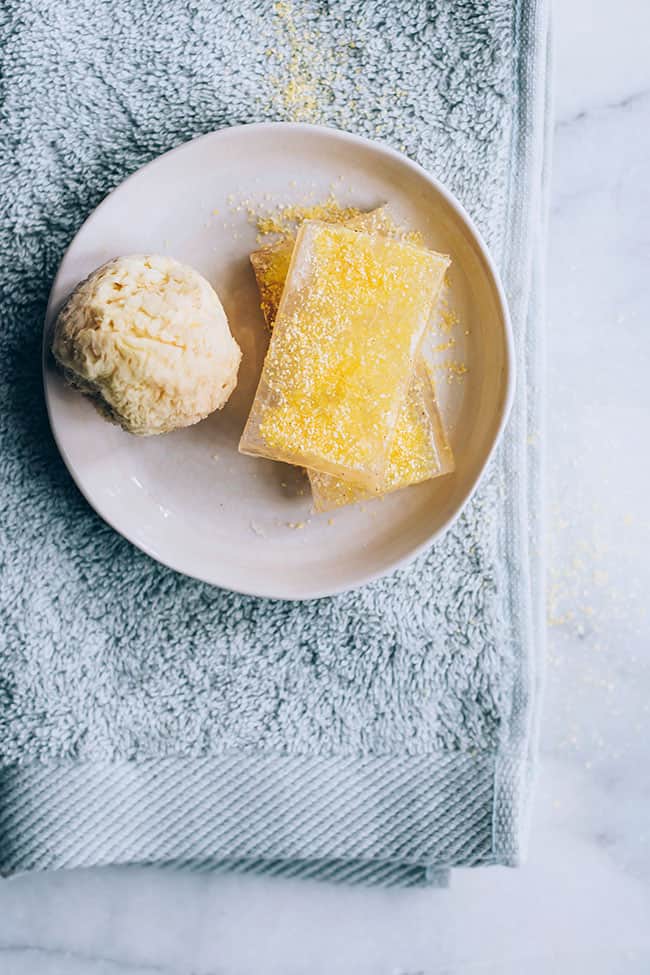
This is a great version for sensitive skin because cornmeal gently exfoliates, and calendula is a natural healing herb. I used three tablespoons of calendula-infused oil (see how to here) and added about ¼ cup of cornmeal. The cornmeal tends to settle, so make sure to whisk well before pouring the soap into a mold.
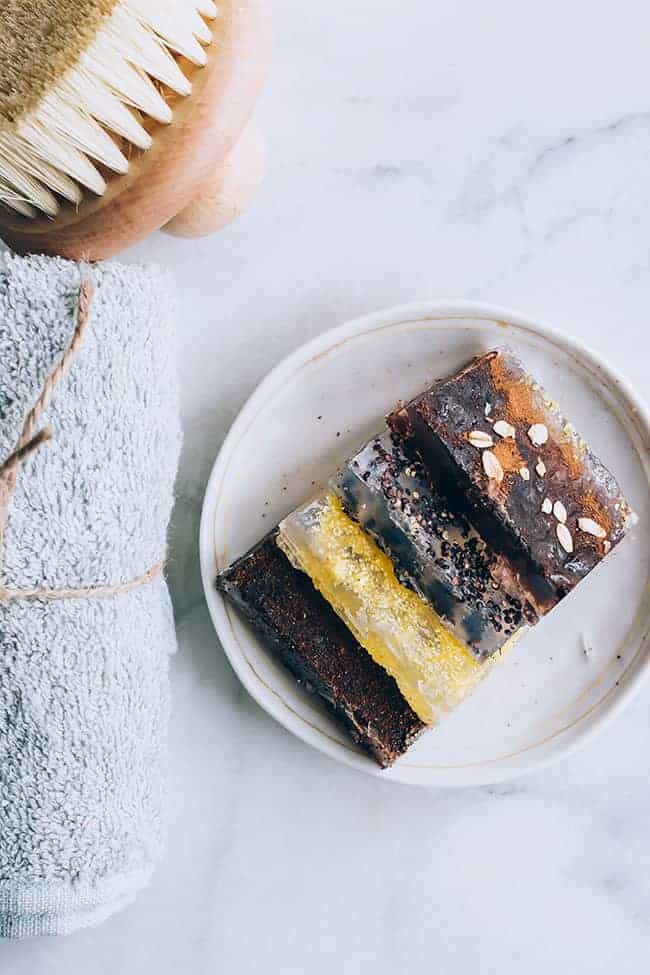
3. Oatmeal and Cinnamon Exfoliating Soap
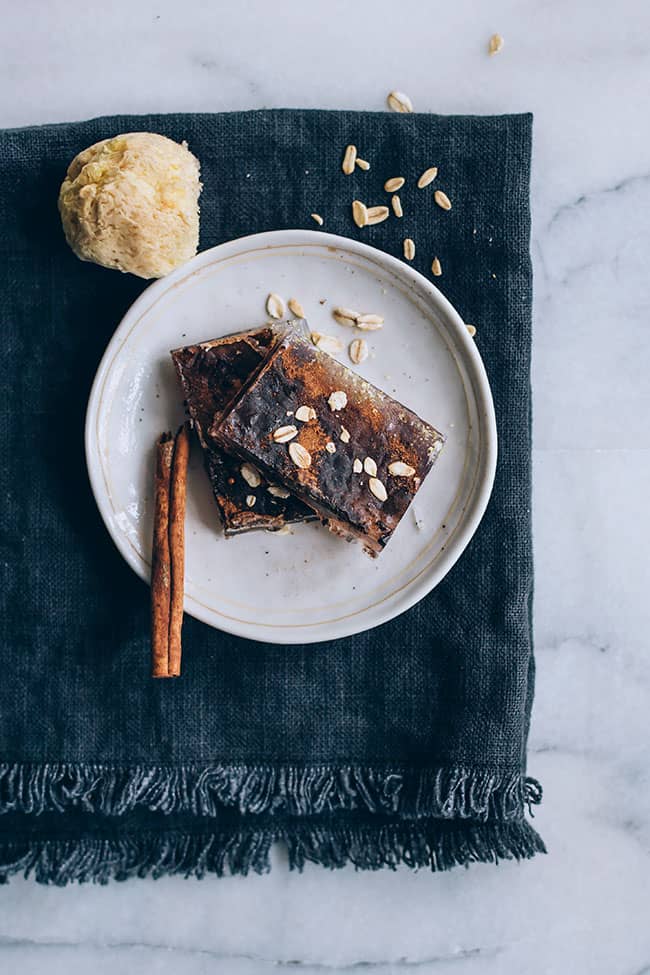
Ground cinnamon adds such a gorgeous golden brown color! Add ¼ cup of old-fashioned oatmeal (either whole uncooked oats or you can also finely grind them) and 1 tablespoon of cinnamon to the soap base when you add the oil and water.
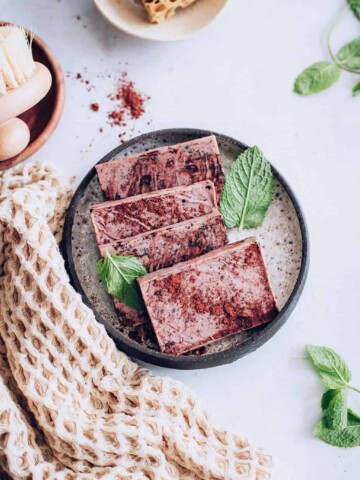
4. Coffee Soap
I love the smell of this coffee soap! And coffee does a nice job of buffing off dead skin as well as scrubbing away yucky odors on the hands. But it's another one that tends to settle to the bottom.
I used ¼ cup of ground, unbrewed coffee, but you might want to start with 2 tablespoons and add more, if needed. The caffeine component in coffee may also help decrease skin redness, inflammation, and dark circles around the eyes.
5. Loofah Soap
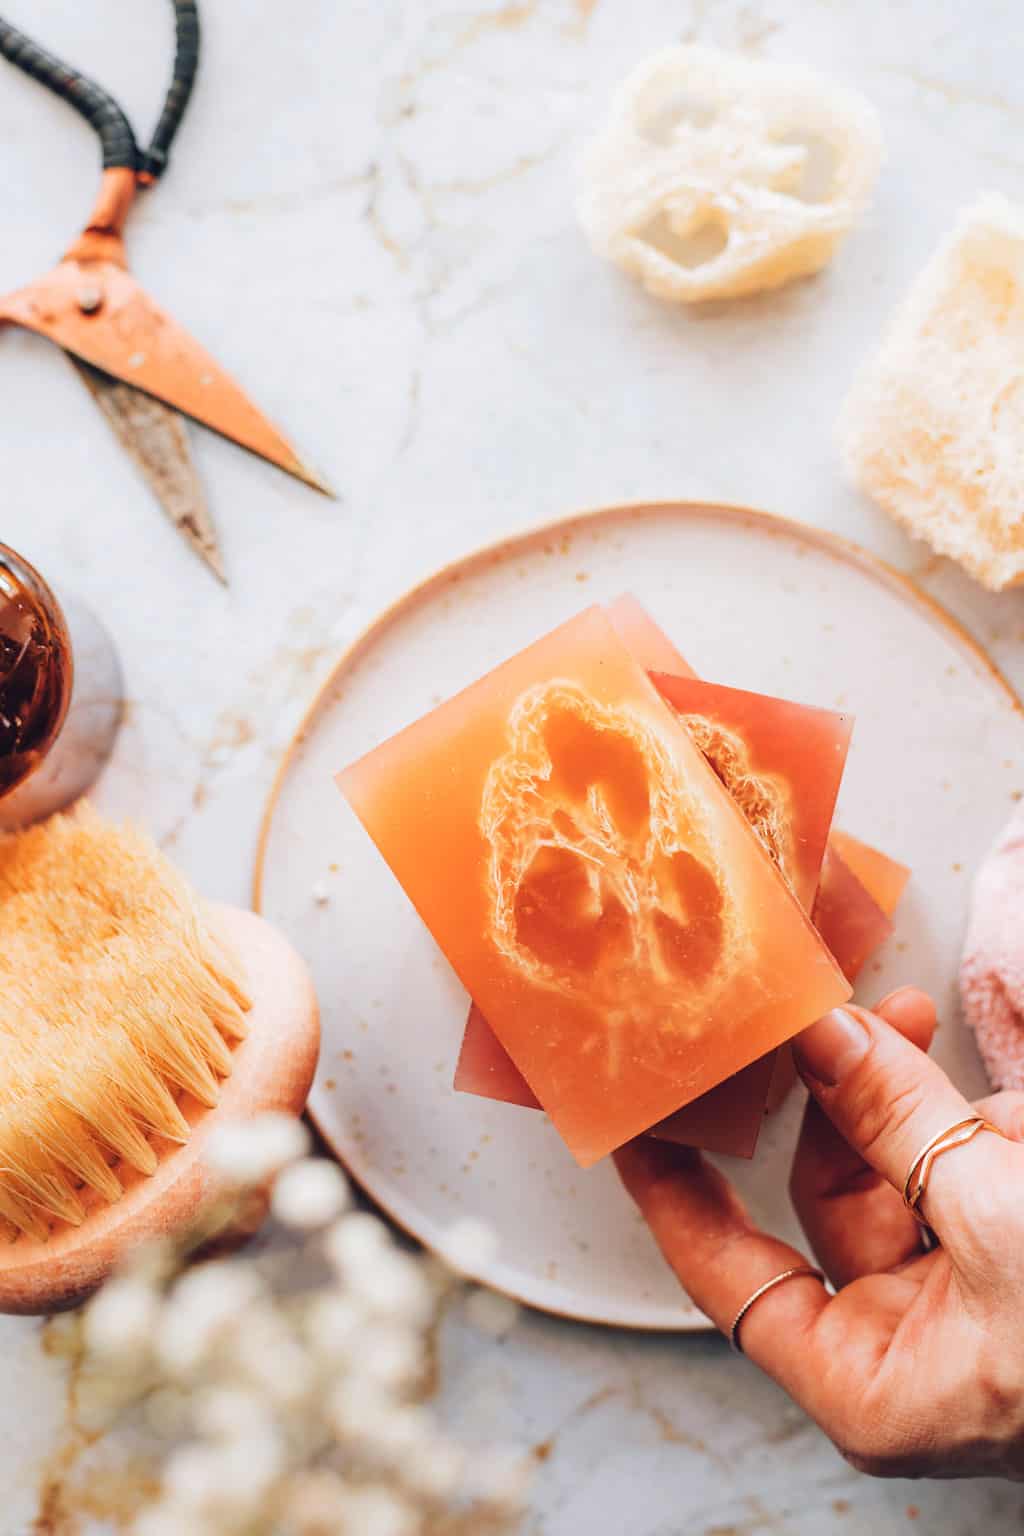
Instead of adding exfoliating ingredients to the melted soap you can use loofah pieces! Cut a dry natural loofah sponge into thin slices and add them to water to reconstitute.
Place 1 loofah sponge in each rectangle mold (trim if needed). It’s okay if the loofah sponges are still a little damp. Then pour in the melted soap.
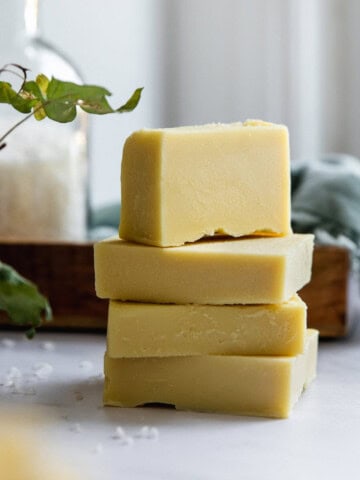
6. Oat Bran Butter Soap Bars

These soap bars contain all-natural oat bran, which helps polish away dead skin and healing shea butter to avoid any post-exfoliation burn. Substitute 2 tablespoons of shea butter for the oil, and stir it into the soap until it's fully melted. Then add 2 tablespoons organic oat bran.
What homemade soap creations have you come up with? Here are a few other glycerin soap recipes to try! Enjoy your soap-making!
FAQ
Add desired soap colorants to the container of melted soap before adding any exfoliating ingredients.
Yes, you can remelt and reuse soap scraps. Simply cut them into small pieces and melt them as you would with a new soap base.
This is likely due to glycerin, which is a natural humectant. To reduce sweating, wrap the soap bars tightly in plastic wrap after they’ve set or use a soap base with lower glycerin content.
It’s best to avoid fresh ingredients as they can introduce moisture and cause mold growth. Plus, they'll turn brown and not look so great after a couple of weeks. Instead, use dried ingredients like dried herbs or citrus peels.
This post was medically reviewed by Dr. Rina Mary Allawh, M.D., a dermatologist who practices adult and pediatric medical dermatology, skin cancer treatment, and cosmetic dermatology. Learn more about Hello Glow's medical reviewers here. As always, this is not personal medical advice, and we recommend that you talk with your doctor.
695