If you're someone who wants to take control of what goes on your skin, making your own foundation is a great place to start. And this liquid homemade foundation creates a silky smooth makeup that not only provides coverage but it nourishes your skin at the same time.
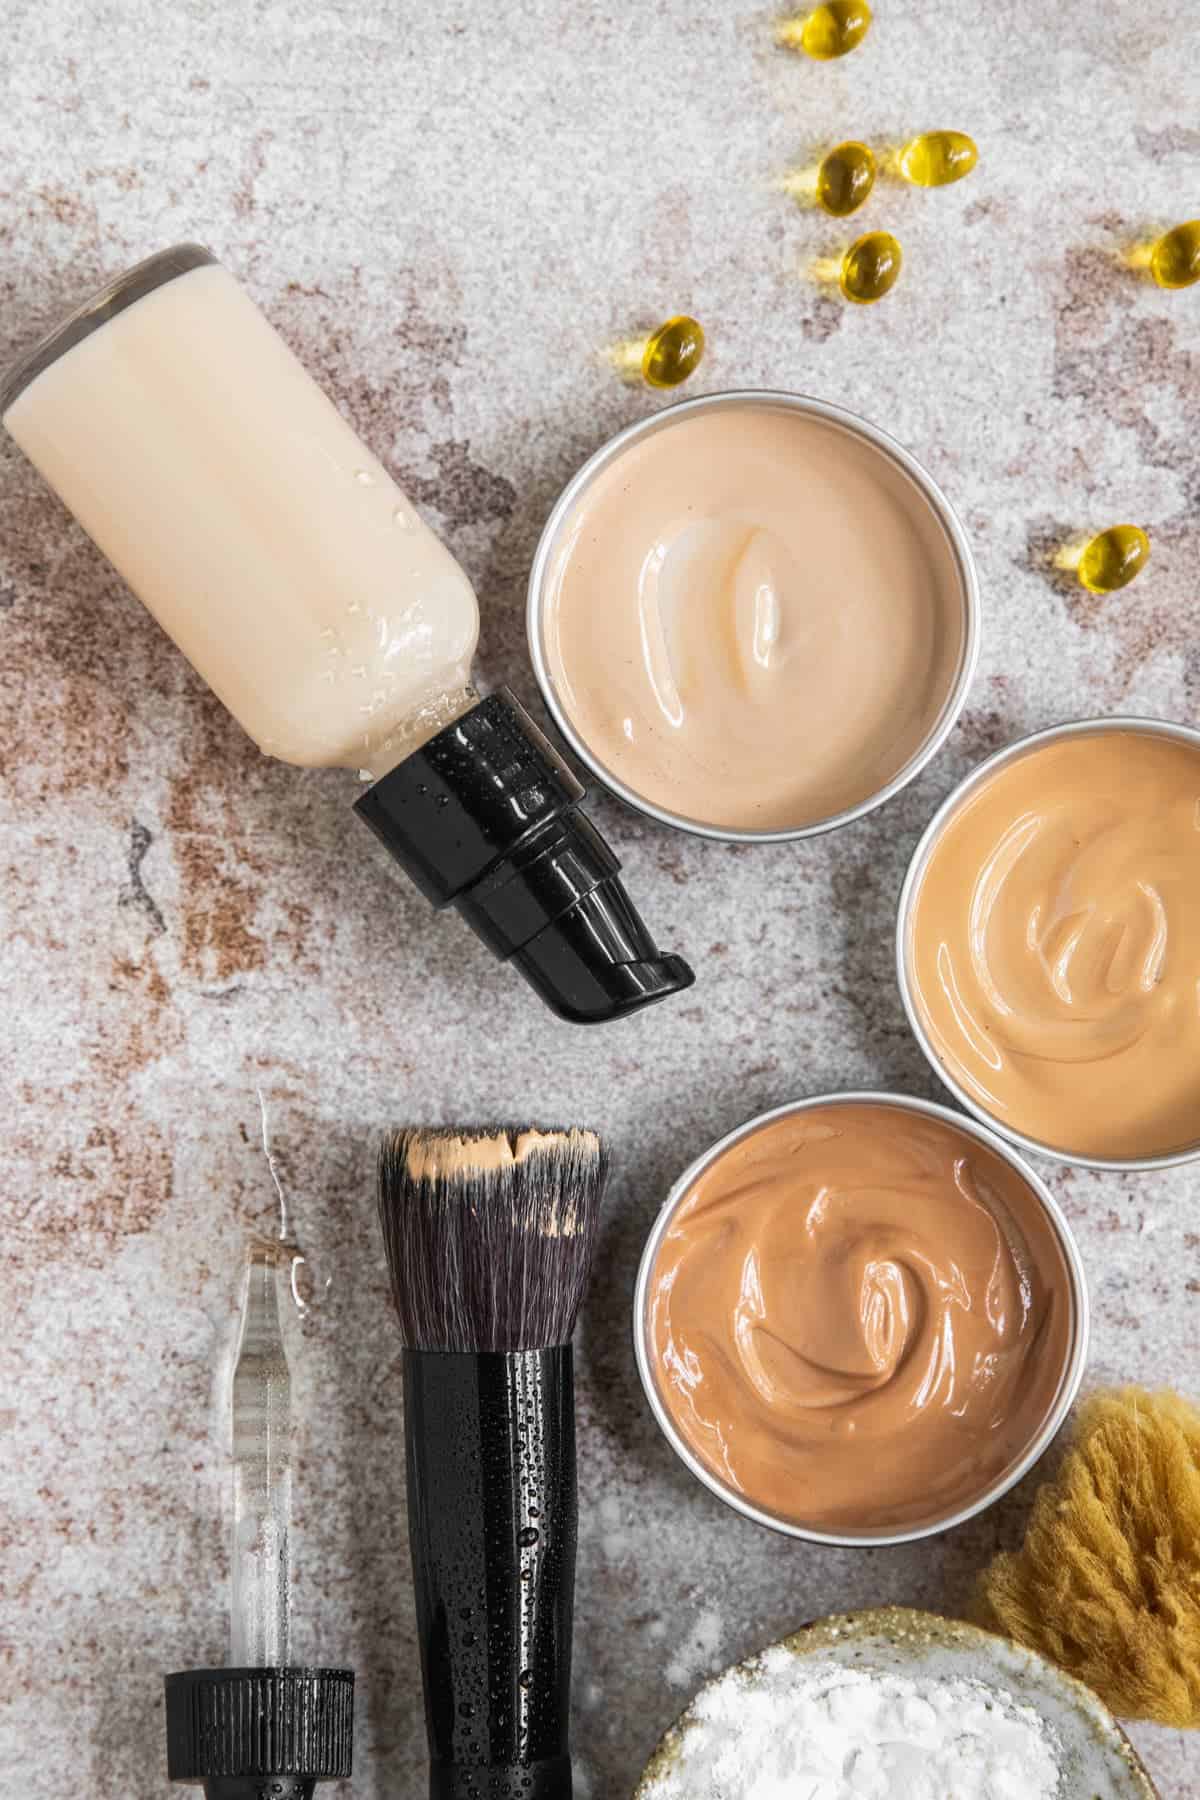
Unlike other kinds of makeup, foundation is one that most of us use every day (and use a lot of it, to boot), making it especially prone to having toxic effects over time. By making your own foundation, you have the freedom to select high-quality natural ingredients.
Like homemade eye shadow, this foundation recipe uses easy-to-find ingredients, such as arrowroot starch, zinc oxide, shea butter, and vitamin E oil. As for pigments, I often use natural herbs and spices, like cinnamon and cocoa powder, but you may need to use more traditional pigments, like iron oxides, to mimic your natural base tones.
Jump to:
Completely customizable
Homemade foundations can be easily customized to provide the desired coverage. You can adjust the ingredient proportions to create a light, medium, or full-coverage foundation based on your personal preference. You can also tweak the shade to match your skin tone more easily than with a store-bought foundation.
Nourishing and hydrating
Many homemade liquid foundation recipes incorporate nourishing ingredients like shea butter, sweet almond oil, and vitamin E. These natural moisturizers help hydrate and condition the skin while supporting the skin barrier in providing protection from the environment, resulting in a healthier complexion.
Skin-friendly and noncomedogenic
Commercial foundations often contain ingredients that can clog pores and cause breakouts. When making your own foundation, you can choose noncomedogenic ingredients that are less likely to cause skin irritation and acne.
Ingredients
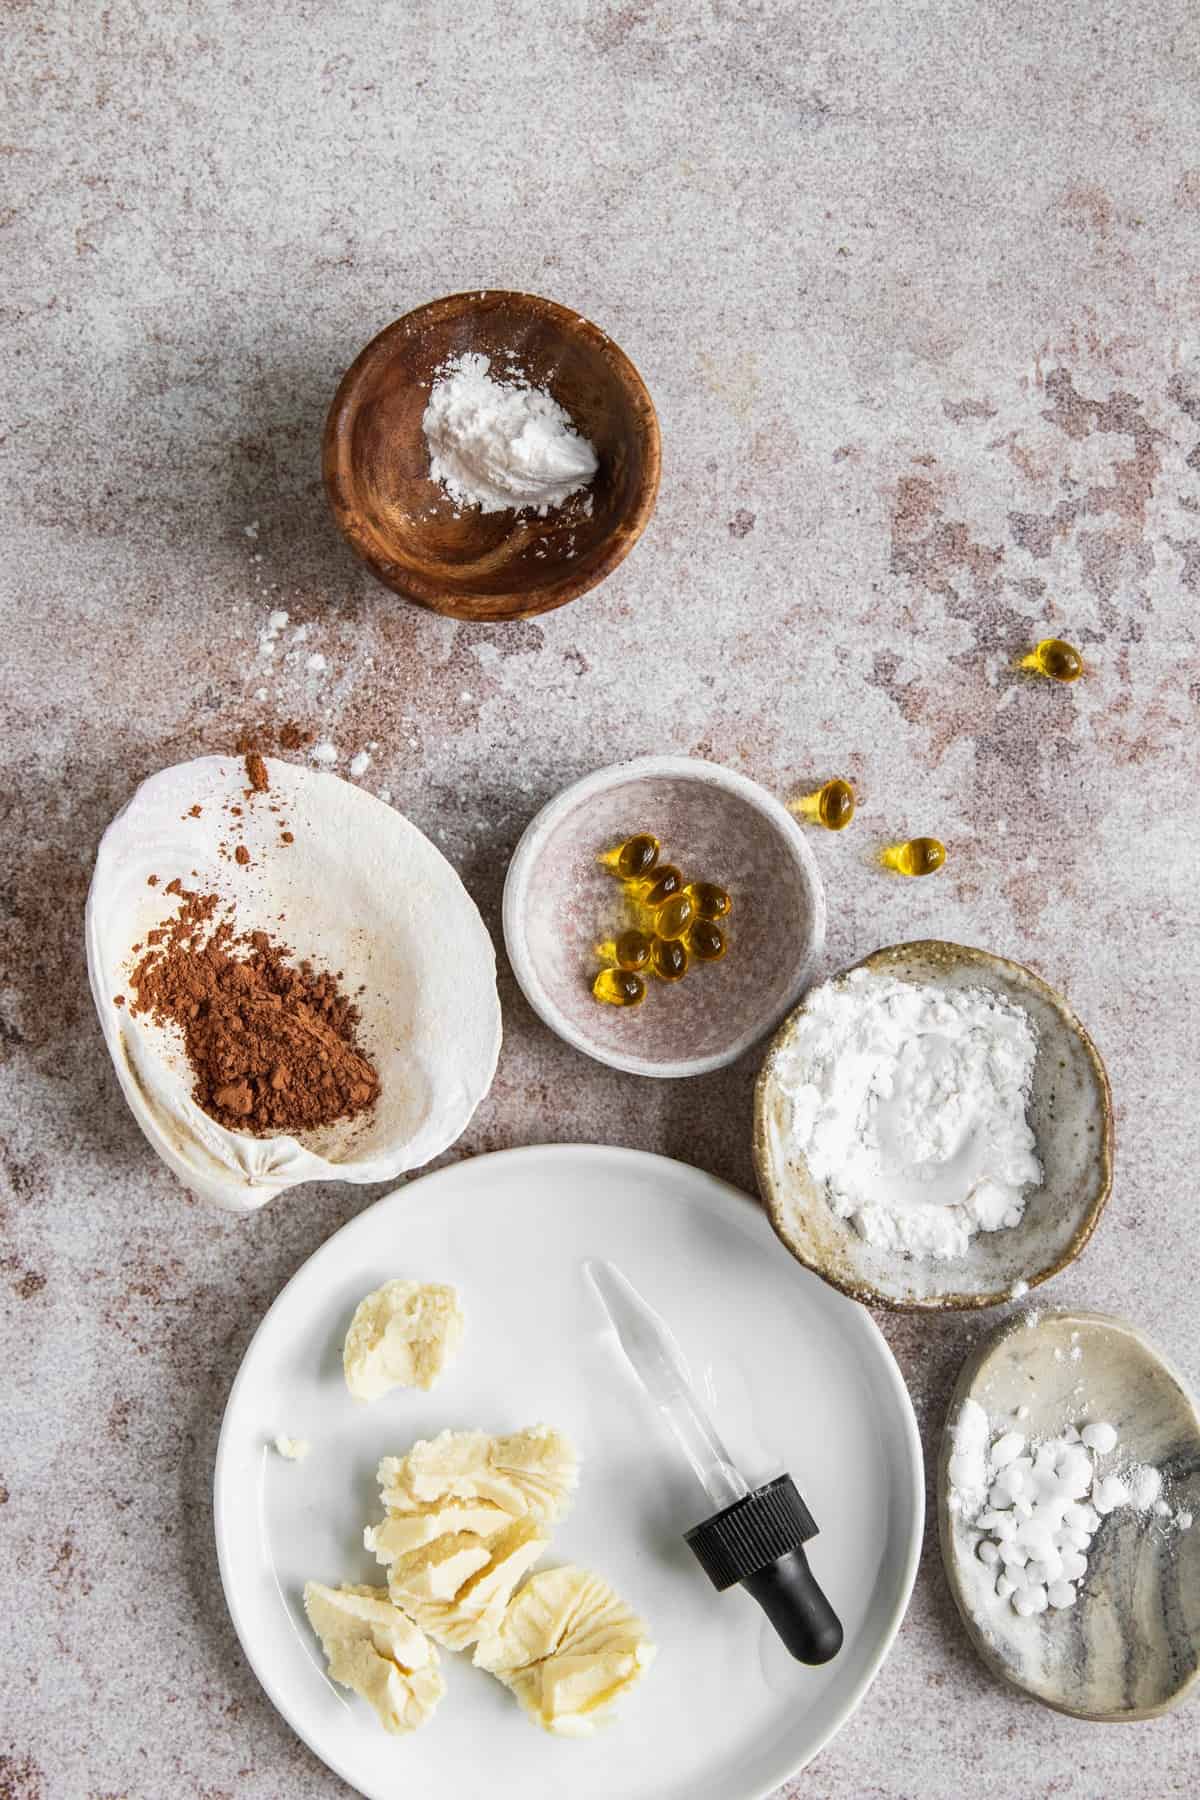
Shea butter - Shea butter's skin conditioning properties, derived from vitamins A and E, antioxidants, and phytonutrients, improve skin texture and radiance. Additionally, its natural anti-inflammatory properties make it a valuable addition to foundation, providing a subtle level of sun defense and soothing benefits for irritated skin [source].
Vitamin E oil - This powerful antioxidant helps protect the skin from damage caused by free radicals [source], promoting a youthful appearance and reducing the signs of aging. Additionally, vitamin E enhances the foundation's longevity, preventing it from oxidizing as quickly as it would otherwise.
Sweet almond oil - This emollient oil helps to soothe and hydrate the skin [source], providing a smooth and supple base for the foundation while leaving the skin with a natural glow.
Emulsifying wax - The primary function of this wax is to blend the oil- and water-based ingredients together, ensuring the foundation doesn't separate. Emulsifying wax also helps the foundation to spread easily on the skin, providing a smoother and more even application.
Arrowroot starch - Thanks to its absorbent properties, arrowroot starch helps to control excess oil and give your skin a matte finish.
Zinc oxide powder - Not only is it a physical sunscreen that provides natural sun protection, but zinc oxide also gives the foundation a white base, a blank slate to which colored pigment can then be added.
Chamomile essential oil - This essential oil has calming properties that can help alleviate minor skin irritation, making it ideal for those with sensitive or inflamed skin. Additionally, chamomile essential oil gives the foundation a subtle fragrance and aromatherapy benefits, to boot [source].
Natural pigments - These offer a wide range of shades to match different skin tones and undertones. Iron oxides provide a variety of colors, from beige to brown and red. Other options include cocoa powder, which can add warmth to the foundation, and turmeric, which imparts a yellow tint. These natural pigments allow you to customize the shade while reducing the potential for skin irritation associated with synthetic dyes.
See the recipe card below for quantities.
Instructions
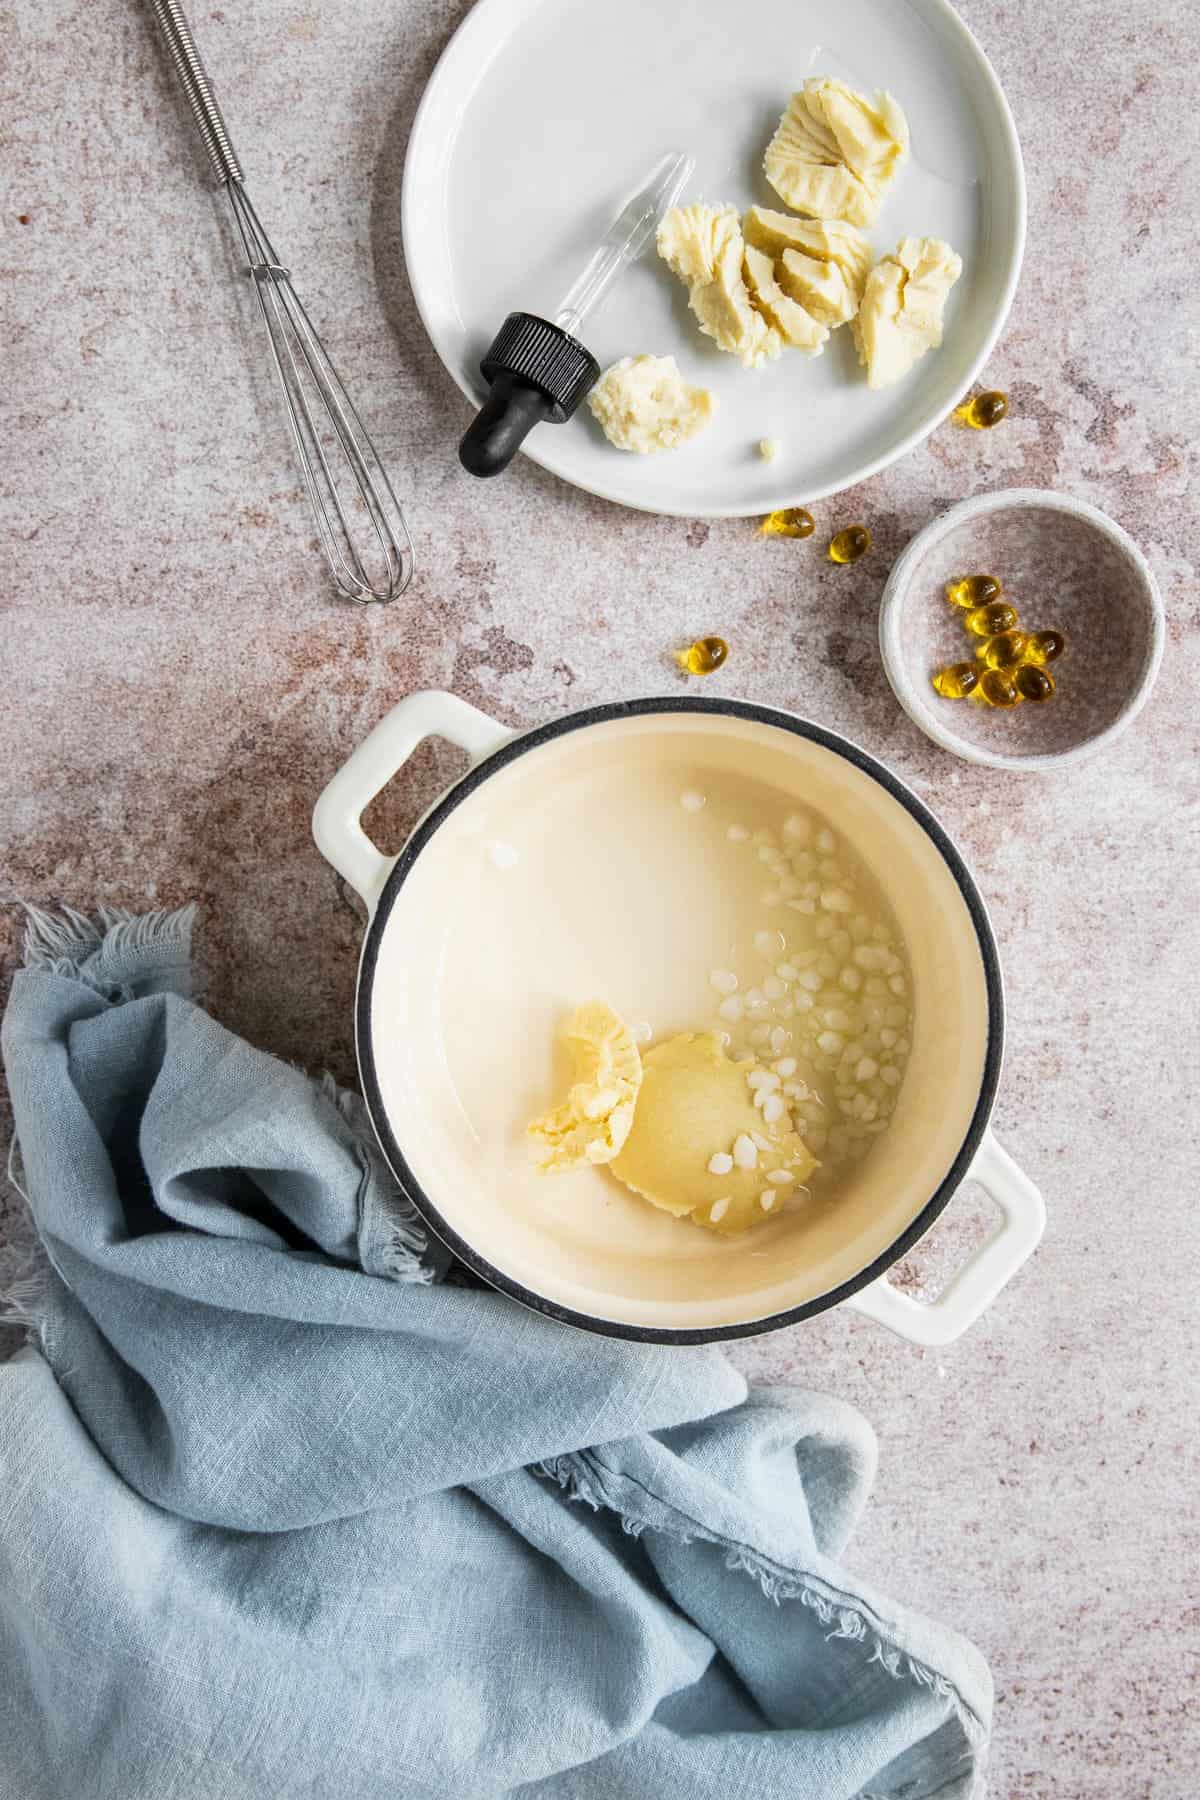
In a double boiler or small saucepan, melt the shea butter, emulsifying wax, and sweet almond oil together over low heat until fully melted and well combined.
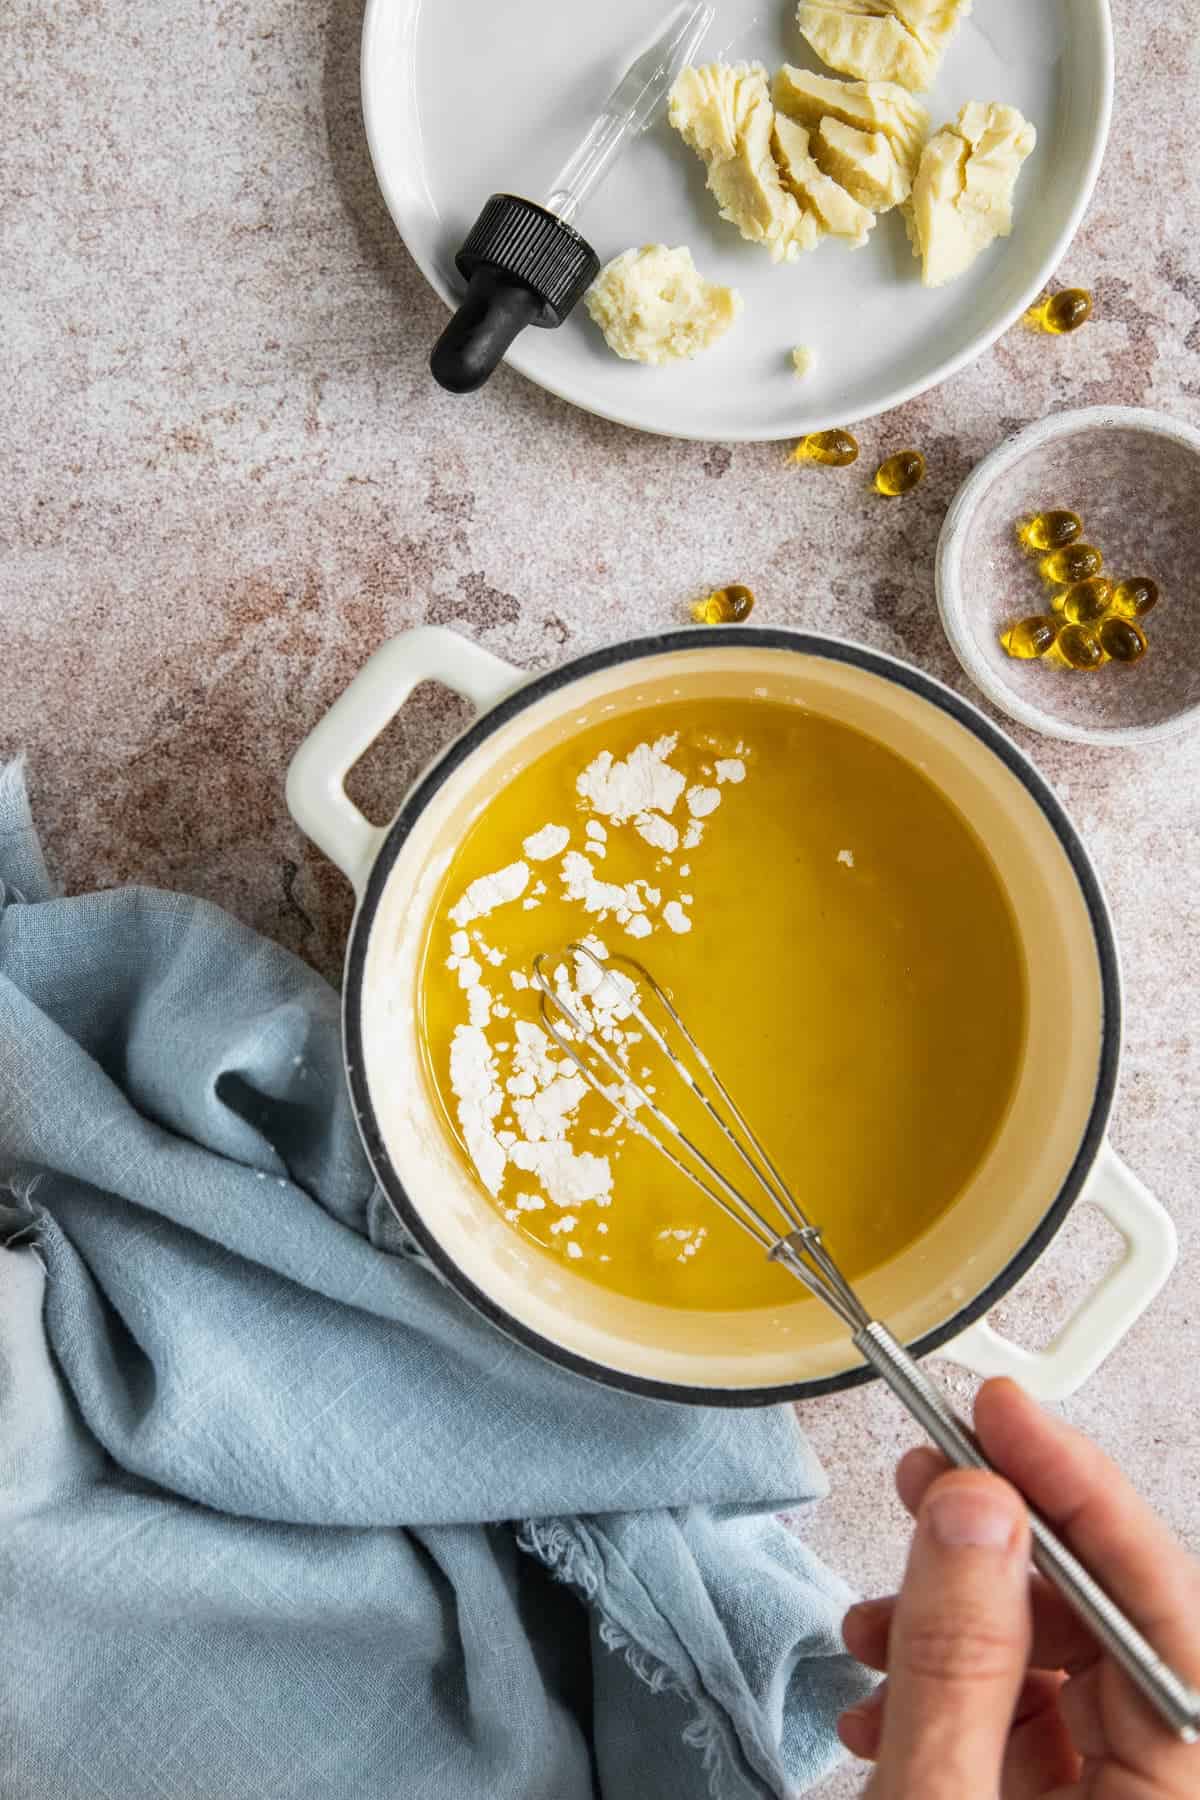
Add the arrowroot starch and zinc oxide to the melted mixture. Whisk or stir well to ensure they are thoroughly blended and no lumps remain.
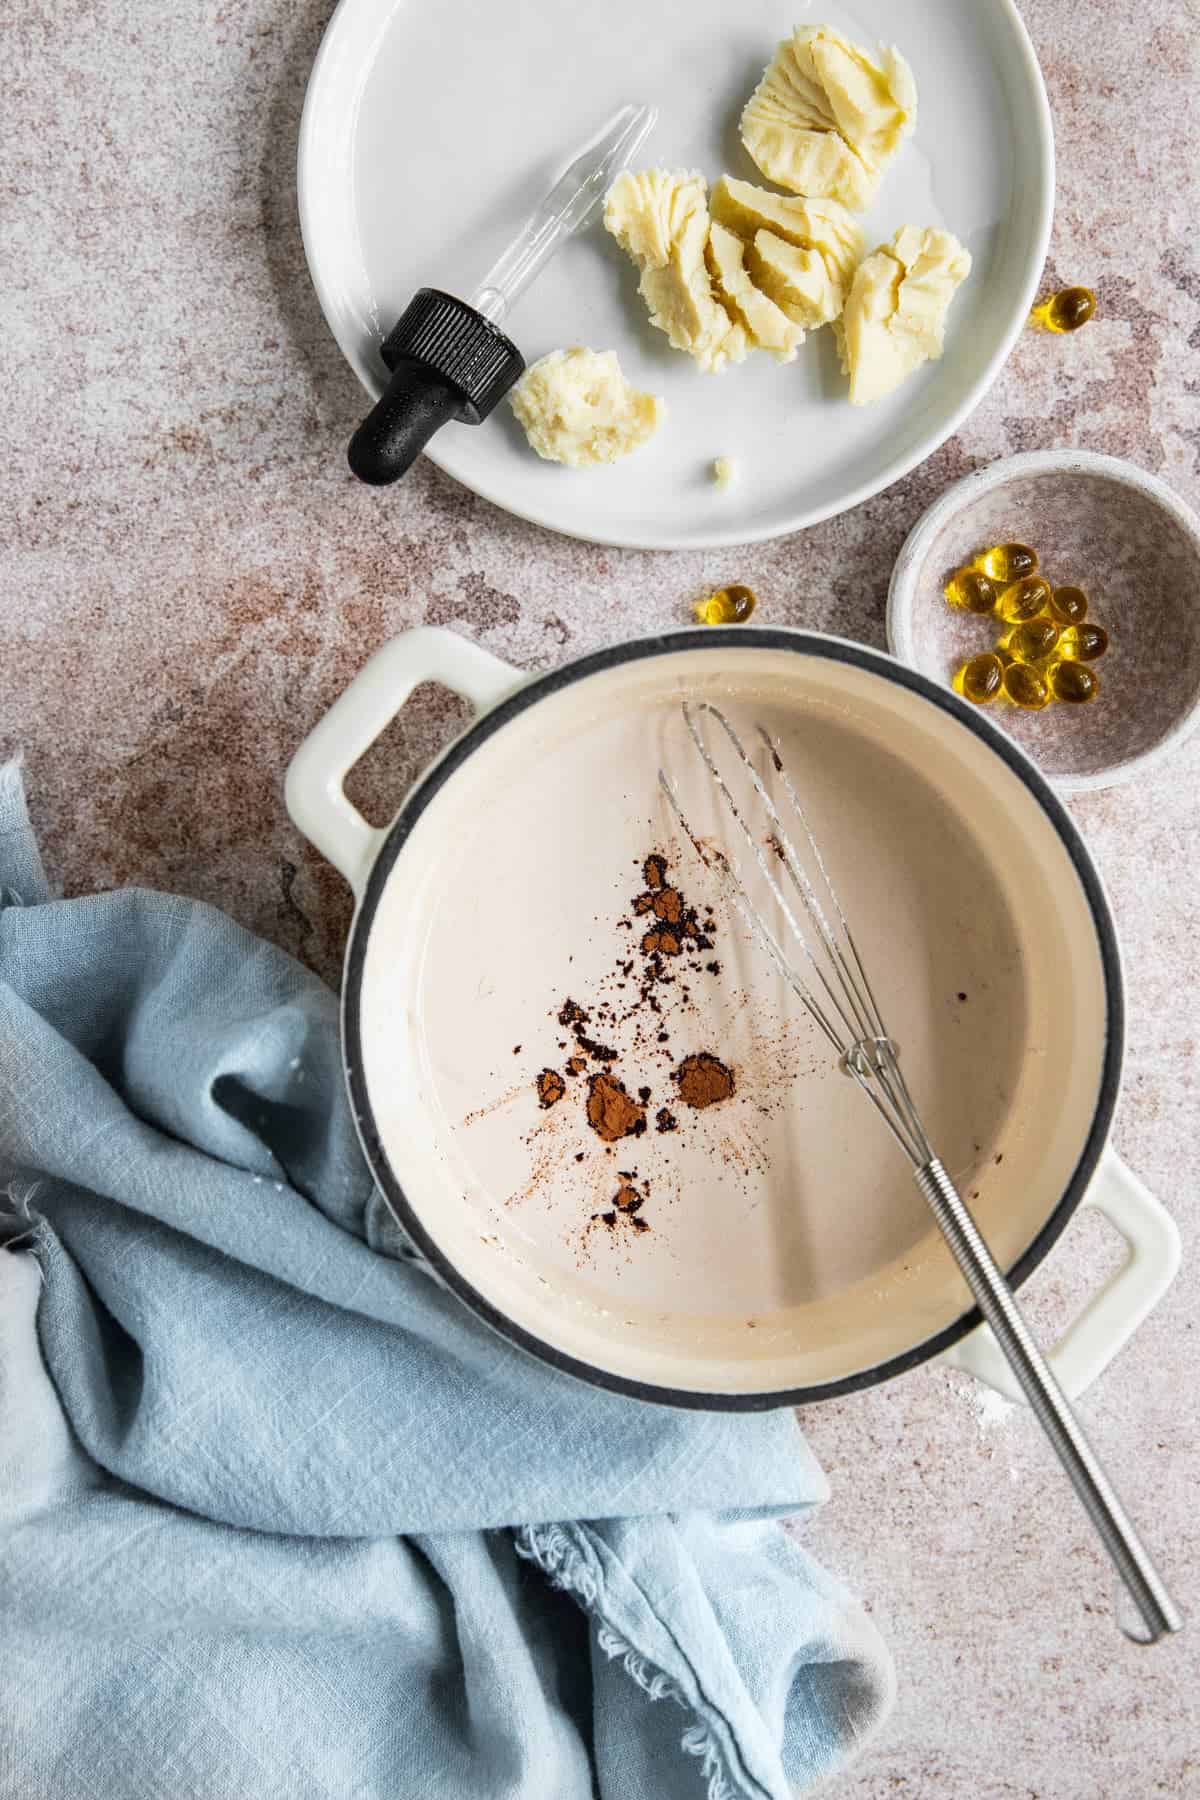
Add the pigment a little at a time. Stir or whisk until the pigments are evenly dispersed and the desired shade is achieved.
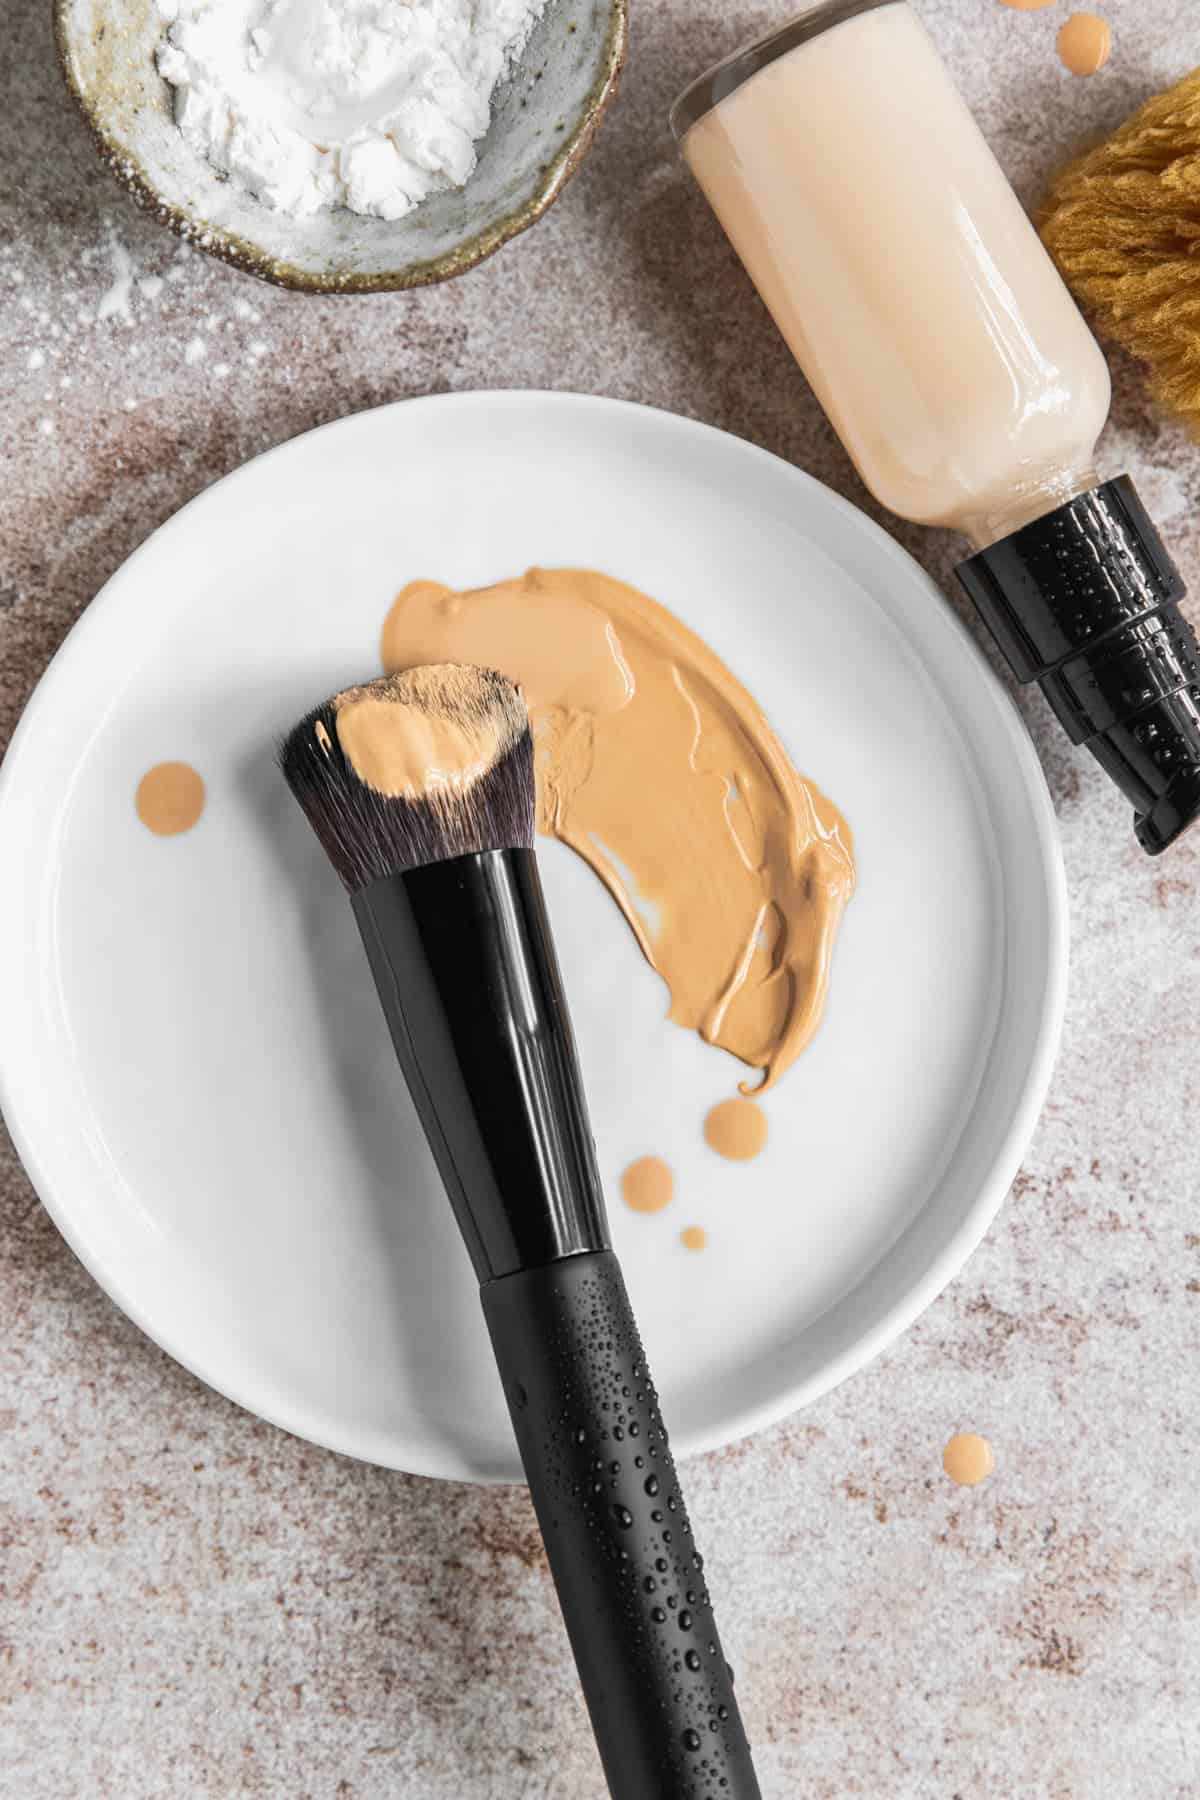
Check the consistency of the foundation. If you prefer a thinner base, add more oil. For a thicker consistency, add a bit more shea butter.
Hint: Since you won't really know what your foundation looks like until it's cooled, you may need to melt it down, add more pigment, then let it cool a few times until you reach your ideal shade. Just melt it over low heat so as to not damage the ingredients and cause it to separate.
Essential oil substitutions
Since foundation is applied all over the face like a lotion, this is a great time to customize the essential oils to meet your skin's needs.
Lavender essential oil (for all skin types): Lavender oil is gentle and suitable for most skin types. Its anti-inflammatory properties [source] can calm the skin and help reduce redness while promoting a clearer complexion.
Tea tree essential oil (for oily and acne-prone skin): Tea tree is known for its antibacterial and antiseptic properties [source]. It may help control excess oil production, fight acne-causing bacteria, and reduce blemishes.
Rose essential oil (for dry and mature skin): Rose oil is moisturizing and hydrating, making it beneficial for dry or mature skin. Its anti-inflammatory and antioxidant compounds [source] can help soothe irritation, improve skin texture, and promote a more youthful appearance.
Frankincense essential oil (for aging and sensitive skin): Because of its rejuvenating properties, frankincense is often used in skincare products targeting aging skin. It may help reduce the appearance of fine lines [source] and wrinkles and improve skin elasticity.
Customizing Your Shade
Remember, customization is a process, and it may take a few tries to find the perfect shade. Be patient and open to experimenting a bit until you achieve the desired result.
Add pigment gradually
When customizing your foundation shade, start with a small amount of natural pigments and gradually add more until you achieve the desired color. This allows you to control the intensity and avoid over-pigmentation.
If you keep adding more of the same pigment and not getting any closer to your ideal shade, then try adding a small amount of another pigment entirely and see if that helps.
Consider your undertones
Pay attention to your skin's undertone (warm, cool, or neutral) when selecting and adjusting the pigments.
- For a warmer undertone, consider using pigments with hints of yellow or golden tones.
- Cooler undertones can be enhanced with pigments that have pink undertones.
- Neutral undertones can be matched with a balance of both warm and cool pigments.
Do a swatch test
Before applying the customized foundation to your face, conduct swatch testing on your jawline or inner wrist to assess the color match in natural lighting. This helps you determine if any further adjustments are needed.
Storage
It's worth noting that natural and homemade cosmetics may have a shorter shelf life compared to commercial products, which often contain preservatives. To ensure safety and effectiveness, it's recommended to make smaller batches of homemade foundation that you can use up more quickly.
Storage: Store the homemade foundation in a cool, dry, and dark place. Exposure to heat, moisture, and sunlight can degrade the ingredients and shorten your foundation's shelf life. Consider using an airtight container or jar to prevent contamination and keep the foundation fresh.
Hygiene: Ensure that the container used to store the foundation is clean and sterilized to prevent the growth of bacteria or mold. Avoid introducing moisture or contaminants into the container by using a clean brush, sponge, or other utensil for application. And always close the lid tightly after each use.
Shelf life: The shelf life of homemade foundation can vary depending on the specific ingredients used and the storage conditions. Generally, a well-preserved homemade foundation can last for around 3 to 6 months. However, if you notice any changes in texture, smell, or appearance (such as separation or mold), it's best to throw it out.
FAQ
Yes, your foundation's coverage can be adjusted based on personal preference. You can experiment with the ratios of ingredients to achieve a lighter or heavier coverage. Increasing the amount of pigments or using additional arrowroot starch can provide more coverage while reducing these ingredients will create a sheerer finish.
DIY foundation can be customized to suit different skin types. For dry skin, you can increase the moisturizing ingredients, such as shea butter or sweet almond oil.
For oily skin, you may want to use less emollient or opt for lighter oils like grapeseed or jojoba. Adjusting the recipe and experimenting with different ratios can create a foundation more suitable for your skin's specific needs.
Some homemade foundations can offer limited sun protection if they include ingredients like zinc oxide.
Homemade foundation can be a good option for sensitive skin, especially when using natural and gentle ingredients. However, it's essential to be cautious and conduct a patch test before applying the foundation to your face. Everyone's skin is different, so it's important to keep an eye out for redness or irritation.
Homemade Makeup
Looking for other homemade makeup recipes like this? Try these:
How to Make Liquid Foundation
Equipment
- Double boiler or small saucepan
- Whisk or spoon for stirring
- Sterilized pump bottle or container with lid
- N95 mask (for the zinc oxide)
Materials
- 2 tablespoons shea butter
- 1 teaspoon vitamin E oil
- 1 tablespoon sweet almond oil
- 1 tablespoon emulsifying wax
- 1 teaspoon arrowroot starch
- 1 teaspoon zinc oxide powder (adjust the amount for desired SPF)
- 4–5 drops essential oil (I used chamomile)
- Natural pigments of your choice (iron oxides, cocoa powder, turmeric, etc.)
Instructions
- In a double boiler or a heat-safe bowl, melt the shea butter, emulsifying wax, and sweet almond oil together over low heat until fully melted and combined. Stir gently to ensure all ingredients are well mixed and smooth.
- Remove the mixture from the heat and let it cool slightly. Add the arrowroot starch and zinc oxide to the melted mixture. Whisk or stir well to ensure they are thoroughly blended and no lumps remain. Note: When working with zinc oxide, always go outside or wear an N95 mask to keep from breathing it.
- Once the mixture has cooled further but is still liquid, add the vitamin E oil, chamomile essential oil, and natural pigments of your choice. Stir or whisk until the pigments are evenly dispersed, and the desired shade is achieved. Adjust the amount of pigments to match your skin tone.
- Check the consistency of the foundation. If you prefer a thinner base, you can add a few drops of additional sweet almond oil and mix well. For a thicker consistency, add a small amount of melted beeswax and stir until incorporated.
Notes
References
- Israel MO. Effects of topical and dietary use of shea butter on animals. Am J Life Sci. 2014.
- Keen MA, et al. Vitamin E in dermatology. Ind Dermatol Online J. 2016.
- Ahmad Z. The uses and properties of almond oil. Complement Ther Clin Pract. 2010.
- Srivastava JK, et al. Chamomile: a herbal medicine of the past with bright future. Mol Med Report. 2010.
- Da Silva GL, et al. Antioxidant, analgesic and anti-inflammatory effects of lavender essential oil. An Acad Bras Cienc. 2015.
- Carson CF, et al. Melaleuca alternifolia (tea tree) oil: a review of antimicrobial and other medicinal properties. Clin Microbiol Rev. 2006.
- Mileva M, et al. Rose flowers—a delicate perfume or a natural healer? Biomolecules. 2021.
- Hamidpour R, et al. Frankincense (乳香 Rǔ Xiāng; Boswellia species): from the selection of traditional applications to the novel phytotherapy for the prevention and treatment of serious diseases. J Tradit Complement Med. 2013.


Ethel says
I made this and used the exact ingredients. Once cooled it was completely solid!
Hannah says
I've tested so many online Liquid Foundation formulas this is the best one! This foundation keeps my skin so hydrated perfect for my skin type! Thank you so much! =)