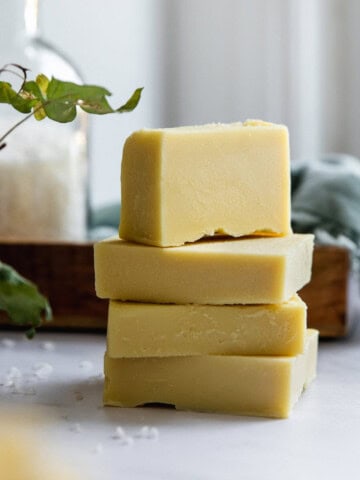
Dry skin driving you crazy? Your soap might be to blame. This super soothing homemade oatmeal soap recipe uses the healing power of colloidal oats, shea butter, and honey to soothe parched skin and lock in moisture.
As someone who always has pretty parched skin, I've tried everything from slathering myself in moisturizer and drinking more water to taking cold showers and adding more good fats to my diet.
The biggest difference for my dry skin?
Switching out my soap!
I’ve been making my own melt and pour soap and experimenting with different soothing ingredients to give my itchy skin relief. Turns out oatmeal + shea butter + honey is a luxuriously hydrating soap combo that's great for sensitive or dry skin.
Jump to:
Ingredients
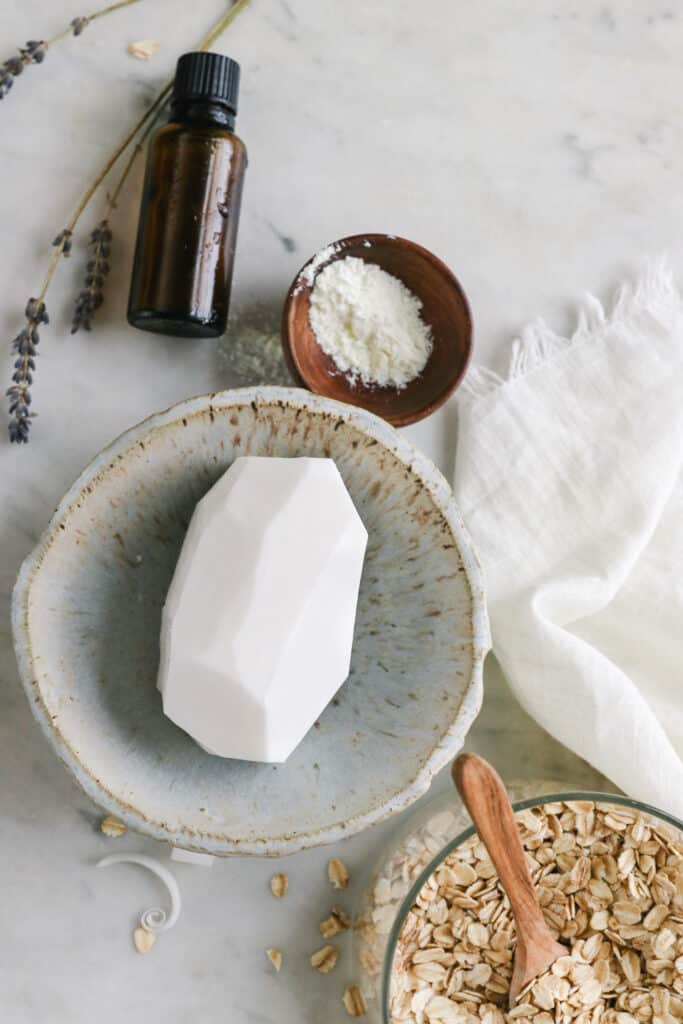
While oatmeal is the star of this recipe, I think bar soap can never have too many soothing ingredients. So I like to add things like lavender essential oil, honey, and olive oil to give it extra hydration.
- Oatmeal - When ground, oatmeal gently polishes away rough skin and cleanses dirt and grime without stripping skin of moisture. And thanks to natural compounds called saponins, oats have antimicrobial and antioxidant properties.
- Lavender oil — A naturally soothing oil with a calming scent, lavender essential oil has been shown to help keep redness and irritation at bay.
- Honey — Honey is a natural humectant that helps retain moisture in the skin, complementing the soothing properties of oatmeal.
- Olive oil — Pure olive oil contains a number of antioxidants, vitamin E, vitamin K and other wonderful ingredients that replenish skin and keep it looking radiant.
- Shea butter soap base — Shea butter is rich in fatty acids and vitamins, making it highly moisturizing and conditioning for the skin.
Instructions
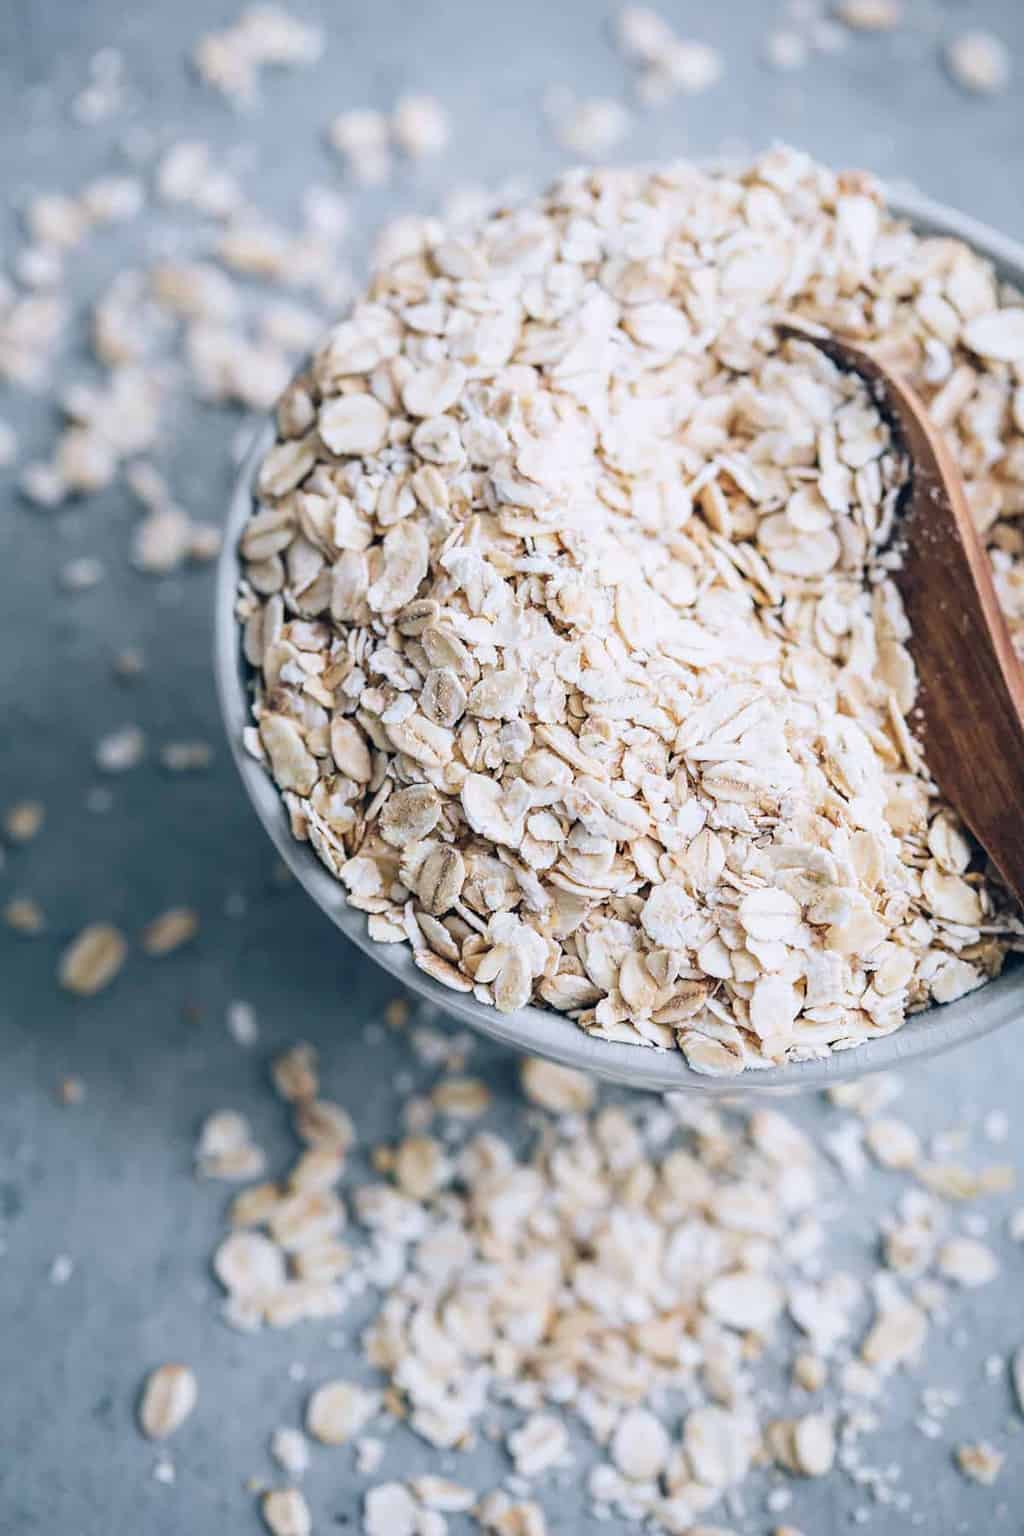
Step 1: Make colloidal oats
Any kind of oats will really work for this recipe, but since my skin is extra dry and irritated, I usually reach for colloidal oats. Despite the fancy name, colloidal oatmeal is simply oat kernels that have been finely ground for the purpose of being used as a skin protectant.
The grinding process breaks down the oat kernel and releases soothing properties that can help soothe eczema, bug bites, sunburns, poison ivy and other itchy and inflammatory skin conditions. When applied topically to skin, colloidal oatmeal attracts moisture to the skin's surface and forms a protective barrier.
You can buy colloidal oats online to save time or you can make your own using whole organic oats and a coffee grinder. Work in small batches, grinding the oats into as a fine a powder as you can.
Add it directly to your oatmeal soap and store any leftovers in an airtight jar in the refrigerator to be used in other beauty recipes, like these oatmeal bath bombs or oatmeal face masks.
Step 2: Melt soap base
Cut your soap base into 1-inch cubes and place in a microwave safe bowl. Microwave in 30-second intervals until completely melted. Stir well to break up any lingering soap chunks.
Step 3: Add honey and oils
To incorporate the oils and honey smoothly into the soap, it helps to mix them with a small amount of the melted soap base first to create a slurry. Then stir the slurry back into the soap base.
Step 4: Add oatmeal to melt and pour soap
Oatmeal tends to settle to the bottom of the soap so there are few different techniques you can to get it more evenly dispersed:
- Mixing: Let the soap cool until a film develops on top then add the oatmeal directly to the melted soap base. Stir thoroughly to get the ingredients distributed throughout the soap.
- Layering: Pour a layer of plain melted soap into the mold, sprinkle a layer of oatmeal, then pour more soap on top to encapsulate the oatmeal within the layers.
- Topping: Sprinkle oatmeal on top of the soap after pouring for additional texture.
Step 5: Add color (optional)
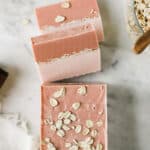
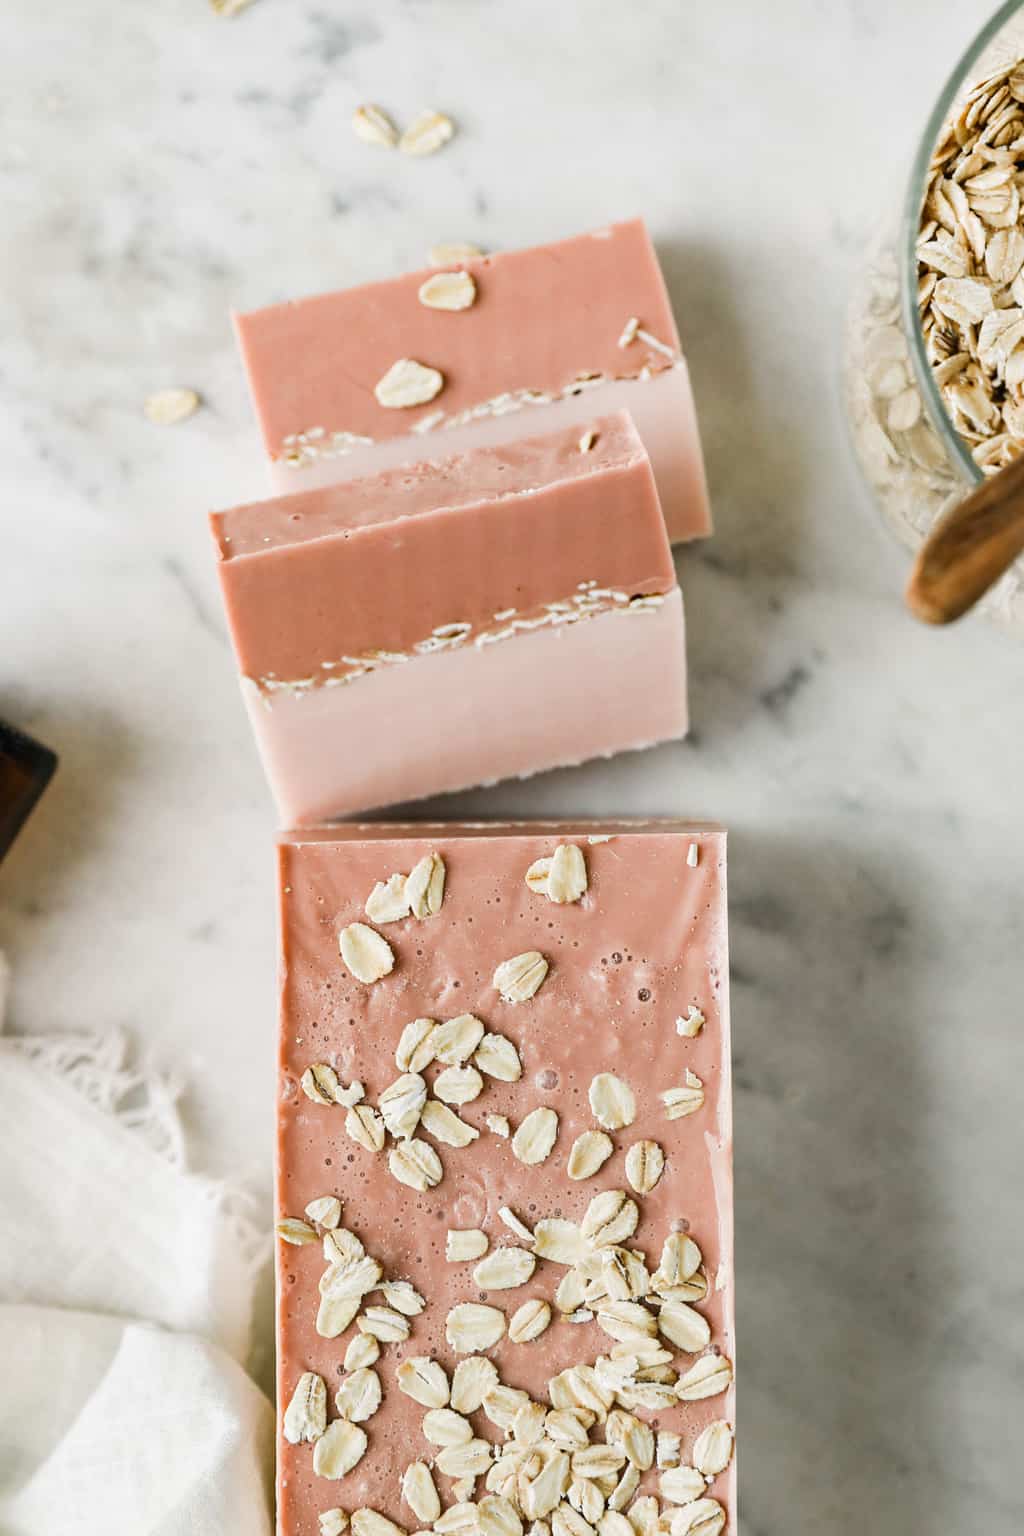
I gave my oatmeal soap some color with a pinch of pink clay. It’s said to help detoxify skin, remove dead skin cells and refresh skin’s overall appearance.
And while it’s not totally necessary, I love the way it looks in soap while still being nontoxic and safe for sensitive skin.
If making two-colored soap like I did, simply separate the soap mixture into two bowls and add more clay to one bowl than the other.
Step 6: Make soap layers
To make two color layers in your soap, pour one color into the soap mold and let it cool. Then pour the other color on top of it. You may need to re-melt the second color if it’s cooled too much to pour.
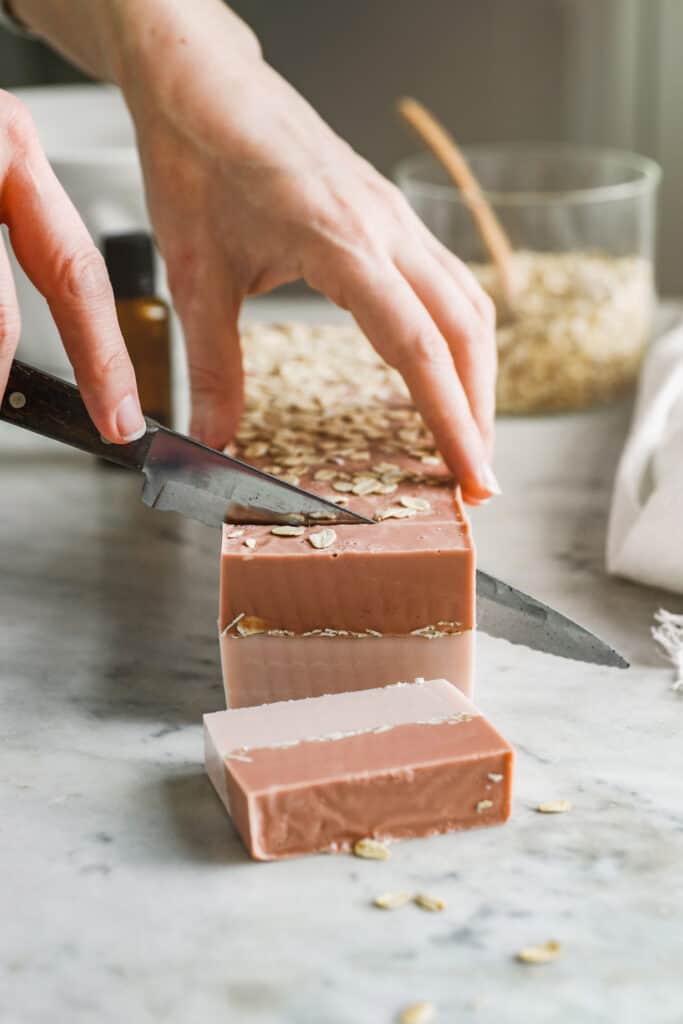
Feel free to sprinkle oats in between the layers and on top of the soap.
Step 7: Remove from mold
Let cool for several hours before slicing into bars.
Substitutions
- Olive oil — Any hydrating carrier oil will work.
- Lavender essential oil — Find more essential oils for your skin type here.
- Shea butter soap base — You can switch out the soap base, but I'd recommend sticking to a hydrating ingredients like goat milk or honey.
Variation: Oatmeal, Milk, and Honey Soap
Add powdered milk (cow or goat) to the oatmeal and honey recipe for extra creamy texture and additional moisturizing benefits. Milk helps to gently cleanse the skin while soothing and hydrating, making it perfect for dry or sensitive skin types.
Reduce the ground oatmeal to 2 tablespoons and add 2 tablespoons of full-fat powdered milk.
Variation: Exfoliating Oatmeal Scrub Soap
Add more exfoliants to provide a more vigorous body scrub bar that's especially helpful on areas like feet and elbows.
Combine 2 tablespoons coarse oatmeal (not too finely ground) with the melt and pour base, and add 2 tablespoons of a natural exfoliant like ground coffee or cornmeal.
Troubleshooting
Soft bars: Honey adds extra moisture to the soap, which can sometimes lead to a slightly softer bar. If you find the soap is too soft, reduce the amount of additional liquids like oils and essential oils.
Generally, you should add about 1 teaspoon of honey per pound of soap base. Adding too much honey can make the soap too sticky and soft.
Settling: Melt and pour soap base begins to thicken as it cools, which can help suspend additives like oats. So let the soap base to cool long enough to develop a film on top before adding the oatmeal.
Keep stirring the soap mixture as it cools. Right before pouring, give it a good mix to redistribute any oatmeal that may have started to settle.
Bubbles: To minimize bubbles, stir gently and spray the surface with rubbing alcohol after pouring the soap into molds.
Soothing Homemade Oatmeal Soap with Honey
Equipment
- Microwave safe bowl
- Silicone soap mold
Materials
- 1 pound shea butter melt and pour soap base
- ¼ cup colloidal oats
- 1 tablespoon olive oil
- ½ teaspoon lavender essential oil
- 1 teaspoon French pink clay optional
- 1 teaspoon honey optional
Instructions
- Cut your soap base into 1-inch cubes and place in a microwave safe bowl.
- Microwave in 30-second intervals until completely melted. Stir well to break up any lingering soap chunks, then add the remaining ingredients. Stir again.
- If making two-colored soap like I did, simply separate the soap mixture into bowls and add more clay to one bowl than the other.
- Pour the soap into the soap mold and top with extra whole or ground oats.
- To make two-colored soap, pour one color and let it cool slightly before pouring the other color over top of it (you may need to re-melt the second color if it’s cooled too much to pour). Feel free to sprinkle oats in between the layers and on top of the soap.
- Let cool for several hours before slicing into bars.
- Store soap in a dry cabinet or pantry indefinitely.
This post was medically reviewed by Dr. Jennifer Haley, a board-certified dermatologist with extensive experience in medical, cosmetic and surgical dermatology. Learn more about Hello Glow’s medical reviewers here. As always, this is not personal medical advice and we recommend that you talk with your doctor.
200
