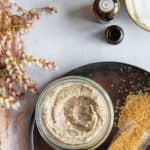
I'm here to tell you the perfect sugar scrub does exist. This whipped sugar scrub recipe combines the moisturizing properties of a body butter with the polishing power of a scrub. And as the name suggests, it's all whipped together to create a fluffy, indulgent scrub that tackles dry, flakey skin like the cloud-like dream that it is. Not only is it easy to make, but it's also highly customizable, so you can finally put all those leftover ingredients from past beauty DIYs to good use.
Jump to:
What Is a Whipped Shea Sugar Scrub?
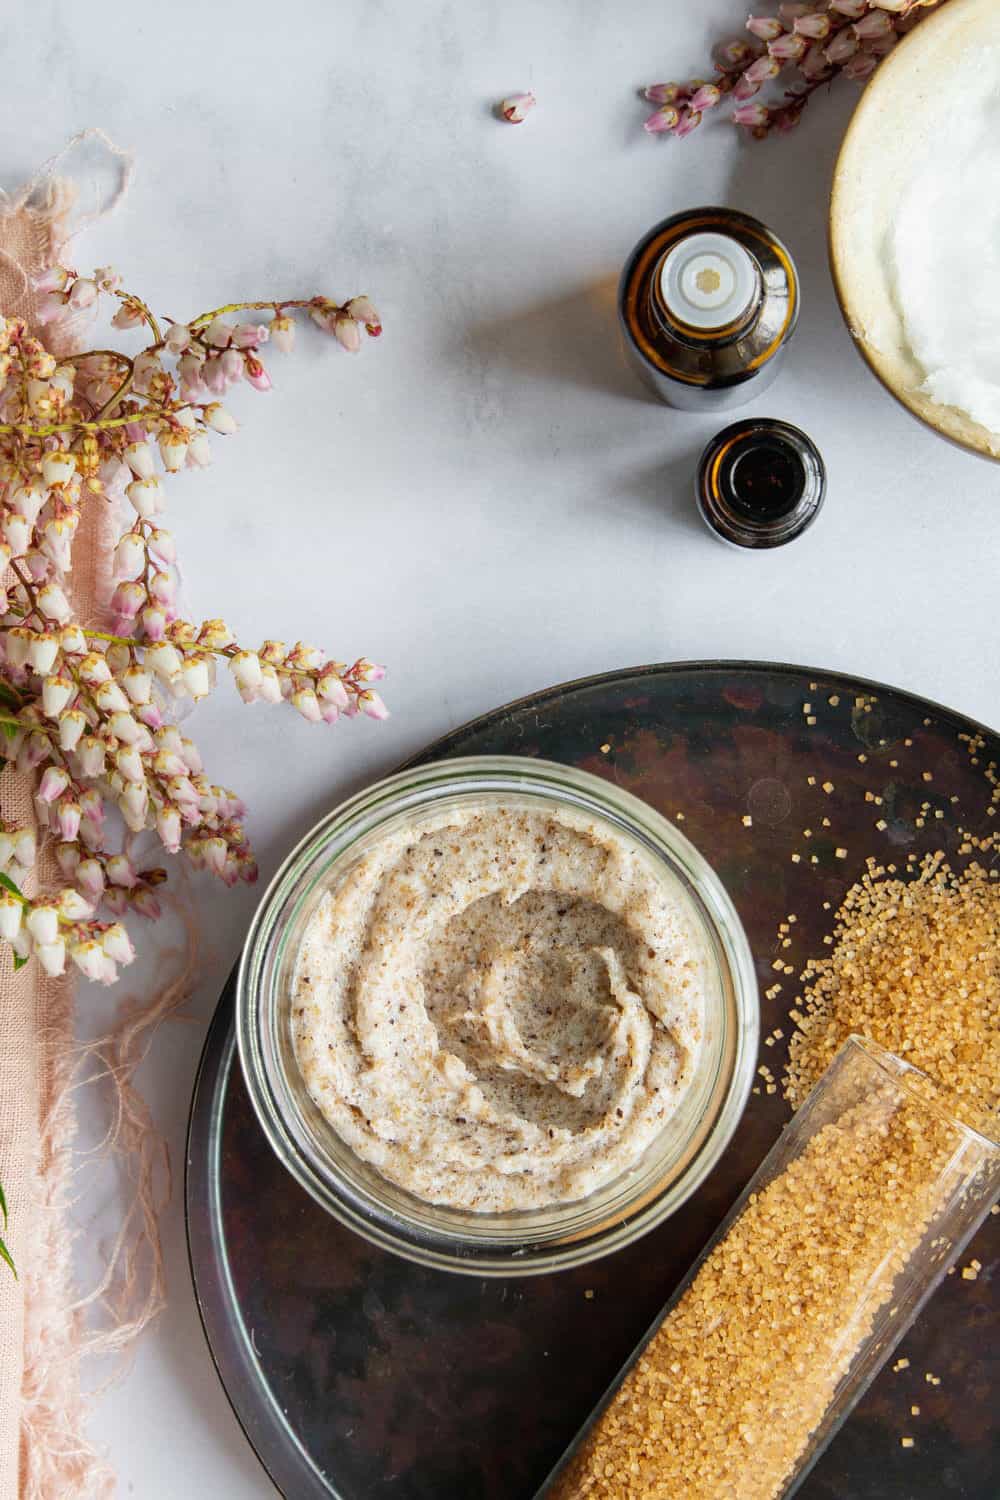
Essentially, a whipped sugar scrub is a gentle skin scrub that combines the exfoliative powers of a traditional sugar scrub with the hydration of a body butter. It's made by mixing sugar with whipped coconut oil (or a combination of oils) and then given a boost with the help of essential oils or other skin-loving ingredients.
As you'd expect, the sugar helps buff away dead skin cells, while the oils help moisturize and nourish dry skin. Whipped sugar scrubs can be used on various parts of the body, including the face, lips, and body. Just make sure to choose a fine sugar, like caster or brown sugar, if you plan to use it as a homemade face scrub.
Ingredients for Whipped Sugar Scrub
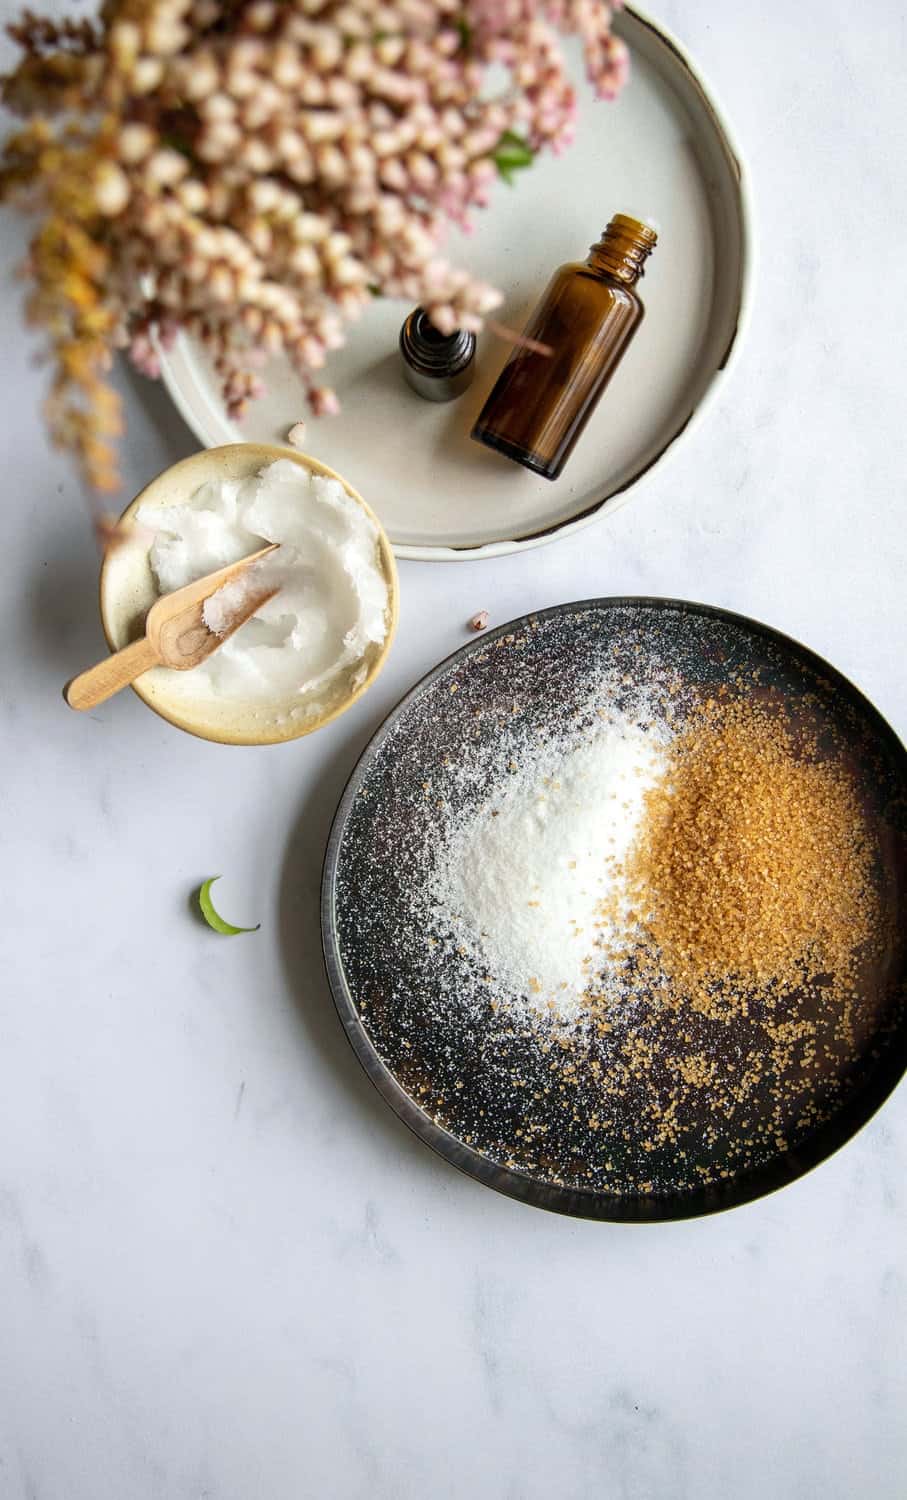
The best thing about making a DIY sugar scrub is that you can customize it to meet your skin's needs. If you have sensitive skin, leave out the turbinado sugar and use brown or caster sugar instead. For a simple all-over body polish, stick with plain white sugar.
If your skin is especially dry, you can use cocoa butter instead of coconut oil; just make sure to soften it slightly first. And adding skin-soothing ingredients, such as vitamin E, aloe vera, and honey, makes your scrub soothing for red, itchy, or irritated skin.
—¼ cup white granulated sugar
—¼ cup turbinado sugar
—¼ cup coconut oil, unmelted
—⅓ cup shea butter, unmelted
—5–10 drops essential oil of your choice (I used rose absolute and blood orange)
Whipped Sugar Scrub Recipe
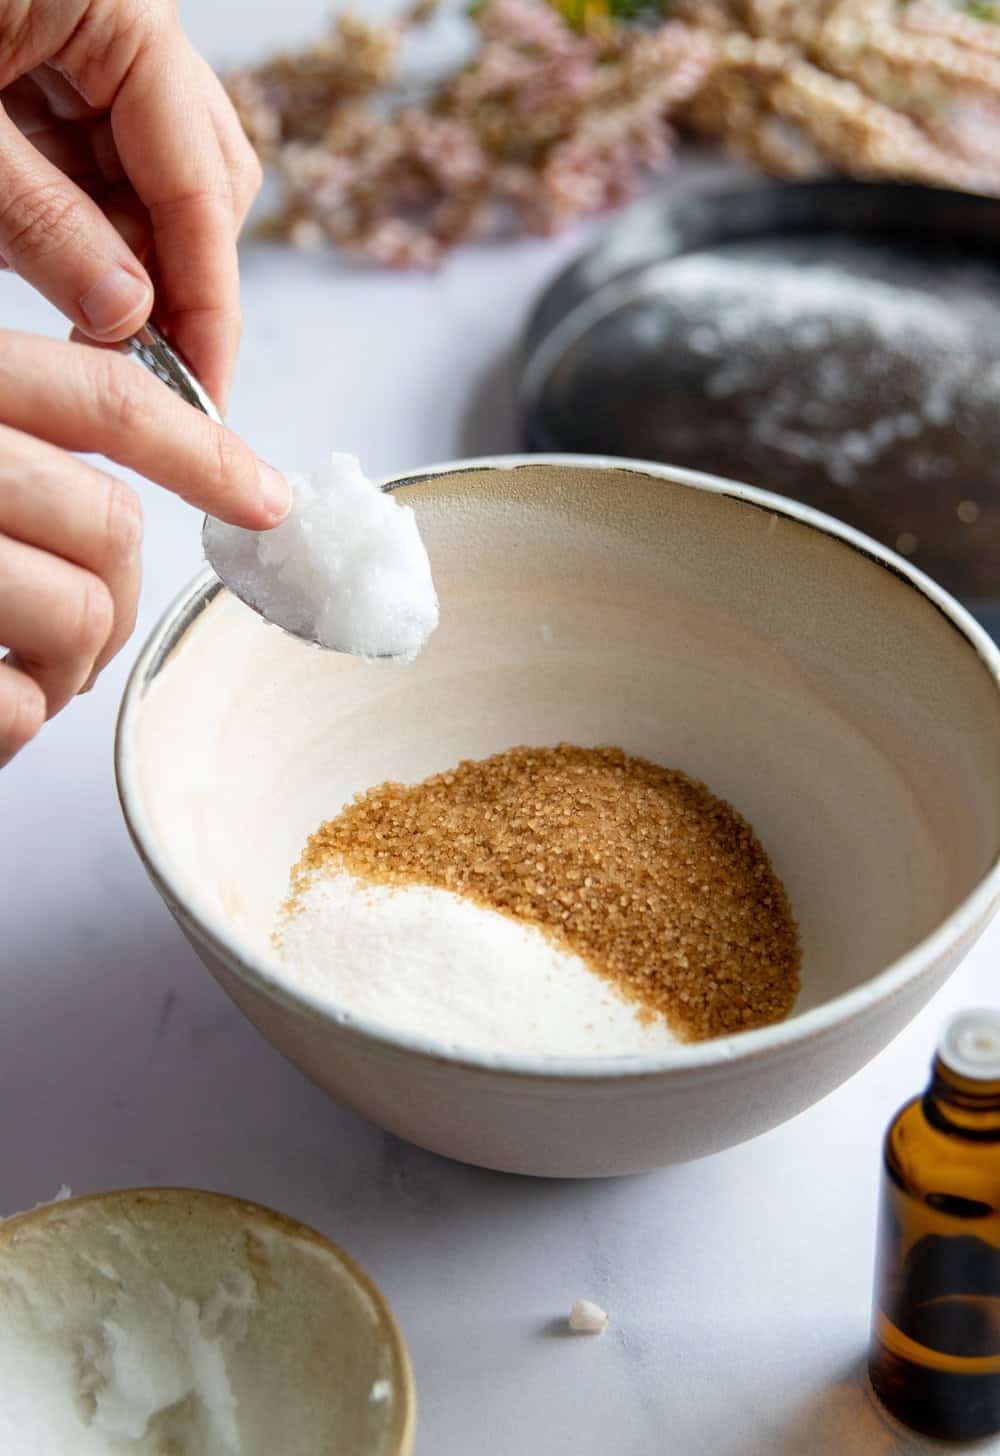
In a small mixing bowl, combine the sugar, coconut oil, and shea butter. If your coconut oil is melted, place it in the refrigerator for several minutes to solidify.
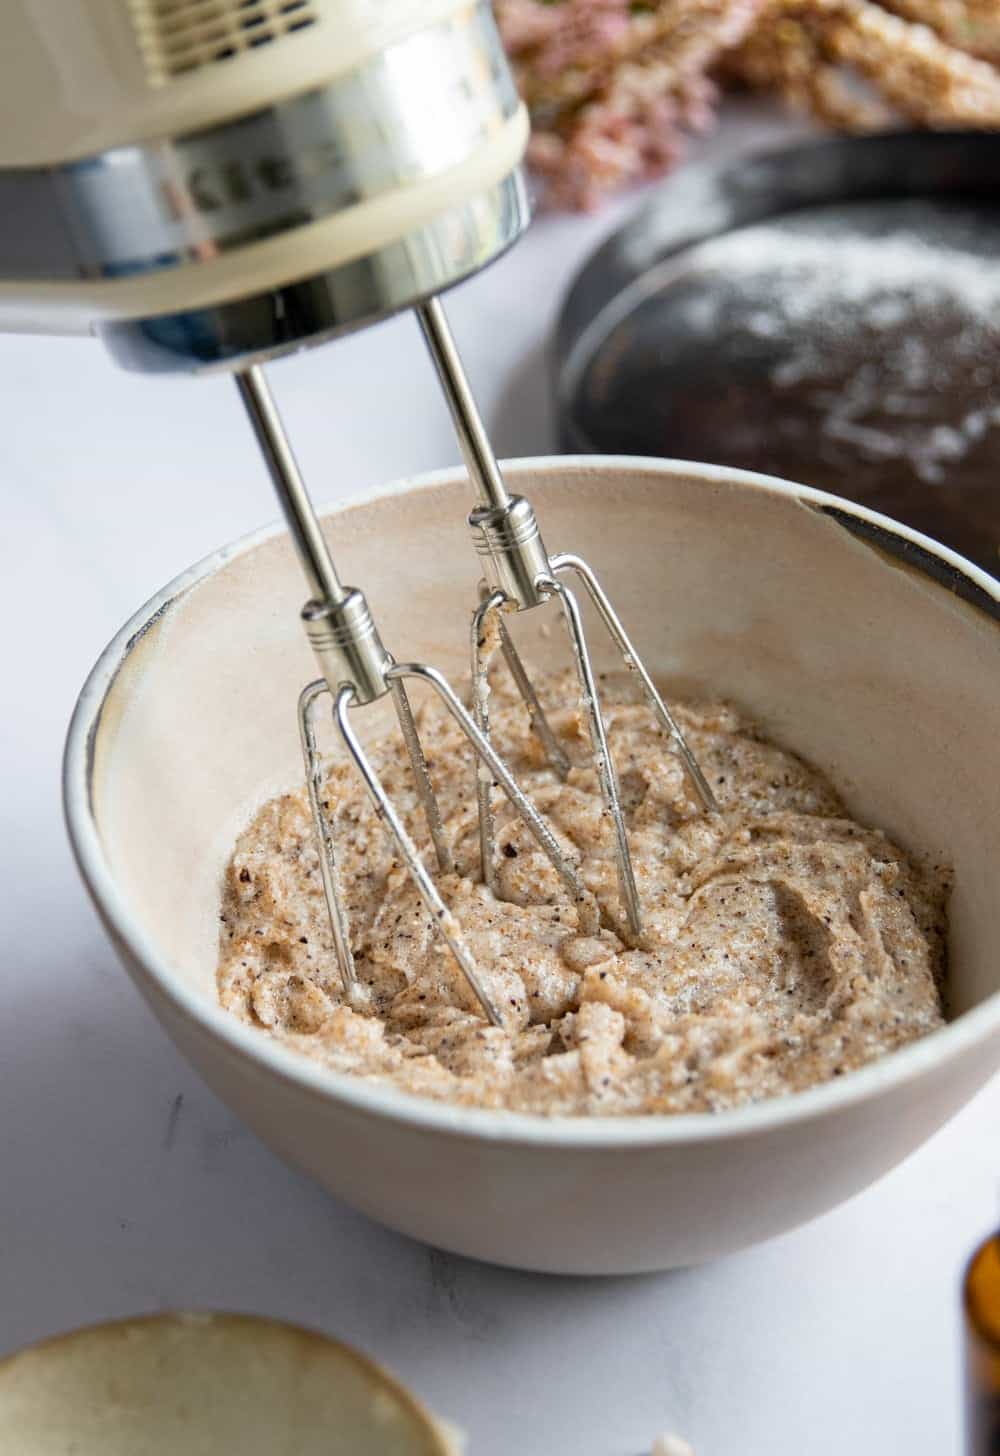
Using a hand mixer, whip the mixture until it becomes light and fluffy, with a texture similar to frosting. This may take anywhere from 5–10 minutes, depending on the solidity of the oils. Make sure to scrape down the sides of the bowl regularly.
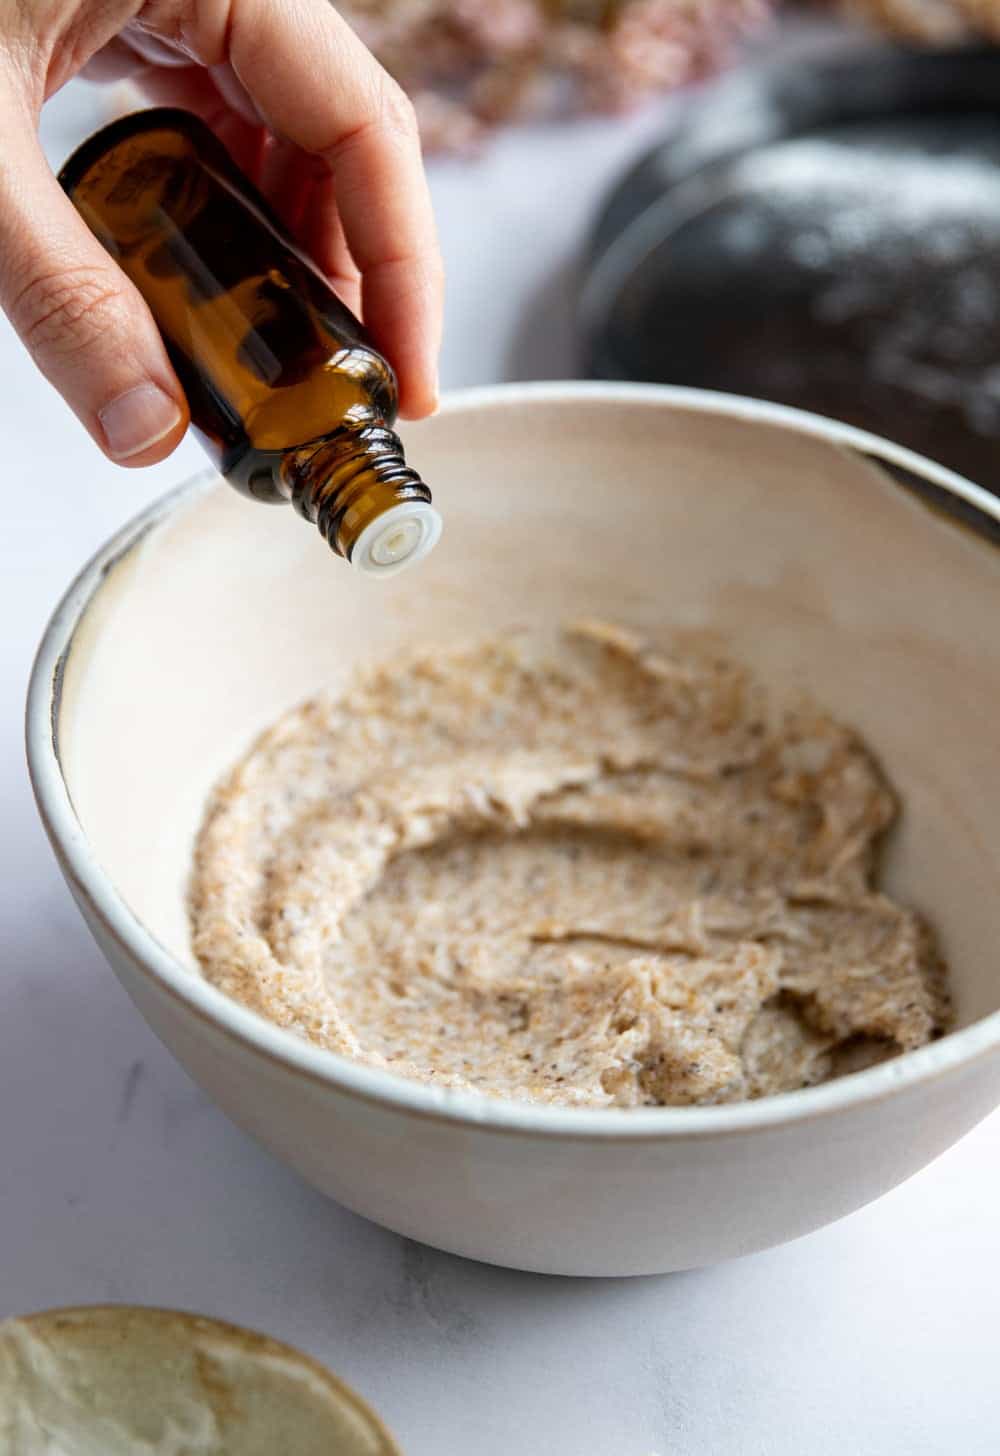
Add 10–15 drops of your preferred essential oil and mix until fully incorporated. If you'd like to add additional ingredients, like vitamin E or honey, you can do so now.
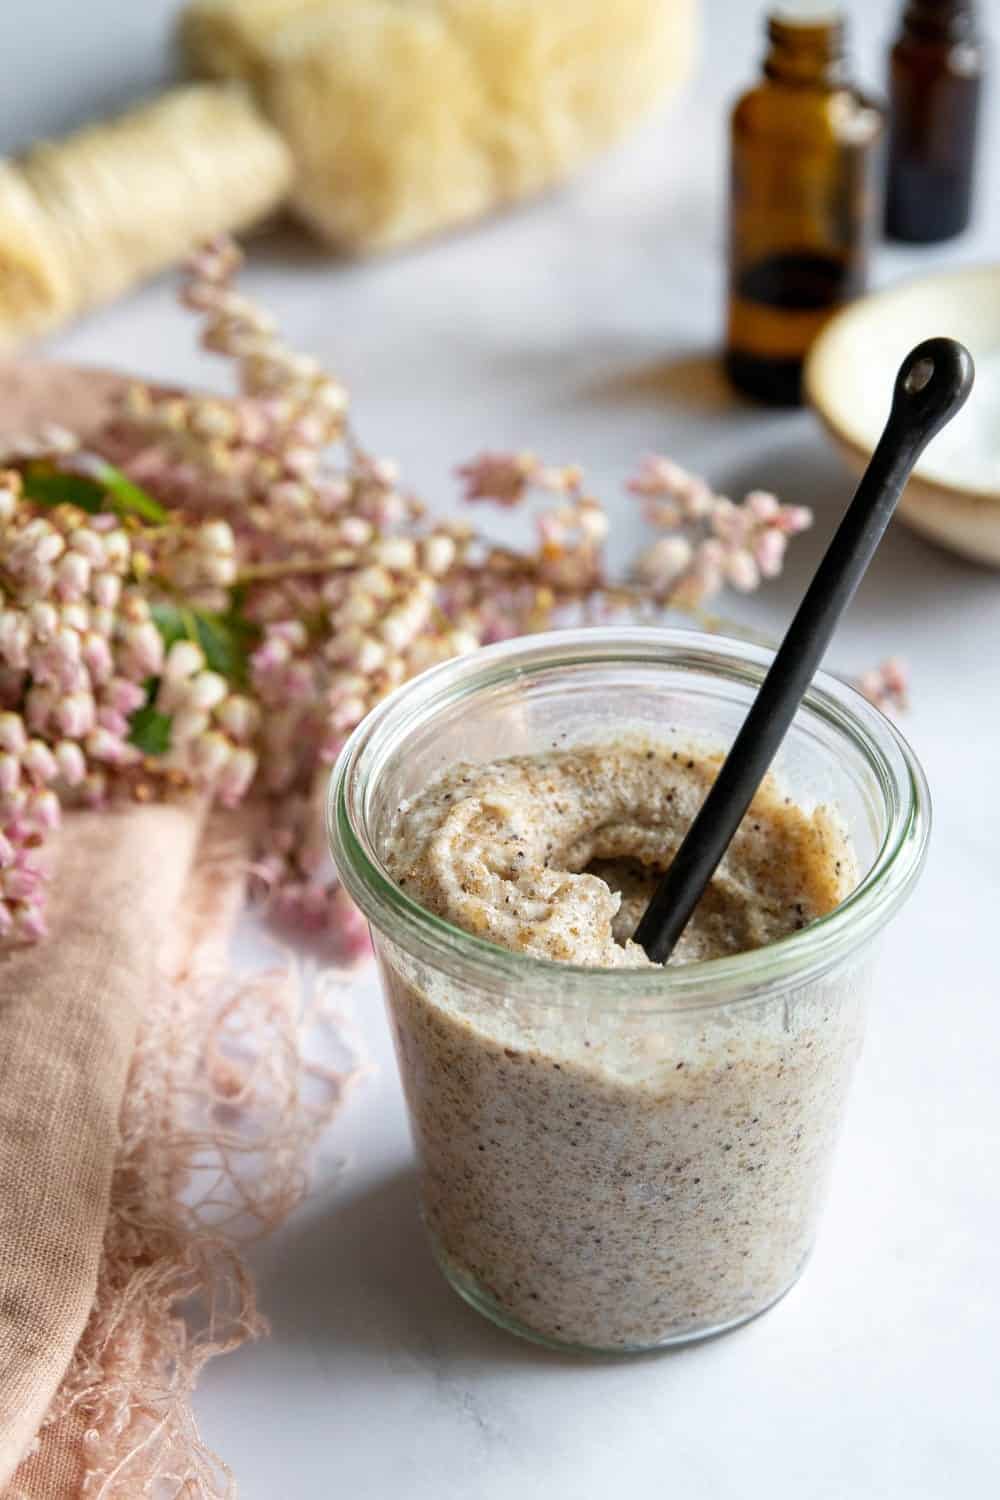
Transfer the whipped sugar scrub to an airtight container and store it in a cool, dry place for up to 6 months.
How to Use a Moisturizing Sugar Scrub
Sugar scrubs are foolproof, right? Well, it turns out you may be using 'em all wrong. Even if you don't have sensitive skin, scrubbing too hard or using an abrasive scrub every day can seriously damage your skin.
Here's how to use a sugar scrub the right way.
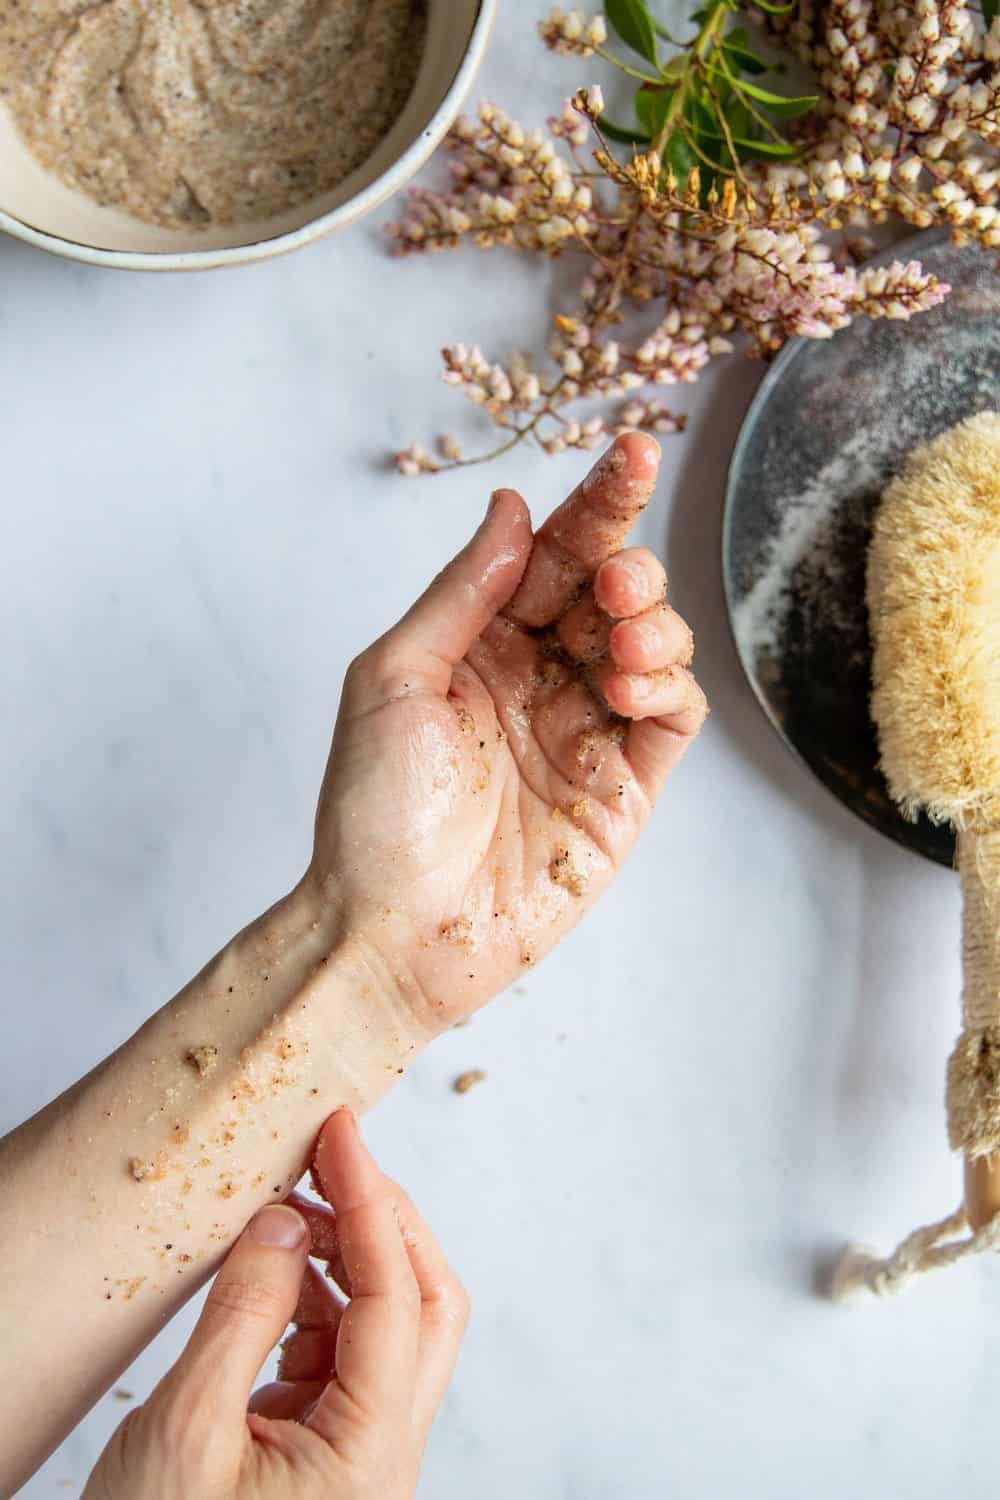
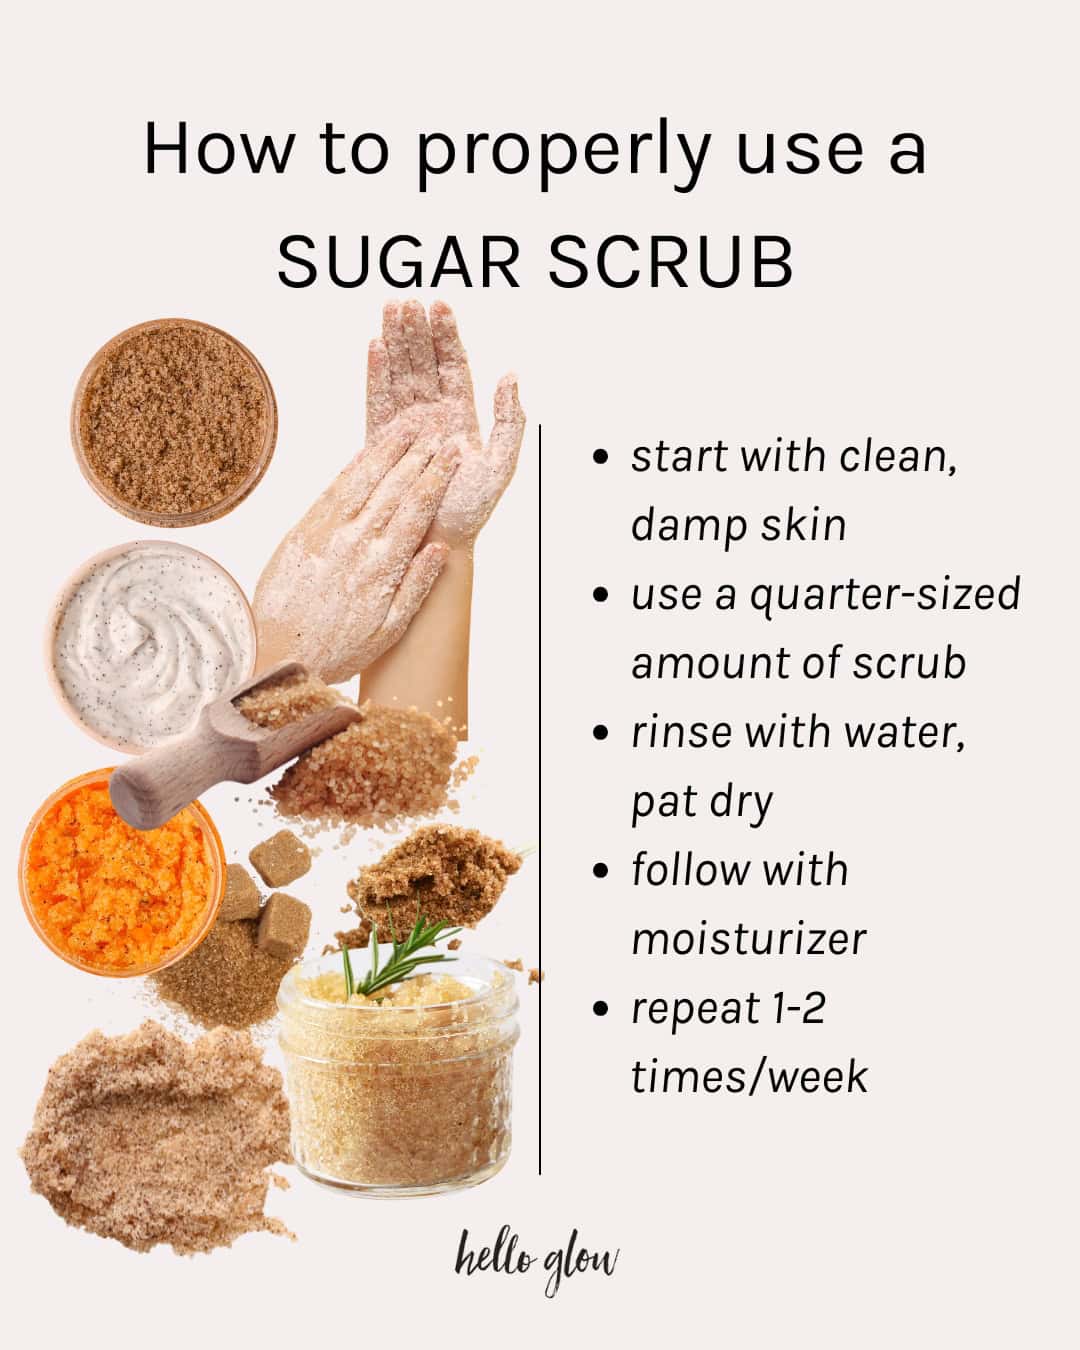
Start with clean, damp skin. Take a shower or bath before using the sugar scrub to open up your pores and soften your skin.
Use a quarter-sized amount of scrub. Take a small amount of the sugar scrub and massage it onto your skin using gentle circular motions. Focus on areas that tend to be rough or dry, such as elbows, knees, and feet. Be careful not to scrub too hard or use too much pressure, as this can irritate the skin.
Rinse well, but skip the soap. Rinse off the scrub with warm water only, and pat your skin dry with a clean towel. Avoid rubbing your skin, as this can cause irritation.
Follow with a moisturizer. Apply a moisturizer or body oil to your skin if needed to lock in moisture and keep your skin hydrated.
Repeat regularly. Use the sugar scrub once or twice a week, depending on your skin's sensitivity. Over-exfoliating can damage your skin, so it's best to err on the side of caution.
Coconut + Shea Sugar Scrub FAQ
Yes, you can use a sugar scrub on your face, but it's important to choose a gentle sugar with fine granules. We mentioned both brown sugar and caster sugar for a DIY face scrub, but you can also use baking soda, finely ground oats, or even almond meal instead of sugar. Avoid using the scrub around your eyes and on any areas with broken or irritated skin.
Yes, sugar scrubs are great for sensitive skin. But just like with the face, it's best to make the sugar scrub with fine granules and avoid using it on broken or irritated skin. Always patch test a small area of skin before using the scrub.
That's up to you! If you have dry skin, using additional moisturizer following a scrub can help lock in hydration and keep your skin feeling soft and smooth.
Coconut oil can sometimes make acne-prone skin worse. So, if you're worried about your body scrub causing breakouts, you may want to skip the coconut oil and just use shea butter instead. You may also want to add soothing ingredients to your scrub, such as honey or chamomile, and avoid using it on areas with active breakouts.
Generally speaking, you shouldn't exfoliate more than 1 to 2 times per week. If your skin is sensitive, you may want to exfoliate less frequently to avoid irritation. On the other hand, more often might work better for you if you have oily skin.
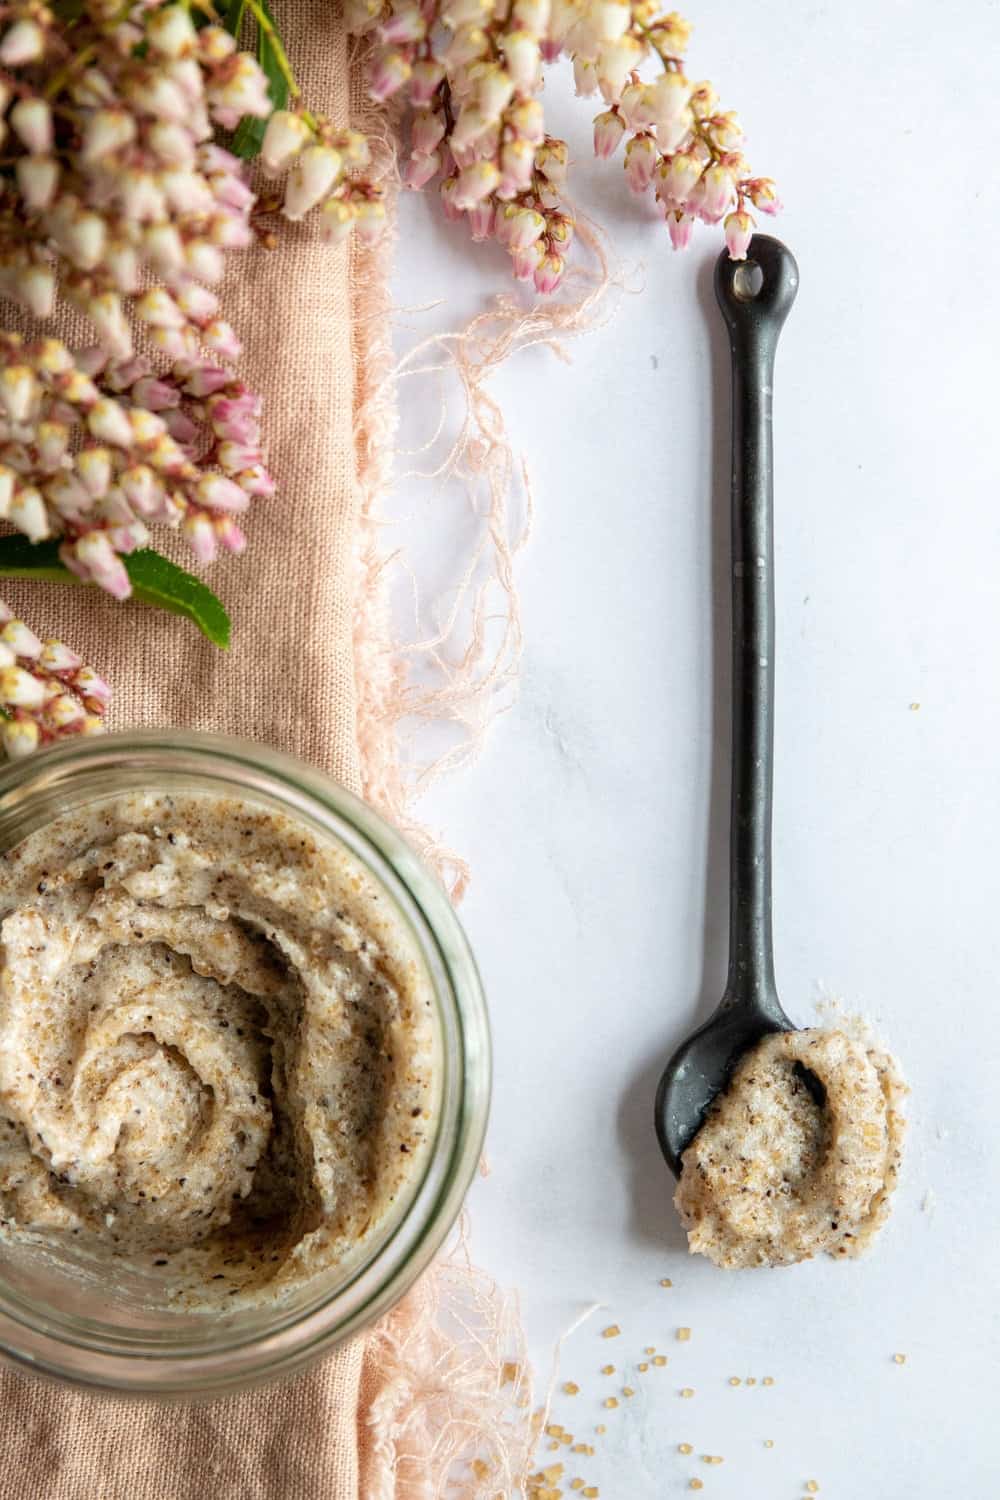
Whipped Sugar Scrub
Materials
- ¼ cup white granulated sugar
- ¼ cup turbinado sugar
- ¼ cup coconut oil unmelted
- ⅓ cup shea butter unmelted
- 5–10 drops essential oil of your choice I used rose absolute and blood orange
Instructions
- In a small mixing bowl, combine the sugar, coconut oil, and shea butter. If your coconut oil is melted, place it in the refrigerator for several minutes to solidify.
- Using a hand mixer, whip the mixture until it becomes light and fluffy, with a texture similar to frosting. This may take anywhere from 5–10 minutes, depending on the solidity of the oils. Make sure to scrape down the sides of the bowl regularly.
- Add 10–15 drops of your preferred essential oil and mix until fully incorporated. If you'd like to add additional ingredients, like vitamin E or honey, you can do so now.
- Transfer the whipped sugar scrub to an airtight container and store it in a cool, dry place for up to 6 months.

