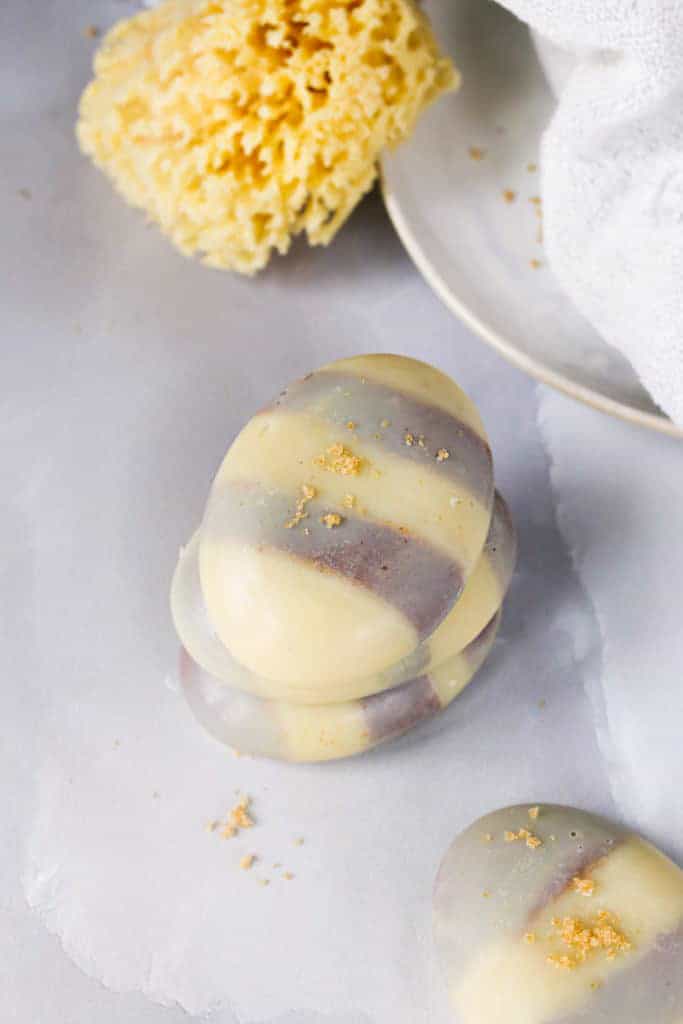
LUSH, often considered the gold standard in bath products, may have been the first to start selling shower scrub bars, but that doesn't mean you can't do one better. This dupe Scrubee recipe is chock full of nourishing butters, essential oils, and sugar to moisturize and exfoliate at the same time.
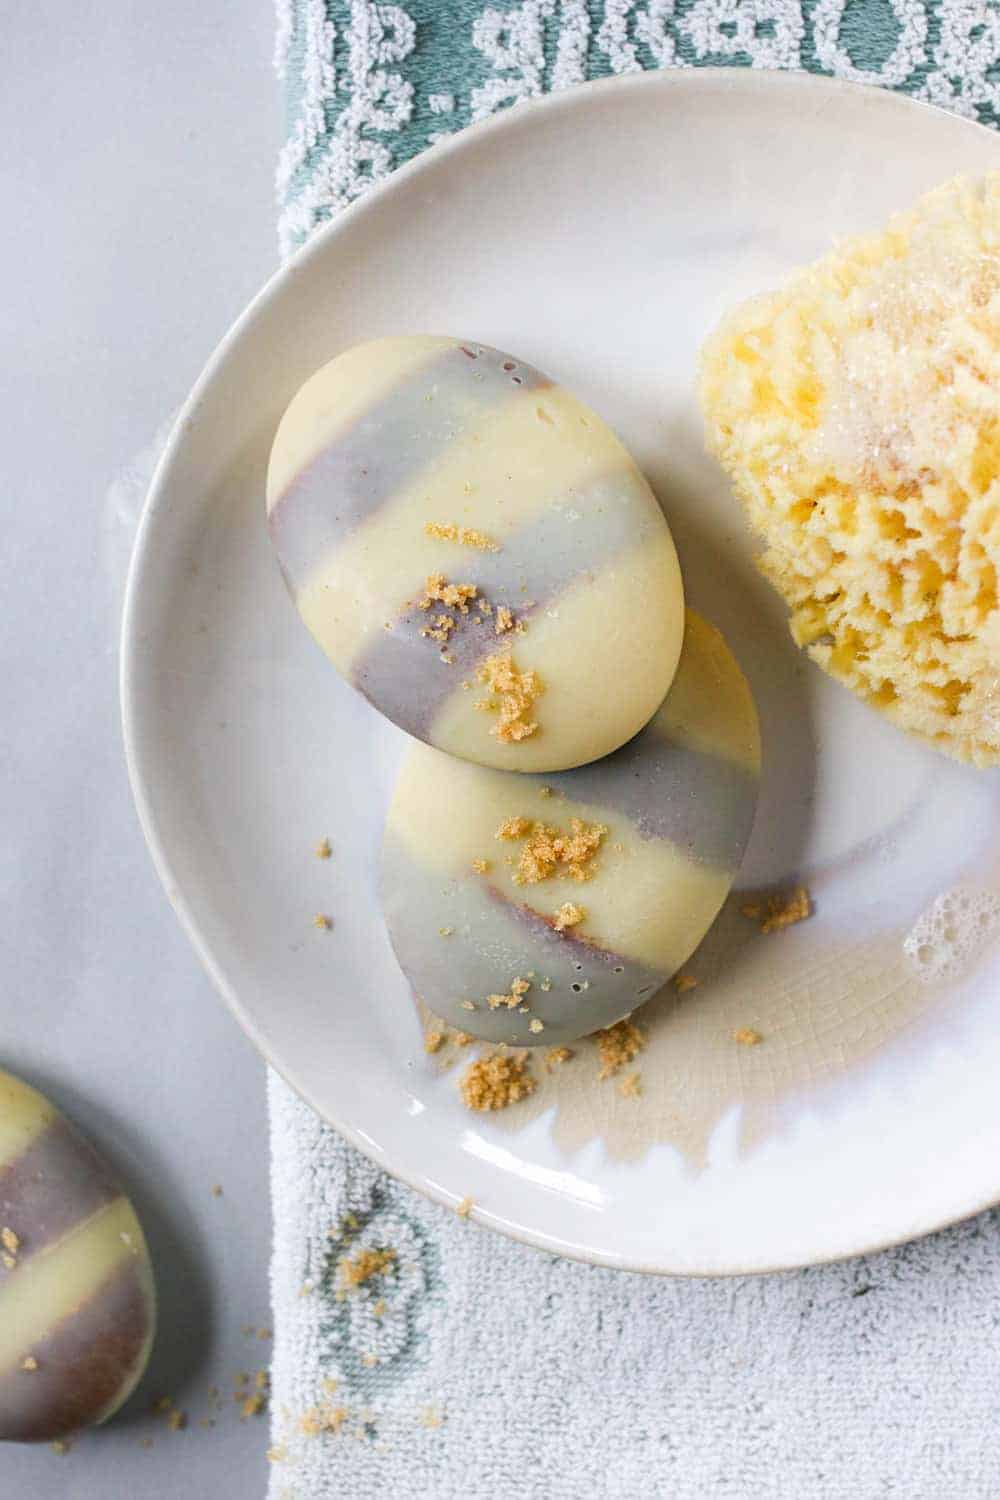
I love products that do double duty, which is why a scrub bar turns a run-of-the-mill sugar scrub into something special. Zero in on flakes, condition rough patches, and replenish moisture—all without the hassle or the mess? Yes, please.
Seriously, just take one in the shower and emerge with silky soft skin! But whereas Lush bars sell for 8 bucks a pop, I made six for just $20 in supplies and an hour of elbow grease.
Jump to:
Scrubee Dupe Ingredients

They might look complicated, but this Lush Scrubee recipe is actually pretty easy to whip up. All you need is an old bowl and a few super soothing ingredients like shea butter, cocoa butter, coconut oil, and brown sugar.
Coconut oil — It improves the skin barrier, kills bacteria, reduces inflammation, improves wound healing and slows the effects of aging.
Shea and cocoa butter — These butter bring a ton of soothing and antioxidant benefits [source].
Brown sugar — It gently sloughs away dry skin without causing further irritation, which then allows the oils to sink into the skin even further.
How To Make Lush Scrubees
To make these bars, you'll have to make the sugar stripes separately and then come back later to fill in with the remaining butter mixture.
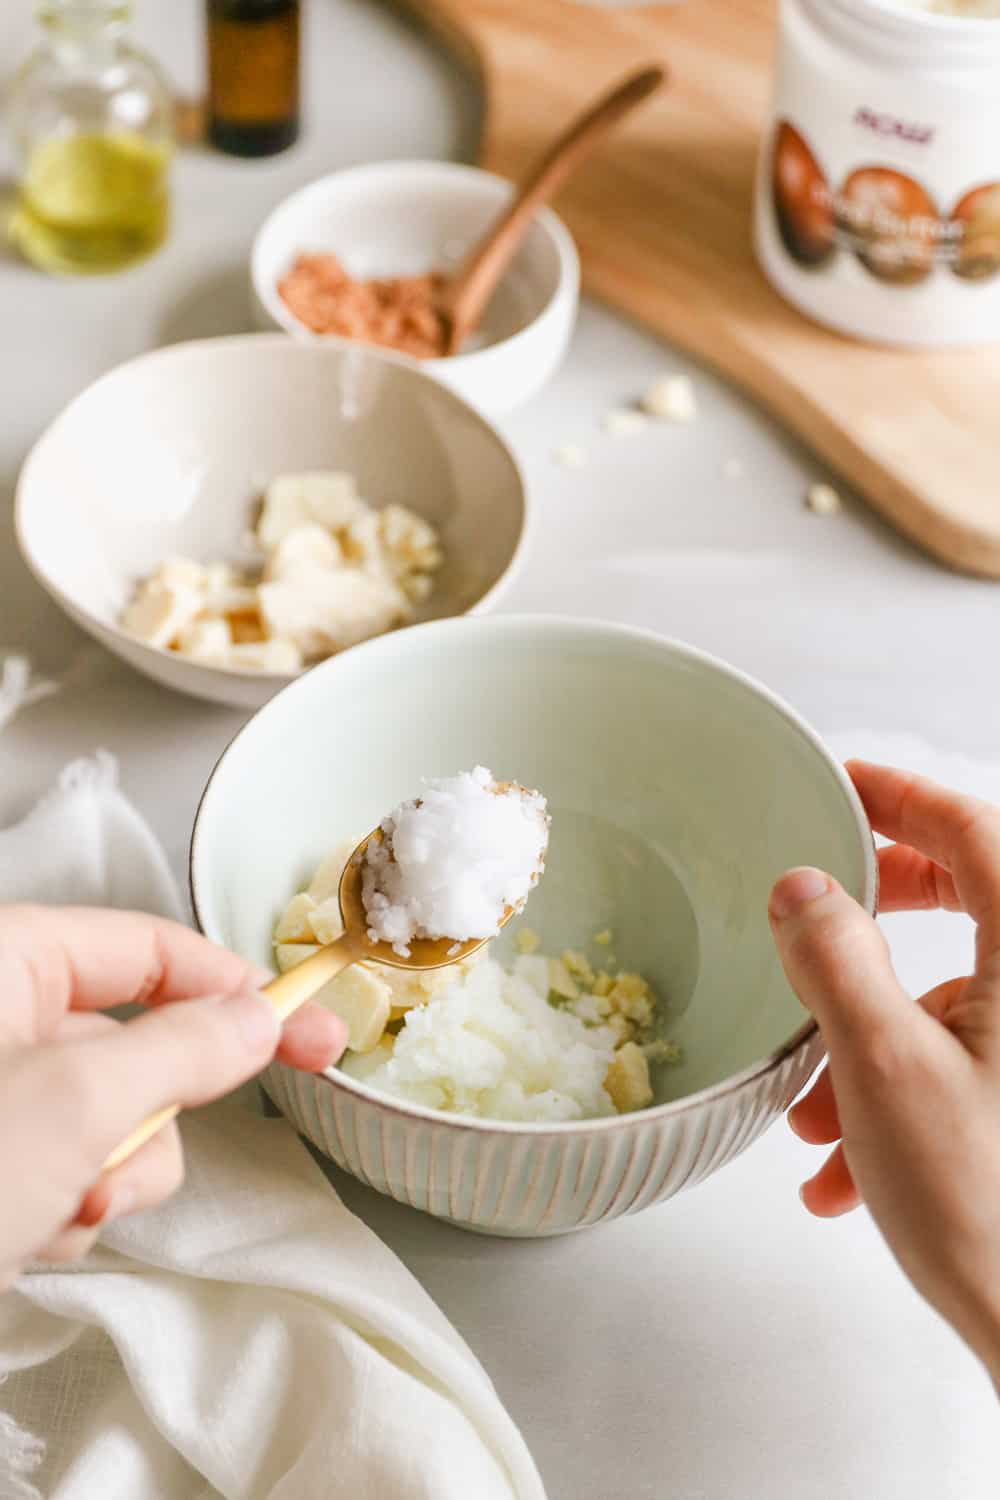
Step 1 | Melt Oil + Butters for Sugar Layer
Combine the oil and butters in a small bowl and microwave in short bursts until melted.
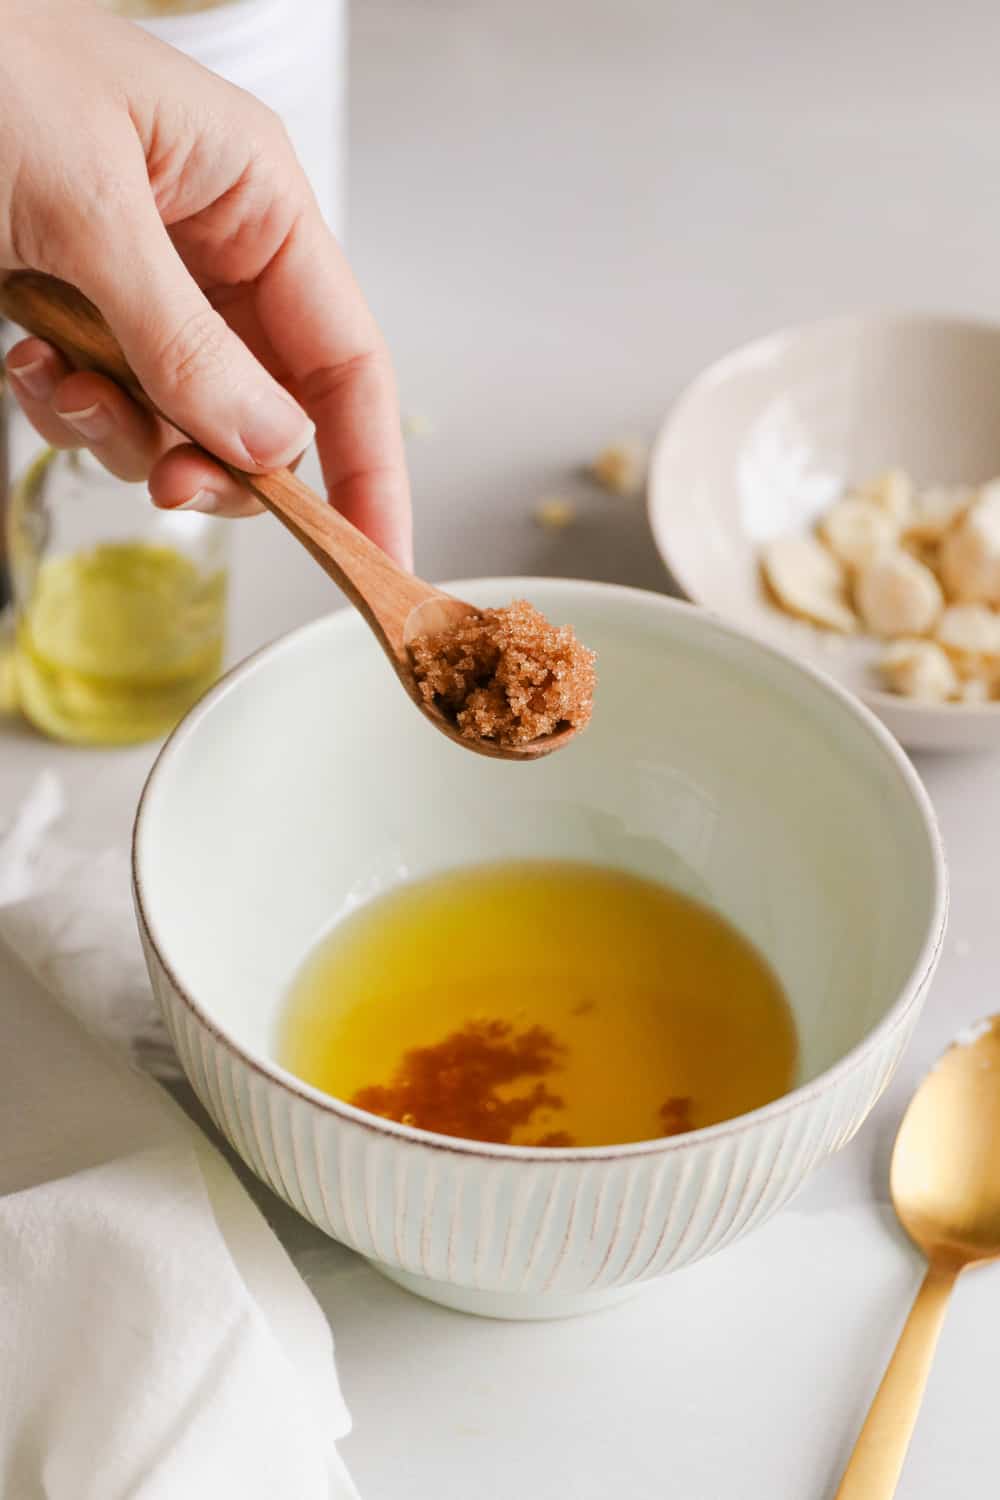
Step 2 | Add Brown Sugar
Add the brown sugar and stir to combine. The mixture should be a loose sand texture and not overly soupy. Add more sugar if needed.
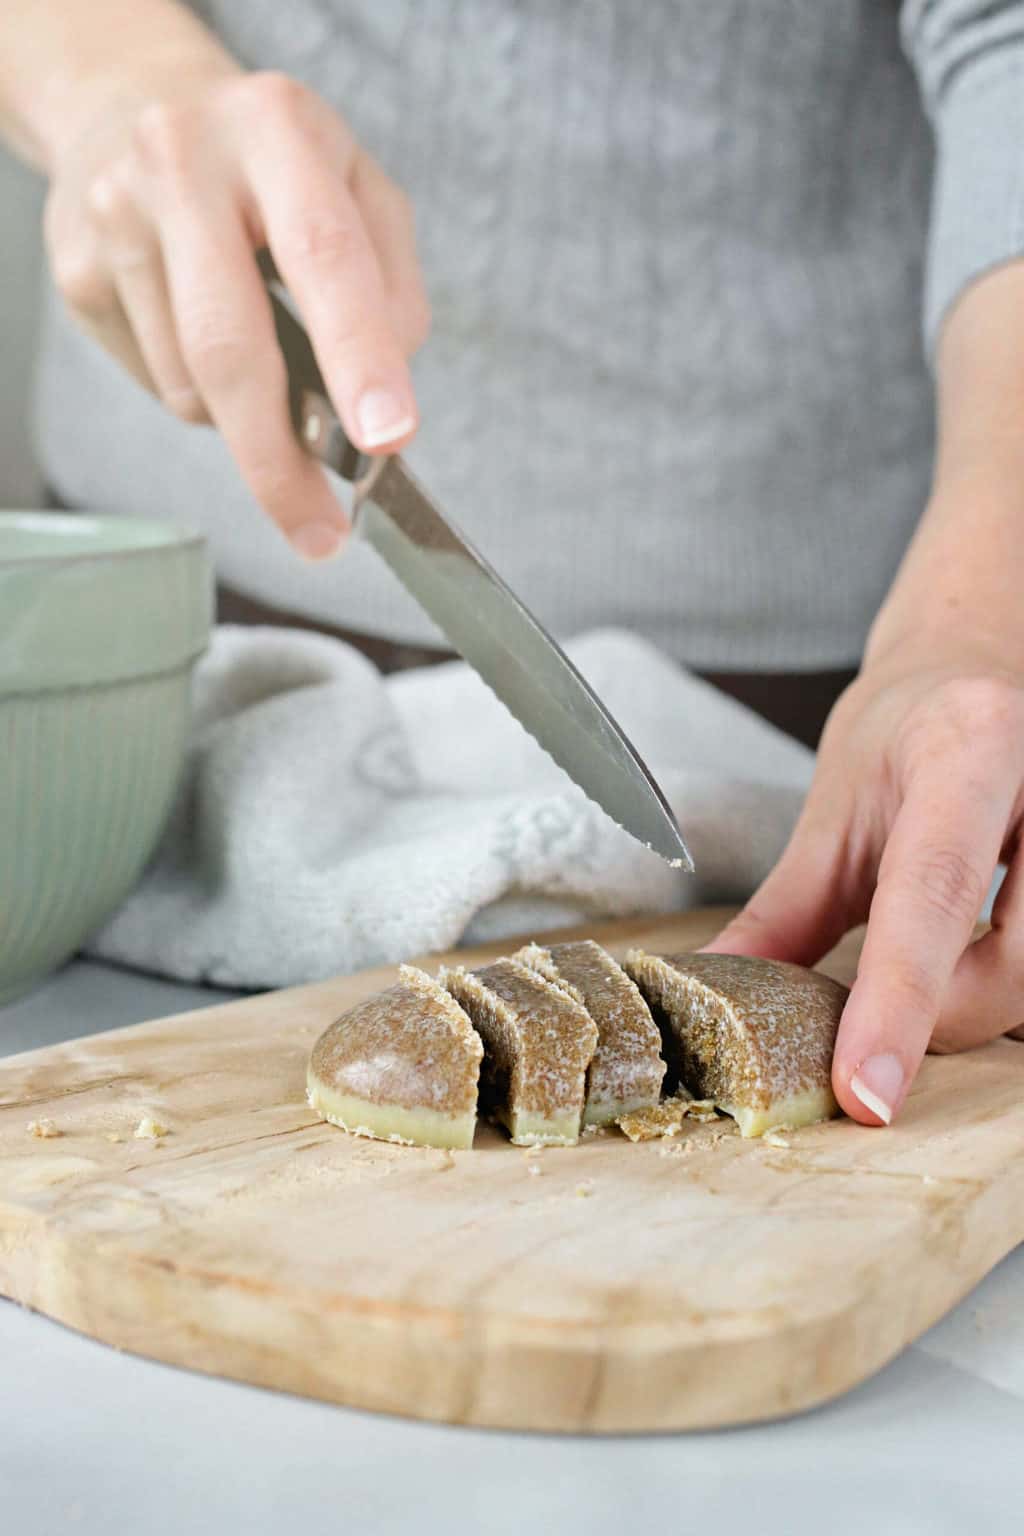
Step 2 | Solidify and Slice
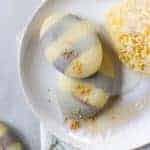
Spoon brown sugar mixture into a silicone mold and let it cool until solid. Pop 'em out and slice them into little strips (¼ to ½-inch wide). Put them back in the mold with plenty of space between each slice—I used 2 slices per Scrubee—and return to the freezer.
Step 3 | Make Shea Butter Mixture
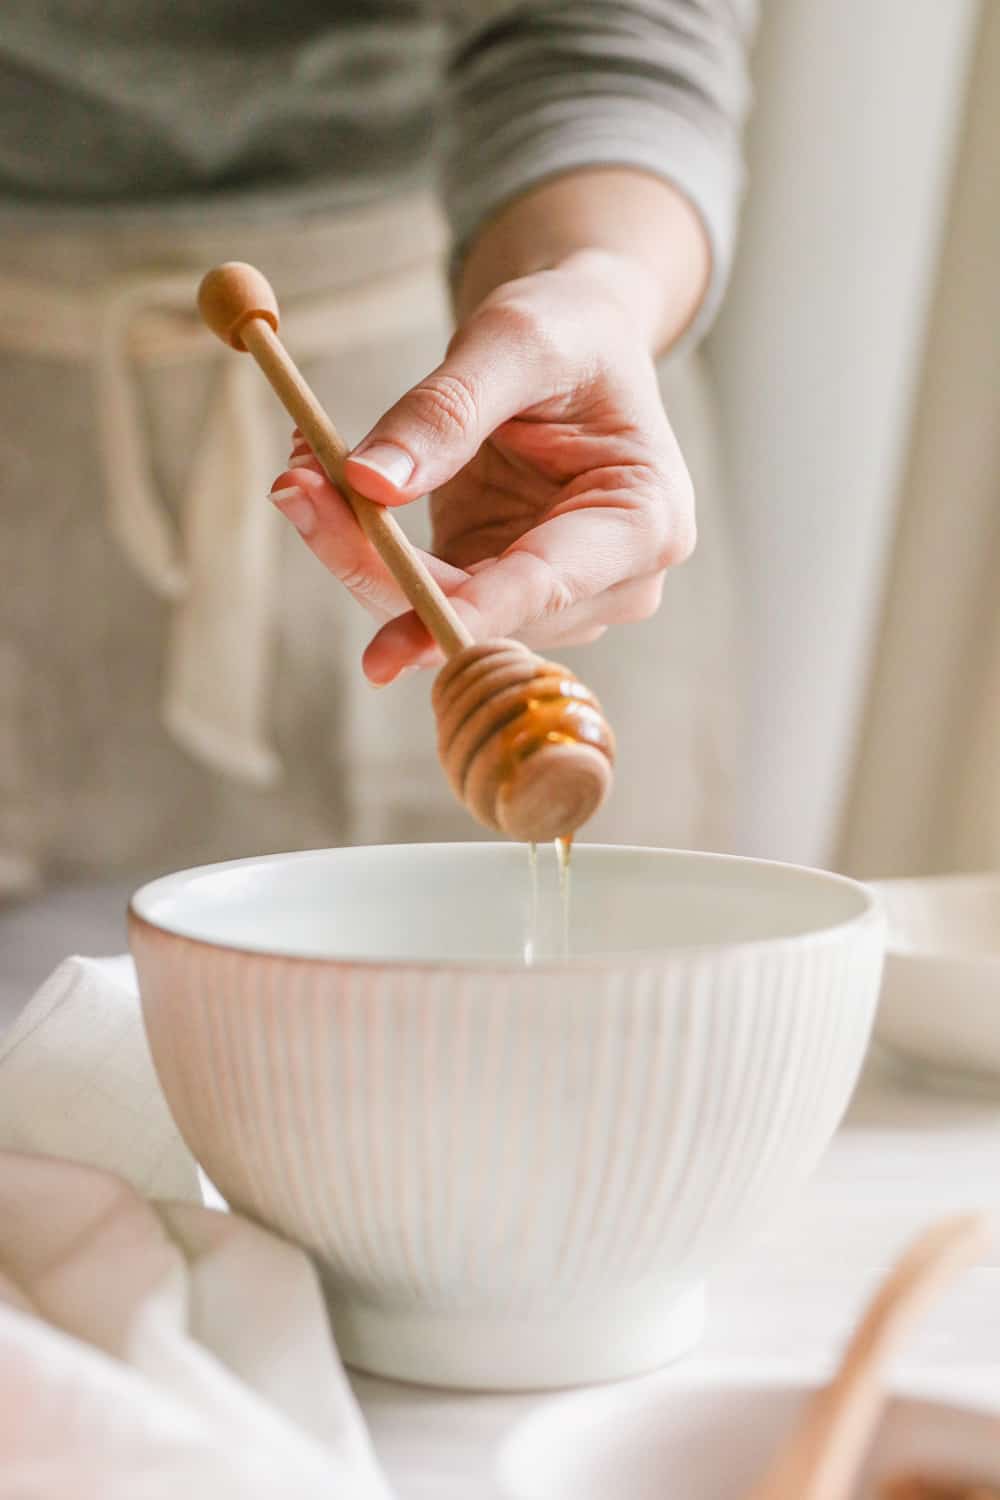
Combine the remaining oils and butters in a bowl and microwave in short bursts until just barely melted. Add the honey and bergamot oil and stir to combine. (If the honey sinks to the bottom, keep stirring until the mixture begins to cool and come together.)
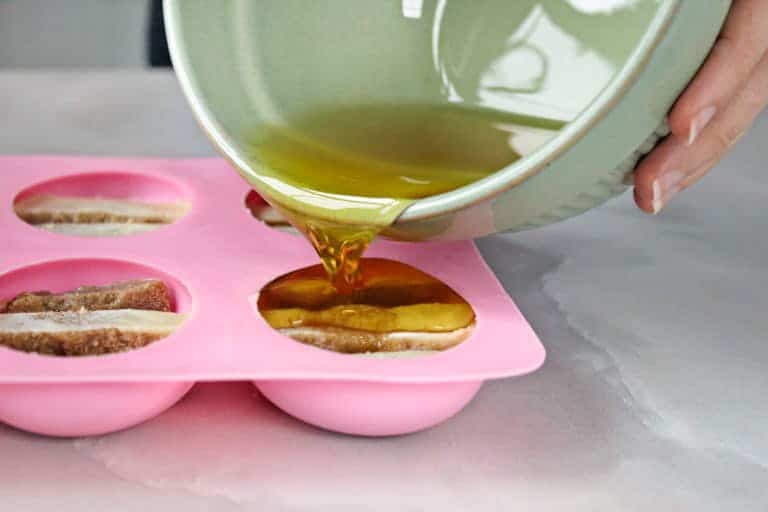
Take the mold with the brown sugar slices and pour in the liquid shea butter mixture. Cover and surround all of the sugar segments.
Use your fingers to adjust the stripes should they start to shift. Let cool until solid and remove from the mold.
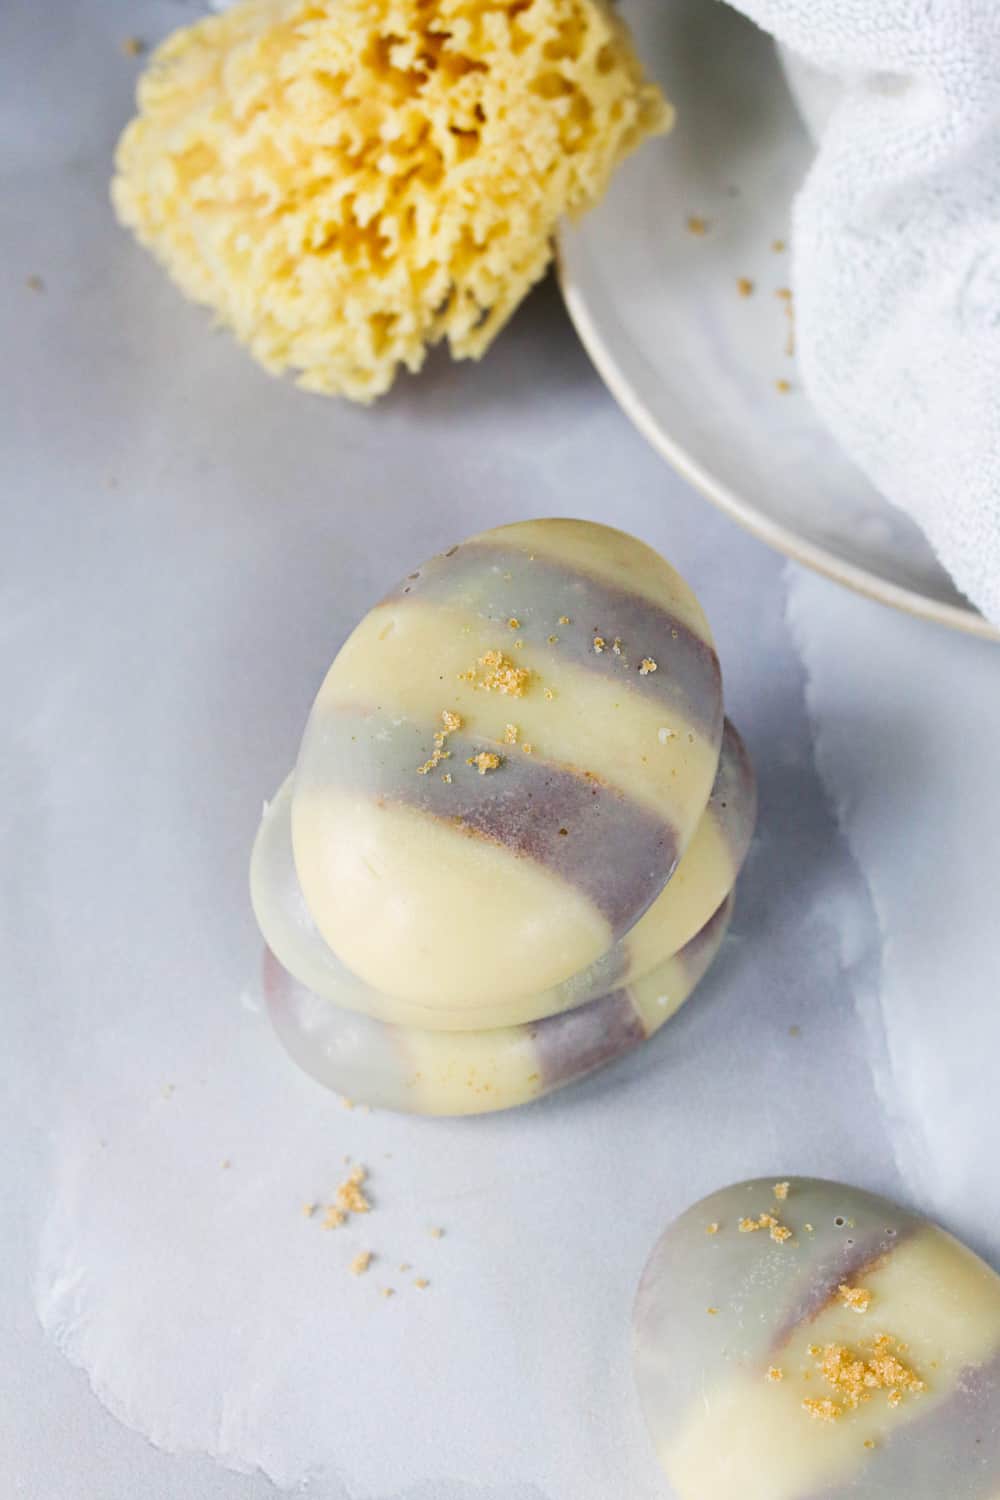
After cooling in the refrigerator for an hour or two, my bars were completely solid and ready for the shower.
Substitutions
You don't have to follow this recipe to a T, here are some ways to mix it up:
Carrier oils — If you have any of the following oils, feel free to add them to your bars or experiment until you find a recipe that works best for you:
- Olive oil is anti-inflammatory and promotes healing.
- Sunflower oil can help repair the skin barrier.
- Vitamin E is a potent antioxidant.
Just note that adding liquid oils to your scrub bars will make them a little softer. Stick to just 1–2 tablespoons, and it shouldn't affect the consistency too much.
Sugars — You can use caster sugar or regular ol' white sugar. Or feel free to use any exfoliating ingredient like coffee grounds, ground rice, cornmeal, or almond meal.
Essential oils — Try lavender, chamomile, frankincense, or rose geranium for soothing inflammation.
Variations
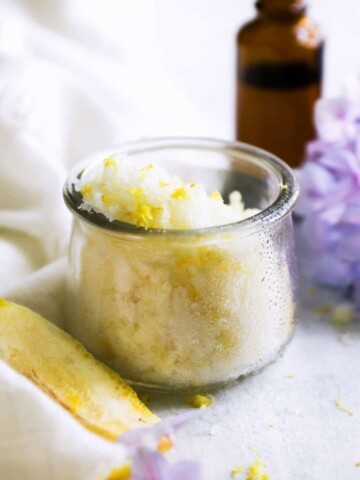
Make bars harder: Add beeswax like in this citrus-rose sugar scrub bar recipe to reduce melting in the shower.
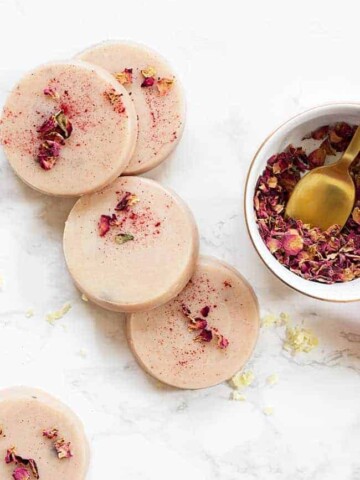
Add soap: Try these exfoliating scrub bars made with melt & pour soap for a sudsing scrub.
Make a lotion bar: Prefer to keep your scrub and lotion separate? No problem, leave out the sugar and just make lotion bars.
Equipment
A simple oval mold works well for creating a bee-like shape. You can also repurpose a container that you already have, like a muffin tin.
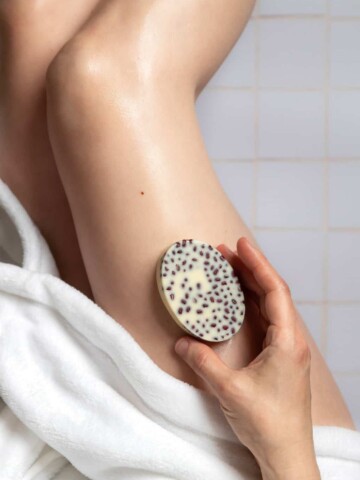
Using Homemade Scrubee Bars
Don't let it linger in hot water: Your Scrubees will last longer if you don't let them linger under running water. The butters soften quickly in the heat so apply the scrub to wet skin and then put the bar aside and use your hands to rub the exfoliating and moisturizing ingredients into your skin.
Apply all over, even your face: If you use a gentle exfoliator like caster sugar or brown sugar you can use these scrubs all over, even on sensitive areas like the face. Just go easy with the pressure and don't get too aggressive when scrubbing.
Don't wash off the oils: When you're done, quickly rinse off the sugar scrub and pat your skin dry. The oils will sink into your skin, so you don't have to apply extra lotion afterward. Just rub any excess butter into the skin and let it absorb completely before getting dressed.
Dry Scrubee between uses: If you put your bar away so it can dry out between showers, you should be able to get 9 or 10 uses out of each one. After about 6 or so uses, you might have a hard time keeping the layers of your bar together.
At that point, I just use my hands to compress it into a ball shape. It won't be as pretty but it should hold together well enough for you to get several more uses out of it.
Oils can make things slippery: I learned this the hard way—the oils may coat the floor of the shower, making it very slick (another reason not to let your scrub bars sit in hot running water). Not letting them melt in the shower will help cut down on the slip factor. But even so, be careful!
Storage
These bars should last forever if stored properly. I keep mine in the refrigerator and pull them out one by one when I'm ready to use one. I have kept the spares in the fridge for up to a year without any issues,
Remember: Don't let them sit in standing water in the shower. And don't hold them under hot running water for too long or they'll fall apart.
FAQ
They should last for at least 6 months, but you'll need to keep an eye on the consistency. Because they're made of natural butters, they might soften in the summer if left in a warm bathroom or allowed to sit in the sun.
You can always try adding beeswax like we did here to make them firmer, but that will also make them a little more difficult to use since they won't melt as easily.
No, these aren't meant to lather like some sugar scrub bars. This is purely for sloughing away dry skin and replenishing moisture. For a soapier version, try these scrub cubes made with grated soap.
If left to sit in the wet shower, these sugar scrub bars can start to mold. But by that time, they'll also be a soupy mess. It's best to store these in a dry place when not in use.
Not if you use these bars a little at a time. By swiping them over damp skin and using your hands to do the exfoliating, you're really not using that much oil to begin with. The little that washes down the drain shouldn't cause any issues.
Nope! You can use caster sugar, regular ol' white sugar, coffee grounds, or even ground almonds instead.
Yes, as long you use a gentle exfoliator (I recommend caster sugar or brown sugar).
More Lush Recipes
Looking for other recipes like this? Try these:
Copycat Lush Scrubee Recipe
Equipment
- Silicone mold
- small microwave-safe bowl
Materials
For the Brown Sugar Stripes
- ¼ cup cocoa butter
- ¼ cup shea butter
- 1 tablespoon coconut oil
- 1 cup brown sugar
For the Shea Butter Stripes
- ¾ cup cocoa butter
- ¾ cup shea butter
- 2 tablespoons coconut oil
- 15 drops bergamot essential oil or any essential oil you choose
- 1 tablespoon honey
Instructions
Make the Brown Sugar Stripes
- Combine the cocoa butter, shea butter and coconut oil in a small bowl. Microwave in 30-second intervals until completely melted.
- Add the brown sugar and stir to combine. The mixture should be a loose sand texture and not overly soupy. Add more sugar if needed.
- Spoon the sugar mixture into your silicone molds (it might not be enough to fill all the cavities in your mold, which is fine since you'll be cutting it up and evenly splitting the stripes among all the cavities). Place in the refrigerator for 30 minutes, or until solid.
- Remove the solid sugar scrub bars from the mold and slice each one into approximately 6 segments. Place the segments back in the mold with plenty of space in between each one. Put the mold in the freezer while you make the shea butter mixture.
Make the Shea Butter Stripes
- Combine the remaining ¾ cup cocoa butter, ¾ cup shea butter and 2 tablespoons coconut oil in a clean bowl. Microwave in 30-second intervals until just barely melted. Add the honey and bergamot oil and stir to combine. (If the honey sinks to the bottom, keep stirring until the mixture begins to cool and come together.)
- Let the shea butter mixture cool for about 10 minutes. Then remove the mold from the freezer and pour the shea butter mixture into each of the cavities, making sure to cover and surround all of the sugar segments. Use your fingers to adjust the stripes should they start to shift. Let cool either on the counter or in the refrigerator.
- Remove the scrub bars from the mold and store in an airtight container in the fridge.
Notes
This post was medically reviewed by Dr. Rina Mary Allawh, M.D., a dermatologist who performs adult and pediatric medical dermatology, skin cancer treatment and cosmetic dermatology. Learn more about Hello Glow's medical reviewers here. As always, this is not personal medical advice and we recommend that you talk with your doctor.
370