
This month I turn 38. The reality of that sometimes scares me. I'm not afraid of aging; I just don't want to suddenly look old. Lately, it has motivated me to take my skincare regimen up a notch.
In the past, I totally ignored my skin, could barely be bothered to do more than dip my fingers in coconut oil and give my face a quick rub. No zits? All was well.
And I'll be honest, I still feel like I'm pretty lazy. But when you try a new product or add a skincare step and it feels amazing, it's a lot easier to keep it in the routine. InStyle recently had an article on 7-minute skin care that was pretty darn close to my actual regimen most nights. Maybe I'm not lazy! So I'm giving you my natural skin care regimen, with a few products that I use and like, along with plenty of DIY options, including suggestions for a natural cleansing balm you'll love.
My Natural Skincare Routine
My skin is far from perfect (I have fine lines and sunspots galore from a sun-loving youth) but here's what currently feels good for my skin - and hopefully makes it look good, too!
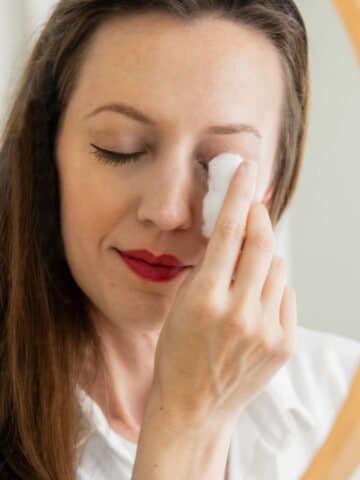
Step 1: Cleansing balm
The Beautycounter cleansing balm got me obsessed with oil cleansing. I've bought the cleansing balm for several friends because it's one of those products you want everyone to experience. If you haven't tried an oil cleansing balm, now's the time!
The oil breaks down makeup and pulls out gunk from your pores. You'll soon be addicted to how soft and smooth your skin feels. Balms are pricey so I'm now using my DIY'd cleaning balm.
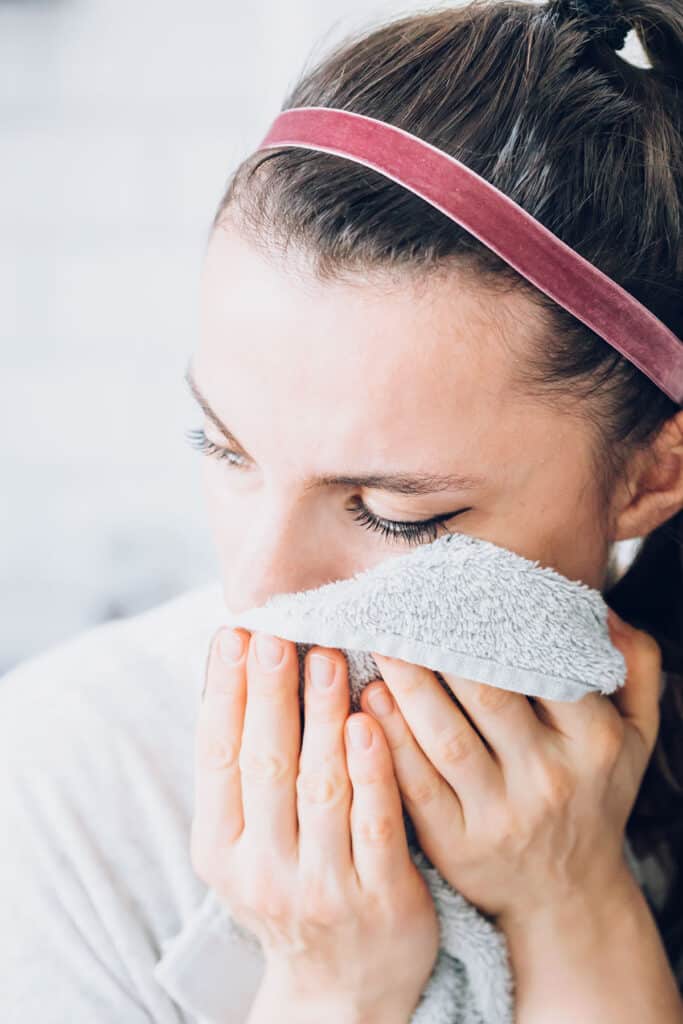
Step 2: Cleanse again with foam
Those with skin less 'mature' than mine might want to opt for 2-step cleansing. After the cleansing balm, finish with a foam cleanser to remove excess oil and any leftover pollutants on your face. If my face still feels grimy or product-y I wash again with a simple honey cleanser.

Step 3: Add a toner
Skip the cotton pads, I like toners that can be applied with a spritz. Or, as they are often called, a 'floral essence.' You can easily DIY one of our 2-ingredient toners or face sprays.
Or I'm also a fan of a simple rose water spray. Use after cleansing to balance your skin's pH or apply during the day for a hydrating boost.
Step 4: Apply serum
Natural serums have a lightweight consistency that's quickly and easily absorbed into the skin. That means they can deliver a concentrated dose of anti-aging ingredients like hyaluronic acid or vitamin C (like this camu camu serum).
Give it a good 90 seconds to fully sink in before moving to step 5. When deciding the order of your skincare routine, always go from lightest weight to heaviest.
Step 5: Finish with moisturizer
For the day, I use a light consistency moisturizer with SPF included. At night, I finish with an oil. Since I have product ADD, I alternate between this DIY rosehip oil and this Beautycounter Face Oil.
This final layer creates a protective barrier for skin - keeping in all those good ingredients you just applied and keeping out UV rays and pollutants.
Step 6: Don't forget eye cream
The eye area gets a workout all day with smiling, squinting and blinking. Nourish the thin skin around your eyes with an eye cream that hydrates and protects against aging. DIY a balm with caffeine to minimize puffiness and bags or one with vitamins to fight fight lines.
I also like First Aid Beauty's Eye Duty Triple Remedy because it has a bit of sheen that highlights the under eye area and Burt's Bees Eye Cream because it has wrinkle-fighting bakuchiol.
Twice a week: Exfoliate
Keep a jar of cleansing grains by the sink and add a pinch to your foam cleanser a couple of times a week. Or try a gentle face scrub. You want to gently remove dead skin cells without overdoing it and irritating skin.
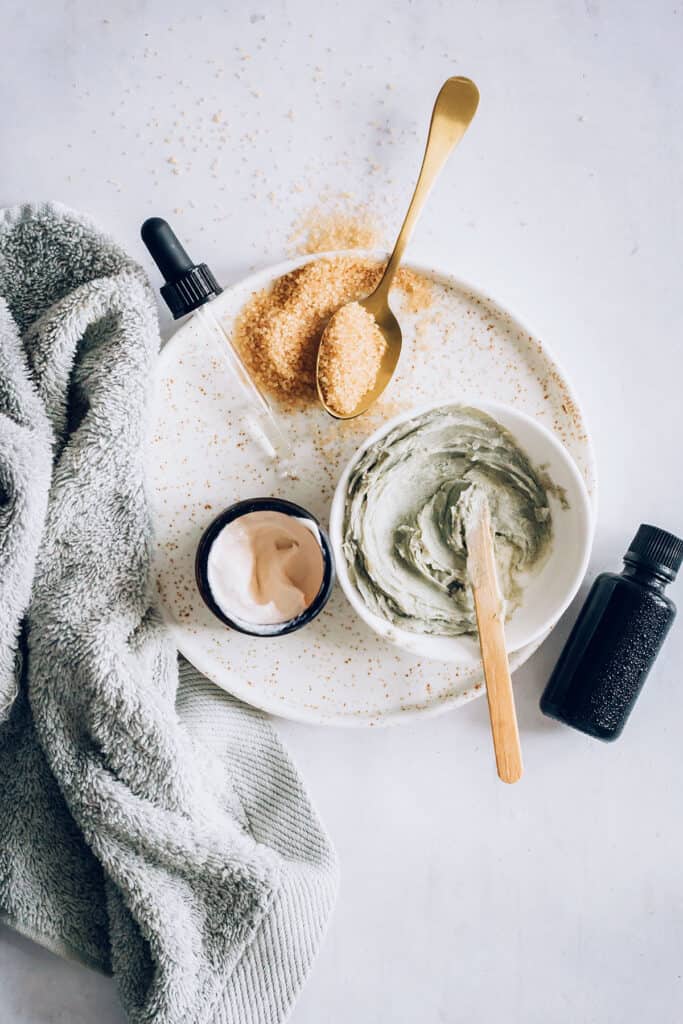
Once a week: Do a mask
An at-home facial is easy to do once a week. Add in a mask to target specific skin issues. Clay, honey or yogurt are universal ingredients that can work for almost anyone.
Clay masks are especially good for normal to oily skin while honey masks can add much needed moisture and yogurt masks nicely exfoliate.
What's your daily skincare routine?
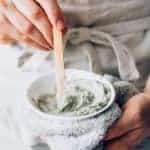
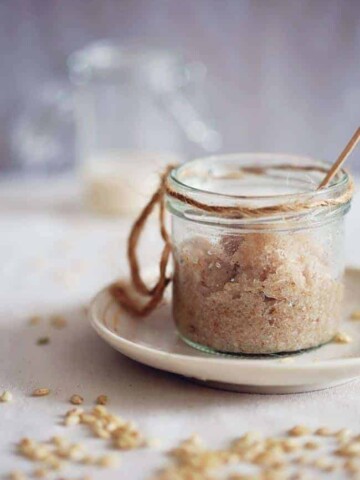
DIY Clay Cleansing Balm
Equipment
- Small saucepan
- 4-ounce glass jar with lid
Materials
- 2 tablespoon jojoba oil
- 1 teaspoon coconut oil
- ½ teaspoon beeswax
- 2 teaspoons bentonite clay
- 1 teaspoon baking soda optional for a bit of exfoliating texture
- 6 drops frankincense essential oil
Instructions
- Bring 2-inches of water to boil in a small saucepan. Reduce heat to low.
- Measure out the beeswax and put in a heat-proof measuring cup or bowl. Place the dish in the saucepan and melt the beeswax.
- Add the coconut oil and melt together.
- Remove from heat and add the jojoba and stir.
- Add the clay and baking soda and essential oil.
- Transfer to a small container with a lid.
Notes
This post was medically reviewed by Dr. Jennifer Haley, a board-certified dermatologist with extensive experience in medical, cosmetic and surgical dermatology. Learn more about Hello Glow’s medical review board here. As always, this is not personal medical advice and we recommend that you talk with your doctor.
Photos by Ana Stanciu
280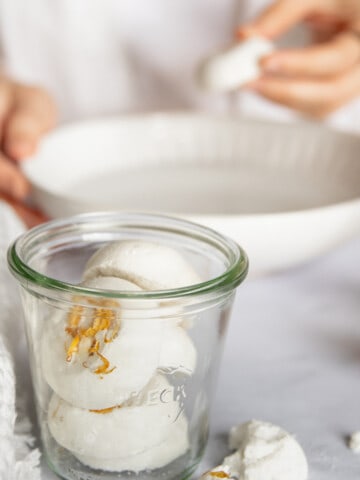
Lana says
Hello - your pictures depict a very thick mixture similar to frosting yet I've made this recipe twice already and I end up with a runny mixture every time. I've tried chilling it yet that hardly helps and the balm returns back to its runny consistency once left a room temperature. I would live to achieve the thick texture pictured because I believe it would be easier to apply and looks more appealing. Can you please help?
Stephanie Gerber says
Hi Lana, if your mixture is too runny you can add a bit more beeswax to thicken it up. Just reheat the one you've made and add the beeswax to combine then cool again. Hope this helps!
Jenny says
I'm looking forward to making this cleansing balm today! On the bottle of the Frankincense Oil, it says "do not use undiluted." Do I need to dilute the oil in any way before adding it to the Cleansing Balm recipe at the end, or just simply add the oil as it is from the bottle?
Ella Anne Smith says
whats the shelf life?
Lori says
I made the cleansing balm with a couple of changes. Instead of beeswax, I used candelilla wax to make it vegan. Also, I subbed kaolin clay for the bentonite clay, because kaolin is for dry to normal skin vs. bentonite, which is better for oily skin. I can't wait for this to firm up so I can use it. Thanks for the recipe! I'm so excited to be eliminating all of my chemical laden toiletries.
Jessica says
I made this and while I love how it cleans and feels, all the clay fell to the bottom of the container and it very gritty. Amy advice on how to keep it from doing that?
Thanks, jessica
Stephanie says
My face breaks out with coconut oil, any substitutions for a replacement or would it be okay if I left it out?
Sharon says
Amazing post wow, and you mentioned betonite clay!!
Sarah Cathey says
Whats the shelf life of this mask?
Jennifer says
If I want to make the Cleansing Balm in a larger quantity, am I okay to double/triple the recipe or should I make several single batches?
Also ... are you still using the above method daily?
Lisa Hill says
Wow what an amazing post. I would love to try it out and I will also share this DIY with my friends.
Janet says
Excellent post~~ I'm sharing. Hoping it's not too late to get started on a good skin care routine for my truly mature skin!