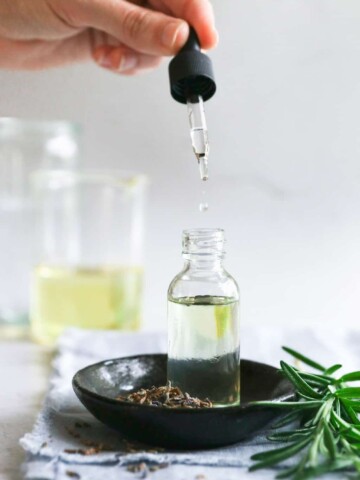
The latest trend in face cleansers isn't foamy, creamy, or oily. It's dry! Cleansing grains (also known as cleansing powder) are mixed with just a bit of water or hydrosol, like rosewater, before use, resulting in a gently exfoliating product. They're dead easy to make—perfect for people who like to wash their face without soap!
Benefits of Cleansing Grains
What makes these cleansing grains so buzz-worthy? Well....
They're convenient
You can pre-mix your ingredients and keep a jar by the sink. Since they're not liquid, the powder won't go bad, and they don't require harmful additives such as preservatives, artificial dyes, or alcohol. All of these cleansing grains can be prepared ahead of time and kept in an airtight container.
They're gentle
Cleansing grains are usually made from herbs, oats, nuts or clay in a powdered form so the texture is super fine to avoid irritation or micro skin tears. Used 2–3 times a week, they gently exfoliate your face, sloughing off dead skin cells, removing build up in the pores, and rejuvenating the skin. If you're working on getting rid of discoloration and acne scars, then promoting cell turnover is key.
They're customizable
If you're making your own cleansing grains, you can take a personalized approach and modify ingredients and recipes depending on your skin’s evolving needs.
How to Use Cleansing Grains
1. Sprinkle ½ to 1 teaspoon of the cleansing grains into your palm.
2. Add a bit of cleanser, oil or water to create a paste.
2. Massage the mixture in small, circular motions move all over the forehead, t-zone, chin and cheeks.
4. Avoid getting to close to the eye area—this area is delicate and typically does not need exfoliation.
5. Rinse with warm water. Follow with normal skincare routine.
6. After proper exfoliation, it is key to moisturize well as your skin will be ready to absorb nutrients and hydration. The best time to moisturize is when your face is still slightly damp.
7. Use a cleansing grain or physical exfoliant twice a week.
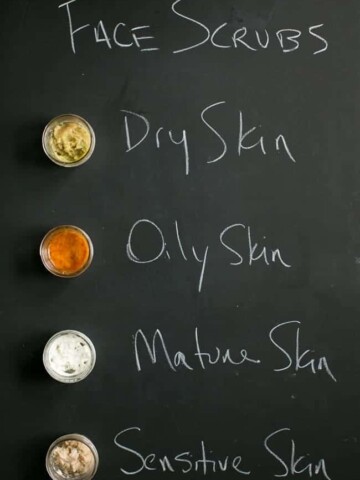
How to Make Cleansing Grains for Every Skin Type
Here are some recipes to get you started—and they're super easy since you're just mixing up powders! Just make sure your ingredients are finely ground to avoid skin irritation.
1. Cleansing Grains for Normal Skin
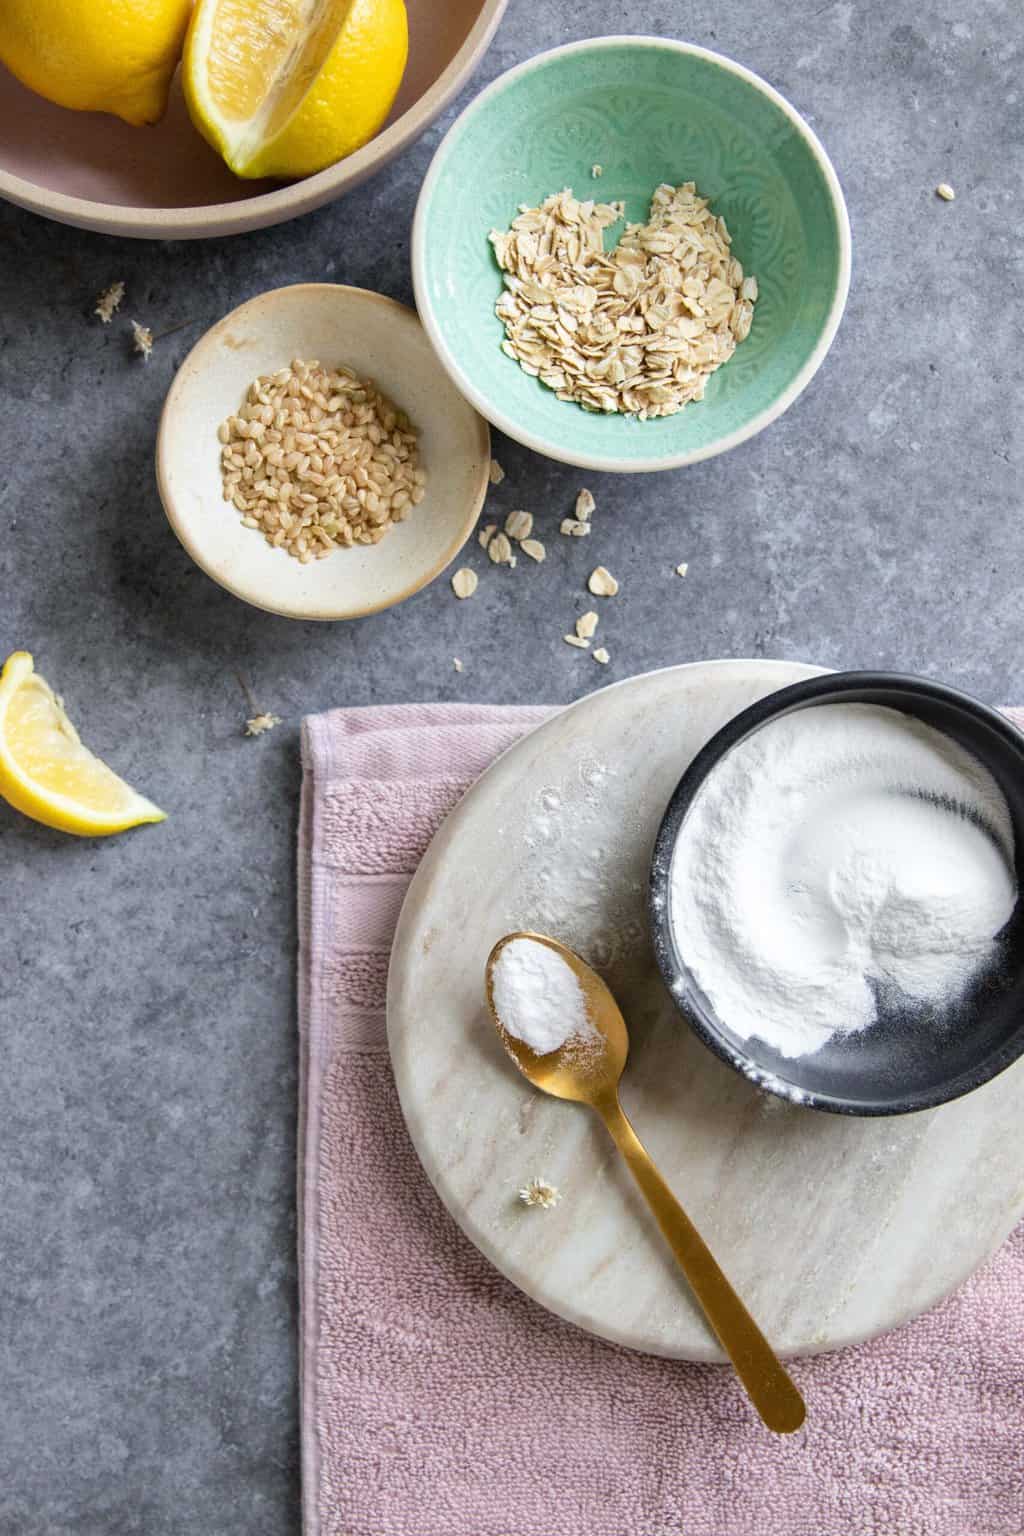
Ground oats
Ground oats can be a wonderful and simple cleansing grain for all skin types. Oats' natural saponins work as a gentle skin cleanser, and the fine grains are also soothing and anti-inflammatory [source].
Baking soda
With its super fine texture, baking soda is an inexpensive way to make cleansing grains for a homemade microdermabrasion. It can be as easy as keeping a box by the sink and adding a shake of powder to your cleanser twice a week.
Oats + Baking Soda Cleansing Grains Recipe
—2 tablespoons oats, finely ground
—1 ½ tablespoon baking soda
—½ teaspoon vitamin C powder
Instructions
Use a coffee grinder to grind the oats into a fine powder. Add the oat, baking soda and vitamin C powders to a small bowl, and stir until well combined. Store in a 2-ounce glass jar with a lid.
More recipes
—5 Baking Soda Face Scrubs
—14 Face Scrubs Made with Kitchen Ingredients
2. Cleansing Grains for Dry Skin
Coconut milk
Powdered coconut milk will soften skin, and can easily be combined with wheat germ oil, which is a highly nutritious cleansing combination for dry skin. Gently massage into skin and let sit for a minute. Rinse with warm water when finished. Follow with normal skincare routine.
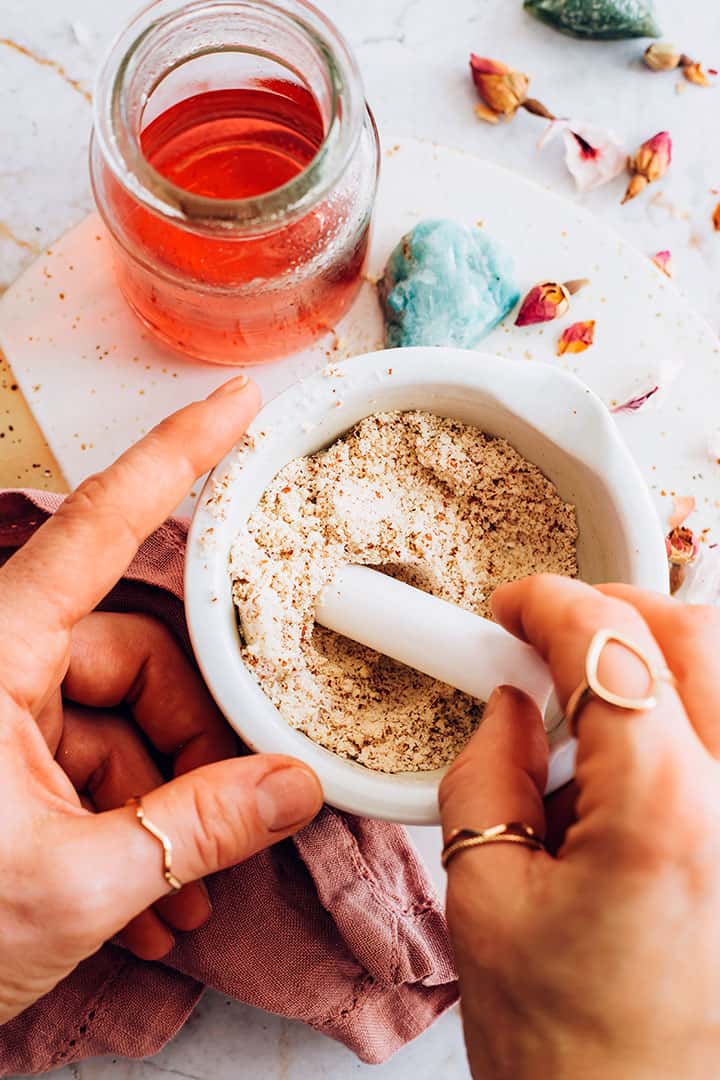
Ground almonds
Ground almonds are incredibly hydrating for dry skin as their natural oils provide a hefty dose of vitamins A and E to your skin [source]. Try a this anti-aging cleanser mixture of almonds, rice, and dry milk powder to exfoliate, cleanse, and nourish your skin.
Penetration of these nutrients is enhanced by the gentle exfoliation of dead skin cells from the lactic acid in the milk. Your skin will feel incredibly smooth after using this one!
Coconut + Almond Cleansing Grains Recipe
—2 tablespoons coconut milk powder
—1 tablespoon finely ground almond powder
—1 tablespoon kaolin clay
Instructions
Use a coffee grinder to grind the almonds into a fine powder. Add the coconut milk, clay, and almond powder to a small bowl, and stir until well combined. Store in a 2-ounce glass jar with a lid.
More recipes
—10 All-Natural Exfoliants for Your Skin
—Almond Vanilla Face Soap for Dry Skin
3. Oily Skin Cleansing Grains
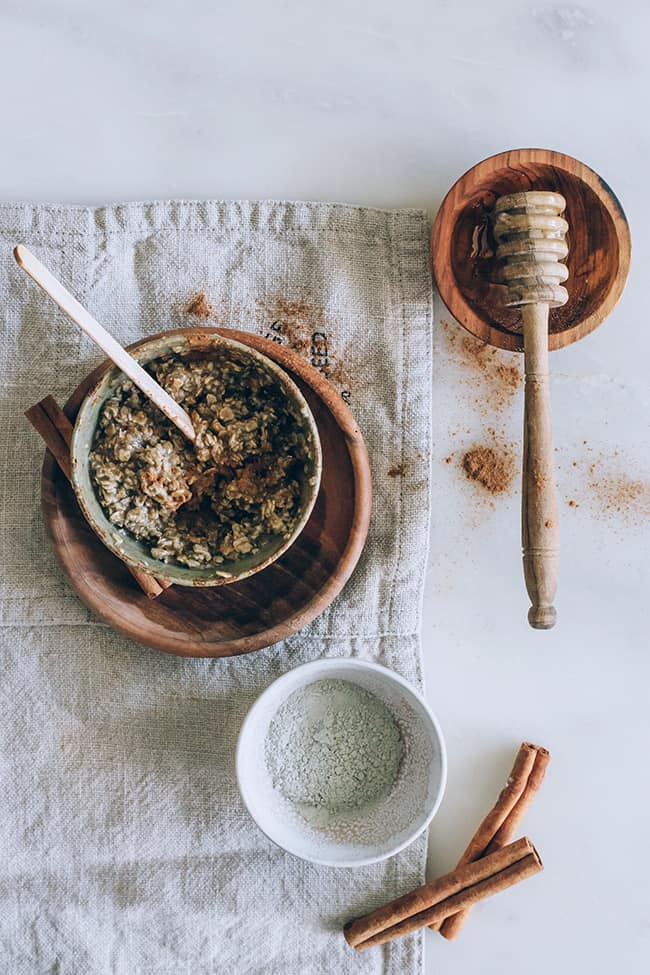
Powdered honey
Powdered honey is both antibacterial and clearing for acne prone or oily skin types. Honey is a natural humectant so it won't dry out skin like some exfoliants.
Using the powdered honey, preferably raw Manuka honey, which is very healing in it’s properties, to mix up a simple face scrub. Keep the premixed powder by the sink.
Cinnamon
Cinnamon stimulates blood flow and draws nutrients and oxygen to the surface of the skin, leaving skin bright and glowing. Don’t be alarmed if you feel heat in your face, and even a little pulsing, all results of increased circulation.
A little flush is common as well after incorporating cinnamon topically. That's why cinnamon makes an excellent natural lip plumper!
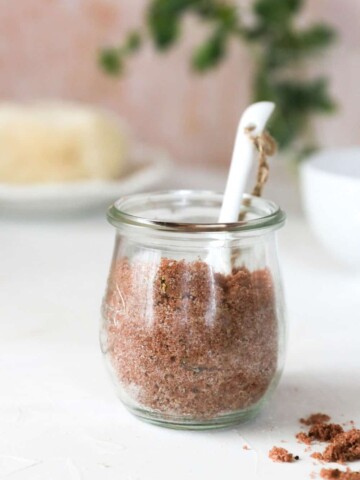
Honey + Cinnamon Cleansing Grains Recipe
—1 tablespoon oats, finely ground
—1 tablespoon Bentonite clay
—1 ½ tablespoon honey powder
—½ teaspoon ground cinnamon
Instructions
Use a coffee grinder to grind the oats into a fine powder. Add the oat, clay, honey and cinnamon to a small bowl, and stir until well combined. Store in a 2-ounce glass jar with a lid.
More recipes
—Face Masks for Oily Skin
—Honey Face Mask Recipes
4. Acne-Prone Skin Cleansing Grains
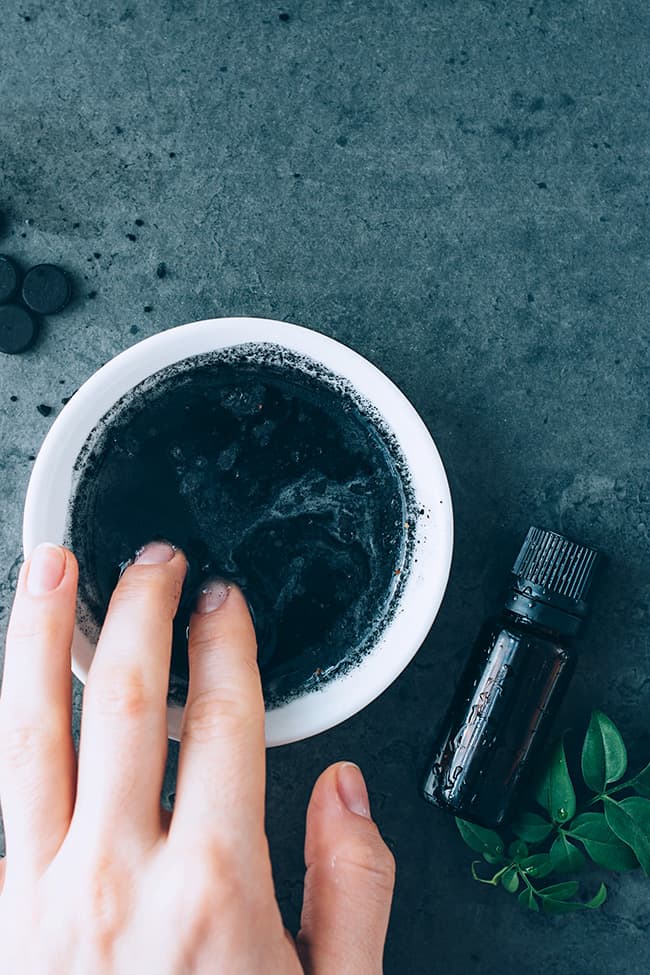
Activated charcoal
Add activated charcoal to your cleansing grains to absorb excess oil and unplug dirt and toxins from your pores. When your pores are cleared out, they appear smaller. The ingredients in this detox cleanser—charcoal, clay, and oats—are gentle enough for all skin types, but it works especially well for acne-prone skin.
Rice flour
You may have already heard about the benefits of rice water for skin, but rice flour is one of the best-kept beauty secrets around. Rice flour has long been used to brighten and whiten skin discoloration—a must if you suffer from occasional breakouts and post-inflammatory hyperpigmentation. The grain is so fine that using this gentle rice flour scrub is almost like getting a microdermabrasion treatment at the spa.
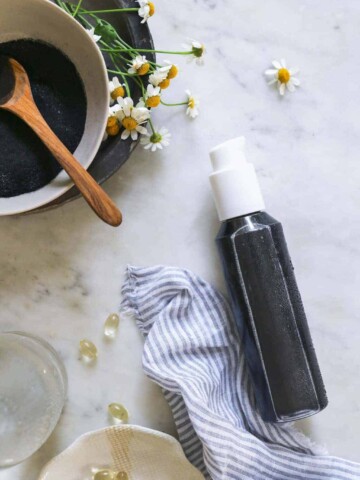
Charcoal + Rice Cleansing Grains Recipe
—1 tablespoon activated charcoal powder
—2 tablespoons rice flour
—1 tablespoon whole milk powder
Instructions
Combine the rice flour, milk powder, and charcoal in a small bowl, and stir until well combined. Store in a 2-ounce glass jar with a lid. Use with a rice milk cleanser.
More recipes
—Acne-Fighting Rice Flour + Tea Tree Scrub
—10 Ways to Use Activated Charcoal
—6 Ways to Use Rice Water in Your Skincare
5. Sensitive Skin Cleansing Grains
Chamomile
If your skin easily reddens, feels taut, itchy or inflamed, you may have sensitive skin. You can add ground chamomile to any of the above recipes to treat sensitive skin.
The easiest way to find accessible chamomile is from an organic teabag. Grind the contents of an emptied tea bag with a coffee grinder and add it to any of the above ingredients. One tea bag should be plenty.
Bentonite clay
Bentonite clay cleansing grains also work for almost any skin type. Bentonite clay is high in minerals and draws out impurities while calming inflamed skin and shrinking the appearance of pores [source].
Customize a Bentonite clay cleansing grains formula for your skin's individual needs by adding a dried herb like chamomile powder for its inflammatory action, which is ideal for dry, aging, or inflamed skin [source].
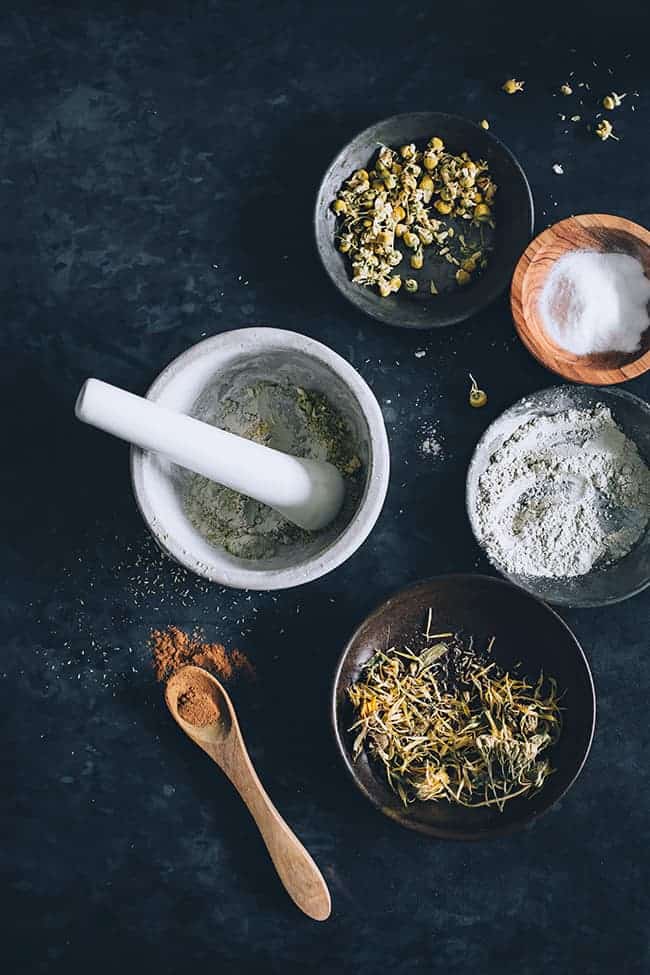
Clay + Chamomile Cleansing Grains Recipe
—3 tablespoons Bentonite clay
—1 tablespoon calendula powder
—1 tablespoon chamomile powder
Instructions
If you're using dried herbs, first grind the calendula and chamomile to a fine powder. Add the clay, calendula and chamomile powders to a small bowl and stir until well combined. Store in a 2-ounce glass jar with a lid.
More recipes
—Face Mask Recipes for Sensitive Skin
—How To Choose the Right Clay for Your Skin
—7 Ways to Detox with Betonite Clay
This post was medically reviewed by Dr. Jennifer Haley, a board-certified dermatologist with extensive experience in medical, cosmetic, and surgical dermatology. Learn more about Hello Glow’s medical review board here. As always, this is not personal medical advice, and we recommend that you talk with your doctor.
179
