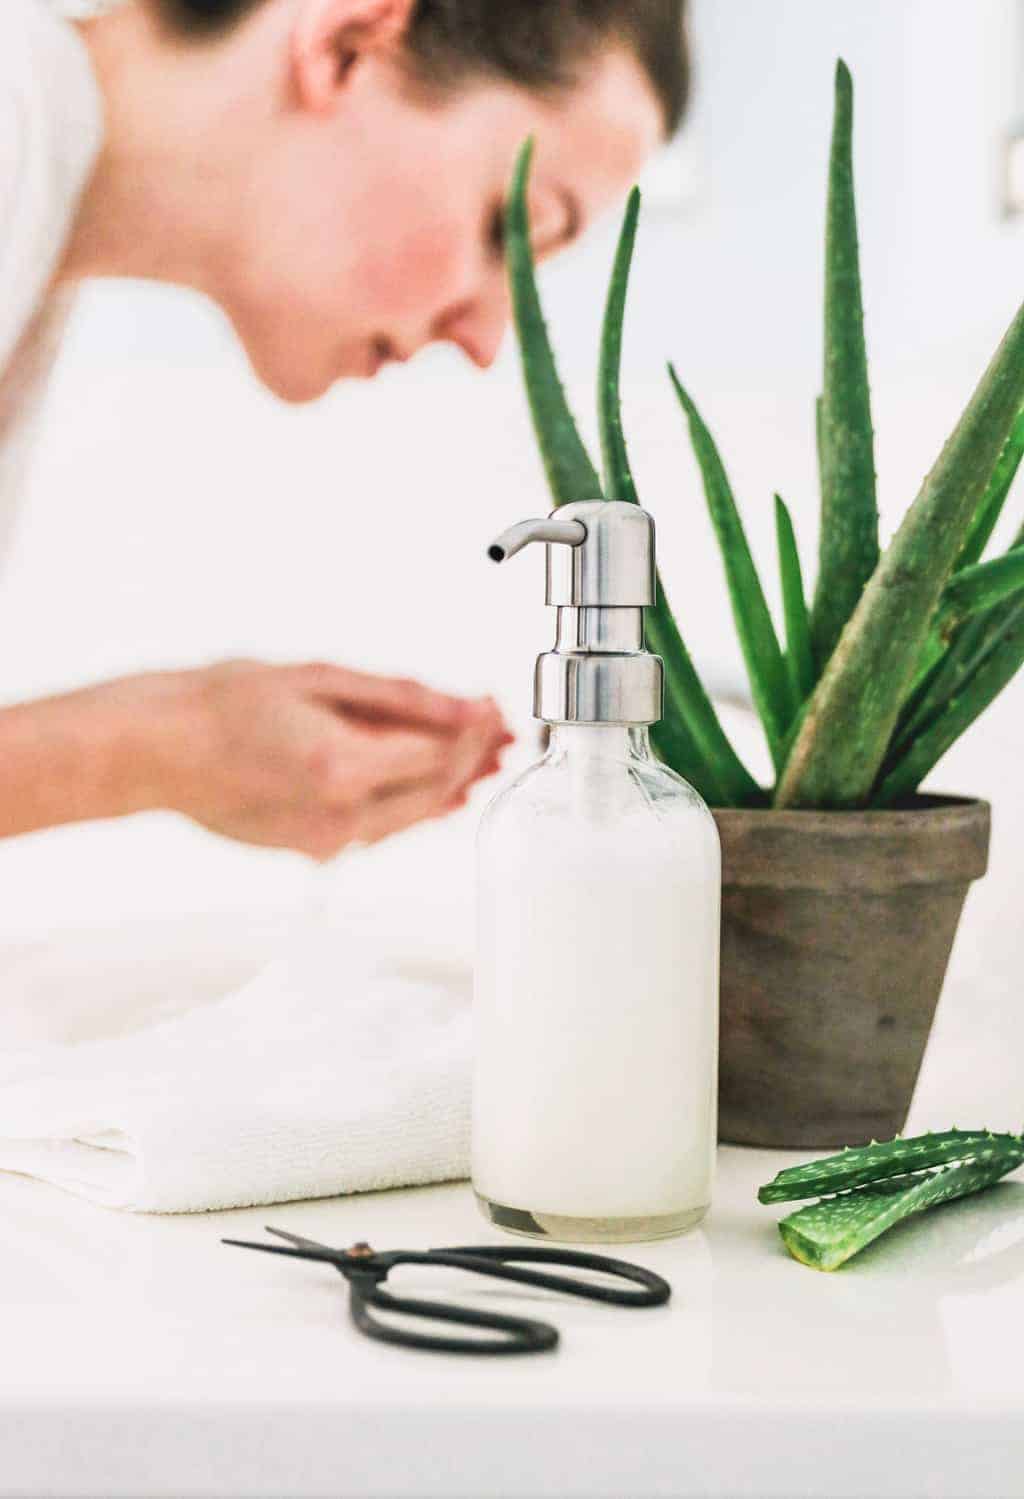
Choosing the right facial cleanser depends on several factors. Unfortunately, no miracle recipe works for everyone, but if you take into consideration your age, skin type, the season, and the amount of makeup you wear, you can create the perfect natural cleanser for your skin's needs.
Jump to:
- Finding the Right Natural Facial Cleanser
- 11 Ways to Make DIY Face Wash
- Oil Based Face Cleansers
- 1. Cleansing Oils
- 2. Cleansing Balms
- 3. Cream Cleansers
- Soap-Based Facial Cleansers
- 4. Foaming Cleansers
- 5. Facial Soap Bars
- Powdered Facial Cleansers
- 6. Cleansing Grains
- 7. Clay Cleansing Masks
- More Non-Soap Cleansers
- 8. Honey Cleansers
- 9. Milk Cleansers
- 10. Micellar Water
- 11. Cleansing Wipes
- How To Wash Your Face Correctly
- FAQ
Finding the Right Natural Facial Cleanser

Choosing the wrong cleanser can lead to acne outbreaks, moisture loss, or not getting your skin clean at all! But how do you know which facial cleanser is right for you?
Skin type
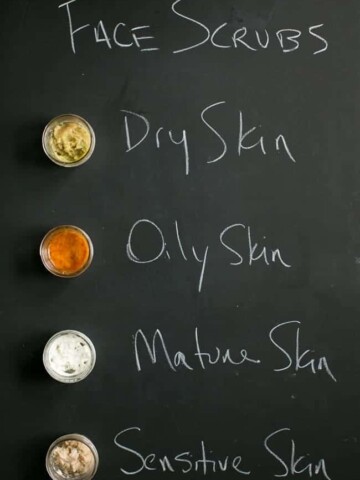
First, get to know your skin type. Do you have oily skin? Acne-prone skin? Sensitive skin? Once you've identified a pattern, it should be easy to choose the right cleanser.
If you have acne-prone skin you might steer clear of cream cleansers. And likewise, if you have dry skin, the foaming cleanser will strip you of needed moisture.
Seasonality
Second, factor in the season, climate, or even the time of day, when choosing the appropriate cleanser.
I often use a gentle and hydrating cleanser in winter and fall, while during spring and summer, one that treats oily skin. Always do a small patch test, though, especially if you have sensitive skin.
Ingredients
Depending on the ingredients, cleansers can treat oily skin, alleviate dry skin, and help slow the aging process.
- For oily skin, choose ingredients like tea tree oil, grapeseed oil, and clay.
- For dry skin, opt for avocado oil, shea butter, and honey.
- For sensitive skin, use chamomile, aloe vera, and sweet almond oil.
11 Ways to Make DIY Face Wash
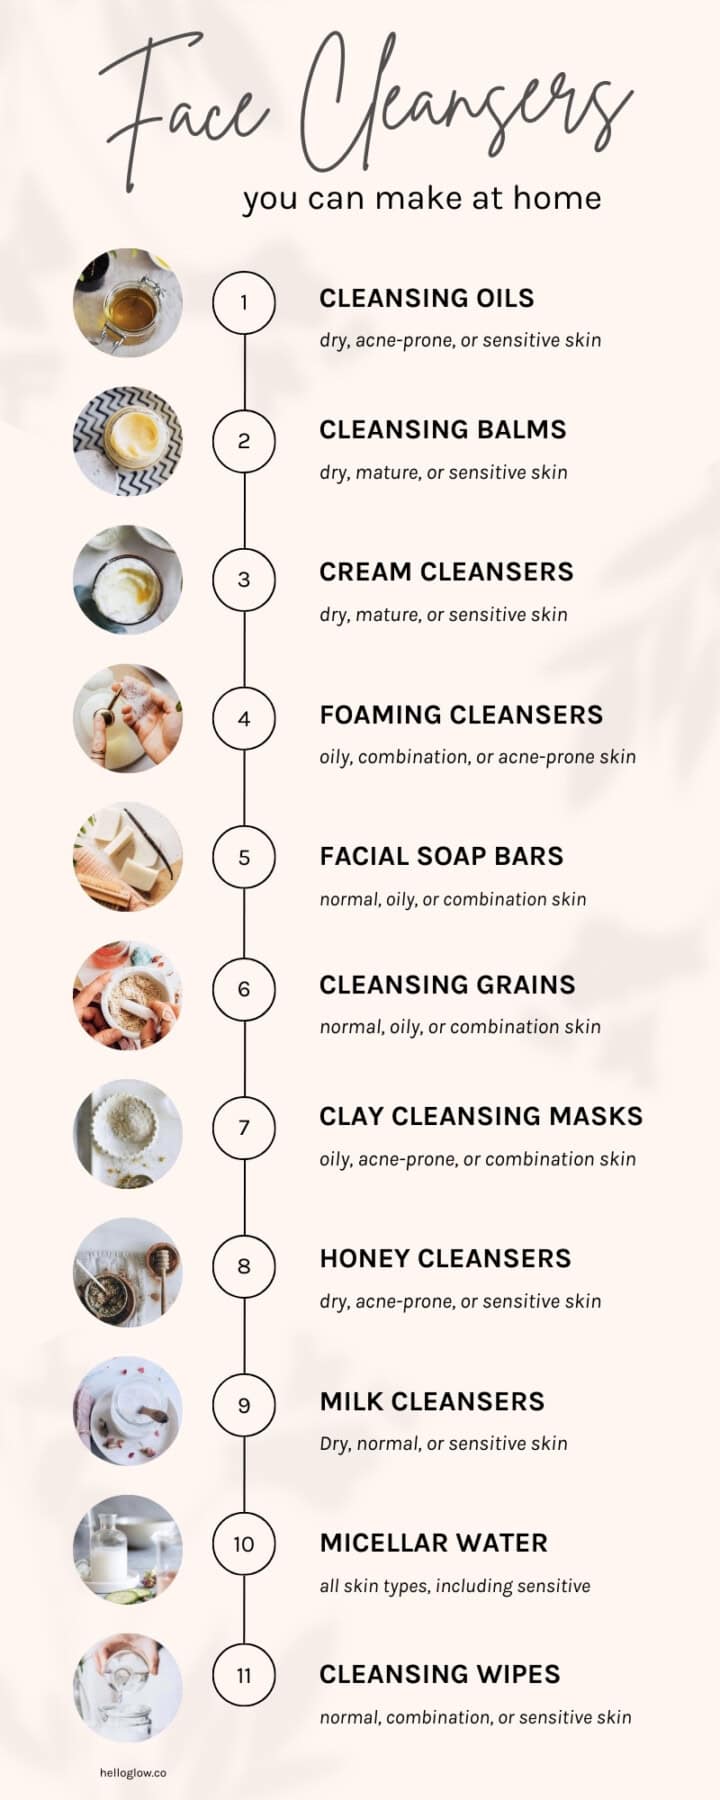
No matter what type of skin you have, you can find a cleanser that works for you! You might need to experiment with the cleansers below until you find one (or even a combination) that works for you, but don't be afraid to try new recipes.
There are plenty of possibilities. Read on to find the natural face cleanser that is most right for you:
Oil Based Face Cleansers
1. Cleansing Oils
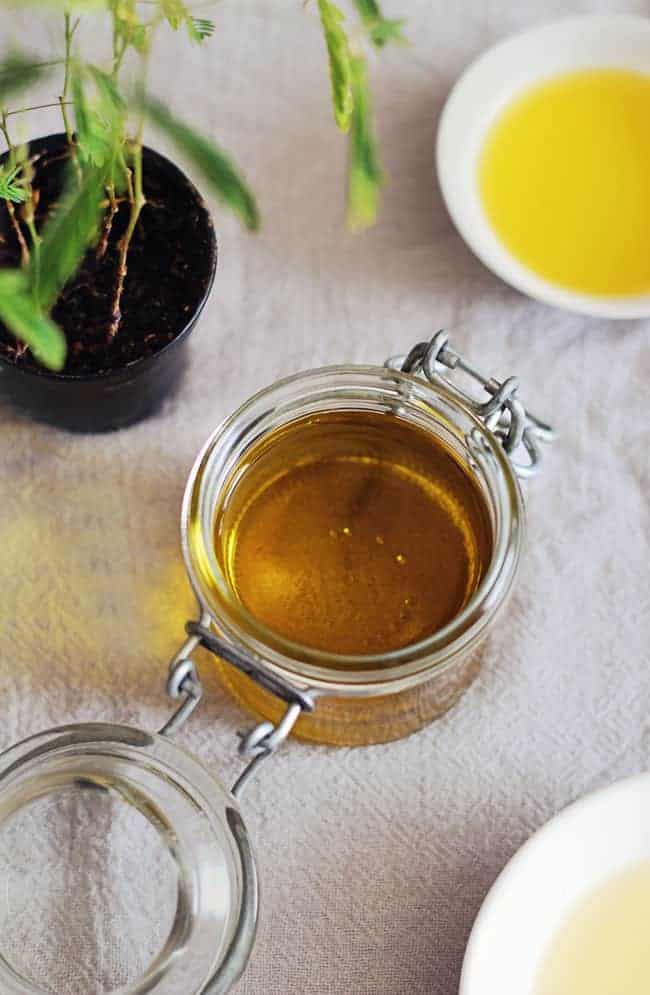
Yes, you can cleanse with oil with any skin type, even oily skin! Oil cleansers use the principle of “like dissolves like” to remove dirt, makeup, and excess oils without stripping your skin of its natural moisture.
There are lots of natural oils your skin will love, such as jojoba, grapeseed, and almond oil. If you're worried about acne, avoid coconut oil as it can be comedogenic (meaning it causes breakouts).
Best For:
- Dry Skin: Oil cleansers provide hydration while cleansing, making them ideal for dry skin.
- Oily/Acne-Prone Skin: Certain oils like jojoba and grapeseed can help balance oil production.
- Sensitive Skin: Gentle and nourishing, suitable for easily irritated skin.
Cleansing your face with oil might not sound like the best idea if you have acne and blackhead-prone skin. But, surprisingly, certain combinations of oil will strip away not just makeup, but also the sebum and dirt clogging your pores.
Try this easy recipe for oily or acne-prone skin:
- Jojoba oil – 3 parts
- Tamanu oil – 1 part
- Frankincense essential oil – 9 drops per 2-ounce container
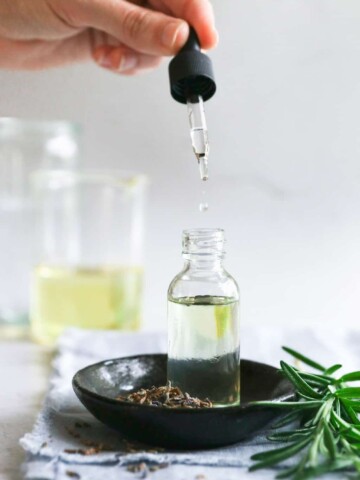
Combine 3 parts jojoba oil to 1 part tamanu oil. Then add 9 drops of frankincense essential oil for every 2 ounces of oil.
Shake to combine the oils before using, and pour a small amount into your hand. Press the oil into the face (avoiding the eyes) and rub gently in circular motions with your fingertips.
Leave on for 1–2 minutes, then remove with a warm, wet washcloth. If you like the 2-step face washing process, follow with a foaming cleanser.
If you have dry skin, you will love this oil cleanser. It's hydrating and packed with nutrients. To boost moisturizing levels even more, simply add a few drops of lavender essential oil.
2. Cleansing Balms
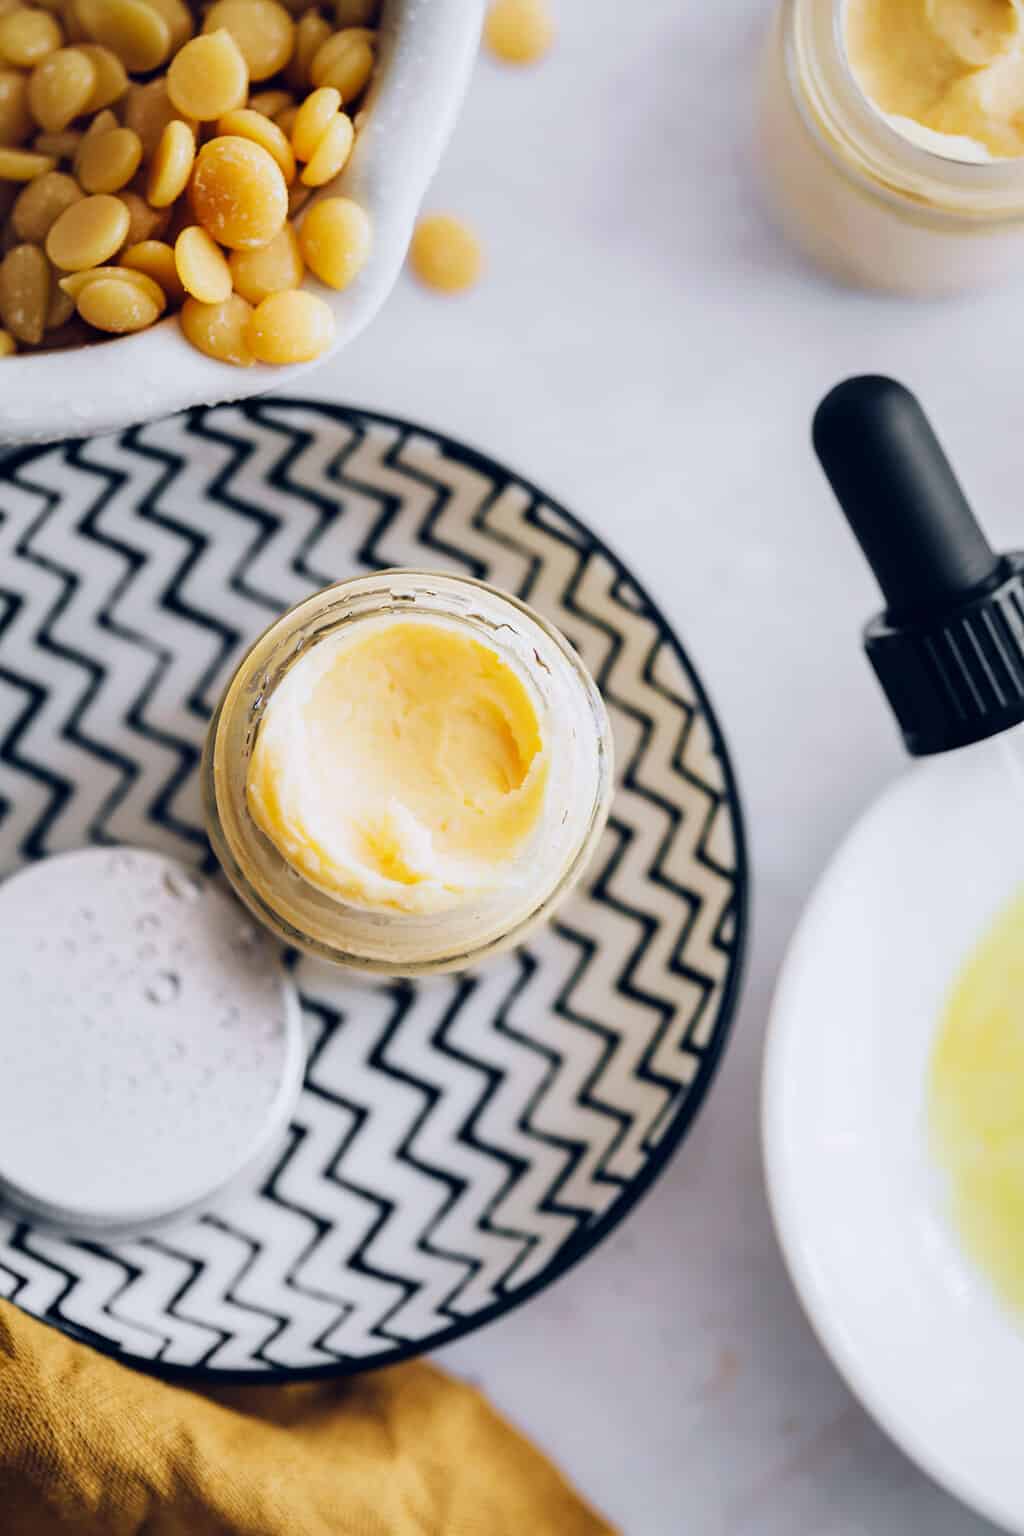
Cleansing balms are rich, nourishing, and effective at removing makeup, dirt, and impurities while leaving the skin moisturized. They're solid at room temperature and melt into an oil when applied to the skin.
Best For:
- Dry Skin: Provides deep hydration and nourishment.
- Mature Skin: Helps to maintain elasticity and moisture.
- Sensitive Skin: Gentle on the skin, suitable for those with easily irritated skin.
For dry or sensitive skin, this DIY cleansing balm is affordable and easy to make, with clay, coconut oil, and jojoba oil. Or try this copycat recipe inspired by Goop by Juice Beauty's Luminous Melting Cleanser that doubles as a makeup remover.
If you're tackling a specific skin issue, you may want to add a few drops of a particular essential oil to the cleansing balm as you make it—lavender to soothe irritation [source] or tea tree oil if you're one of those lucky people who experience dry skin and breakouts at the same time.
To use, scoop out a tiny bit of balm and massage it into your skin. I start with my skin dry, then put some water on my fingers and massage again. Then I use a cleansing cloth to gently remove the oil. You can follow with toner or do a 2-step cleansing face wash.
3. Cream Cleansers
Cream cleansers are rich and hydrating, often containing ingredients like oils and butters, but they are lighter than a cleansing balm. They cleanse without stripping the skin of its natural moisture.
Best For:
- Dry Skin: Provides a deep cleanse while moisturizing.
- Mature Skin: Helps to maintain skin's elasticity and moisture.
- Sensitive Skin: Gentle on the skin, reducing the risk of irritation.
Cream Cleanser Recipe
- 2 tablespoon avocado oil
- 1 tablespoon emulsifying wax
- ½ cup distilled water
- 2 tablespoon aloe vera gel
- 5 drops geranium essential oil
Follow the same process as above, substituting avocado oil and geranium essential oil. You can add a teaspoon of finely ground oats or rice powder for a gentle exfoliating effect.
Soap-Based Facial Cleansers
4. Foaming Cleansers
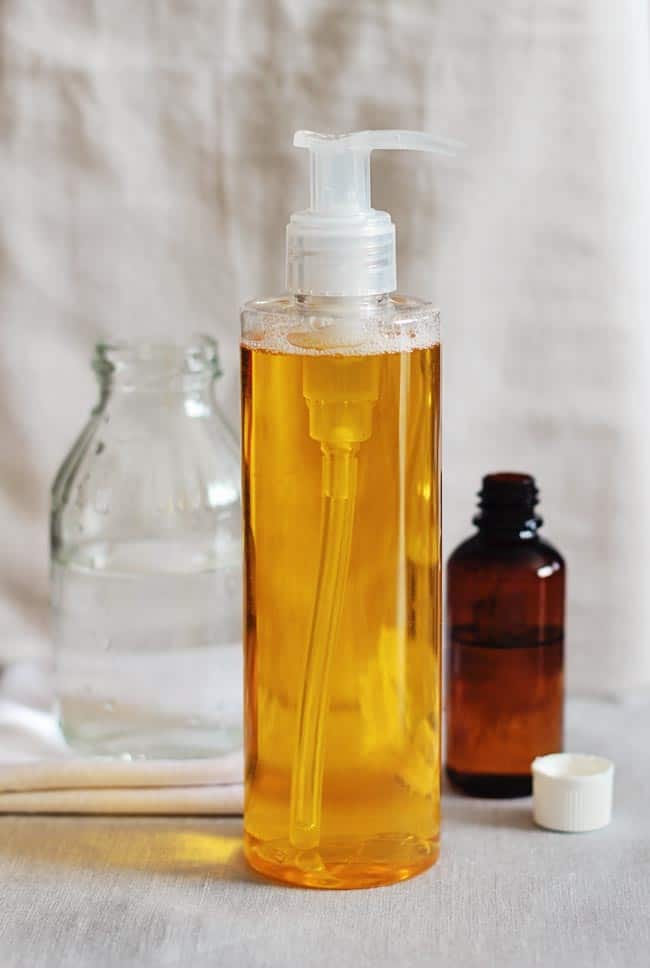
You can make the basic recipe for homemade face wash with just water and Castile soap, but that can be very drying. To maintain your skin's moisture balance add soothing ingredients like aloe vera, chamomile, or hyaluronic acid.
Best For:
- Oily Skin: Foaming cleansers are effective at removing excess oil and impurities, making them ideal for oily and acne-prone skin.
- Combination Skin: They can help balance oily and dry areas by thoroughly cleansing without leaving a residue.
- Acne-Prone Skin: The foaming action helps to penetrate pores and remove debris, which can help prevent breakouts.
This foaming cleanser is great for oily skin. It's made with castile soap and can be used on its own or applied after your oil cleanser to remove any residue or excess oil secreted by the skin.
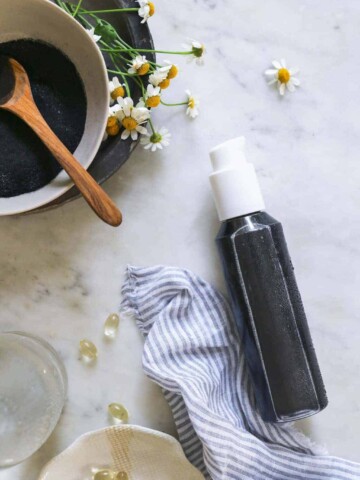
For acne-prone skin try this charcoal face wash. Massage your face in circular motions to cleanse, while also hitting some pressure points around the nose to help clear up sinuses.
For combination or dry skin, you can always rely on this aloe vera face wash. It soothes skin, decreases acne-causing bacteria, has antioxidants for healing, and keeps inflammation at bay, so you’re left with some seriously radiant skin [source].
5. Facial Soap Bars
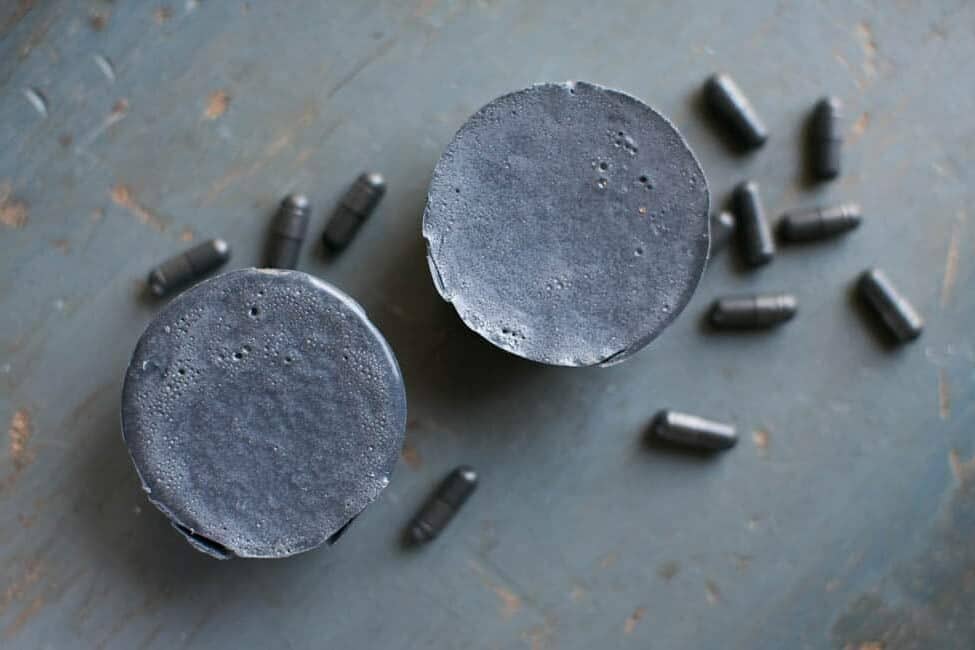
Choose a soap base that suits your preference (e.g., glycerin, shea butter, goat milk) and use moisturizing ingredients like shea butter, glycerin, or oils to maintain skin hydration. Add finely ground oats, poppy seeds, or dried herbs for a gentle exfoliating effect.
Best For:
- Normal Skin: Soap bars can provide a balanced cleanse without overly drying or moisturizing the skin.
- Oily Skin: Certain soap bars, especially those containing ingredients like charcoal or clay, can help control excess oil production and keep the skin clear.
- Combination Skin: Soap bars with a balanced formula can help manage oily areas while keeping dry areas hydrated.
If you have oily or combination skin, make a detox soap with activated charcoal and tea tree essential oil to sweep away grease, cleanse from any bacteria, and battle those breakouts. If you're ready to try making cold-process soap, this turmeric soap is a great place to start if you have oily skin.
For normal or dry skin, try this almond clay soap that's gentle and moisturizing. To use it, wet your face and the soap bar, then create a lather in your hands or directly on your face. Massage gently in circular motions.
Rinse thoroughly with warm water and pat dry. Follow with your favorite toner and moisturizer.
Powdered Facial Cleansers
6. Cleansing Grains
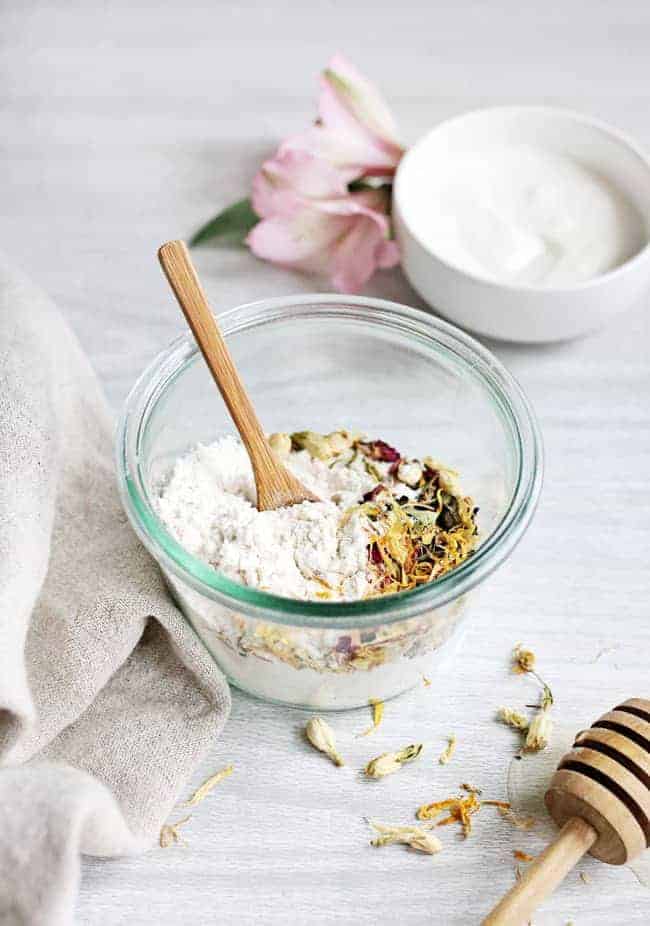
Cleansing grains are usually made from herbs, oats, nuts, or rice in a powdered form and provide an exfoliating homemade scrub for the face. The gentle polish removes dead skin cells and promotes a smoother complexion.
Best For:
- Normal to Oily Skin: Helps to keep pores clear and skin smooth.
- Combination Skin: Balances dry and oily areas by exfoliating and cleansing.
- Dry Skin (occasionally): Can be used 1-2 times a week to remove dry, flaky skin.
Just make sure your ingredients are super finely ground to avoid irritating the skin. Use caution with nuts to avoid any shells as these may have sharp edges and cause microtears in your precious skin barrier.
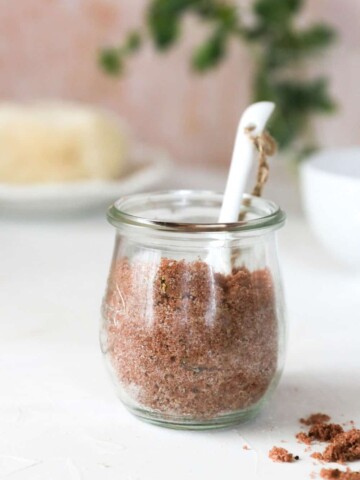
Oily and combination skin will benefit from a powdered rice flour cleanser. Mix a teaspoon or so of powder in your palm with plain water or rose water and gently massage into the skin.
For dry skin, start the day with an exfoliating, skin-plumping cleanser. The oil in the almonds will provide vitamins A and E while lactic acid will exfoliate and moisturize dry skin areas.
7. Clay Cleansing Masks
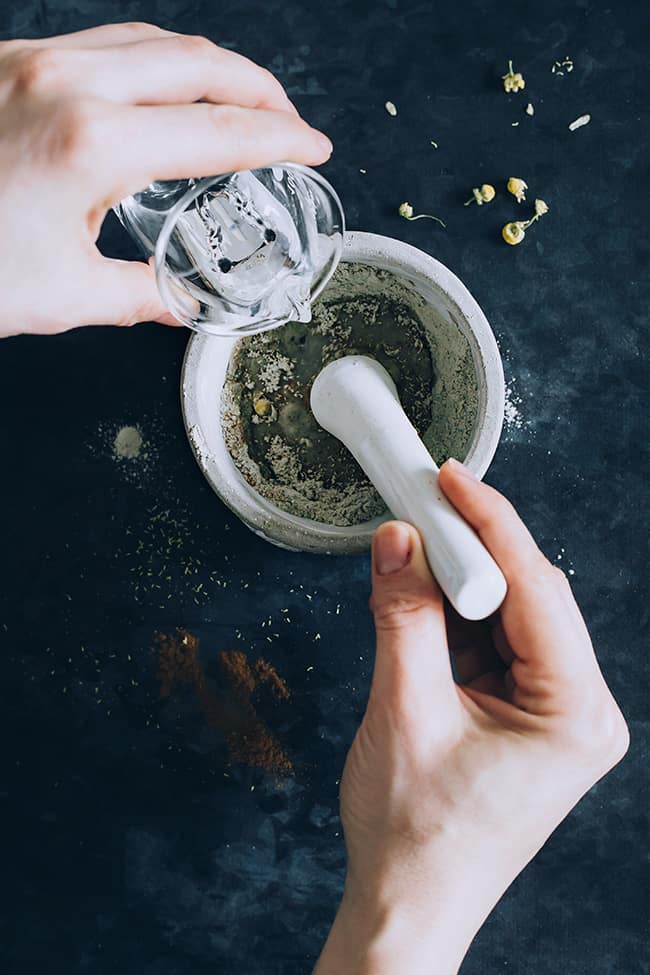
Washing your face with clay might seem weird, but natural clays like bentonite, kaolin, or French green clay act like a vacuum to absorb excess oil and clear dirt and pollution out of clogged pores. When used regularly clay cleansers will leave skin clean, soft, exfoliated, and soothed.
Best For:
- Oily/Acne-Prone Skin: Absorbs excess oil and helps to clear out pores.
- Combination Skin: Balances oily and dry areas, providing a deep cleanse.
These powder cleansers can be made in a large batch and stored in a small jar for easy use. Be sure to measure the clay with non-metal measuring cups, since clay can absorb metal and become less effective.
Clay cleansers are even more effective when you leave them on a few minutes longer as a face mask, so the clay has a bit more time to do its thing.
Kaolin and bentonite clay combine with activated charcoal in this facial cleanser that's good for all skin types, but even better for oily skin, leaving it supple and clean.
- ¼ cup oats (ground to a fine powder using a coffee grinder)
- ¼ cup kaolin clay
- ¼ cup bentonite clay
- 10 capsules activated charcoal
- 7 drops lavender essential oil
- 7 drops bergamot essential oil
- 7 drops tea tree essential oil
Combine the clay and ground oatmeal in a glass mixing bowl. Add the activated charcoal and essential oils. Stir and transfer to a container with a lid.
This gentle bentonite clay cleanser with calendula and chamomile turns into a skin-soothing mask for combination skin. Clay mixed with salicylic acid that is drawn to the oil in pores is the ultimate pore detox.
- 4 tablespoon bentonite clay
- 1 teaspoon baking soda
- 2 teaspoon calendula powder
- 2 teaspoon chamomile powder
- ½ teaspoon vitamin C powder
- ¼ teaspoon ground cinnamon
Combine all of the ingredients in a bowl and mix well. Store in a small non-metal jar.
To use as a cleanser
Shake the jar, then place a dime-sized amount (½-1 teaspoon) of powder in the palm of your hand and add a few drops of water at a time until a paste is created.
Gently massage the mixture into your face and neck for 2 minutes, making small circles with your fingers. Then rinse with warm water and pat dry. Follow with hydrating facial oil or serum.
To use as a mask
You’ll want to use a little more powder so you have enough to cover your face. Mix with water, apply the mixture to your face and leave it on for 5-10 minutes before rinsing thoroughly. Follow with hydrating facial oil or serum.
More Non-Soap Cleansers
8. Honey Cleansers
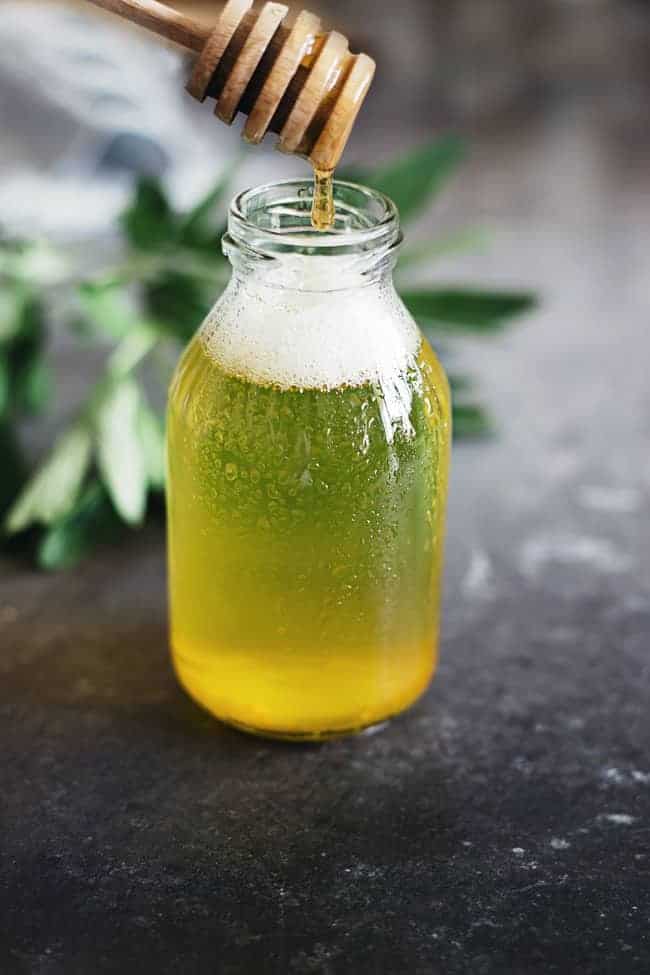
Honey can be a very effective and gentle cleanser for pretty much every skin type, and it's a natural humectant and has antibacterial properties.
Best For:
- Dry Skin: Moisturizing and hydrating.
- Acne-Prone Skin: Antibacterial properties help to prevent breakouts.
- Sensitive Skin: Gentle and soothing, suitable for sensitive skin.
For acne-prone skin, use this honey face wash recipe with coconut milk and castile soap to clean your face in the evenings. Honey is naturally antibacterial and heals wounds, which will help your battle against zits [source].
Yes, you can wash with honey by itself, no other ingredients added. The natural humectant benefits are perfect for dry or sensitive skin.
Fair warning, this method is a little stickier and can take a bit longer to remove, but you’ll still enjoy all of the benefits of a honey cleanser.
9. Milk Cleansers
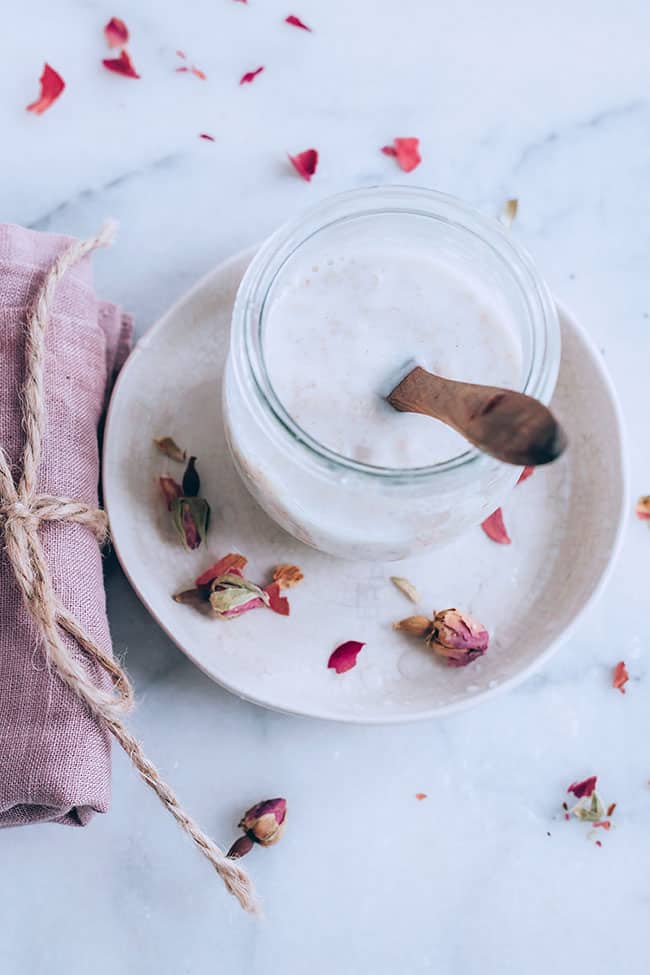
These creamy cleansers are an easy, gentle way to cleanse your skin without soap. The lactic acid works to remove dead skin cells while the milk proteins and fat moisturize and plump the skin – so stick with whole milk, not fat-free.
Your milk cleanser doesn't have to be cow’s milk! Try an alternative like coconut milk, oat milk, or this rice milk cleanser.
Best For:
- Dry Skin: Offers a hydrating cleanse.
- Normal to Sensitive Skin: Gentle and soothing, suitable for regular use.
Creamy, milk-based cleansers that use oat or coconut milk, like in this probiotic rose milk cleanser, are good for hydrating dry or aging skin. It's soothing and gentle enough for sensitive skin as well.
- 2 capsules live probiotics
- 1 tablespoon organic coconut milk from can
- 1 tablespoon raw honey
- 1 teaspoon rosewater (here's a recipe to make your own)
For the coconut milk, use the cream of the coconut milk, and not the watery liquid. Combine all ingredients in a glass jar. Cover and store in the refrigerator to keep the bacteria active.
To soften the cleanser, warm the jar in the palms of your hands before applying it to your face. Rinse with warm water after massaging into the skin.
10. Micellar Water
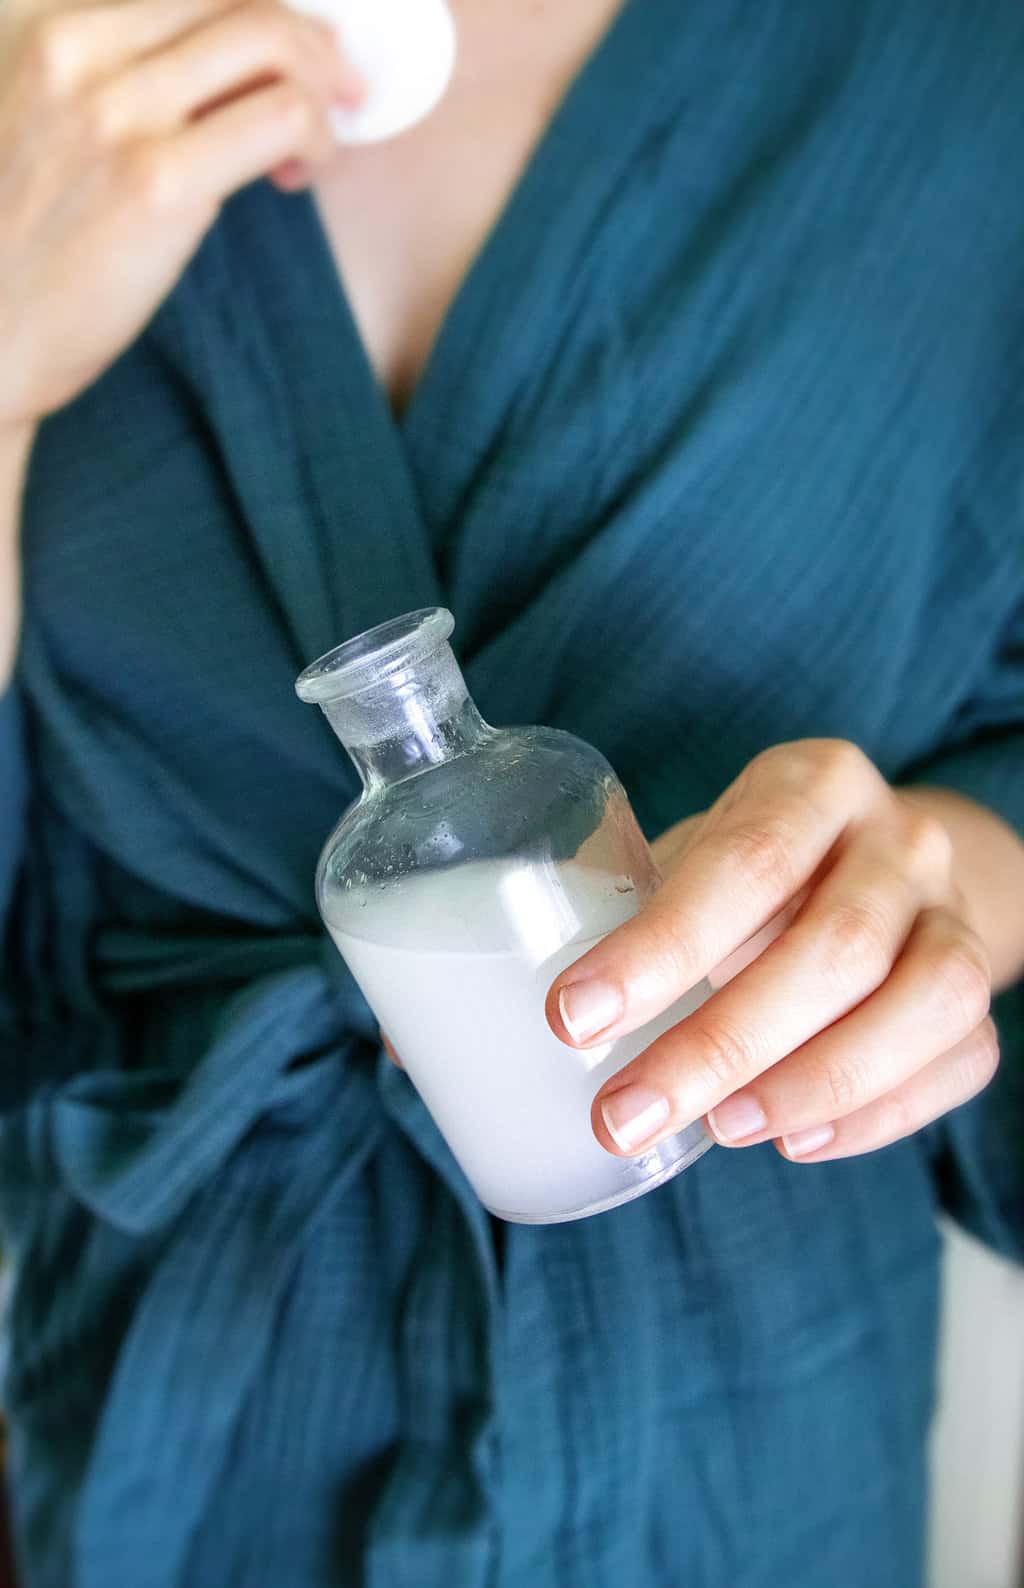
Micellar water is a versatile and gentle face cleanser that uses tiny micelles (oil molecules) to attract and lift away dirt, oil, and makeup without the need for rinsing.
Best For:
- All Skin Types: Gentle enough for daily use and effective for removing makeup.
- Sensitive Skin: Non-irritating and doesn’t require rinsing, which can be beneficial for sensitive skin.
This rosewater-based micellar water recipe is gentle enough for sensitive skin, but you can easily customize the recipe for all skin types.
11. Cleansing Wipes
Choosing the right facial cleanser depends on a number of factors. Unfortunately, there's no miracle recipe that works for everyone, but if you take into consideration your age, skin type, the season, and the amount of makeup you wear, you can create the perfect daily regimen for what your skin needs at that time of your life and have the knowledge of how it can change throughout the seasons.
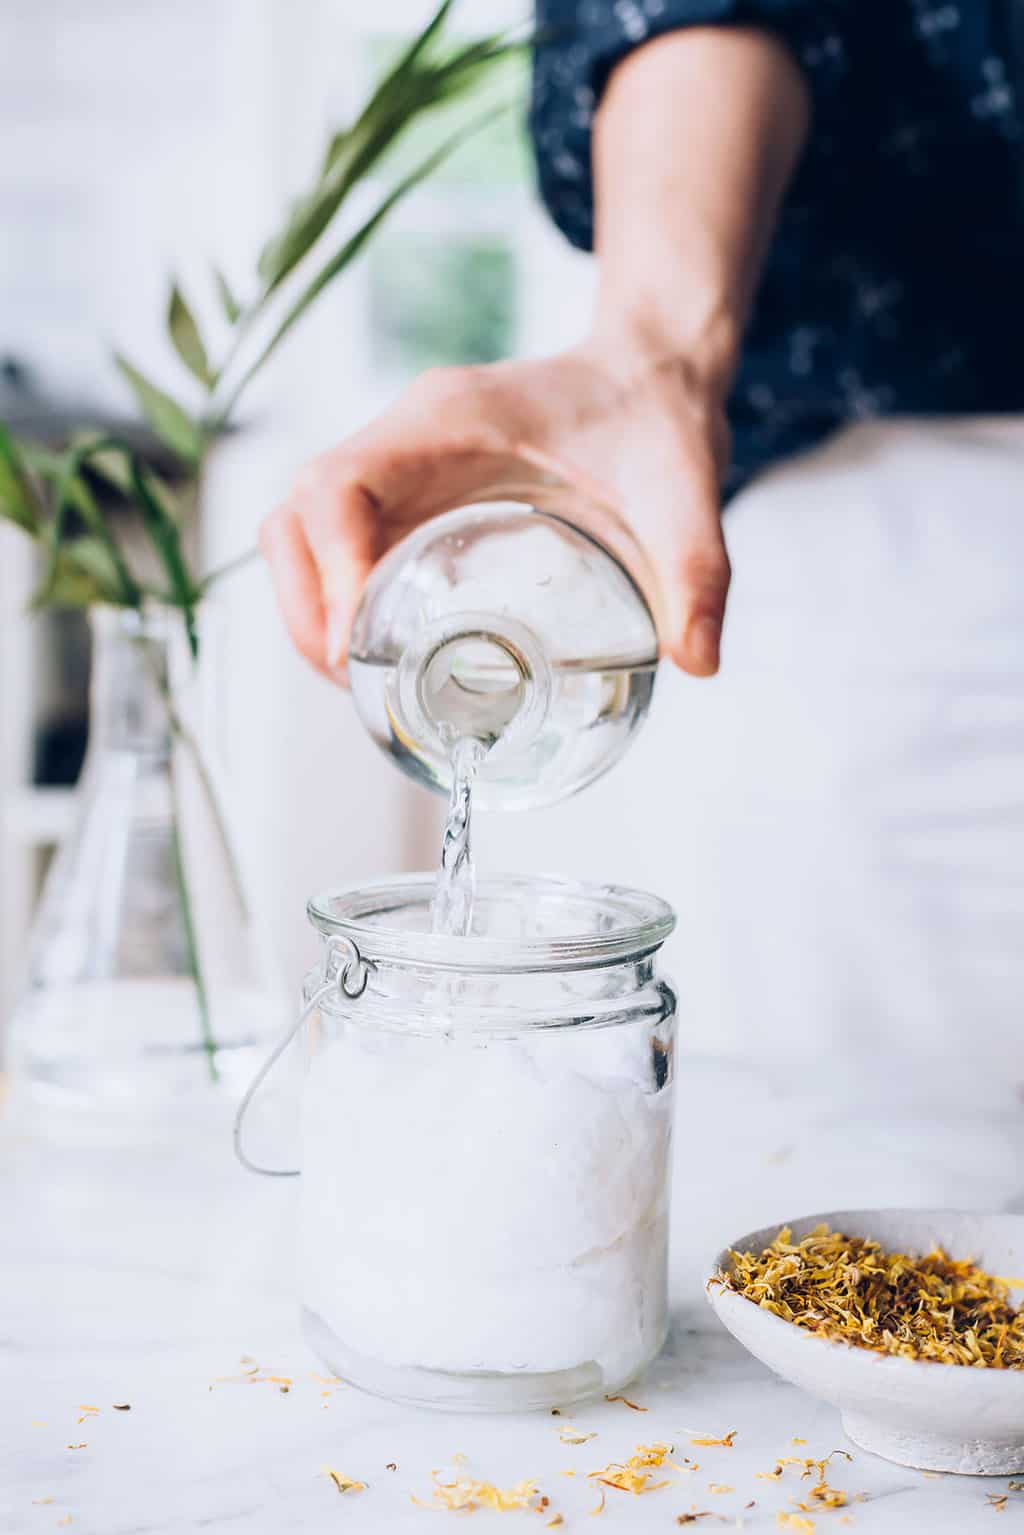
For convenience, you can't beat a quick face cleansing wipe. Wipes are an easy way to remove makeup, and they're also super convenient for traveling and freshening up on a long flight.
Best For:
- Normal Skin: Face wipes can be a convenient option for quick cleansing without causing irritation.
- Combination Skin: They are useful for balancing oily and dry areas, especially on the go.
- Sensitive Skin: Gentle, fragrance-free wipes can be suitable for sensitive skin, provided they do not contain harsh chemicals or alcohol.
Make a batch of these coconut oil-free makeup remover wipes for sensitive skin or keep the tea tree oil makeup remover face wipes on hand for oily or combination skin.
These DIY face wipes use rose-infused witch hazel with healing aloe to exfoliate, tone, and hydrate all skin types. Use alcohol-free witch hazel and add soothing ingredients like cucumber extract, aloe vera, or chamomile to avoid irritation and dryness.
How To Wash Your Face Correctly

Once you've figured out the correct cleanser for your skin type, you'll want to use it properly. A cleansing balm or oil won't need to be mixed with water before application, but a gel or foaming cleanser will need water.
Warm it up: After you have your cleanser ready, warm an oil or balm in the palm of your hand, apply the cleanser in upward and circular strokes to your face and neck.
Cleanse top to bottom: Cleanse into your hairline and down your neck. Concentrate wherever you may feel congestion beneath the skin.
Don't rush: Cleansing shouldn't be rushed, take 1-2 minutes to go over your face and neck while adding water to spread the cleanser thoroughly.
Rinse properly: Rinse with lukewarm water, removing all residue of cleanser from your face and neck. You can also remove everything with a warm washcloth, just remember not to tug or rub.
A second cleanse is always a good idea if you are removing makeup or can still see dirt or discoloration on your washcloth/towel.
Tone & moisturize: After cleansing, apply your toner and/or moisturizer to damp skin and voila! You have successfully cleansed your face, mistake free!
FAQ
A facial cleanser is gentler and more moisturizing than standard face wash. Cleansers without soap clean skin without stripping it of much-needed moisture.
Most homemade cleansers can be stored in clean, airtight containers, preferably glass or BPA-free plastic, for about 3 to 6 months, depending on the ingredients used. Products containing fresh ingredients should be used within a week or kept refrigerated.
Yes, essential oils can provide additional benefits and fragrance. Typically, add 3-5 drops of essential oil per ounce of cleanser. Always dilute essential oils in a carrier oil before adding them to your cleanser.
Try non soap cleansers like lemon juice and honey to help with discoloration. Either add a bit to your homemade cleanser (if it doesn't contain it already!) or use them as a spot treatment if the discoloration is limited to small areas. You can also try making this DIY repair serum for scars, burns, and discoloration.
Yes, using the wrong cleanser can irritate skin and cause breakouts. I recommend testing your DIY facial cleanser on a small patch of skin on the inner side of the wrist before applying to the entire face. If you notice irritation, stop using your cleanser immediately.
Avoid using harsh ingredients that can strip the skin of its natural oils, overloading your cleanser with essential oils, not performing a patch test, and neglecting to store your cleanser properly.
This post was medically reviewed by Dr. Jennifer Haley, a board-certified dermatologist with extensive experience in medical, cosmetic, and surgical dermatology. Learn more about Hello Glow’s medical reviewers here. As always, this is not personal medical advice, and we recommend that you talk with your doctor.
4
